概述
OpenResty是一个基于 Nginx 与 Lua 的高性能 Web 平台,其内部集成了大量精良的 Lua 库、第三方模块以及大多数的依赖项。用于方便地搭建能够处理超高并发、扩展性极高的动态 Web 应用、Web 服务和动态网关。
OpenTracing是一套标准的分布式Trace的规范,其包含了各种具体的实现,例如Jaeger就是其中的佼佼者。通过Jaeger和Opentracing等,我们可以有效的对基于微服务的分布式系统的监控和问题定位。
由于OpenResty本质上是基于Nginx进行扩展的,所有Nginx的功能其实都是OpenResty功能的子集,而关于Nginx支持OpenTracing其实已经有了一个开源项目:nginx-opentracing。因此,在本文中,我们将会主要讲解基于此来搭建一个支持OpenTracing的OpenResty环境。
准备工作
OpenResty下载和依赖安装
关于 OpenResty 的下载和安装我们已经在OpenResty的安装中进行了详细讲解,本文不在赘述。
C++ OpenTracing Lib 库的安装
由于 Nginx 是基于 C++ 开发的,因此,如果想要 Nginx 支持 OpenTracing,首先,我们需要安装 OpenTracing 的 C++ Lib库。
OpenTracing 的 C++ Lib 库安装还是比较简单的:
cd /home/work/openresty-dependency/git clone https://github.com/opentracing/opentracing-cpp.gitcd opentracing-cppmkdir .buildcd .buildcmake --prefix=/home/work/openresty-dependency/opentracing-cpp ..makemake install
C++ OpenTracing Tracer 实现的lib库,例如Jaeger
熟悉 OpenTracing 的同学应该都知道,OpenTracing 的 Lib 库中,实现了 OpenTracing 中通用规范的相关的功能,但是没有直接绑定到具体的后端平台中。例如 Trace 数据发送给哪些后端服务其实并不是在 OpenTracing 的 Lib 库中实现的,而是不同平台都提供不同的兼容 OpenTracing 的 Tracer Lib库,用于定义如何进行Trace数据发送等相关的逻辑。
由于 Jaeger 是目前最流行的 OpenTracing 实现之一,因此我们以 Jaeger 为示例,来演示如何在 OpenResty 的 Trace 数据发送到 Jaeger中。
Jaeger C++ OpenTracer 的 Github 地址。
其中,提供了一个已经编译完成可以直接使用的发布产出:
wget https://github.com/jaegertracing/jaeger-client-cpp/releases/download/v0.4.2/libjaegertracing_plugin.linux_amd64.somv libjaegertracing_plugin.linux_amd64.so /home/work/openresty-dependency/
nginx-opentracing源码下载
下面,我们再来下载 nginx-opentracing 的源码并在后续 OpenResty 编译的过程中进行编译安装。
cd /home/work/openresty-dependency/git clone https://github.com/opentracing-contrib/nginx-opentracing.git
安装
下面,前期的准备工作就已经完成了,下面,我们可以来使用源码的方式编译 OpenResty了。
cd /home/work/openresty-dependency/openresty-1.15.8.1./configure \--prefix=/home/work/openresty \--with-cc-opt="-DNGX_LUA_ABORT_AT_PANIC \-I/home/work/openresty-dependency/zlib/include \-I/home/work/openresty-dependency/pcre/include \-I/home/work/openresty-dependency/opentracing-cpp-1.6.0/include \-I/home/work/openresty-dependency/openssl/include" \--with-ld-opt="-L/home/work/openresty-dependency/zlib/lib \-L/home/work/openresty-dependency/pcre/lib \-L/home/work/openresty-dependency/opentracing-cpp-1.6.0/lib \-L/home/work/openresty-dependency/openssl/lib \-Wl,-rpath,/home/work/openresty-dependency/zlib/lib:/home/work/openresty-dependency/pcre/lib:/home/work/openresty-dependency/opentracing-cpp-1.6.0/lib:/home/work/openresty-dependency/openssl/lib" \--with-pcre-jit \--without-http_rds_json_module \--without-http_rds_csv_module \--without-lua_rds_parser \--with-stream \--with-compat \--with-stream_ssl_module \--with-stream_ssl_preread_module \--with-http_v2_module \--without-mail_pop3_module \--without-mail_imap_module \--without-mail_smtp_module \--with-http_stub_status_module \--with-http_realip_module \--with-http_addition_module \--with-http_auth_request_module \--with-http_secure_link_module \--with-http_random_index_module \--with-http_gzip_static_module \--with-http_sub_module \--with-http_dav_module \--with-http_flv_module \--with-http_mp4_module \--with-http_gunzip_module \--with-threads \--add-dynamic-module=/home/work/openresty-dependency/nginx-opentracing/opentracing \--with-luajit-xcflags='-DLUAJIT_NUMMODE=2 -DLUAJIT_ENABLE_LUA52COMPAT' \-j24
其中,重点关注我们增加了如下内容:
- add-dynamic-module 指定了 nginx-opentracing 的源码目录。
- with-cc-opt 增加了opentracing-cpp 的头文件目录。
- with-ld-opt 增加了 opentracing-cpp 的so文件目录。
配置文件
当 OpenResty 编译完成之后,我们还需要做一些相关的配置文件编写后才能正常工作。
首先,我们来看如何在 Nginx 配置文件中开启 OpenTracing 的功能。
load_module modules/ngx_http_opentracing_module.so; # 引入 nginx-opentracing so文件user work;worker_processes 48;error_log logs/error.log info;pid logs/nginx.pid;events {worker_connections 1024;}http {# 设置 opentracer 的具体实现,指定jaeger c++ opentracing so文件与 jaeger配置文件opentracing_load_tracer /home/work/openresty-dependency/libjaegertracing_plugin.linux_amd64.so /home/work/openresty/nginx/conf/jaeger-nginx-config.json;opentracing on; # 开启 nginx-opentracing 功能opentracing_tag http_entry "openresty"; # 对所有 tracer 增加一个 http_entry=openresty 的taginclude mime.types;default_type application/octet-stream;sendfile on;underscores_in_headers on;keepalive_timeout 65;server {client_max_body_size 3000m;listen 8500;proxy_set_header uberctx-envname "baseenv"; # 自动注入 baggageopentracing_operation_name $uri; # 设置 span 的 operation name 为访问的urlopentracing_propagate_context; # 开启 opentracing 的上下文传递功能location /api {proxy_pass http://localhost:8501;}location / {root html;index index.html index.htm;}}}
可以看到,在上述的 Nginx 配置文件中,我们针对 Nginx 配置文件相关的内容全部增加了注释说明。
其中,在 opentracing_load_tracer 指令中,还依赖了一个 jaeger-nginx-config.json 配置文件,其示例如下:
{"service_name": "openresty","sampler": {"type": "const","param": 1},"reporter": {"localAgentHostPort": "127.0.0.1:6831"},"headers": {"jaegerDebugHeader": "jaeger-debug-id","jaegerBaggageHeader": "jaeger-baggage","traceBaggageHeaderPrefix": "uberctx-"},"baggage_restrictions": {"denyBaggageOnInitializationFailure": false,"hostPort": ""}}
上述配置文件中主要讲述了 Jaeger 相关的配置,例如服务名称、采样率、JaegerAgent的地址等。
实验一下
最后,我们来启动 OpenResty 服务试一下吧:
./bin/openresty -p `pwd`/nginx -c conf/nginx.conf
Ps: 如果 Nginx 启动失败,可以查询一下提示信息,如果提示
opentracing: versions of opentracing libraries are incompatible
那么,大概率是 nginx-opentracing 的编译过程存在问题,可以直接尝试使用 nginx-opentracing 的 release 产出来替换 openresty/modules 目录下的 ngx_http_opentracing_module.so 文件。
https://github.com/opentracing-contrib/nginx-opentracing/releases/tag/v0.20.0
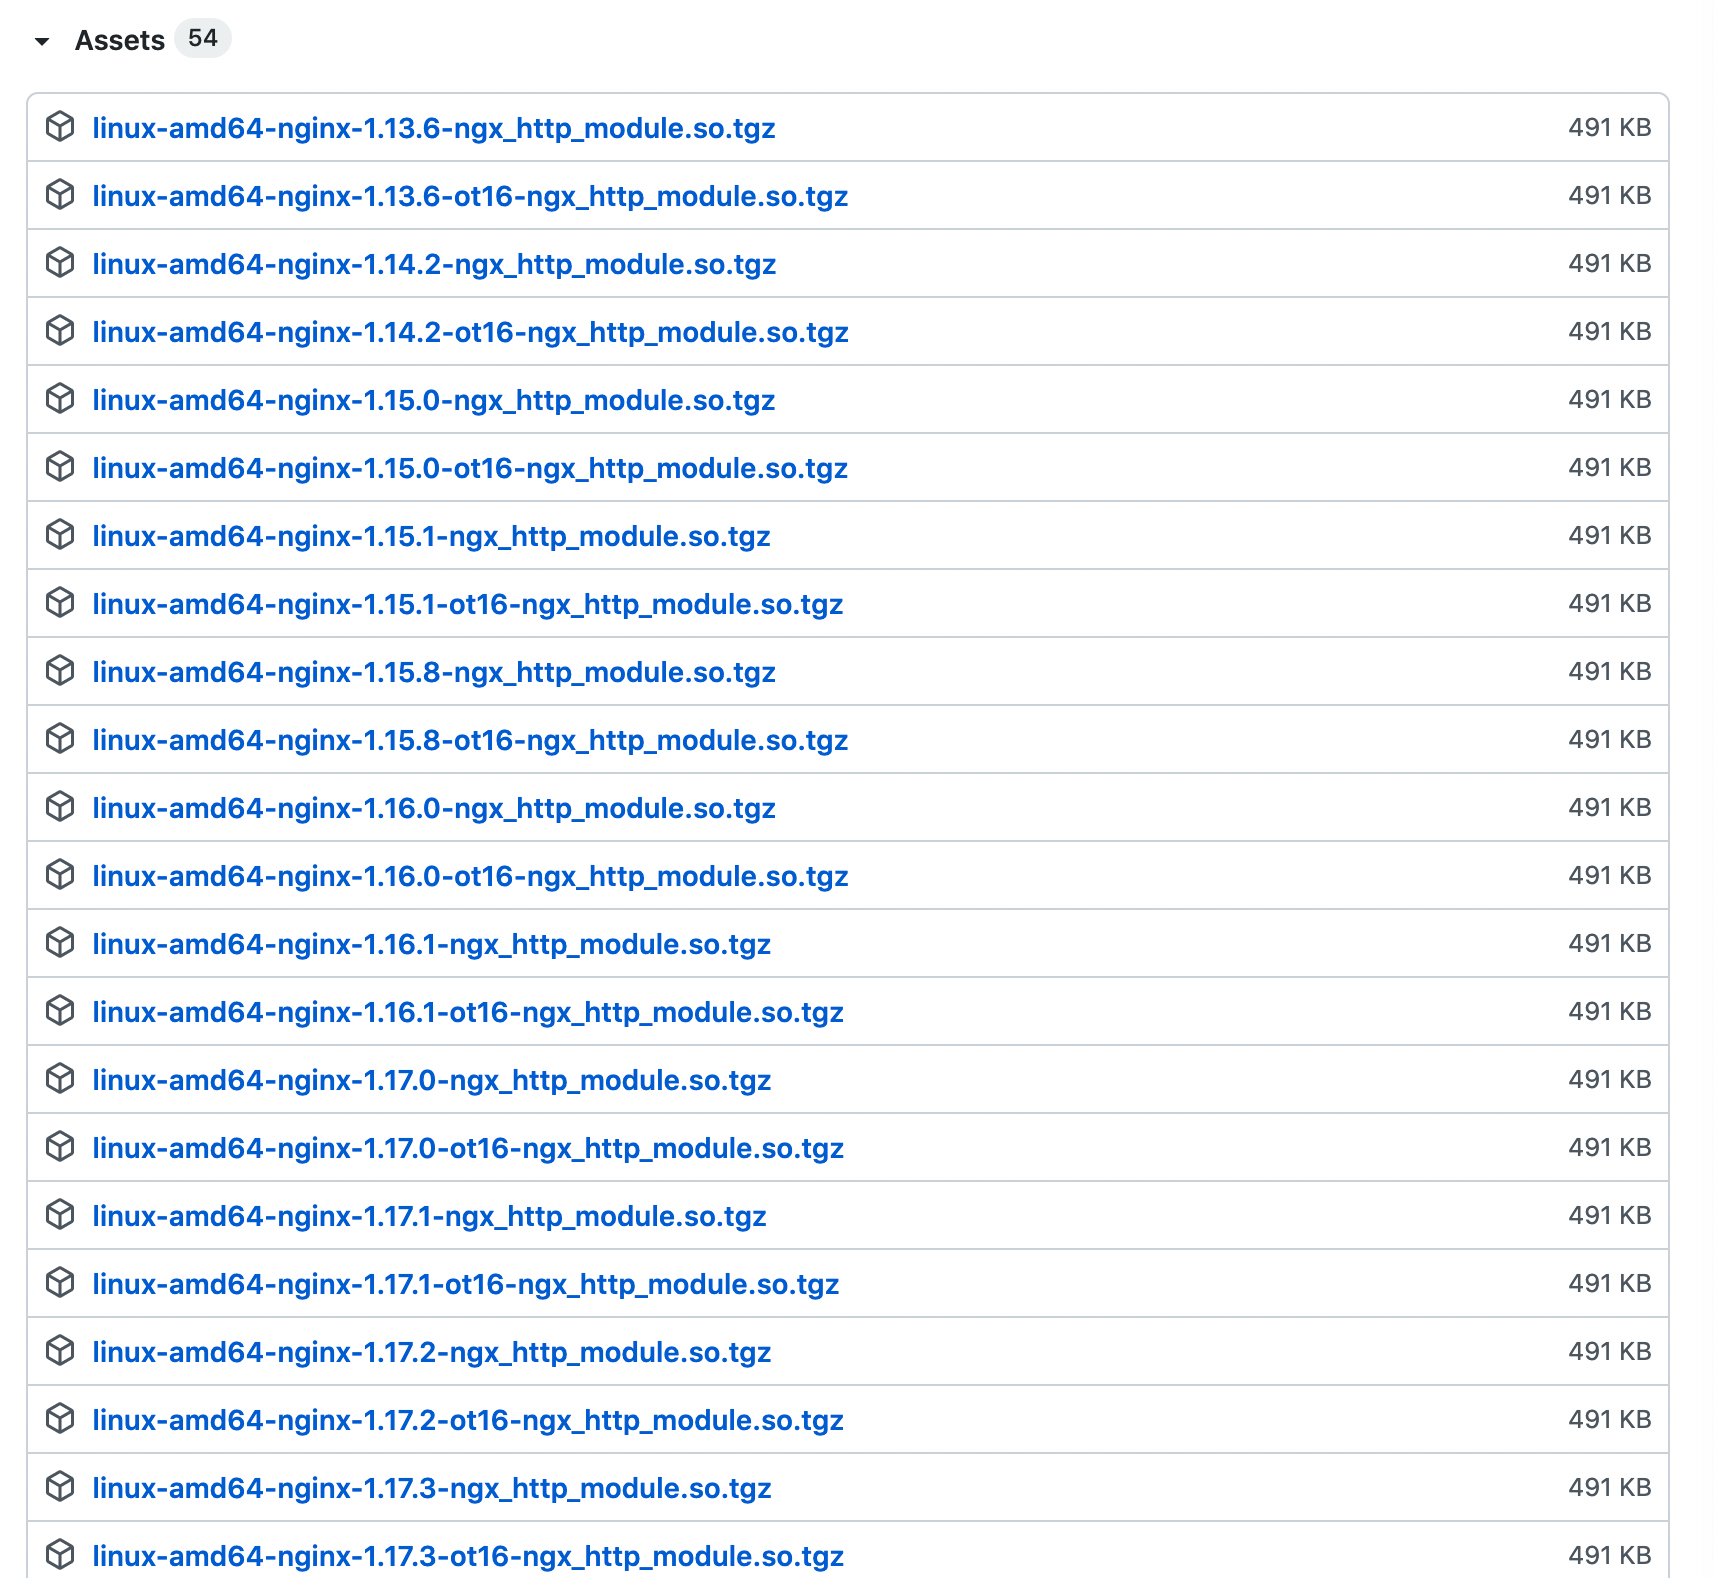
其中,提供了针对不同 nginx 版本的不同 so 文件,可以根据自己的需要进行选择。其中还包括了普通版本的ot16版本,可以分别试用进行验证。

若有收获,就点个赞吧
0 人点赞
