背景
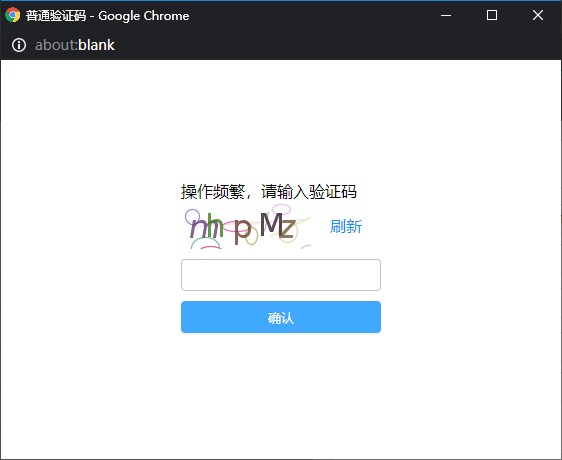
命中爬虫和防盗刷规则后,会阻断请求,并生成接除阻断的验证码,验证码有多种组合方式,如果客户端可以正确输入验证码,则可以继续访问
代码使用
- p在pig-upms-biz中引入依赖。
<dependency><groupId>com.pig4cloud.plugin</groupId><artifactId>anti-reptile-spring-boot-starter</artifactId><version>0.0.3</version></dependency>
在nacos 配置文件中加入配置
anti:reptile:enabled: trueglobal-filter-mode: true #开启全局反爬,也可通过注解或配置文件指定需要反爬的接口ip-rule:request-max-size: 2spring:redisson:address: redis://127.0.0.1:6379
pig-ui配置异常拦截
在pig-ui的src/router/axios的HTTPresponse拦截器中添加异常拦截的配置,完整代码如下:
// HTTPresponse拦截axios.interceptors.response.use(res => {NProgress.done();const status = Number(res.status) || 200;const message = res.data.msg || errorCode[status] || errorCode["default"];// 后台定义 424 针对令牌过去的特殊响应码if (status === 424) {MessageBox.confirm("令牌状态已过期,请点击重新登录", "系统提示", {confirmButtonText: "重新登录",cancelButtonText: "取消",type: "warning"}).then(() => {store.dispatch("LogOut").then(() => {// 刷新登录页面,避免多次弹框window.location.reload();});}).catch(() => {});return;}if (status !== 200 || res.data.code === 1) {Message({message: message,type: "error"});return Promise.reject(new Error(message));}return res;},error => {// 添加如下配置if (error.response.status === 509) {const html = error.response.dataconst verifyWindow = window.open('', '_blank', 'height=400,width=560')verifyWindow.document.write(html)verifyWindow.document.getElementById('baseUrl').value = 'http://localhost:8080/admin'}NProgress.done();return Promise.reject(new Error(error));});
- pig放开相应接口权限
- 因为在填写验证码之后,anti-reptile会进行回调,所以我们要放开相应接口的权限,将其放行。
在nacos的application-dev.yml中添加如下配置: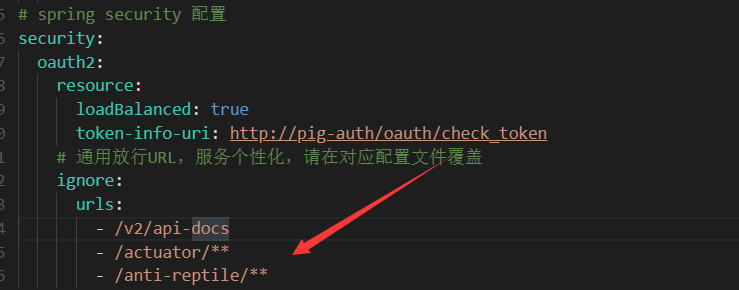
- 进行测试
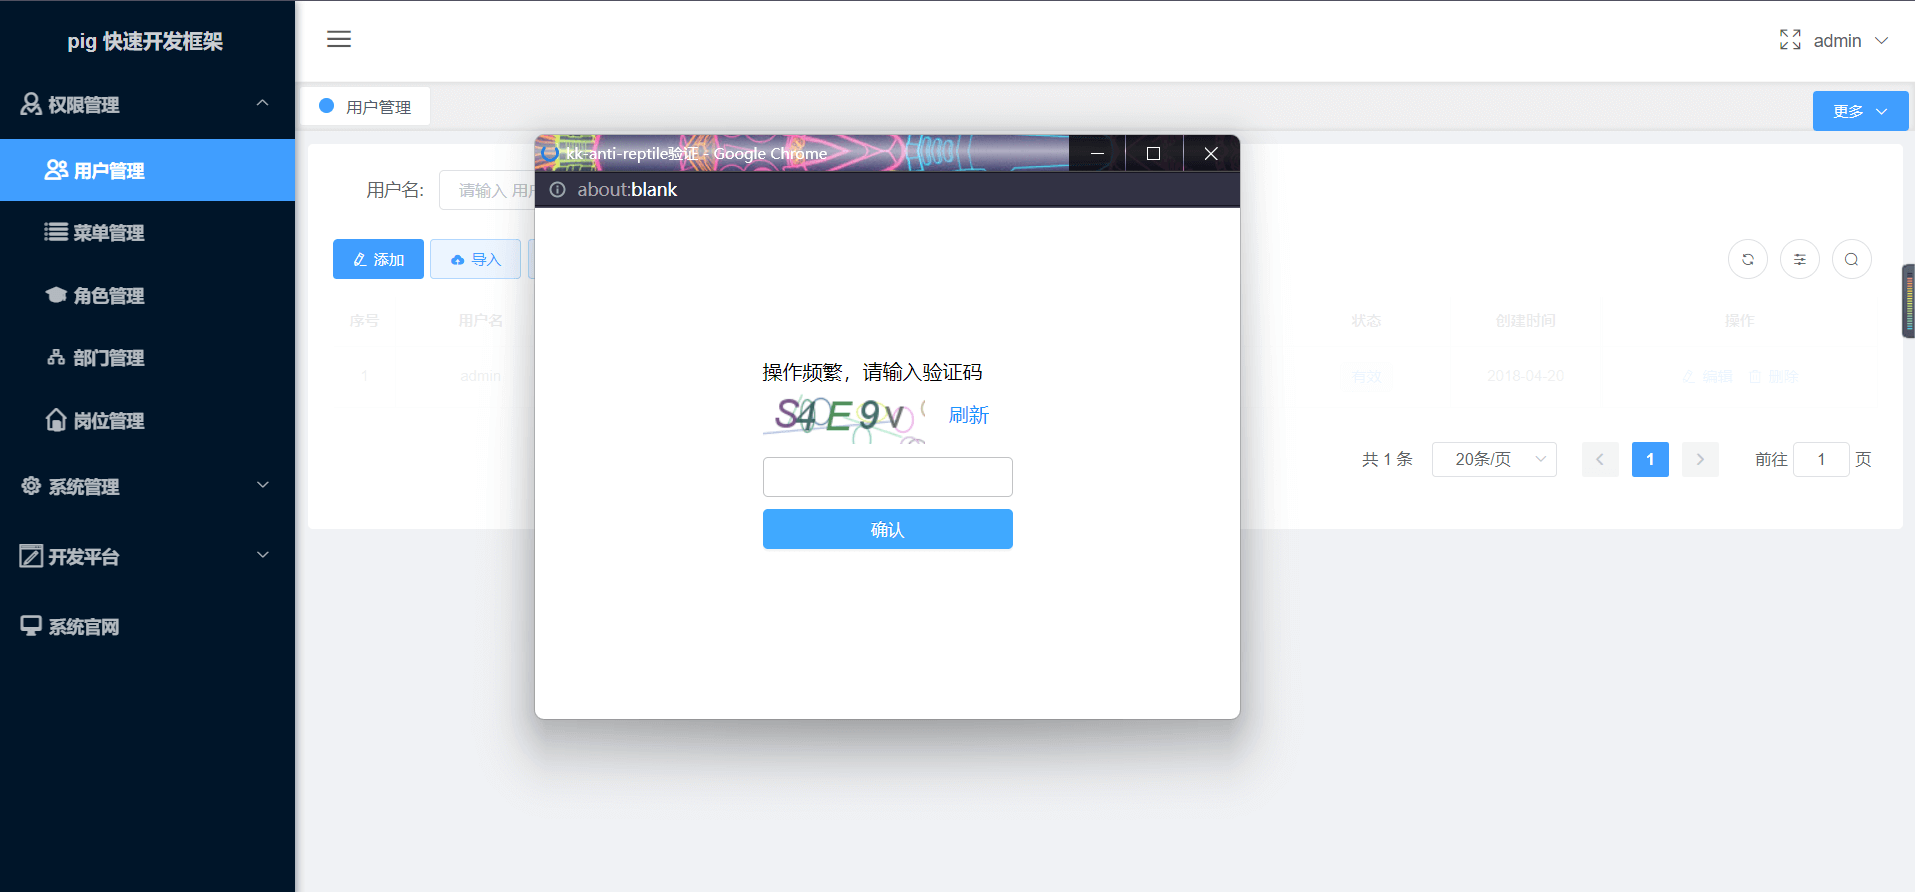
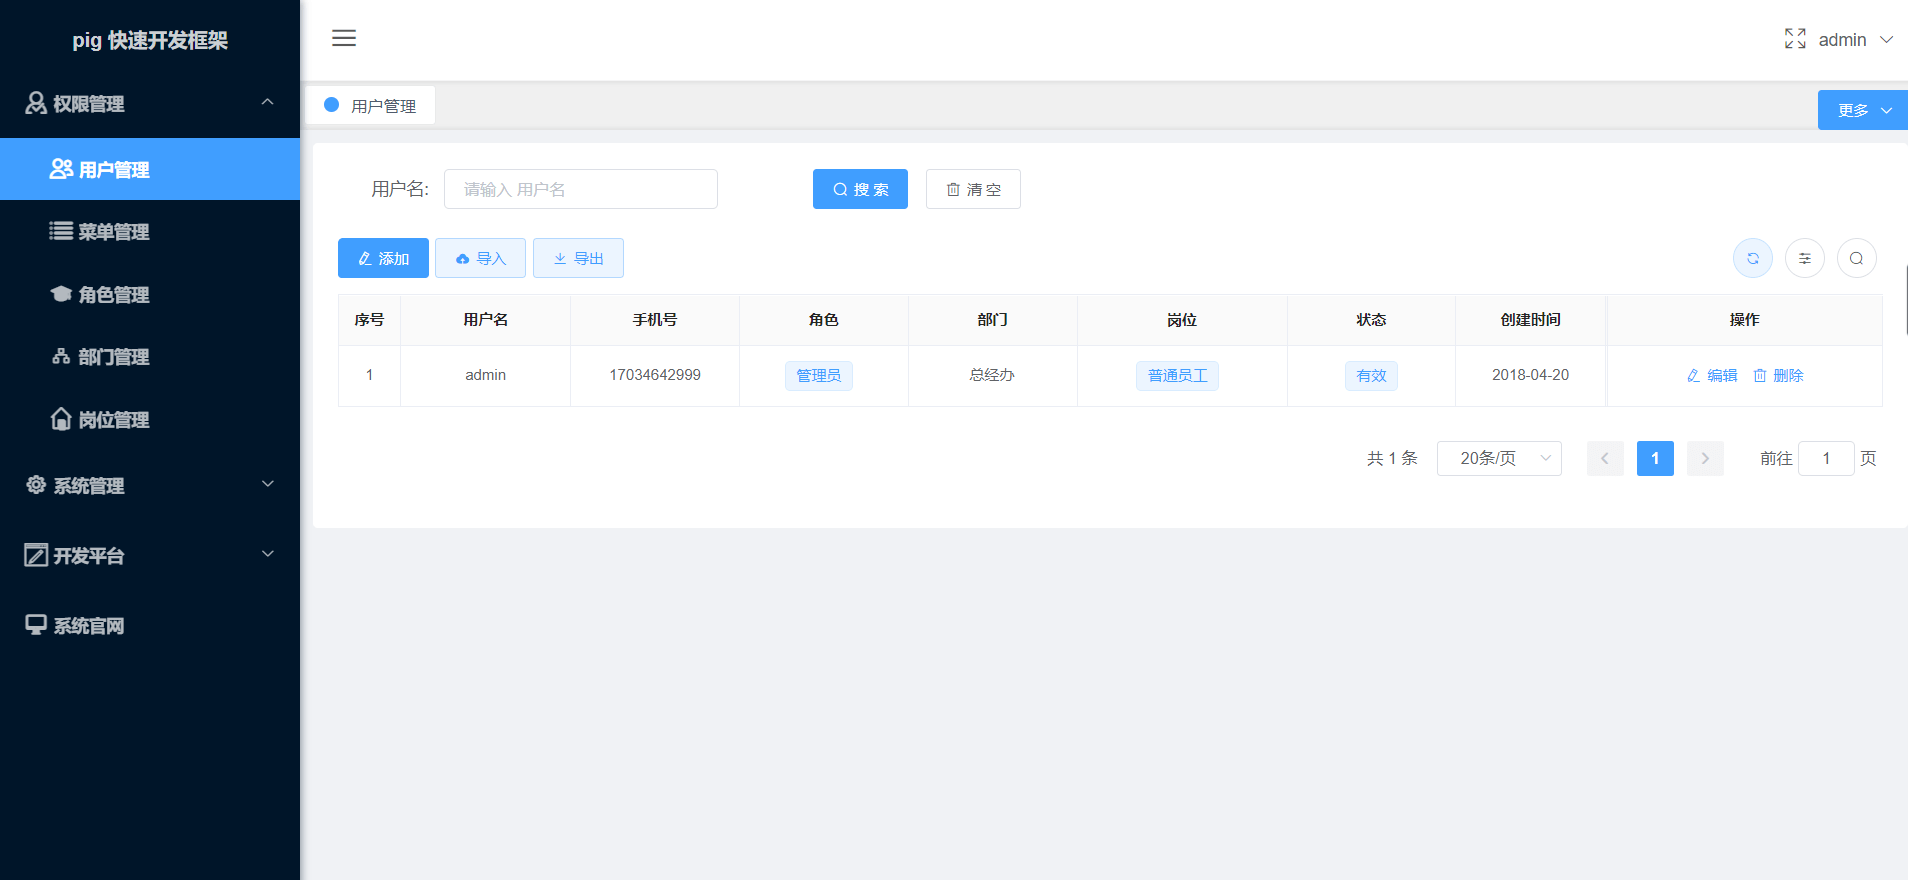
击中反爬规则后弹出验证码,正确填写验证码之后可以访问后端接口。
更多配置 所有配置均以anti.reptile为前缀。
| NAME | 描述 | 默认值 | 示例 |
|---|---|---|---|
| enabled | 是否启用反爬虫插件 | true | true |
| globalFilterMode | 是否启用全局拦截模式 | false | true |
| include-urls | 局部拦截时,需要反爬的接口列表,以’,’分隔,支持正则匹配。全局拦截模式下无需配置 | 空 | /client,/user,^/admin/.*$ |
| ip-rule.enabled | 是否启用 IP Rule | true | true |
| ip-rule.expiration-time | 时间窗口长度(ms) | 5000 | 5000 |
| ip-rule.request-max-size | 单个时间窗口内,最大请求数 | 20 | 20 |
| ip-rule.lock-expire | 命中规则后自动解除时间(单位:s) | 10天 | 20 |
| ip-rule.ignore-ip | IP 白名单,支持后缀’*’通配,以’,’分隔 | 空 | 192.168.*,127.0.0.1 |
| ua-rule.enabled | 是否启用 User-Agent Rule | true | true |
| ua-rule.allowed-linux | 是否允许 Linux 系统访问 | false | false |
| ua-rule.allowed-mobile | 是否允许移动端设备访问 | true | true |
| ua-rule.allowed-pc | 是否允许移 PC 设备访问 | true | true |
| ua-rule.allowed-iot | 是否允许物联网设备访问 | false | false |
| ua-rule.allowed-proxy | 是否允许代理访问 | false | false |
原理
我们引入依赖之后,实际上是通过springboot自动装配了AntiReptileAutoConfig配置类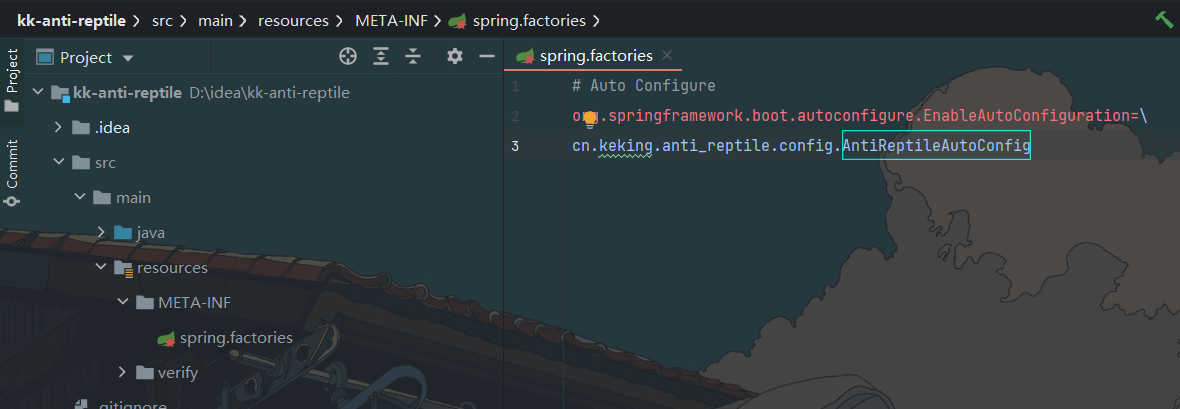
该类Import了RedissonAutoConfig和WebMvcConfig两个配置类。RedissonAutoConfig主要实现了对RedissonClient的配置并注入容器,而WebMvcConfig的作用是调用addInterceptors方法添加了拦截器AntiReptileInterceptor。
再来看AntiReptileAutoConfig里面,AntiReptileAutoConfig里面一共向容器注入了8个bean。
- ServletRegistrationBean
@Beanpublic ServletRegistrationBean validateFormServlet() {return new ServletRegistrationBean(new ValidateFormServlet(), AntiReptileConsts.VALIDATE_REQUEST_URI);}
通过ServletRegistrationBean,可以达到向springboot内注册servlet的作用,因为servlet可拦截指定url路径,添加自定义操作。 Spring Boot 注册 Servlet的三种方法
自定义的ValidateFormServlet拦截url/kk-anti-reptile/validate,主要通过doPost方法调用了ValidateFormService的validate方法。validate中解析请求正文内容,获取输入域的值,然后从redis中获取验证码与输入的值进行比较。比较通过,会调用RuleActuator的reset重置已记录规则,AntiReptileRule接口有两个实现类IpRule和UaRule。其中IpRule会根据ip清除计数器,解除访问限制。回到dopost方法,会将表单校验结果写入响应。
- ServletRegistrationBean
@Beanpublic ServletRegistrationBean refreshFormServlet() {return new ServletRegistrationBean(new RefreshFormServlet(), AntiReptileConsts.REFRESH_REQUEST_URI);}
自定义的RefreshFormServlet拦截url:/kk-anti-reptile/refresh,主要通过doPost方法调用了ValidateFormService的refresh方法,refresh方法会获取请求中的verifyId,根据verifyId删除缓存中的验证码然后重新生成验证码并写入缓存。最后将新生成的验证码信息写入相应。
- ipRule
@Bean@ConditionalOnProperty(prefix = "anti.reptile.manager.ip-rule",value = "enabled", havingValue = "true", matchIfMissing = true)public IpRule ipRule(){return new IpRule();}
默认向容器内注入IpRule,IpRule中主要的三个方法doExecute、reset、getOrder分别的作用是反爬规则具体实现、重置已记录规则、设置规则优先级。
- doExecute方法会获取当前请求ip并判断判断是否在ip白名单,如果不在白名单会判断请求数量是否大于最高expirationTime时间内请求数或者已经命中。方法返回true为击中反爬规则。
- reset方法会清除redis中的记录来达到接触访问限制的作用。
- getOrder方法返回了一个0,表示规则优先级会在后面用到。
- UaRule
@Bean@ConditionalOnProperty(prefix = "anti.reptile.manager.ua-rule",value = "enabled", havingValue = "true", matchIfMissing = true)public UaRule uaRule() {return new UaRule();}
UaRule中主要的三个方法doExecute、reset、getOrder的作用和IpRule相同。
User Agent中文名为用户代理,简称 UA,它是一个特殊字符串头,使得服务器能够识别客户使用的操作系统及版本、CPU 类型、浏览器及版本、浏览器渲染引擎、浏览器语言、浏览器插件等。一些网站常常通过判断 UA 来给不同的操作系统、不同的浏览器发送不同的页面,因此可能造成某些页面无法在某个浏览器中正常显示,但通过伪装 UA 可以绕过检测。
在网络请求当中,User-Agent 是标明身份的一种标识,服务器可以通过请求头参数中的 User-Agent 来判断请求方是否是浏览器、客户端程序或者其他的终端(当然,User-Agent 的值为空也是允许的,因为它不是必要参数)。
从上面的介绍中,可以看出它是终端的身份标识。意味着服务器可以清楚的知道,这一次的请求是通过火狐浏览器发起的,还是通过 IE 浏览器发起的,甚至说是否是应用程序(比如 Python )发起的。因为编程语言都有默认的标识,在发起网络请求的时候,这个标识在你毫不知情的情况下,作为请求头参数中的 User-Agent 值一并发送到服务器。比如 Python 语言通过代码发起网络请求时, User-Agent 的值中就包含 Python 。同样的,Java 和 PHP 这些语言也都有默认的标识。
- doExecute方法主要通过判断请求是否命中了UaRule。
- reset方法此处没有进行实现,直接return.
- getOrder方法返回了一个1,表示规则优先级会在后面用到。
- VerifyImageUtil
@Beanpublic VerifyImageUtil verifyImageUtil() {return new VerifyImageUtil();}
VerifyImageUtil提供了生成验证码以及对验证码进行缓存操作的一些方法。
- RuleActuator
@Beanpublic RuleActuator ruleActuator(final List<AntiReptileRule> rules){final List<AntiReptileRule> antiReptileRules = rules.stream().sorted(Comparator.comparingInt(AntiReptileRule::getOrder)).collect(Collectors.toList());return new RuleActuator(antiReptileRules);}
RuleActuator的构造入参为我们上面注入的两个Rule Bean,该类提供了两个方法,isAllowed方法通过遍历调用我们上面配置的Rule Bean的父类execute方法来执行doExecute方法。reset方法通过遍历调用我们上面配置的Rule Bean的reset方法来执行reset方法。
- ValidateFormService
@Beanpublic ValidateFormService validateFormService(){return new ValidateFormService();}
ValidateFormService这个类在前面提到了,主要是被我们前面注入的Servlet调用,提供validate、和refresh方法。
- AntiReptileInterceptor
@Beanpublic AntiReptileInterceptor antiReptileInterceptor() {return new AntiReptileInterceptor();}
在一开始的时候,自动配置类就import了WebMvcConfig配置类,在WebMvcConfig配置类中添加了该拦截器。添加此拦截器之后,请求前会先执行该拦截器的preHandle方法,该方法调用了isIntercept方法,isIntercept方法通过判断是否配置了全局过滤器模式、请求方法是否含有AntiReptile注解、是否被配置的url包含来判断是否拦截。同时preHandle方法根据我们前面提到的RuleActuator的isAllowed方法来判断是否放行请求。若不放行,通过verifyImageUtil生成验证码并写入响应。
