umijs.org/zh/guide/getting-started.html:环境搭建
环境配置[简化版]
# Install deps$ yarn global add umi # or npm install -g umi# Create application$ mkdir myapp && cd myapp// yarn 创建命令$ yarn create umi//选择 app 回车确认//选择 antd 和 dva 回车确认// 安装 umi-plugin-react 依赖$ npm i -S umi-plugin-react// 启动应用// npm start
新建路由
安装 npx
npm i -S npx
如果你没有 npx,需要先安装他,用于执行 node_modules 下的命令,
$ yarn global add npx
然后通过命令创建 /products 路由,
$ npx umi g page productscreate src/pages/products.jscreate src/pages/products.css✔ success$ npm start
然后在浏览器里打开 http://localhost:8000/products,你应该能看到对应的页面
环境搭建
#环境准备
首先得有 node,并确保 node 版本是 8.10 或以上。(mac 下推荐使用 nvm 来管理 node 版本)
$ node -v8.1x
推荐使用 yarn 管理 npm 依赖,并使用国内源(阿里用户使用内网源)。 电信2s
# 国内源$ npm i yarn tyarn -g# 后面文档里的 yarn 换成 tyarn$ tyarn -v# 阿里内网源$ tnpm i yarn @ali/yarn -g# 后面文档里的 yarn 换成 ayarn$ ayarn -v
然后全局安装 umi,并确保版本是 2.0.0 或以上。 电信大概1066.97s=18分钟
$ yarn global add umi$ umi -v2.0.0
注意:如果这步中断后执行下面,在yarn global add server 会出错误
【错误/users/a1/.config/yarn/global/node_modules/now:命令失败。
退出代码:2 命令:node download/install.js
争论:目录:/users/a1/.config/yarn/global/node_modules/now
输出:>对于源代码,请查看:https://github.com/zeit/now-cli
错误:enent:没有这样的文件或目录,重命名’/users/a1/.config/yarn/global/node’/modules/now/download/dist/now.partial’->’/users/a1/.config/yarn/global/node’/modules/now/download/dist/now’
在object.renamesync上(fs.js:593:3)
下载时(/users/a1/.config/yarn/global/node_modules/now/download/dist/index.js:6129:25)
at process._tickcallback(内部/process/next_tick.js:68:7)
埃尔诺:- 2,syscall:’重命名’,代码:“ENONOT”,路径:
‘/users/a1/.config/yarn/global/node_modules/now/download/dist/now.分部’,Dest:
‘/users/a1/.config/yarn/global/node_modules/now/download/dist/now’】
error /Users/a1/.config/yarn/global/node_modules/now: Command failed.Exit code: 2Command: node download/install.jsArguments:Directory: /Users/a1/.config/yarn/global/node_modules/nowOutput:> For the source code, check out: https://github.com/zeit/now-cli{ Error: ENOENT: no such file or directory, rename '/Users/a1/.config/yarn/global/node_modules/now/download/dist/now.partial' -> '/Users/a1/.config/yarn/global/node_modules/now/download/dist/now'at Object.renameSync (fs.js:593:3)at download (/Users/a1/.config/yarn/global/node_modules/now/download/dist/index.js:6129:25)at process._tickCallback (internal/process/next_tick.js:68:7)errno: -2,syscall: 'rename',code: 'ENOENT',path:'/Users/a1/.config/yarn/global/node_modules/now/download/dist/now.partial',dest:'/Users/a1/.config/yarn/global/node_modules/now/download/dist/now' }
#脚手架
先找个地方建个空目录。
$ mkdir myapp && cd myapp
然后通过umi g创建一些页面,
$ umi g page index$ umi g page users
umi g是umi generate 的别名,可用于快速生成 component、page、layout 等,并且可在插件里被扩展,比如 umi-plugin-dva 里扩展了 dva:model,然后就可以通过umi g dva:model foo 快速 dva 的 model。然后通过 tree 查看下目录,(windows 用户可跳过此步)
$ tree.└── pages├── index.css├── index.js├── users.css└── users.js
这里的 pages 目录是页面所在的目录,umi 里约定默认情况下 pages 下所有的 js 文件即路由,如果有 next.js 或 nuxt.js 的使用经验,应该会有点眼熟吧。
然后启动本地服务器,
$ umi dev
#约定式路由
启动umi dev 后,大家会发现 pages 下多了个.umi的目录。这是啥?这是 umi 的临时目录,可以在这里做一些验证,但请不要直接在这里修改代码,umi 重启或者 pages 下的文件修改都会重新生成这个文件夹下的文件。
然后我们在 index 和 users 直接加一些路由跳转逻辑。
先修改page/index.js ,
+ import Link from 'umi/link';import styles from './index.css';export default function() {return (<div className={styles.normal}><h1>Page index</h1>+ <Link to="/users">go to /users</Link></div>);}
再修改pages/users.js ,
+ import router from 'umi/router';import styles from './index.css';export default function() {return (<div className={styles.normal}><h1>Page index</h1>+ <button onClick={() => { router.goBack(); }}>go back</button></div>);}
然后浏览器验证,应该已经可以在 index 和 users 两个页面之间通过路由跳转了。
#部署发布
#构建
执行umi build ,9297ms=9s
$ umi buildDONE Compiled successfully in 1729msFile sizes after gzip:68.04 KB dist/umi.js83 B dist/umi.css
构建产物默认生成到./dist 下,然后通过 tree 命令查看,(windows 用户可忽略此步)
$ tree ./dist./dist├── index.html├── umi.css└── umi.js
#本地验证
发布之前,可以通过serve 做本地验证,电信大概1200.40s/ 8.10s.
$ yarn global add serve$ serve ./distServing!- Local: http://localhost:5000- On Your Network: http://{Your IP}:5000Copied local address to clipboard!
访问 http://localhost:5000,正常情况下应该是和umi dev 一致的。
#部署
本地验证完,就可以部署了,这里通过 now 来做演示。
电信大概3027.40s(50分钟联通网太慢会有http://tobao.org镜像错误) 联通34.43s(执行太快有一个镜像错误).
电信大概1403.54s(24分钟).
660.48s(11分钟).
$ yarn global add now$ now ./dist> Deploying /private/tmp/sorrycc-1KVCmK/dist under chencheng> Synced 3 files (301.93KB) [2s]> https://dist-jtckzjjatx.now.sh [in clipboard] [1s]> Deployment complete!
然后打开相应的地址就能访问到线上的地址了。
注意:错误
“~/.now/auth.json”的内容无效。未在内部找到“token”属性。运行“now login”进行授权。
> Error! The content of "~/.now/auth.json" is invalid. No `token` property found inside. Run `now login` to authorize.
#测试与配置检查
#测试
umi 内置了基于jest 的测试工具 umi-test :
$ umi testOptions:--coverage indicates that test coverage information should be collected and reported in the output
#配置检查
使用 umi inspect 列出配置项的内容用以检查:
$ umi inspectOptions:--mode specify env mode (development or production, default is development)--rule <ruleName> inspect a specific module rule--plugin <pluginName> inspect a specific plugin--rules list all module rule names--plugins list all plugin names--verbose show full function definitions in output
#介绍 create-umi
umi 通过 create-umi 提供脚手架能力,包含:
- project,通用项目脚手架,支持选择是否启用 TypeScript,以及 umi-plugin-react 包含的功能
- ant-design-pro,仅包含 ant-design-pro 布局的脚手架,具体页面可通过 umi block 添加
- block,区块脚手架
- plugin,插件脚手架
- library,依赖(组件)库脚手架,基于 umi-plugin-library
#创建 umi 项目
你可以通过yarn create umi / npm create umi 使用 create-umi。推荐使用yarn create命令,能确保每次使用最新的脚手架。
首先,在新目录下使用yarn create umi,$ mkdir myapp && cd myapp$ yarn create umi
FAQ:如果提示 create-umi 命令不存在,你需要执行yarn global bin,然后把 global bin 的路径添加到环境变量PATH中。
选择 project,
? Select the boilerplate type (Use arrow keys)ant-design-pro - Create project with an layout-only ant-design-pro boilerplate, use together with umi block.❯ app - Create project with a simple boilerplate, support typescript.block - Create a umi block.library - Create a library with umi.plugin - Create a umi plugin.
选择是否使用 TypeScript,
? Do you want to use typescript? (y/N)
然后,选择你需要的功能,功能介绍详见 plugin/umi-plugin-react,
选择 DVA
? What functionality do you want to enable? (Press <space> to select, <a> to toggle all, <i> to invert selection)❯◯ antd◯ dva◯ code splitting◯ dll
确定后,会根据你的选择自动创建好目录和文件,
create package.jsoncreate .gitignorecreate .editorconfigcreate .envcreate .eslintrccreate .prettierignorecreate .prettierrccreate .umirc.jscreate mock/.gitkeepcreate src/app.jscreate src/assets/yay.jpgcreate src/global.csscreate src/layouts/index.csscreate src/layouts/index.jscreate src/models/.gitkeepcreate src/pages/index.csscreate src/pages/index.jscreate webpack.config.js✨ File Generate Done✨ Done in 161.20s.
然后安装依赖,
$ yarn
最后通过yarn start启动本地开发,
$ yarn start
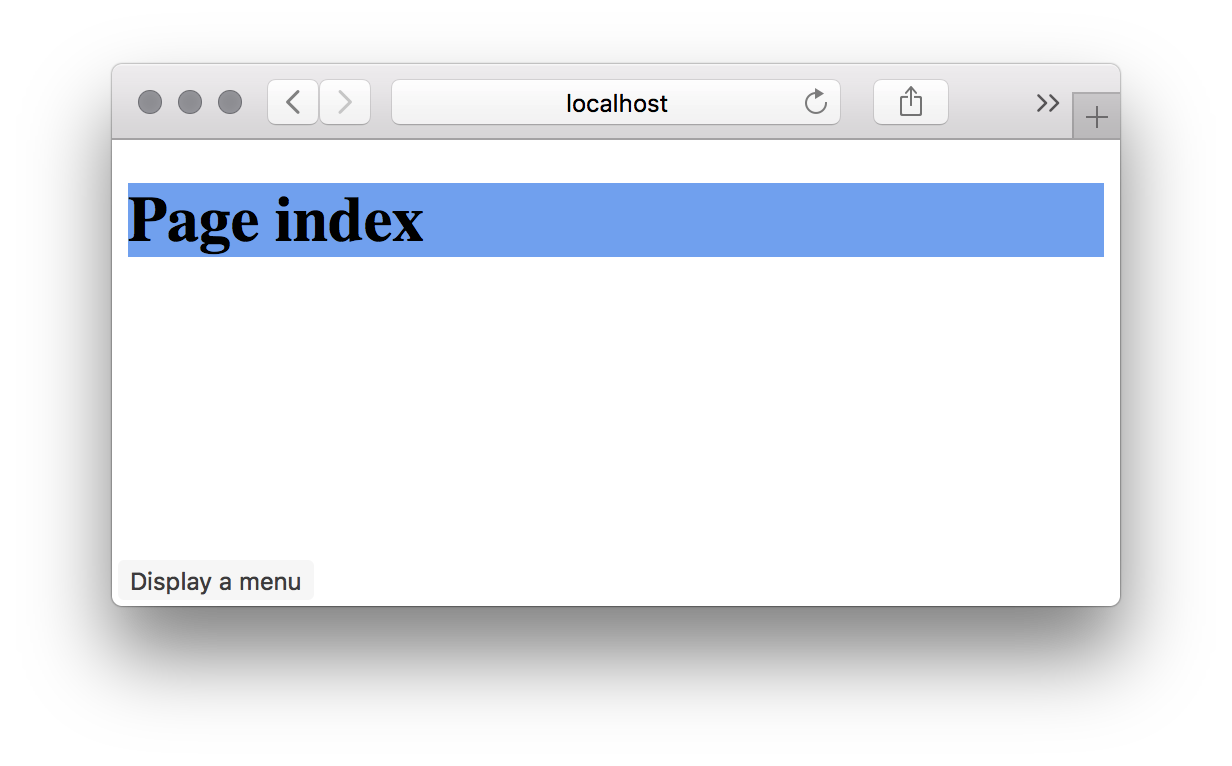
如果顺利,在浏览器打开 http://localhost:8000 可看到以下界面,


若有收获,就点个赞吧
0 人点赞
