Intersection Observer API 提供了一种异步检测目标元素与祖先元素或 viewport 相交情况变化的方法。利用该 API,可以实现图片懒加载、无限滚动、曝光埋点等需求。
基本概念
Intersection Observer API 允许你配置一个回调函数,当以下情况发生时会被调用
- 每当目标(target)元素与设备视窗或者其他指定元素发生交集的时候执行。设备视窗或者其他元素我们称它为根元素或根(root)。
- Observer第一次监听目标元素的时候
只要目标元素的可见性发生变化,就会执行您提供的回调函数,以便它与所需的交叉点交叉。
基本用法
创建一个 Observer 对象需要传入回调函数和配置。
let options = {root: document.querySelector('#viewport'),rootMargin: '0px',threshold: 1.0}let observer = new IntersectionObserver(callback, options);const panelList = document.querySelectorAll('.observe-target');panelList.forEach((item) => {observer.observe(item);});
- options
options 作为配置项,包含以下几个字段
**root**
检查是否和目标元素发生交集的根元素,默认(或者设置为 null)为浏览器视窗,可以指定为目标元素的父级元素
**rootMargin**
root元素的外边距,默认值为 0。可以设置成类似于 CSS 的数值,比如 '10px 20px 30px 40px' 分别对于 (top, right, bottom, left)。
**threshold**
可以是一个 0.0 – 1.0 之间的一个浮点数,也可以是一个数字数组,表示目标元素和根元素交集的程度到达该值的时候,IntersectionObserver 注册的回调函数将会被执行。比如 0.7 表示 target 元素在 root 元素中可见性超过 70% 的时候执行回调函数。若想要在每当 xx%、xx% 的时候执行回调,可以指定一个数组 [0, 0.25, 0.50, 0.75, 1]。
- callback
回调接收 IntersectionObserverEntry 对象和观察者的列表
let callback = (entries, observer) => {entries.forEach(entry => {// 每一项描述一个观察到的交集变化// target element:// entry.boundingClientRect - 目标元素的边界信息// entry.intersectionRect - 根和目标元素的相交区域// entry.intersectionRatio - intersectionRect 与 boundingClientRect 的比例值.// entry.isIntersecting - 如果目标元素与交叉区域观察者对象(intersection observer)的根相交,则返回 true// entry.rootBounds - root// entry.target - target// entry.time - 一个记录从 IntersectionObserver 的时间原点(time origin)到交叉被触发的时间的时间戳});};
交集的计算
我们知道,在 HTML 中,每一个块都是矩形的,尽管看起来是圆的、三角或是不规则,但是实际上内容大小都是矩形表现的。target 和 root 元素也是如此。同样的,假如交集部分是一个不规则的图形,那么 Intersection Observer API 依旧将它 “处理” 成一个包含他所有交集区域的最小矩形。
不过在计算交集时,因为我们设定了一个 rootMargin,来调整 root 矩形的大小。rootMargin 的属性值将会做为margin偏移值添加到 root 元素的对应的 margin 位置,并最终形成 root 元素的矩形边界。
最后,回调函数只在阈值 threshold 大约达到时被调用。若是一个数组,可以通过检测在每次交集发生变化的时候的都会传递回调函数的参数 IntersectionObserverEntry.isIntersecting 的属性值来判断 target 元素在 root 元素中的可见性是否发生变化。如果 isIntersecting 是 true,target 元素的至少已经达到 thresholds 属性值当中规定的其中一个阈值,如果是 false,target 元素不在给定的阈值范围内可见。
实现样例
学习了以上的相关知识,我们可以简单的实现一下几个用例:
以下完整代码可以在 github地址 上获取,文件路径 src/views/intersection
图片懒加载
实现的原理其实很简单,所有的图片先用展位图展示,当触发 Intersection 时,用真正的图片资源路径代替展位图,就起到了懒加载的效果了。
第一步,先自定义一个观察者,该观察者的回调函数对观察的每一个img标签进行操作,(这里为了体现出一个加载的过程,添加了 setTimeout。将监听到的 lazy-image 标签替换真正的 src 资源。
观察者代码如下:
const options = {root: document.querySelector('#viewport'),rootMargin: '0px',threshold: 1.0};const callback = function(entries: any[], observer: any) {entries.forEach((entry: any) => {if (entry.intersectionRatio >= 0.3) {setTimeout(() => {entry.target.src = entry.target.dataset.src;})}});}const observer = new IntersectionObserver(callback, options);export default observer;
接下来看一下主要的 vue 页面代码。
通过一个 for 循环,设置图片的真正资源 data-src,为每一个需要懒加载的图片标签设置类名 lazy-image,并设置 css 样式,用一张 loading 图片作为背景图占位。
<divclass="u-lazy-img-panel"v-for="lazy in lazyImageList":key="lazy"><imgclass="lazy-image"width=1240height=632:data-src="lazy"alt=""></div>
.lazy-image {background: url('../assets/loading.gif') no-repeat center;}
在 mounted 生命周期中,设置观察者来监听每一个 lazy-image 标签。
setup() {const lazyImageList = ['https://game.gtimg.cn/images/lol/act/img/skin/big121000.jpg','https://game.gtimg.cn/images/lol/act/img/skin/big121003.jpg','https://game.gtimg.cn/images/lol/act/img/skin/big121004.jpg','https://game.gtimg.cn/images/lol/act/img/skin/big121011.jpg','https://game.gtimg.cn/images/lol/act/img/skin/big121060.jpg','https://game.gtimg.cn/images/lol/act/img/skin/big121002.jpg','https://game.gtimg.cn/images/lol/act/img/skin/big121001.jpg',]onMounted(() => {const lazyImageList = document.querySelectorAll('.lazy-image');lazyImageList.forEach((lazyImage) => {observer.observe(lazyImage);});})return {lazyImageList,}}
效果图:

无限滚动
无限滚动实际上是当页面滑动到底部的时候,重新添加 N 条数据,让用户页面可以继续滚动下去。
<ul><li class="virtual-item" v-for="item in listData" :key="item.key">{{ item.value }}</li><div class="end-tag"></div></ul>
每次滑动到底部,监听到 end-tag,重新增加(拉取)10条数据。
const options = {root: document.querySelector('#viewport'),rootMargin: '0px',threshold: 1.0};const callback = (entries: any[]) => {entries.forEach((entry: any) => {if (entry.isIntersecting && entry.intersectionRatio === 1) {const len = listData.length;for(let i = listData.length; i < len + 10; i++) {listData.push({key: i,value: i,})}}// console.log(entry);});}const observer = new IntersectionObserver(callback, options);observer.observe(document.querySelector('.end-tag')!);
扩展:
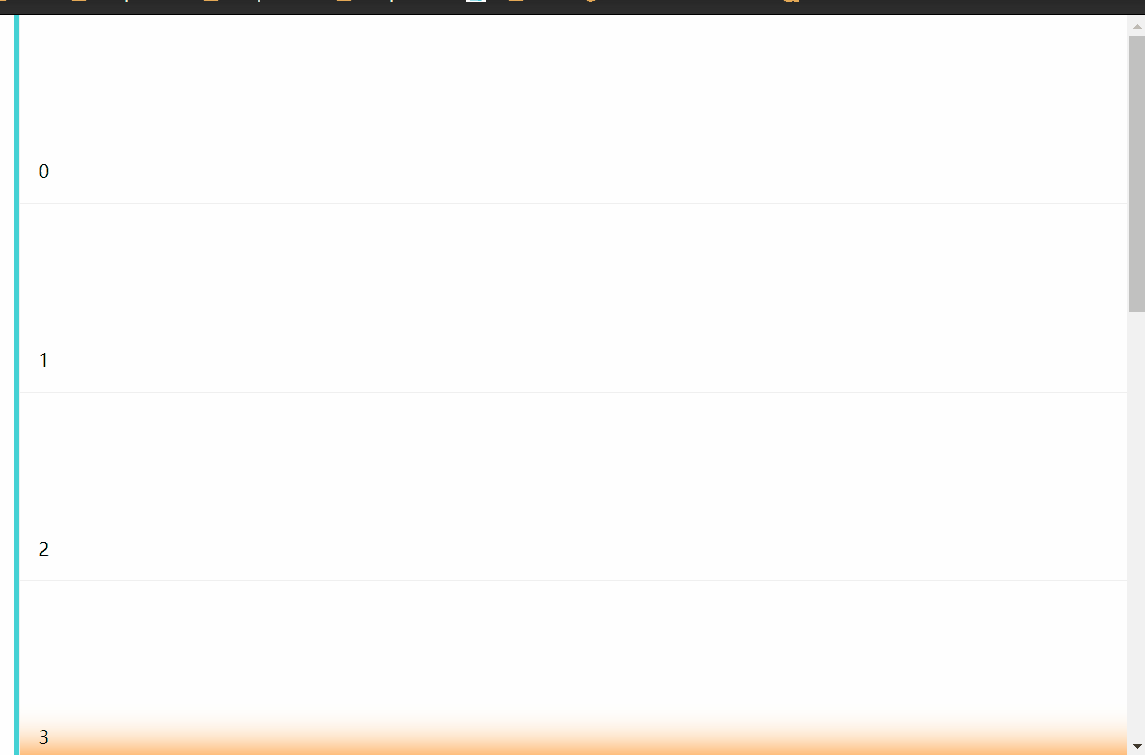
当我们想要给列表增加一个 “未到底部” 的阴影时,我们可以怎么做?其实很简单,加多一个变量就好了。在上面的基础上,代码实现如下:
动态绑定类名
<div class="scroll-list" :class="!isEnd ? 'list-end' : null"><!--...--></div>
修改监听回调函数
const callback = (entries: any[]) => {entries.forEach((entry: any) => {// 新增上滑事件if (!entry.isIntersecting || entry.intersectionRatio <= 1) {isEnd.value = false;}if (entry.isIntersecting && entry.intersectionRatio === 1) {const len = listData.length;// for(let i = listData.length; i < len + 10; i++) {// listData.push({// key: i,// value: i,// })// }// 到底条件if (len >= 20) {isEnd.value = true;} else {isEnd.value = false;for(let i = listData.length; i < len + 10; i++) {listData.push({key: i,value: i,})}}}// console.log(entry);});}
.list-end {box-shadow: 0 -46px 30px -41px #ff8c1a inset;}
效果图:
浏览器兼容性

除了 IE,其他浏览器基本都支持了,若要考虑兼容性,可以使用 github上的polyfill弥补。
参考文章

若有收获,就点个赞吧
0 人点赞
