1.2 快速入门
1.2.1 创建项目
第一步:使用Spring Initalizr 创建项目。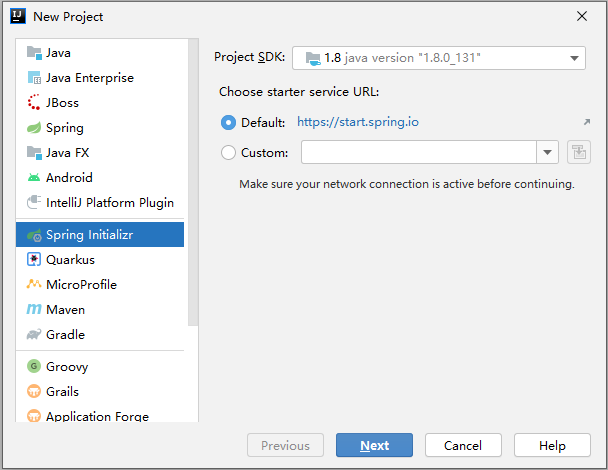
第二步:选择Java Version为 8。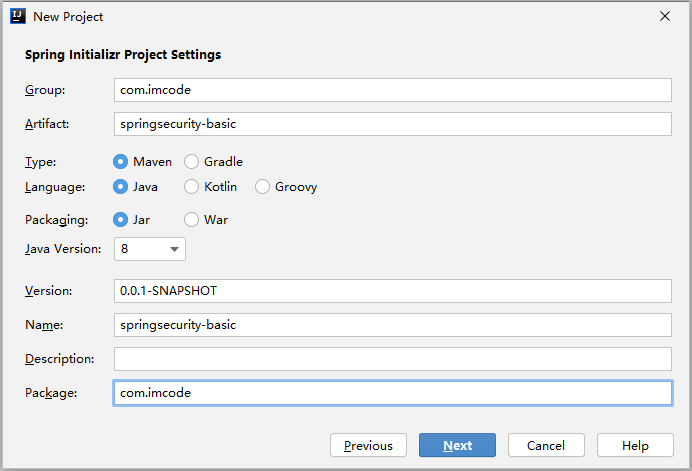
第三步:先引入 WEB 开发需要的依赖: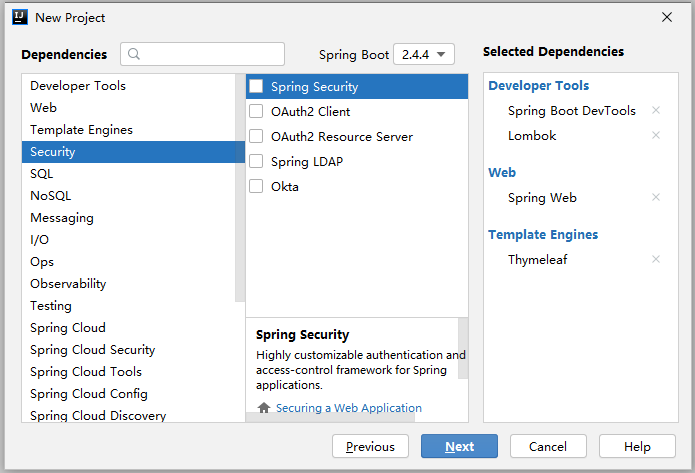
第四步:选择项目名称和存放位置。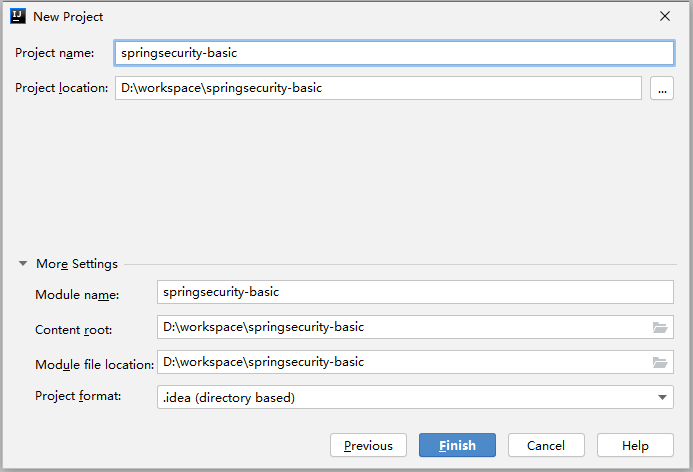
项目结构: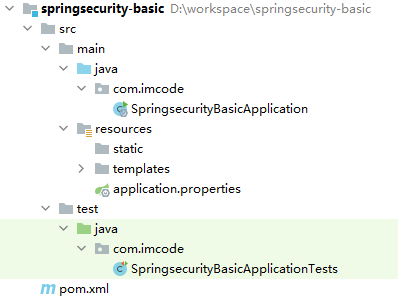
完整依赖:
<?xml version="1.0" encoding="UTF-8"?><project xmlns="http://maven.apache.org/POM/4.0.0" xmlns:xsi="http://www.w3.org/2001/XMLSchema-instance"xsi:schemaLocation="http://maven.apache.org/POM/4.0.0 https://maven.apache.org/xsd/maven-4.0.0.xsd"><modelVersion>4.0.0</modelVersion><parent><groupId>org.springframework.boot</groupId><artifactId>spring-boot-starter-parent</artifactId><version>2.4.2</version><relativePath/> <!-- lookup parent from repository --></parent><groupId>com.imcode</groupId><artifactId>springsecurity-basic</artifactId><version>0.0.1-SNAPSHOT</version><name>springsecurity-basic</name><description>Demo project for Spring Boot</description><properties><java.version>1.8</java.version></properties><dependencies><dependency><groupId>org.springframework.boot</groupId><artifactId>spring-boot-starter-thymeleaf</artifactId></dependency><dependency><groupId>org.springframework.boot</groupId><artifactId>spring-boot-starter-web</artifactId></dependency><dependency><groupId>org.springframework.boot</groupId><artifactId>spring-boot-devtools</artifactId><scope>runtime</scope><optional>true</optional></dependency><dependency><groupId>org.projectlombok</groupId><artifactId>lombok</artifactId><optional>true</optional></dependency><dependency><groupId>org.springframework.boot</groupId><artifactId>spring-boot-starter-test</artifactId><scope>test</scope></dependency></dependencies><build><plugins><plugin><groupId>org.springframework.boot</groupId><artifactId>spring-boot-maven-plugin</artifactId><configuration><excludes><exclude><groupId>org.projectlombok</groupId><artifactId>lombok</artifactId></exclude></excludes></configuration></plugin></plugins></build></project>
1.2.2 Template
<!DOCTYPE html>
<html xmlns:th="http://www.thymeleaf.org"
      xmlns:sec="http://www.thymeleaf.org/thymeleaf-extras-springsecurity5">
<head>
    <meta charset="UTF-8">
    <title>系统初始化页面</title>
</head>
<body>
<div>
    Hello Spring Security
    <hr>
    <a th:href="@{/logout}">注销</a>
</div>
</body>
</html>
启动工程访问:http://localhost:8080 显示如下内容: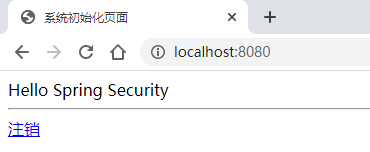
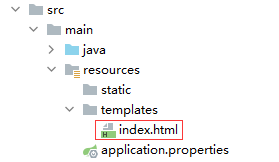
访问工程根目录,会进入 springboot 默认的初始化页面 首先去 static 目录寻找index.html, 存在将index.html内容返回给客户端 , 不存在,在去默认模板目录 templates 下寻找index.html 模板,存在返回模板渲染后的内容给客户端。
1.2.3 引入 Spring Security
在pom.xml 中导入相关依赖,同时导入 thymeleaf 对 Spring Security 扩展的安全标签库。
<dependency>
    <groupId>org.springframework.boot</groupId>
    <artifactId>spring-boot-starter-security</artifactId>
</dependency>
<dependency>
    <groupId>org.thymeleaf.extras</groupId>
    <artifactId>thymeleaf-extras-springsecurity5</artifactId>
</dependency>
1.2.4 启动工程
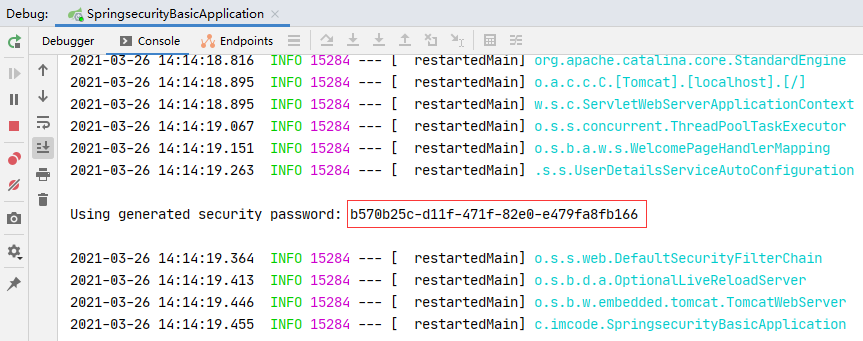
从启动日志看,spring security 为我们生成了一个随机密码。
访问 http://localhost:8080,这次无法再访问到 index.html 模板,而是跳转到了 http://localhost:8080/login 登录页面。
登录系统
Spring Security 默认策略是所有系统资源都需要登录以后才能访问。
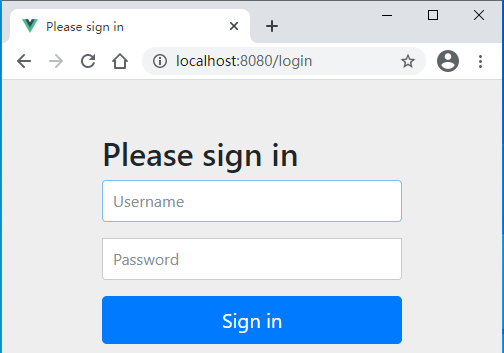
username 默认为 user password 是启动日志生成的随机密码。
输入用户名和密码登录成功以后,跳转到了系统初始化页面。
我们在没有编写任何代码的情况下,已经使用 spring security 完成了一个简单的表单认证。
退出系统
点击注销链接 http://localhost:8080/logout, 跳转到提示是否退出页面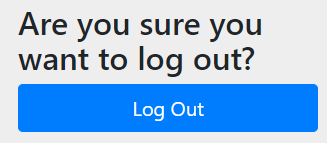
点击Log Out 退出登录,返回到登录页面: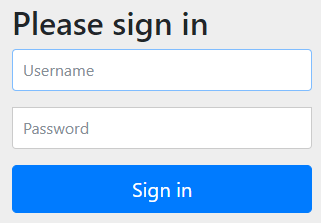
此时再次访问 http://localhost:8080, 被踢回到了登录页面,说明用户会话已经失效。
1.2.5 基本原理
从启动日志看,SpringSecurity 本质是一个过滤器链:
Will secure any request with [
org.springframework.security.web.context.request.async.WebAsyncManagerIntegrationFilter@2b1952c1,
org.springframework.security.web.context.SecurityContextPersistenceFilter@2ff59d1f,
org.springframework.security.web.header.HeaderWriterFilter@18cabc26,
org.springframework.security.web.csrf.CsrfFilter@26afad85,
org.springframework.security.web.authentication.logout.LogoutFilter@5000c65d,
org.springframework.security.web.authentication.UsernamePasswordAuthenticationFilter@2d06058a,
org.springframework.security.web.authentication.ui.DefaultLoginPageGeneratingFilter@13c0221e,
org.springframework.security.web.authentication.ui.DefaultLogoutPageGeneratingFilter@4aacf2ee,
org.springframework.security.web.authentication.www.BasicAuthenticationFilter@23322084,
org.springframework.security.web.savedrequest.RequestCacheAwareFilter@78990910,
org.springframework.security.web.servletapi.SecurityContextHolderAwareRequestFilter@1769f785,
org.springframework.security.web.authentication.AnonymousAuthenticationFilter@78a8dd3f,
org.springframework.security.web.session.SessionManagementFilter@f1d2aaa,
org.springframework.security.web.access.ExceptionTranslationFilter@2b1ea3ef,
org.springframework.security.web.access.intercept.FilterSecurityInterceptor@69690f46]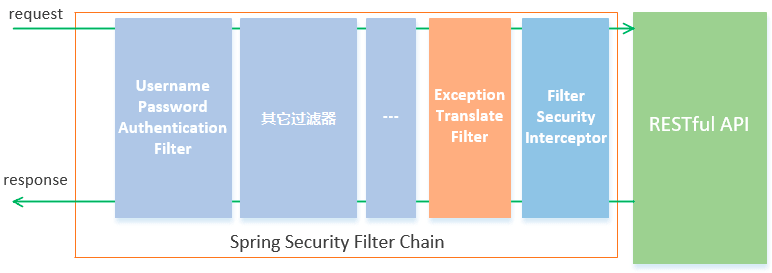
如上图所示,Spring Security包含了众多的过滤器,这些过滤器形成了一条过滤器链,所有请求都必须通过这些过滤器后才能成功访问到资源。
- UsernamePasswordAuthenticationFilter: 用于处理基于表单方式的登录认证;
- FilterSecurityInterceptor: 用于判断当前请求身份认证是否成功,是否有相应的权限,当身份认证失败或者权限不足的时候便会抛出相应的异常;
- ExceptionTranslateFilter:异常过滤器,用来处理在认证授权过程中抛出的异常。

若有收获,就点个赞吧
0 人点赞
