一、服务熔断了解
1.1 雪崩效应
1.2 熔断器(CircuitBreaker)
1.3 Hystrix特性
二、自定义AOP 实现简单服务熔断
三、Hystrix实现服务熔断
创建项目——hystrix-customer-service
3.1 添加依赖
<!--hystrix 依赖--><dependency><groupId>org.springframework.cloud</groupId><artifactId>spring-cloud-starter-netflix-hystrix</artifactId></dependency>
3.2 启用 Hystrix @EnableCircuitBreaker
@EnableDiscoveryClient@EnableFeignClients@SpringBootApplication@EnableCircuitBreakerpublic class HystrixCustomerServiceApplication {public static void main(String[] args) {SpringApplication.run(HystrixCustomerServiceApplication.class, args);}}
3.3 配置文件
feign:client:config:default:connect-timeout: 500read-timeout: 500hystrix.enabled: true
3.4 配置熔断时回调的服务类
@Slf4j@Componentpublic class FallbackCoffeeService implements CoffeeService {@Overridepublic List<String> coffee() {log.warn("Fallback to EMPTY menu.");return Collections.emptyList();}}
3.5 在feign中配置hystrix
@FeignClient(name = "waiter-service", contextId = "coffee",qualifier = "coffeeService",fallback = FallbackCoffeeService.class)// 服务提供中spring.application.name配置的名称//contextId 用于作为Bean的名称,区分不同的FeiginClient//qualifier: 首选Feign客户端//fallback: 熔断时选择的客户端//注意不要在类上添加 @RequestMapping() 注解public interface CoffeeService {@GetMapping(value = "/coffee", produces = "application/json")public List<String> coffee();}
3.6 测试
由于使用Consul 作为服务发现,需要先启动Consul,先访问 http://localhost:8500/ 查看是否启动Consul 。
然后才启动hystrix-customer-service, 访问http://localhost:8008/getCoffeeMenu , 结果应该返回空数组; 最后,才启动consul-waiter-service 服务, 再访问http://localhost:8008/getCoffeeMenu 查看是否有内容返回
四、熔断监控
4.1 Hystrix Dashboard 单机版
Hystrix-dashboard是一款针对Hystrix进行实时监控的工具,通过Hystrix Dashboard我们可以在直观地看到各Hystrix Command的请求响应时间, 请求成功率等数据。
创建项目 hystrix-dashboard
4.1.1 添加依赖
<dependency><groupId>org.springframework.cloud</groupId><artifactId>spring-cloud-starter-netflix-hystrix-dashboard</artifactId></dependency>
4.1.2 启用 @EnableHystrixDashboard
@SpringBootApplication@EnableHystrixDashboardpublic class HystrixDashboardApplication {public static void main(String[] args) {SpringApplication.run(HystrixDashboardApplication.class, args);}}
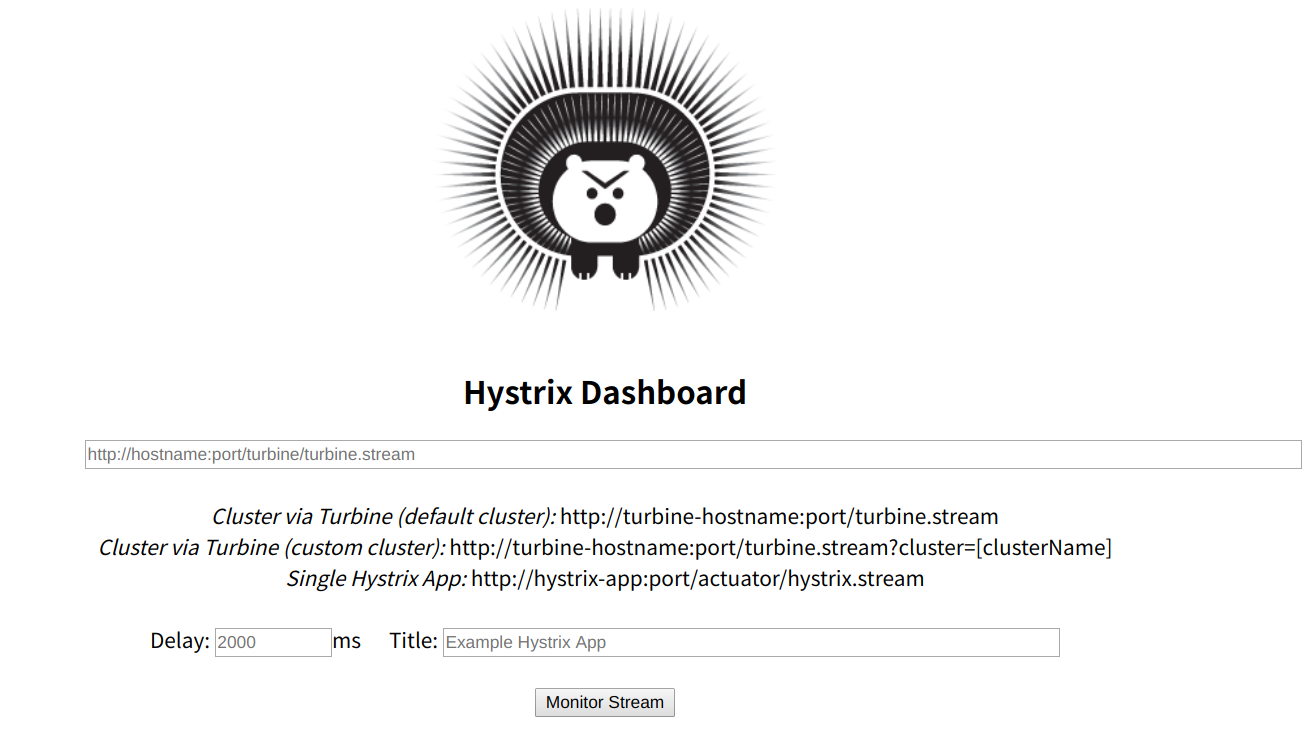
4.1.3 启动项目访问(端口配置了9090)
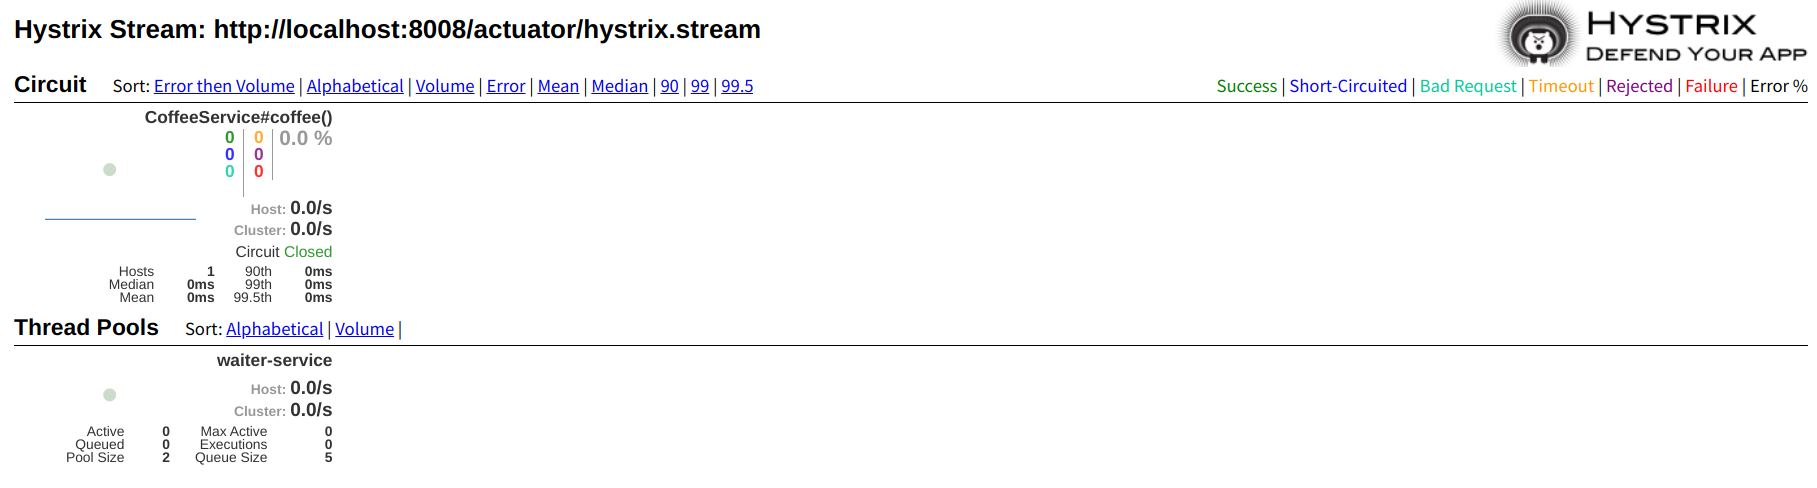
4.1.4 配置项目hystrix-customer-service 的actuator 并启动项目
#management.endpoints.web.exposure.include=health,info,hystrix.streammanagement:endpoints:health:show-details: alwaysweb:exposure:include: '*'
4.1.5 填入以下链接,并按下Monitor Stream开始监控
4.2 Turbine 分布式系统监控
4.2.1 添加依赖
<dependency><groupId>org.springframework.cloud</groupId><artifactId>spring-cloud-starter-netflix-turbine</artifactId></dependency>
4.2.2 启用@EnableTurbine
@EnableTurbine@SpringBootApplicationpublic class HystrixTurbineApplication {public static void main(String[] args) {SpringApplication.run(HystrixTurbineApplication.class, args);}}
4.2.3 配置
`server:port: 8010turbine:appConfig: hystrix-customer-service #服务注册中的serviceId列表,表明监控哪些服务aggregator:clusterConfig: hystrix-customer-service # 指定聚合哪些集群,多个使用”,”分割,默认为default。可使用http://.../turbine.stream?cluster={clusterConfig之一}访问#1. clusterNameExpression指定集群名称,默认表达式appName;此时:turbine.aggregator.clusterConfig需要配置想要监控的应用名称;#2. 当clusterNameExpression: default时,turbine.aggregator.clusterConfig可以不写,因为默认就是default;#3. 当clusterNameExpression: metadata[‘cluster’]时,假设想要监控的应用配置了eureka.instance.metadata-map.cluster: ABC,则需要配置,同时turbine.aggregator.clusterConfig: ABC#clusterNameExpression: new String("default")management:endpoints:health:show-details: alwaysspring:cloud:consul:discovery:prefer-ip-address: truehost: 'localhost'port: 8500
4.2.4 启动项目
- hystrix-customer-service
- hystrix-dashboard
- hystrix-turbine
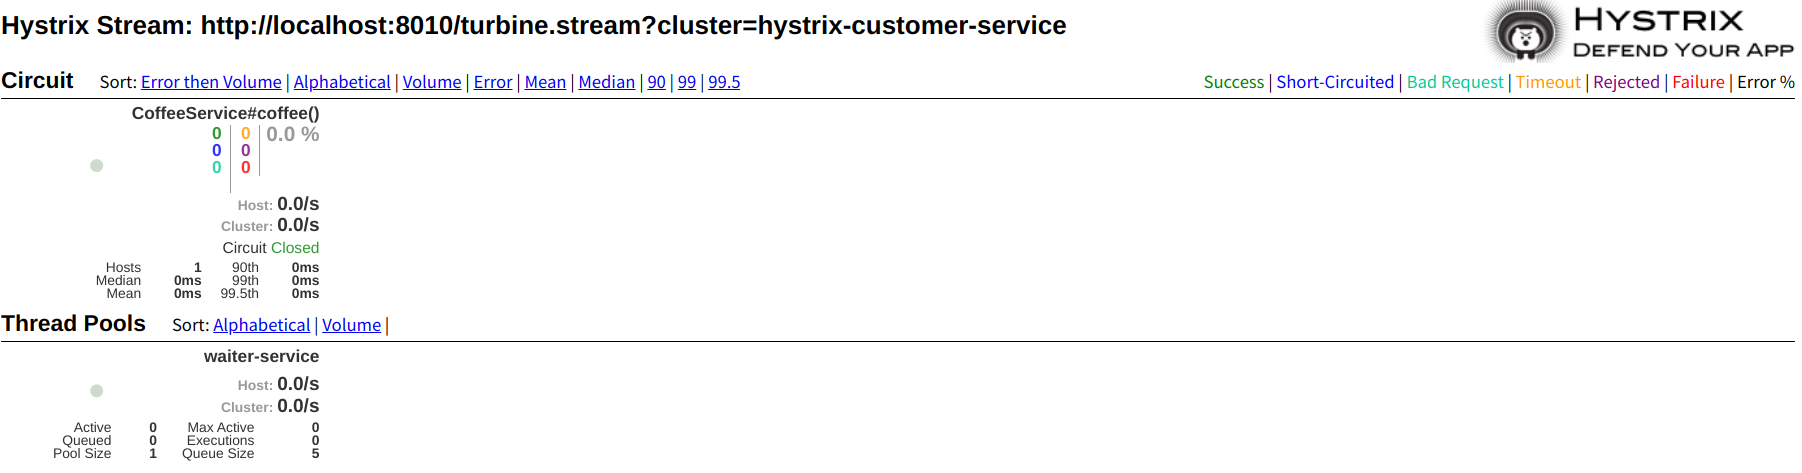
4.2.5 访问
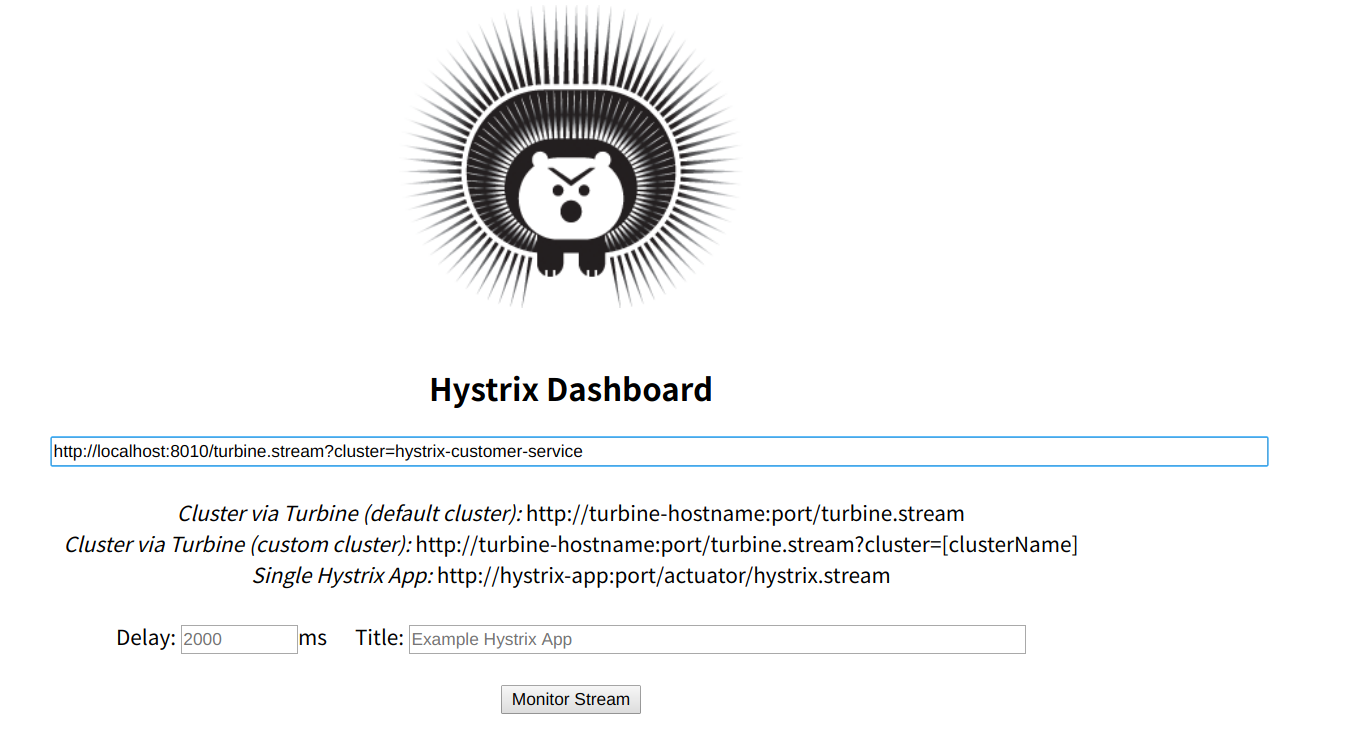
- http://localhost:9090/hystrix 输入监控的集群名称链接
- http://localhost:8010/turbine.stream?cluster=hystrix-customer-service
项目地址
https://github.com/h-dj/SpringCloud-Learning
参考

若有收获,就点个赞吧
0 人点赞
