BHOL603 - 为hello-boathouse添加Jenkinsfile并完成基础流水线配置
Jenkinsfile是Jenkins中对于Pipeline as code的实现,可以通过一个配置文件告诉Jenkins该如何运行流水线。同时允许我们将流水线配置和代码一起保存在代码库中,确保流水线的设置也可以被版本管理。
01 - 添加环境变量和密钥配置
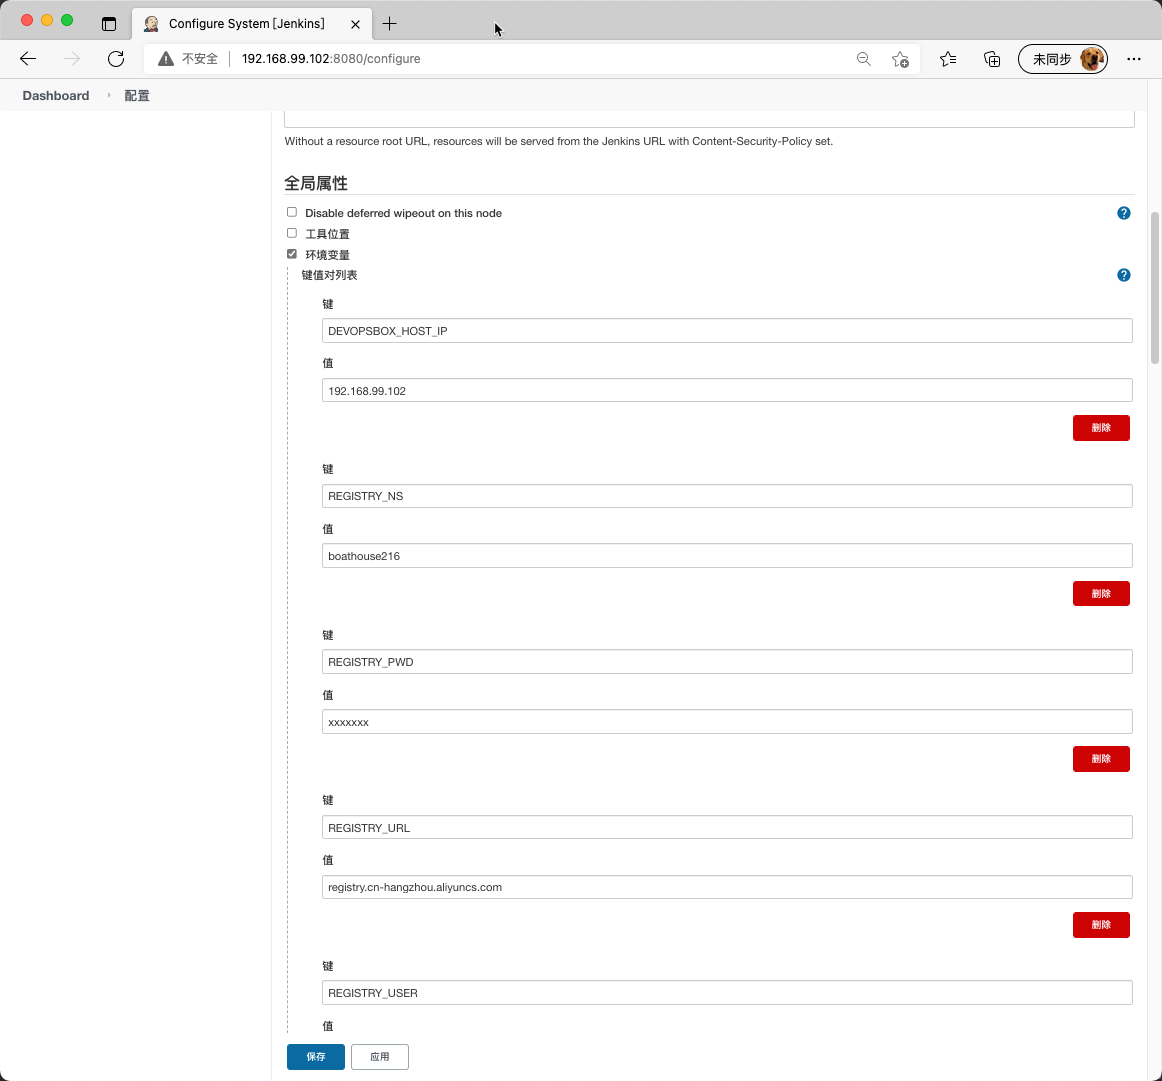
进入 系统管理 | 系统配置,在 全局属性 | 环境变量 中添加如下变量和值,点击保存。
- REGISTRY_URL: 你的私有镜像仓库服务器地址,如果使用阿里云镜像服务则直接填写 registry.cn-hangzhou.aliyuncs.com
- REGISTRY_NS: 你所创建的镜像仓库命名空间名称
- REGISTRY_USER: 你用来登录镜像仓库的用户名
- REGISTRY_PWD: 你用例登录镜像仓库的密码
- DEVOPSBOX_HOST_IP: DevOpsBox的IP地址,应该为:192.168.99.102
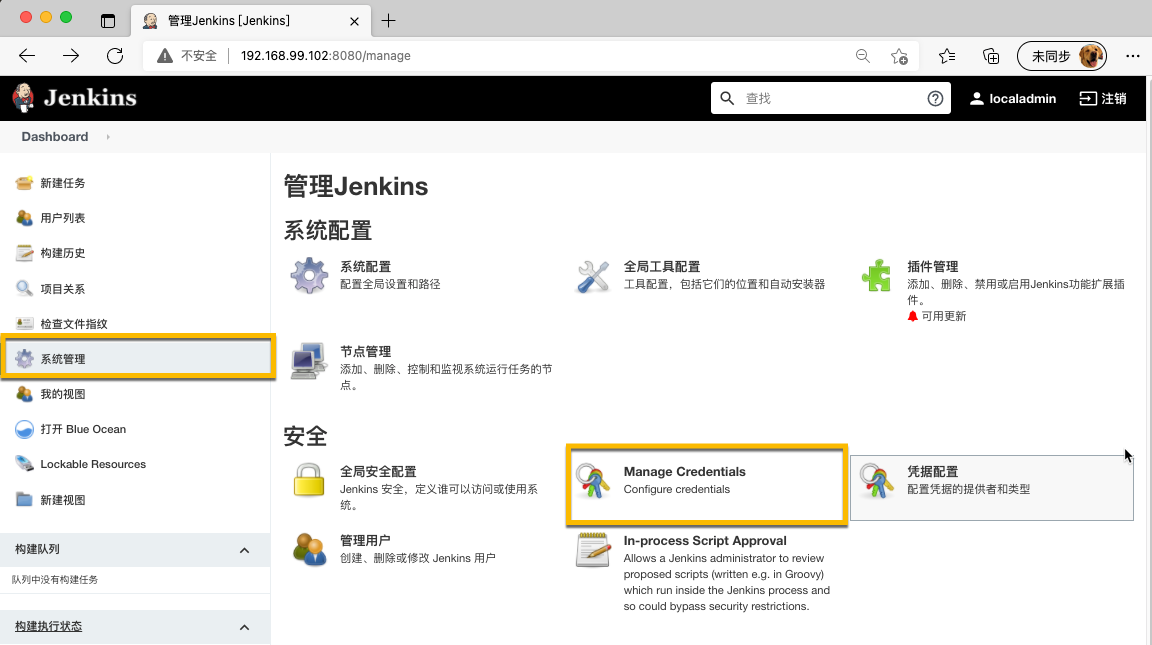
进入 系统管理 | Manage Credentials 中,添加密钥信息
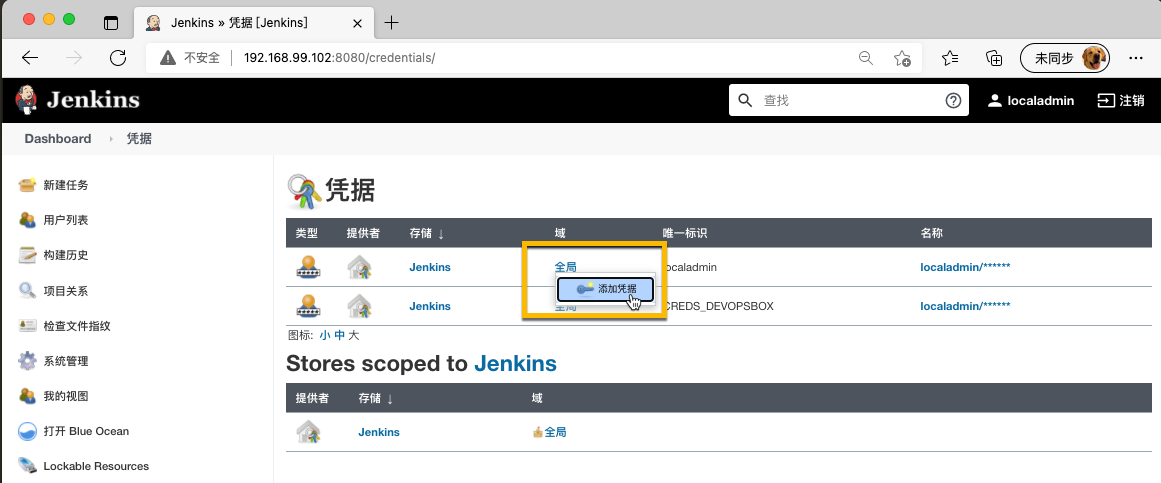
在 凭据 | Jenkins | 全局 上点击 添加凭据
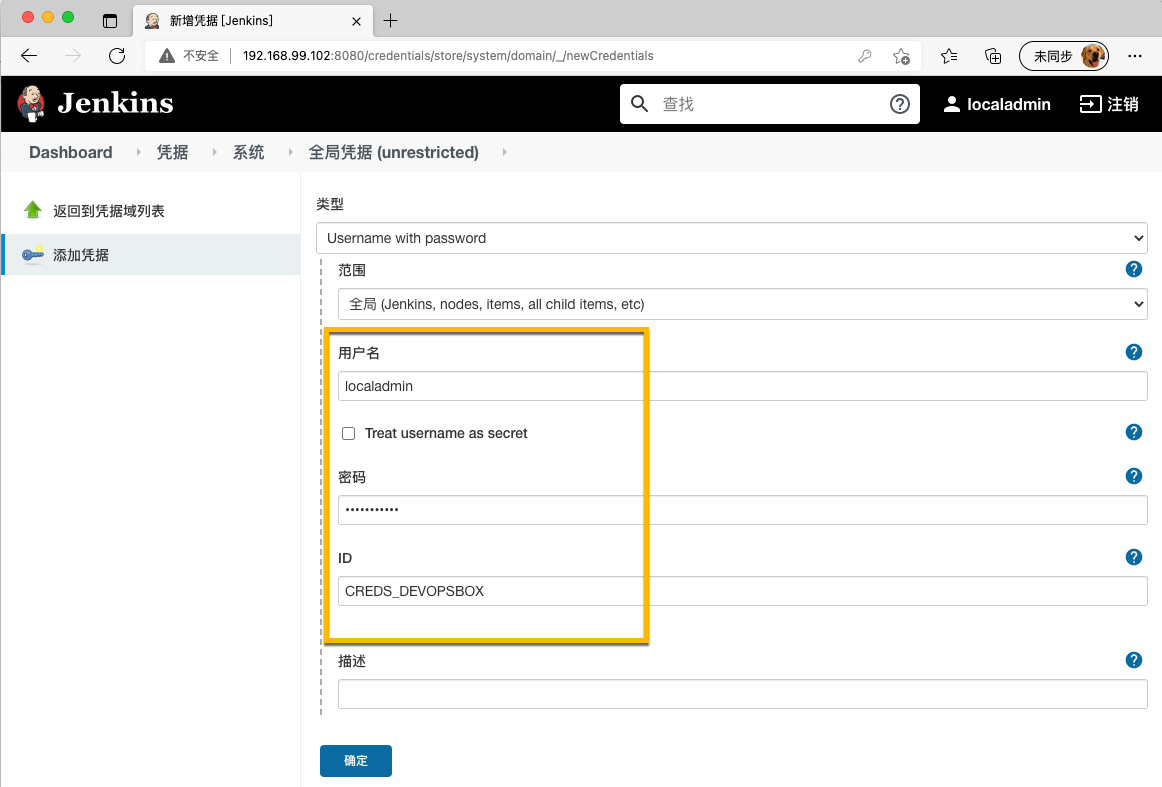
添加如下凭据,并点击 确定
- 用户名和密码:我们的标准用户名 localadmin 和密码
- ID: CREDS_DEVOPSBOX
02 - 添加用于环境部署的docker-compose-template文件
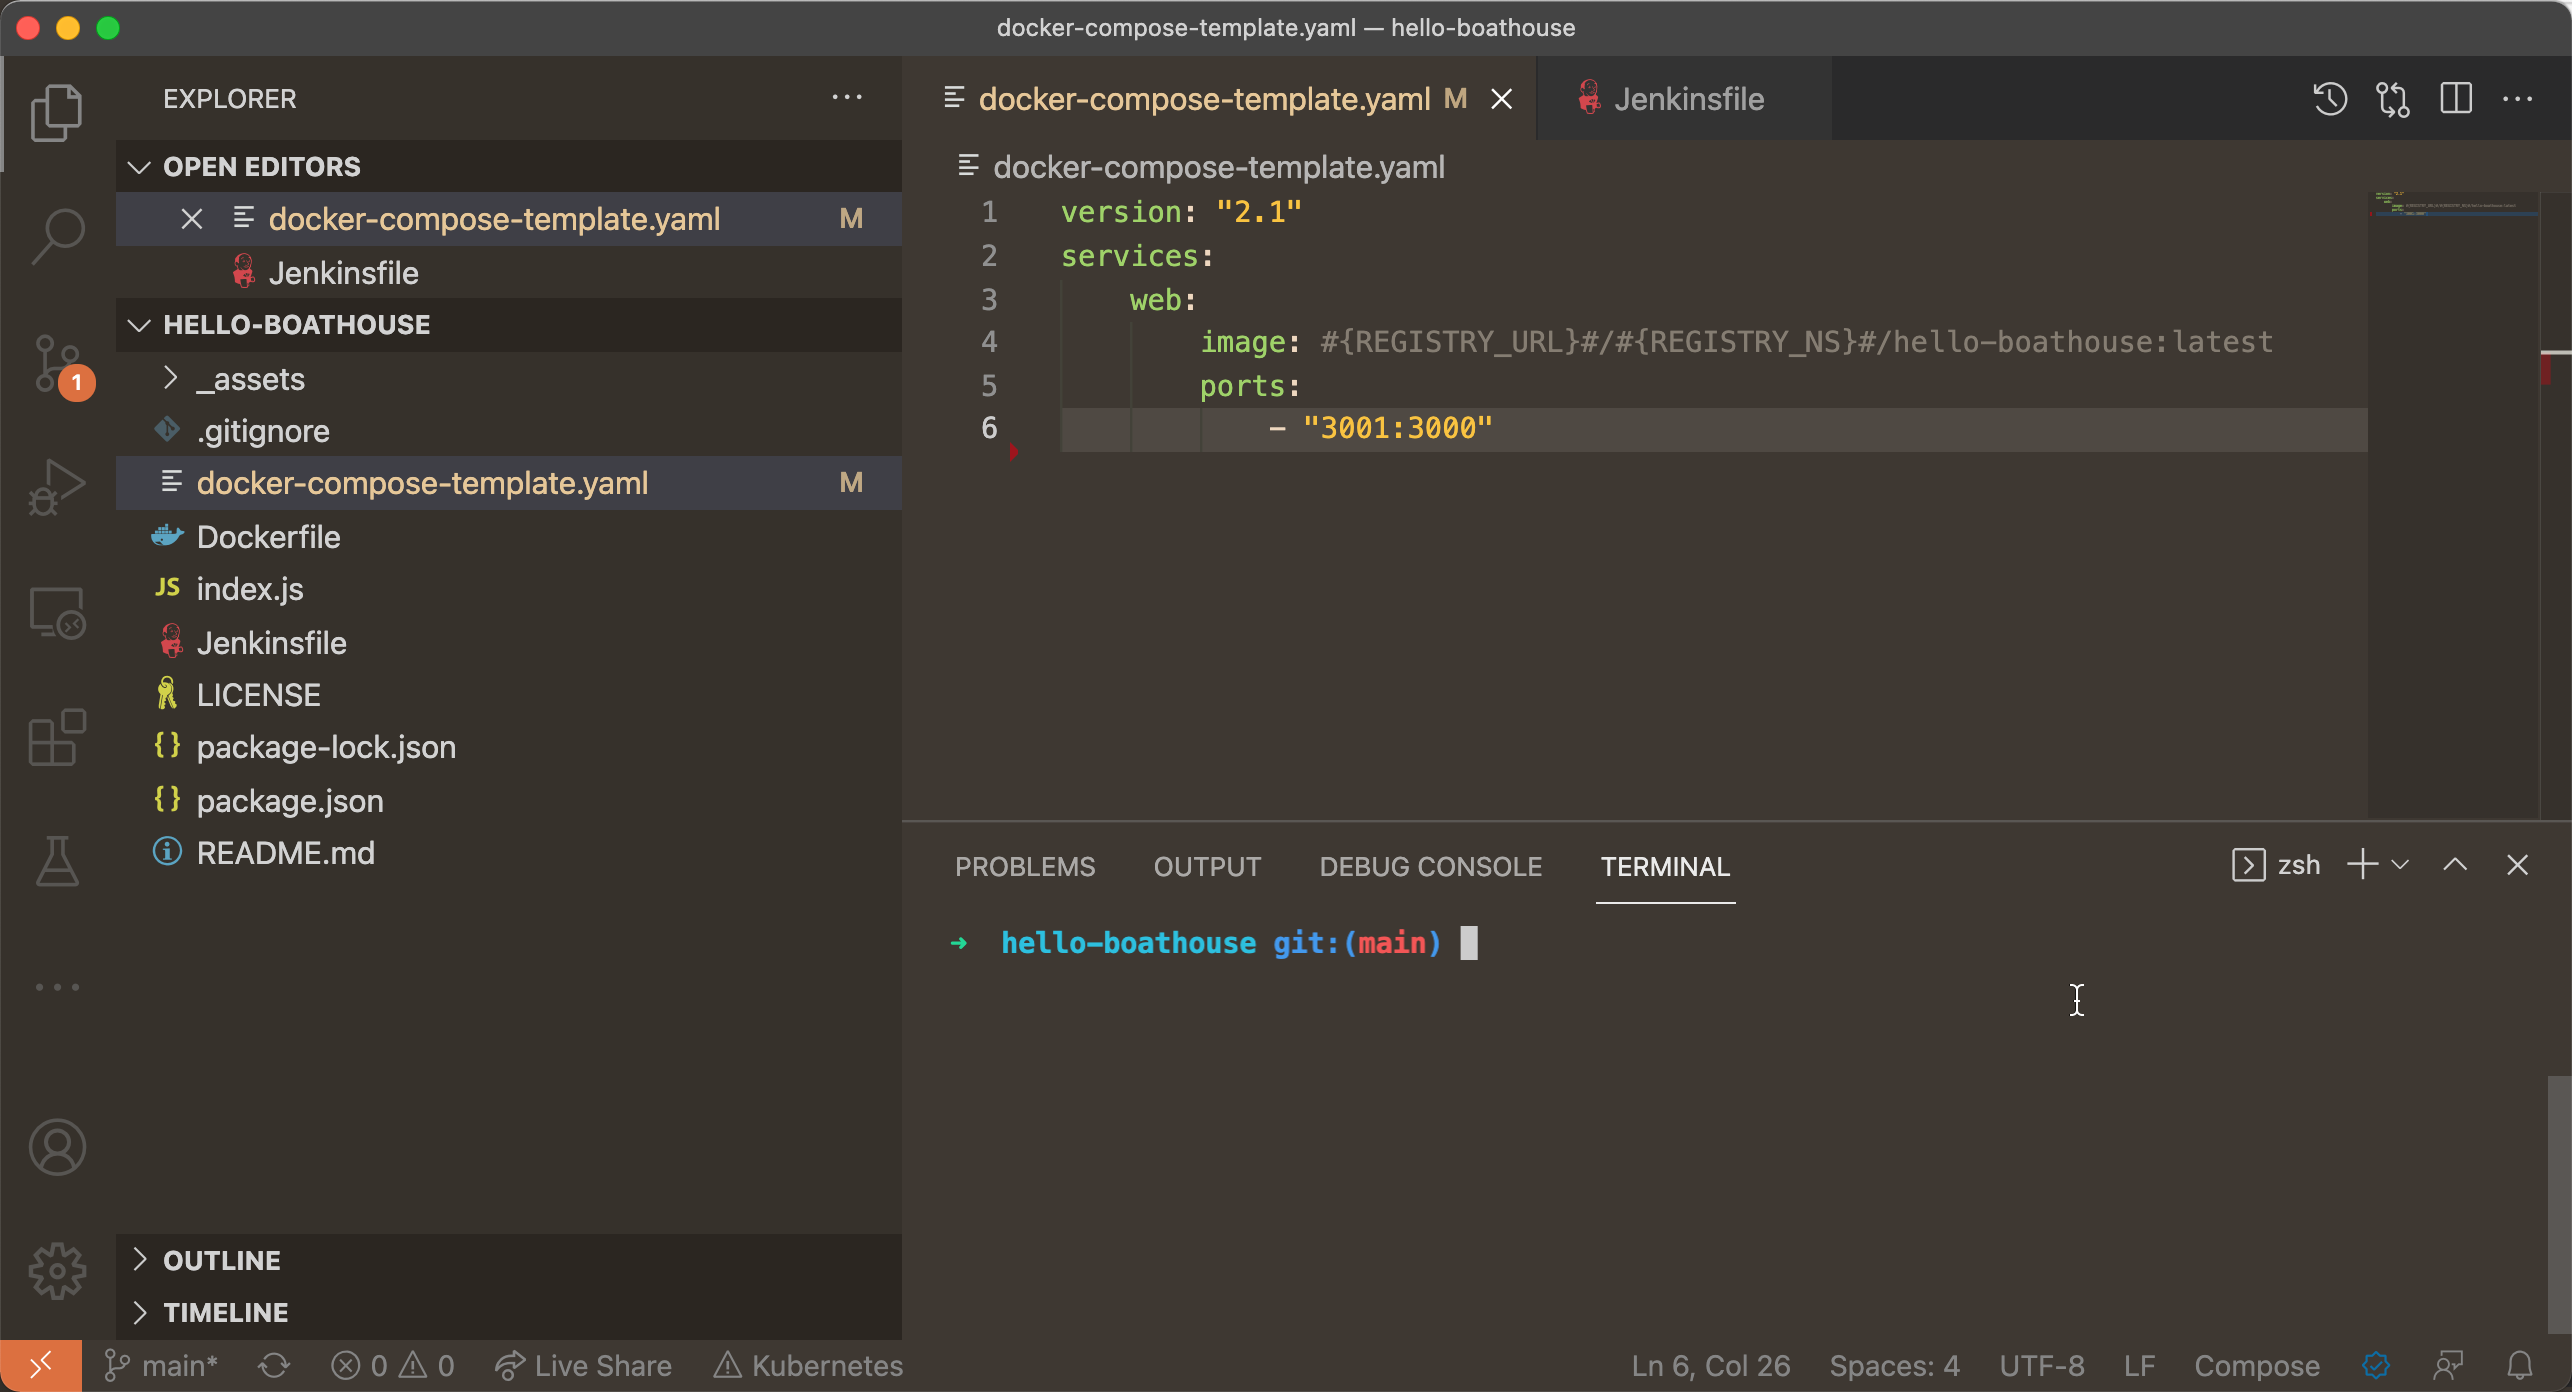
使用vscode在hello-boathouse中添加 docker-compose-template.yaml 文件
version: "2.1"services:web:image: #{REGISTRY_URL}#/#{REGISTRY_NS}#/hello-boathouse:latestports:- "3001:3000"
03 - 添加Jenkinsfile文件
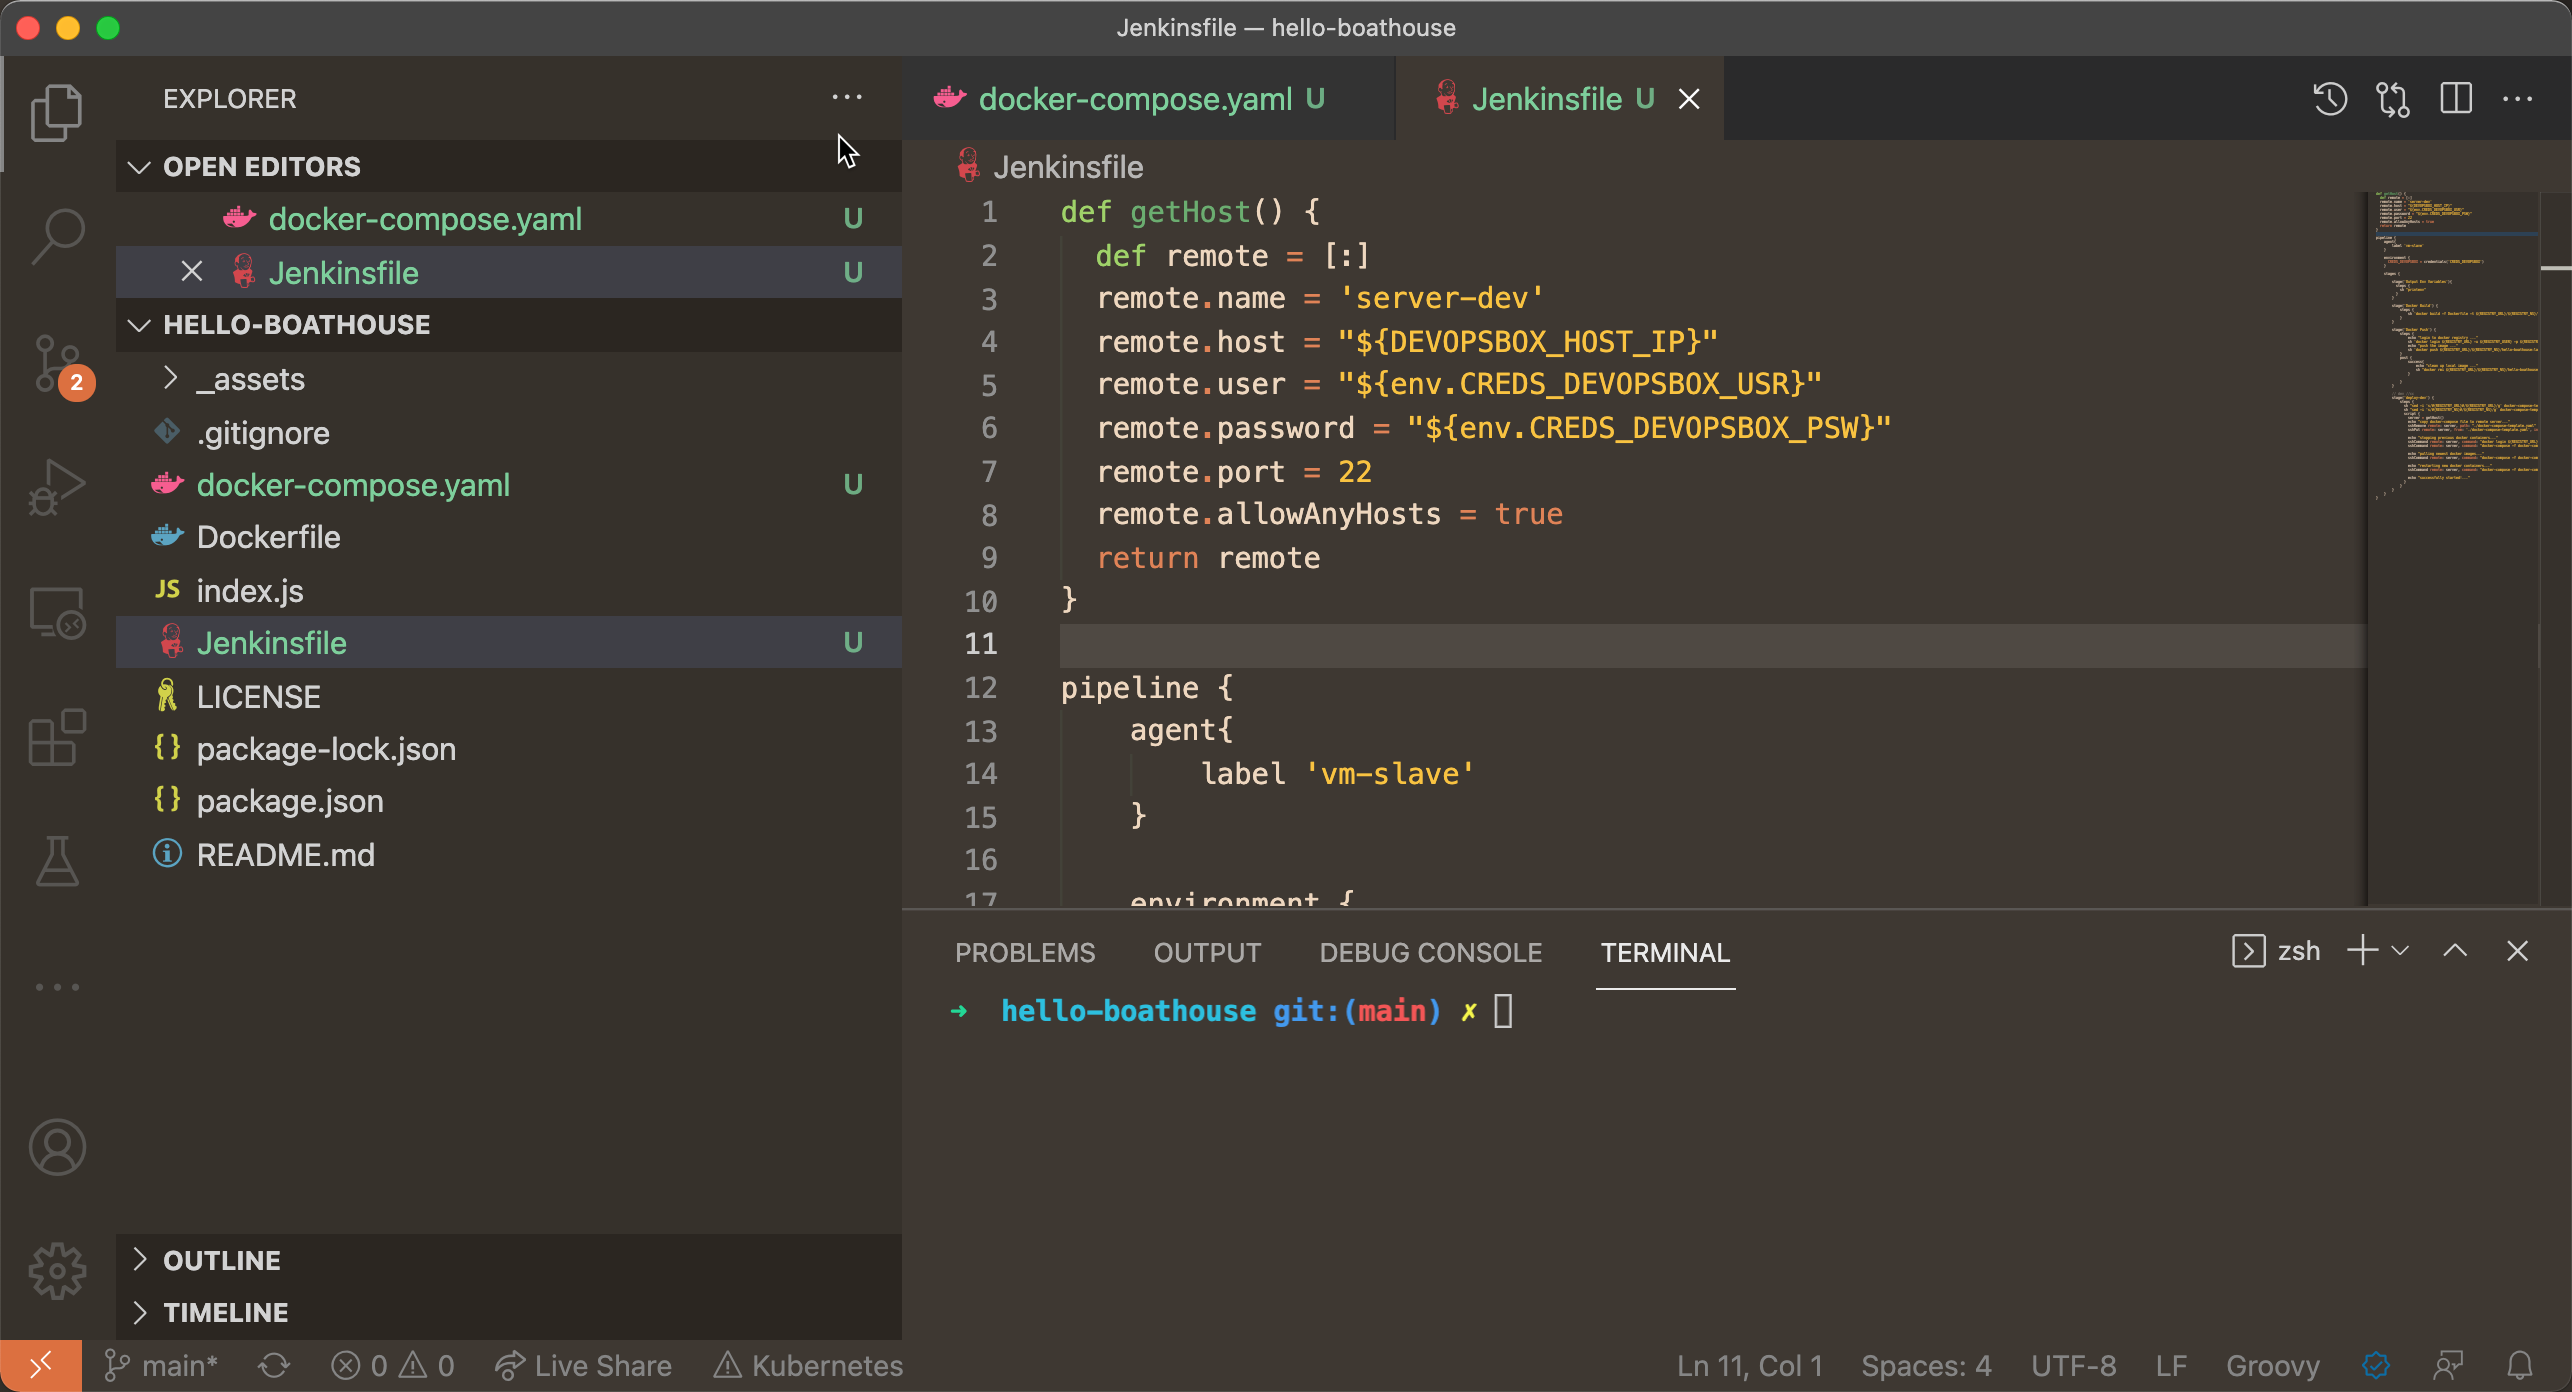
使用vscode在hello-boathouse中添加 Jenkinsfile 文件
def getHost() {def remote = [:]remote.name = 'server-dev'remote.host = "${DEVOPSBOX_HOST_IP}"remote.user = "${env.CREDS_DEVOPSBOX_USR}"remote.password = "${env.CREDS_DEVOPSBOX_PSW}"remote.port = 22remote.allowAnyHosts = truereturn remote}pipeline {agent{label 'vm-slave'}environment {CREDS_DEVOPSBOX = credentials('CREDS_DEVOPSBOX')}stages {stage('Output Env Variables'){steps {sh "printenv"}}stage('Docker Build') {steps {sh 'docker build -f Dockerfile -t ${REGISTRY_URL}/${REGISTRY_NS}/hello-boathouse:latest .'}}stage('Docker Push') {steps {echo "login to docker registry ..."sh 'docker login ${REGISTRY_URL} -u ${REGISTRY_USER} -p ${REGISTRY_PWD}'echo "push the image ..."sh 'docker push ${REGISTRY_URL}/${REGISTRY_NS}/hello-boathouse:latest'}post {success{echo "clean up local image ..."sh "docker rmi ${REGISTRY_URL}/${REGISTRY_NS}/hello-boathouse:latest"}}}// dev 环境stage('deploy-dev') {steps {sh "sed -i 's/#{REGISTRY_URL}#/${REGISTRY_URL}/g' docker-compose-template.yaml"sh "sed -i 's/#{REGISTRY_NS}#/${REGISTRY_NS}/g' docker-compose-template.yaml"script {server = getHost()echo "copy docker-compose file to remote server..."sshRemove remote: server, path: "./docker-compose-template.yaml" // 先删除远程服务器上的文件,已确保是最新的文件sshPut remote: server, from: './docker-compose-template.yaml', into: '.'echo "stopping previous docker containers..."sshCommand remote: server, command: "docker login ${REGISTRY_URL} -u ${REGISTRY_USER} -p ${REGISTRY_PWD}"sshCommand remote: server, command: "docker-compose -f docker-compose-template.yaml -p hello-boathouse down"echo "pulling newest docker images..."sshCommand remote: server, command: "docker-compose -f docker-compose-template.yaml -p hello-boathouse pull"echo "restarting new docker containers..."sshCommand remote: server, command: "docker-compose -f docker-compose-template.yaml -p hello-boathouse up -d"echo "successfully started!..."}}}}}
04 - 提交配置文件并触发流水线
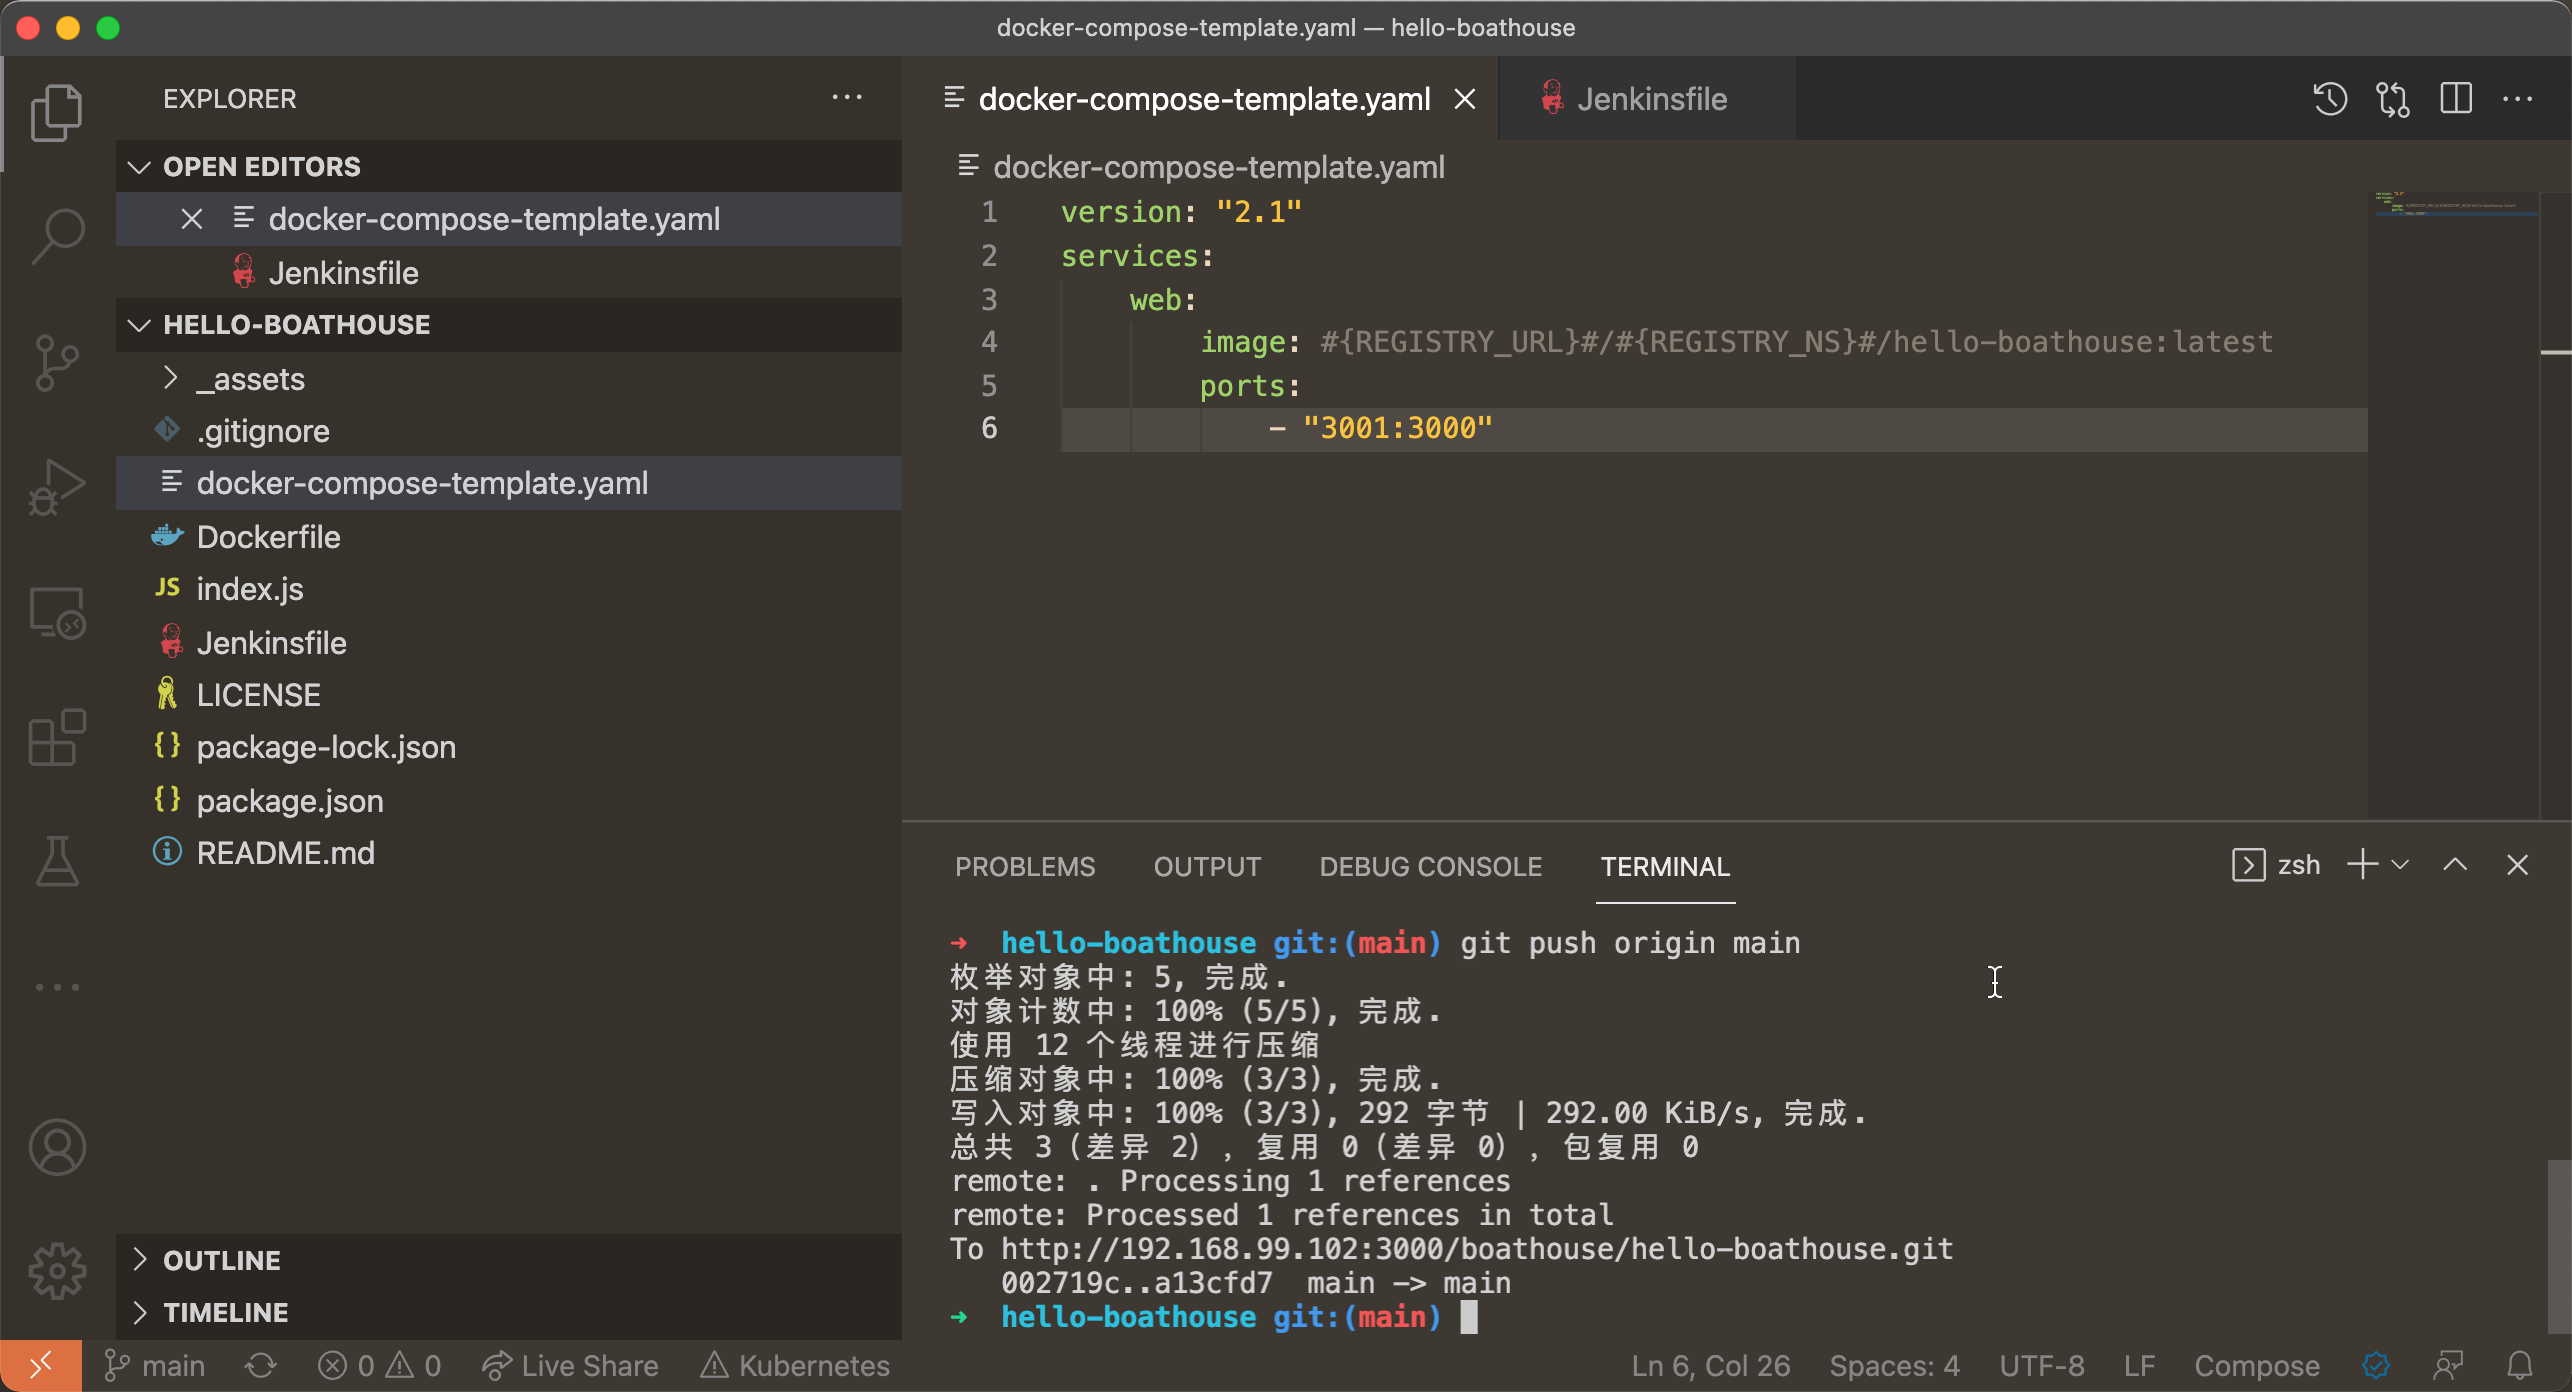
运行以下命令提交文件到Gitea
git add .git commit -m "adde pipeline configurations"git push origin main
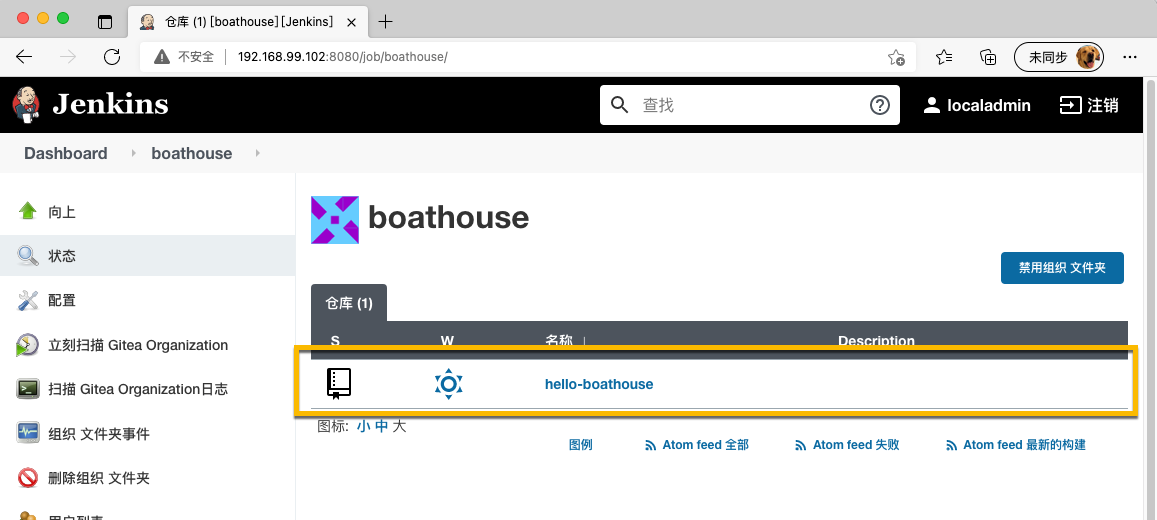
在 Jenkins 上进入我们创建的 boathouse 任务页面,并点击 立即扫描 Gitea Oraganziation
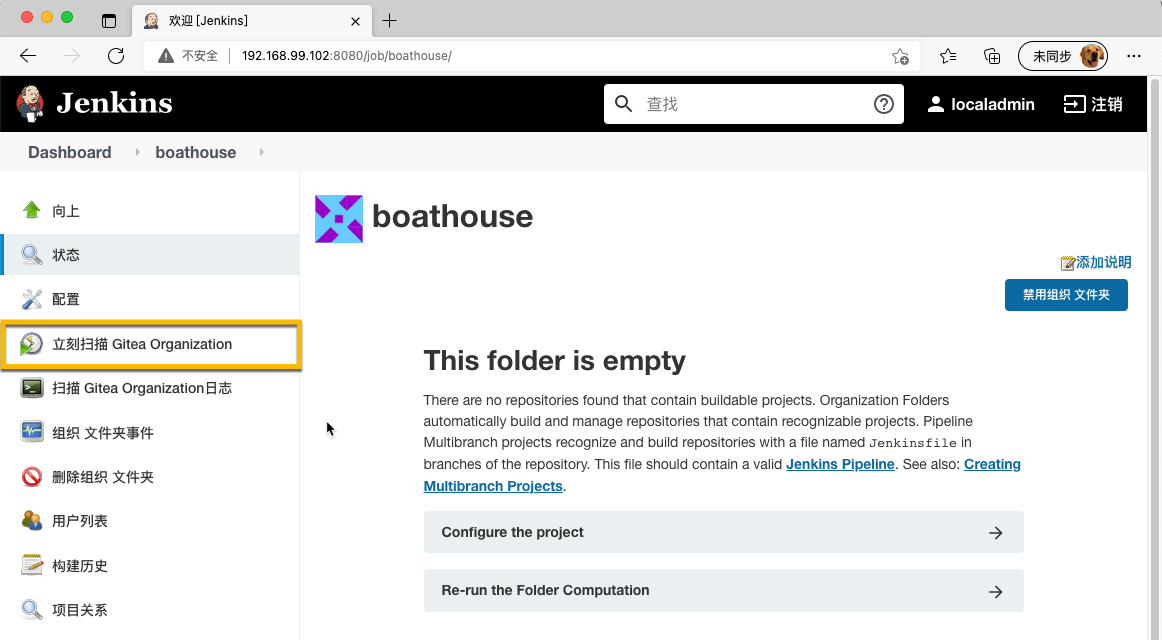
刷新页面,Jenkins已经将hello-boathouse添加到流水线列表中
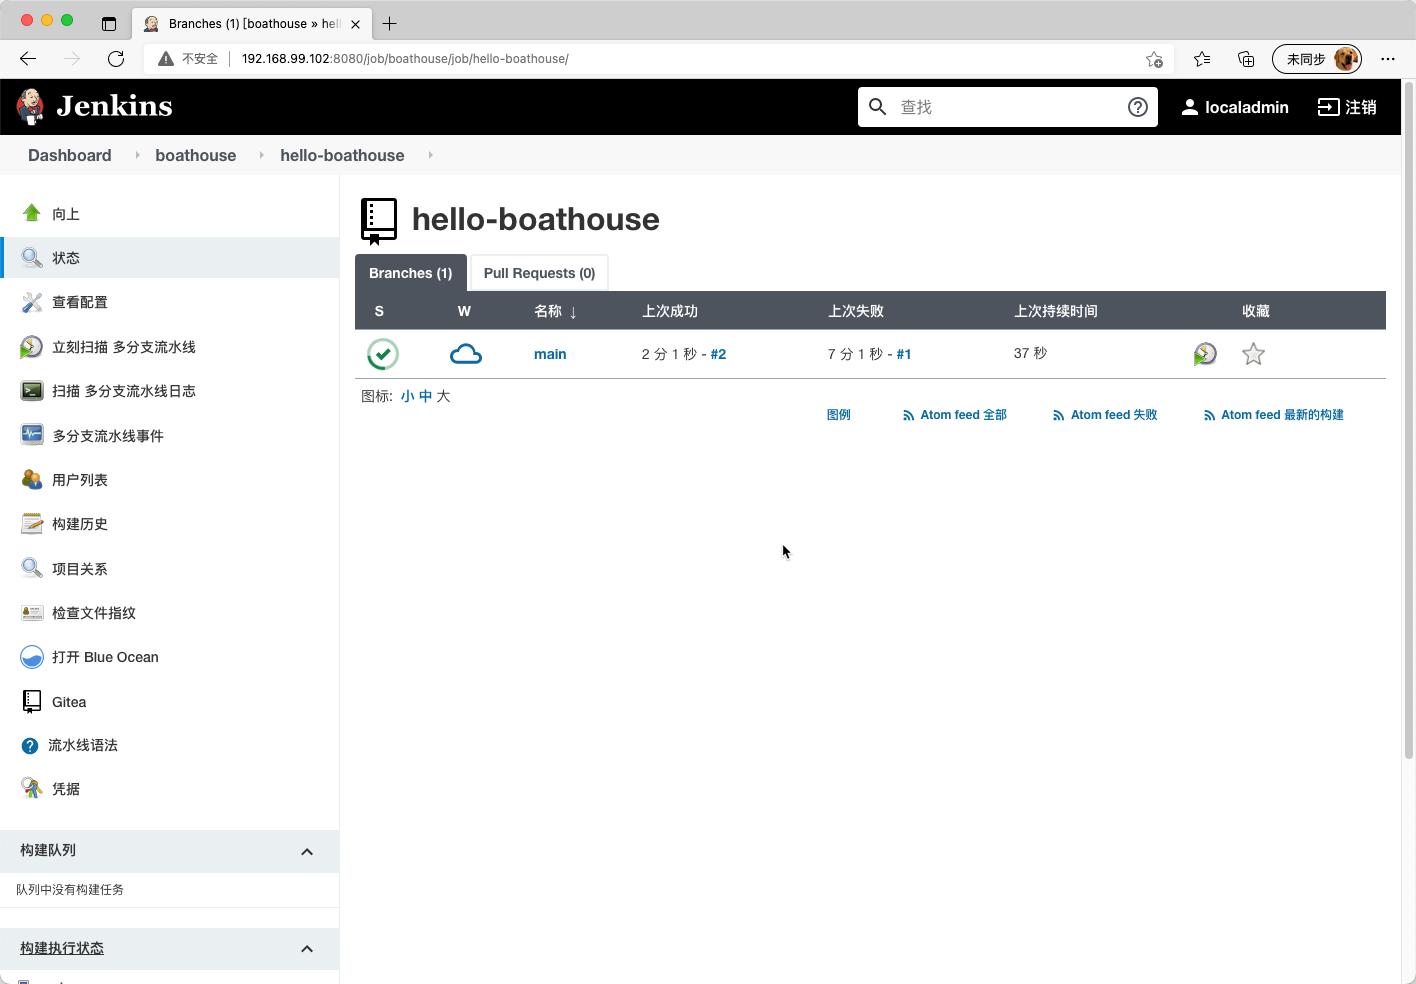
进入 hello-boathouse 任务界面,查看任务进展
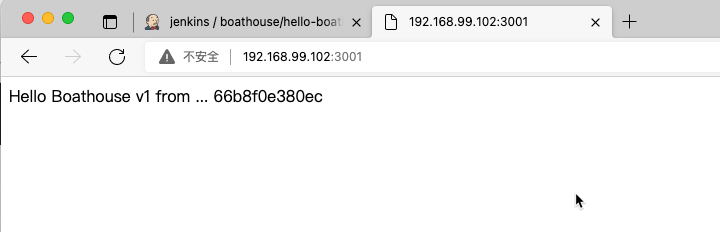
如果任务已经成功完成,打开 http://192.168.99.102:3001 即可访问 hello-boathouse 应用
05 - 在Gitea上添加Webhook实现提交触发
我们刚才的设置因为使用了1分钟的检查机制,Jenkins基本上可以及时的发现改动并构建,但是更好的方式是由Gitea通知Jenkins。
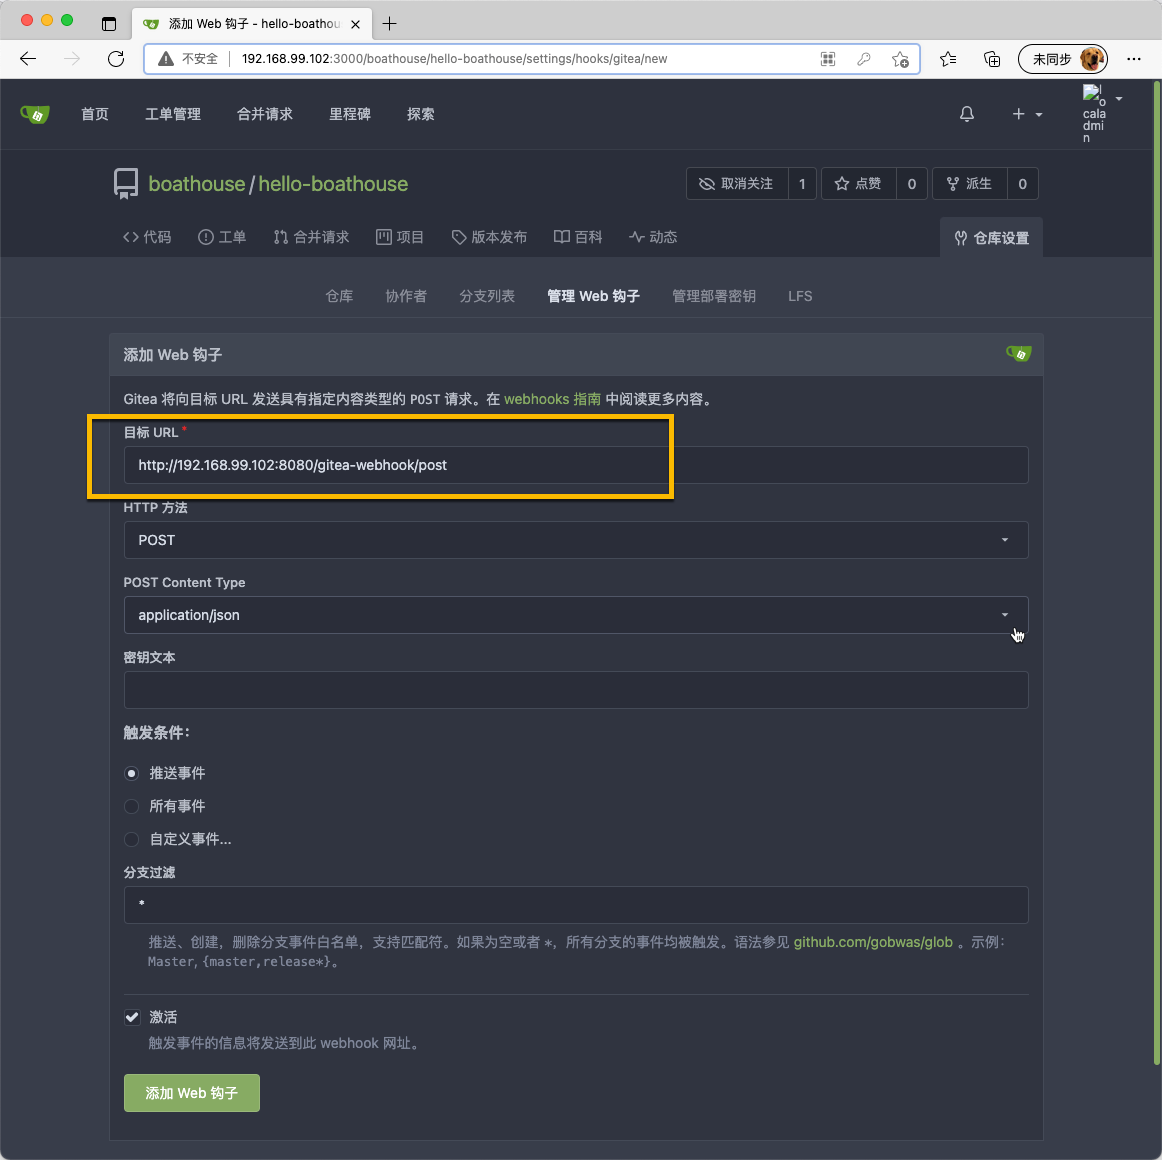
在 boathouse/hello-boathouse 仓库设置 | 管理Web钩子 中点击 添加 Web钩子
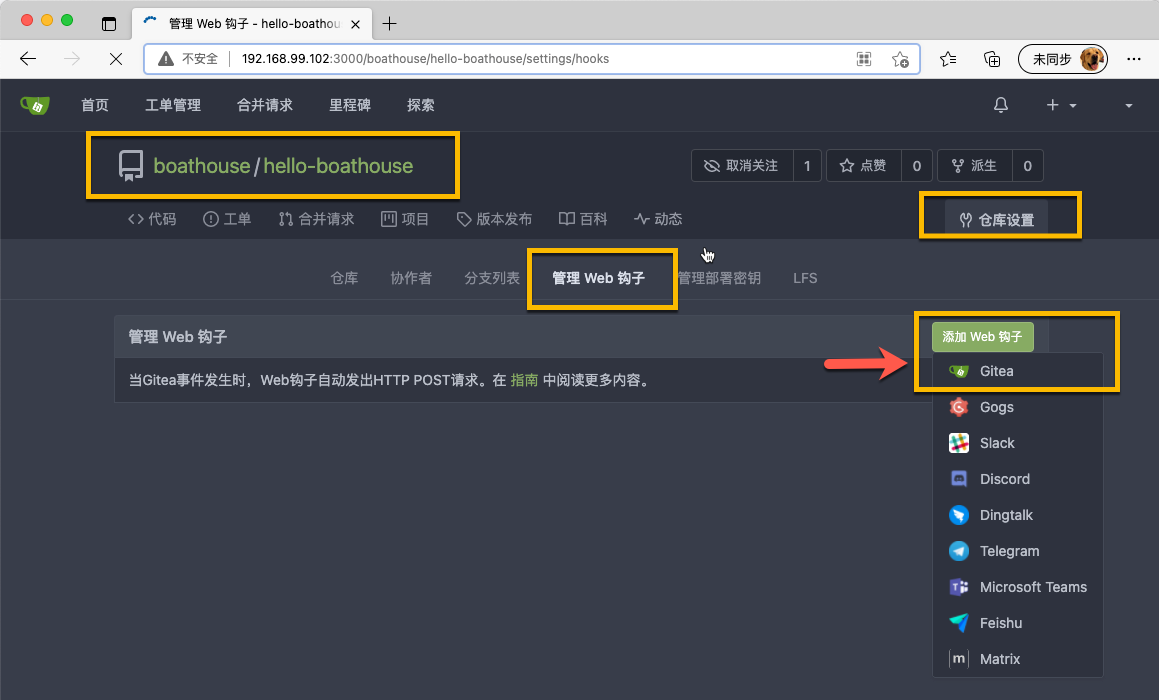
将目标URL设置为 http://192.168.99.102:8080/gitea-webhook/post,也就是我们Jenkins服务器上的钩子地址,点击 添加Web钩子
完成后可以通过 测试推送 按钮来验证钩子工作正常
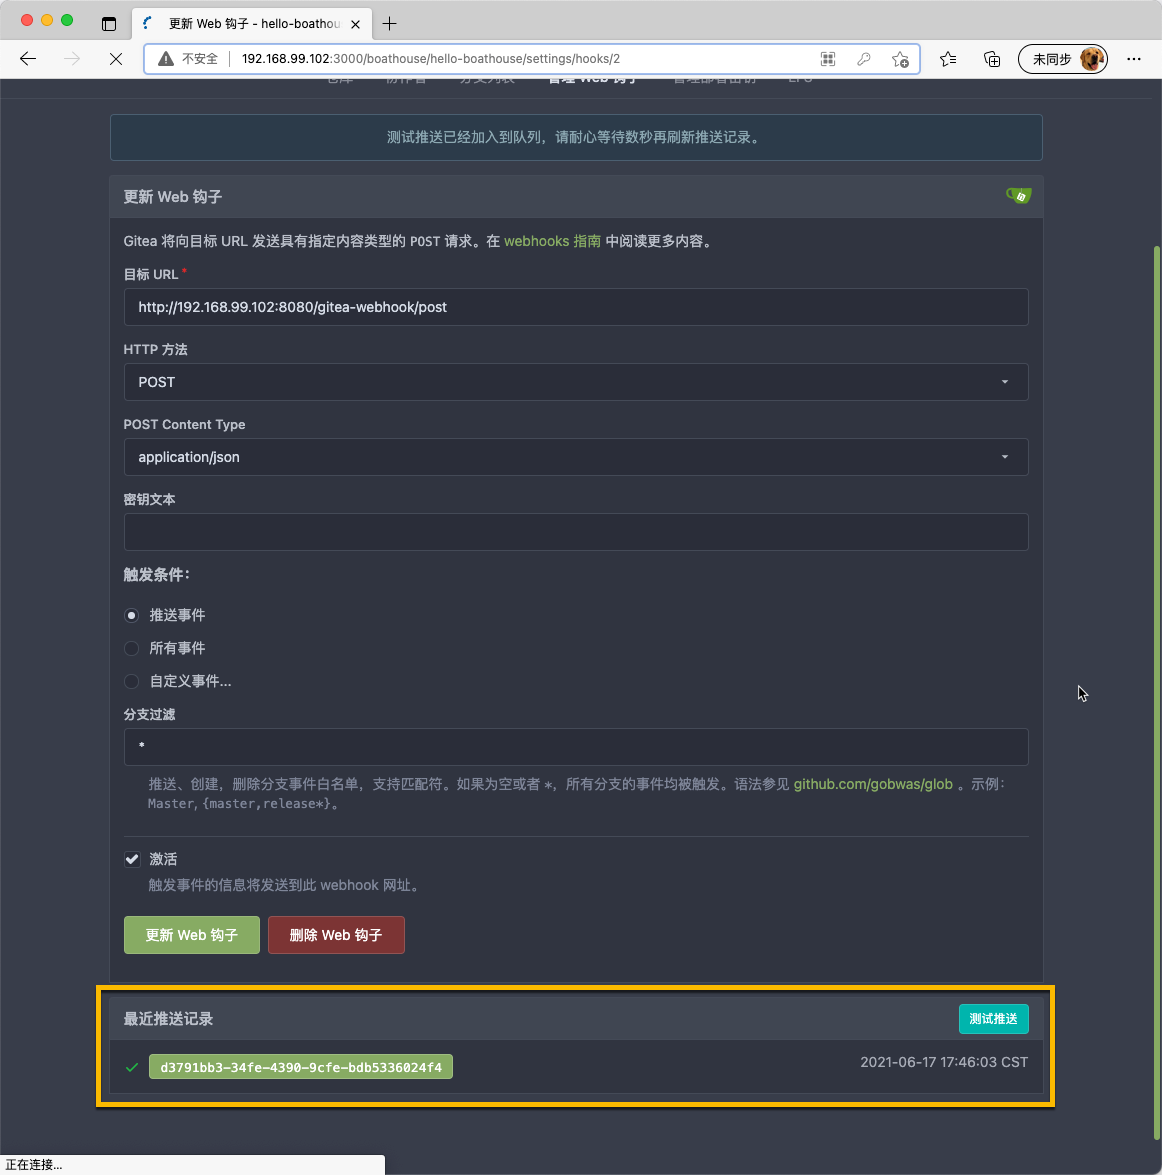
现在,我们就可以实现推送代码后自动触发流水线了。
小结
本节实验完成了一个基本的Jenkins流水线的搭建。

若有收获,就点个赞吧
0 人点赞
