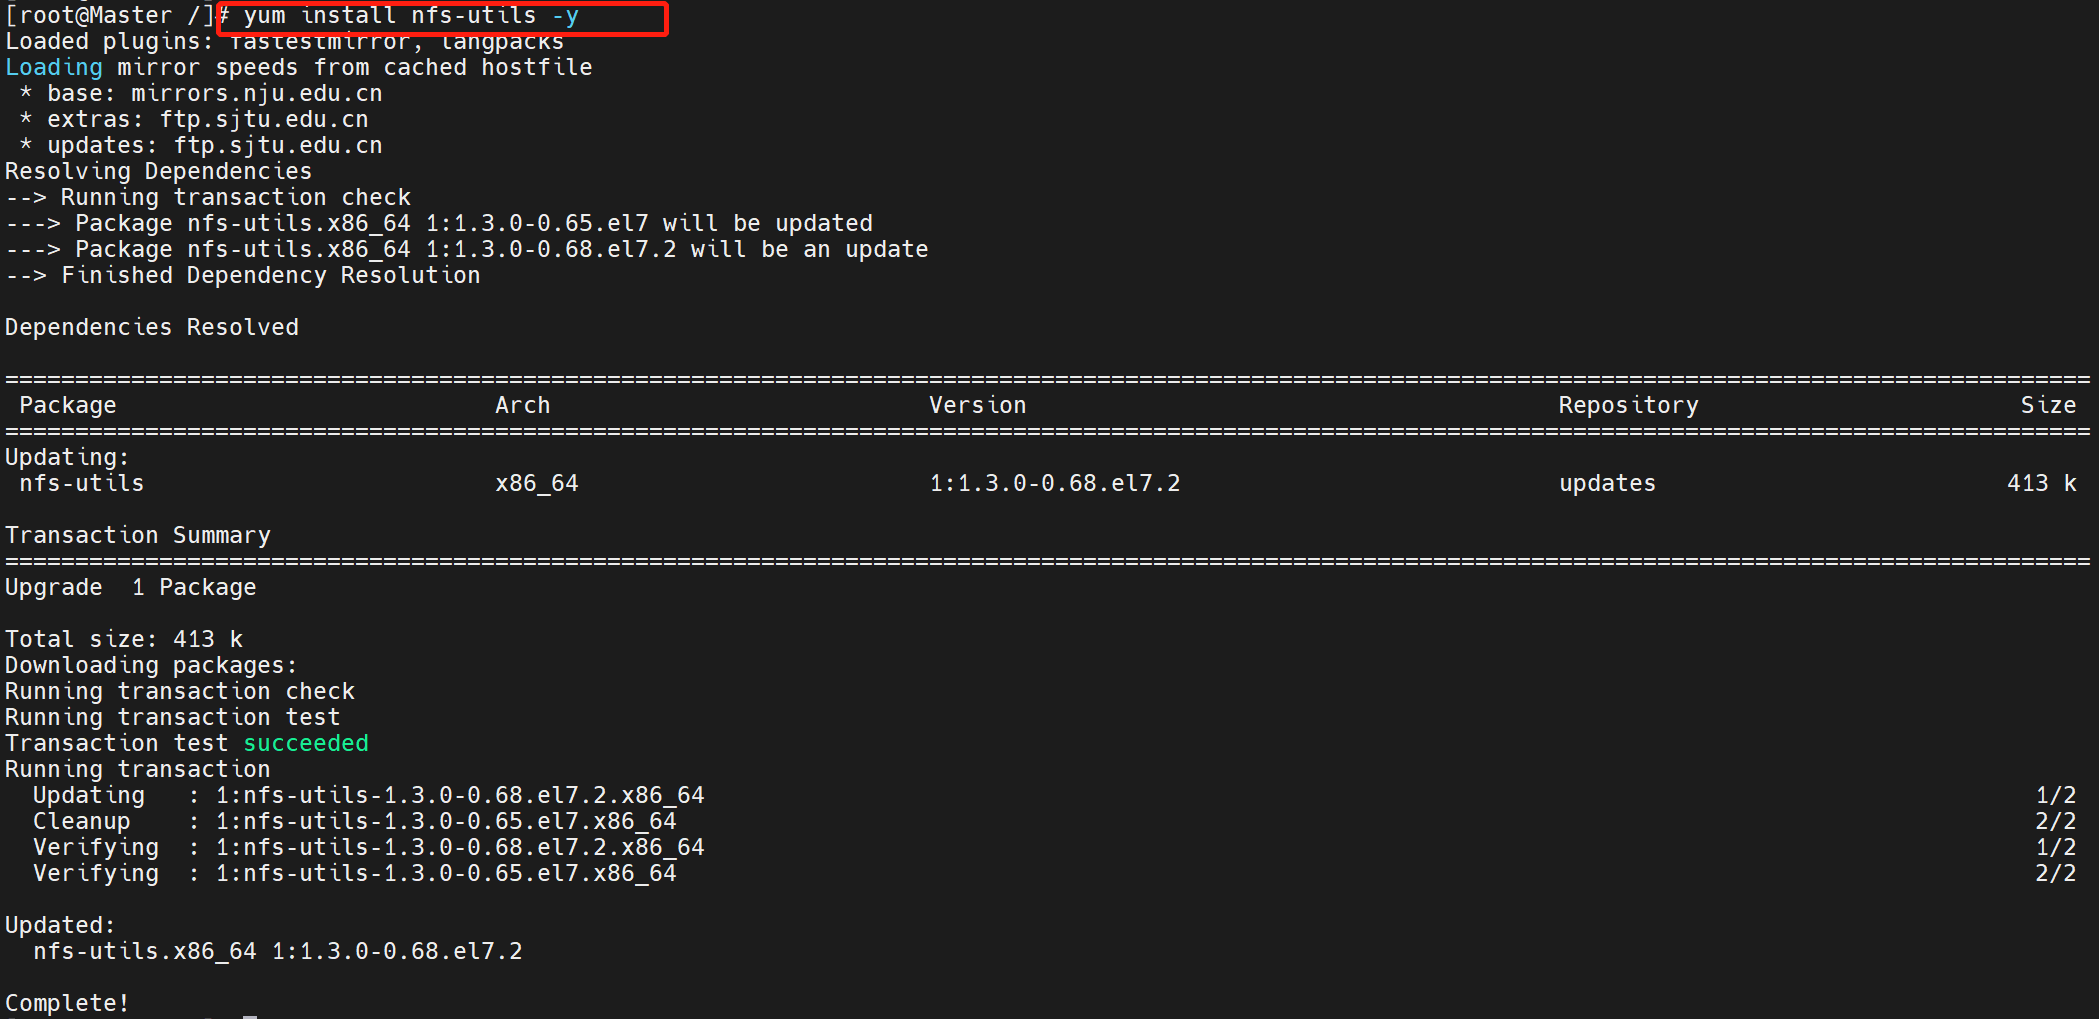
既然是作为NFS存储服务,那为了简便,我们就把这个master节点作为外部的NFS存储系统,所以,得先提前安装一下NFS服务(所有节点都安装一下)
“yum install nfs-utils -y”

准备一个共享目录
“mkdir /opt/testdirectory”


创建exports,将master节点暴露给pod网段
“vim /etc/exports”
“/opt/testdirectory 10.1.10.0/24(rw,no_root_squash)”

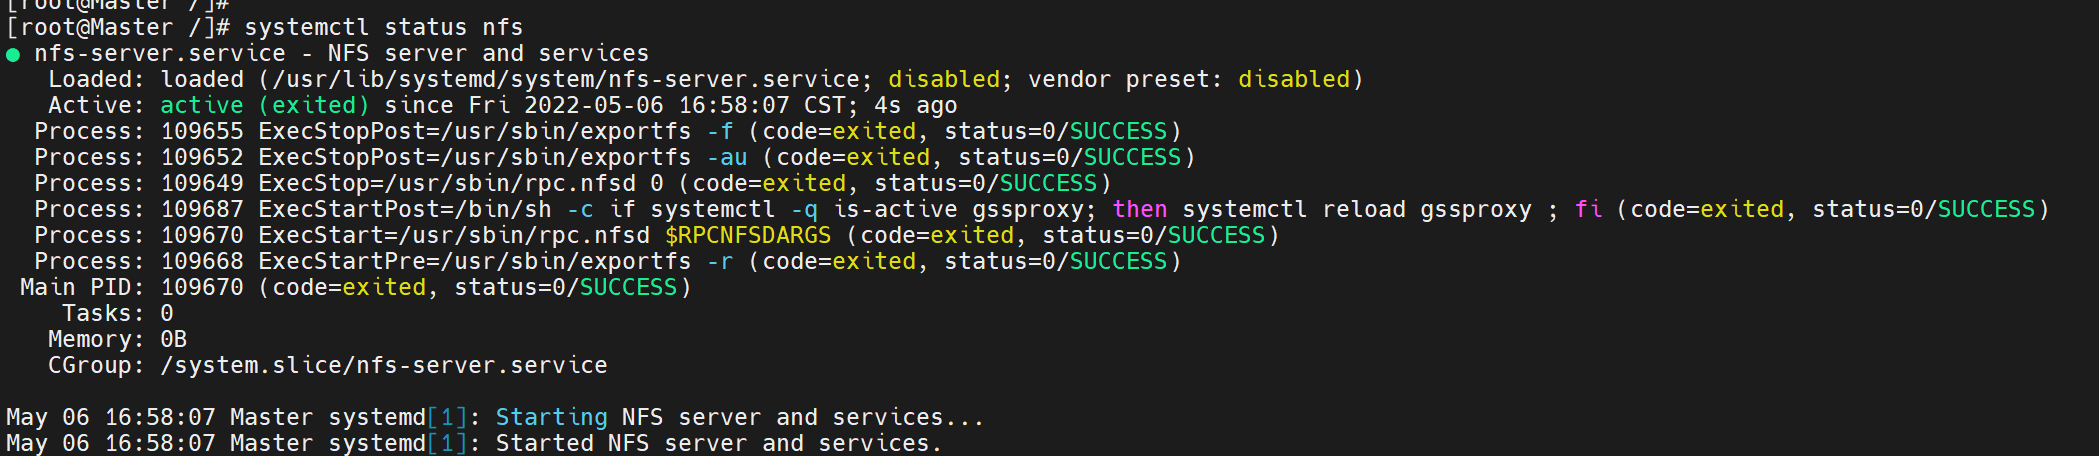
重启服务:
“systemctl restart nfs”
“systemctl start nfs”
“systemctl status nfs”

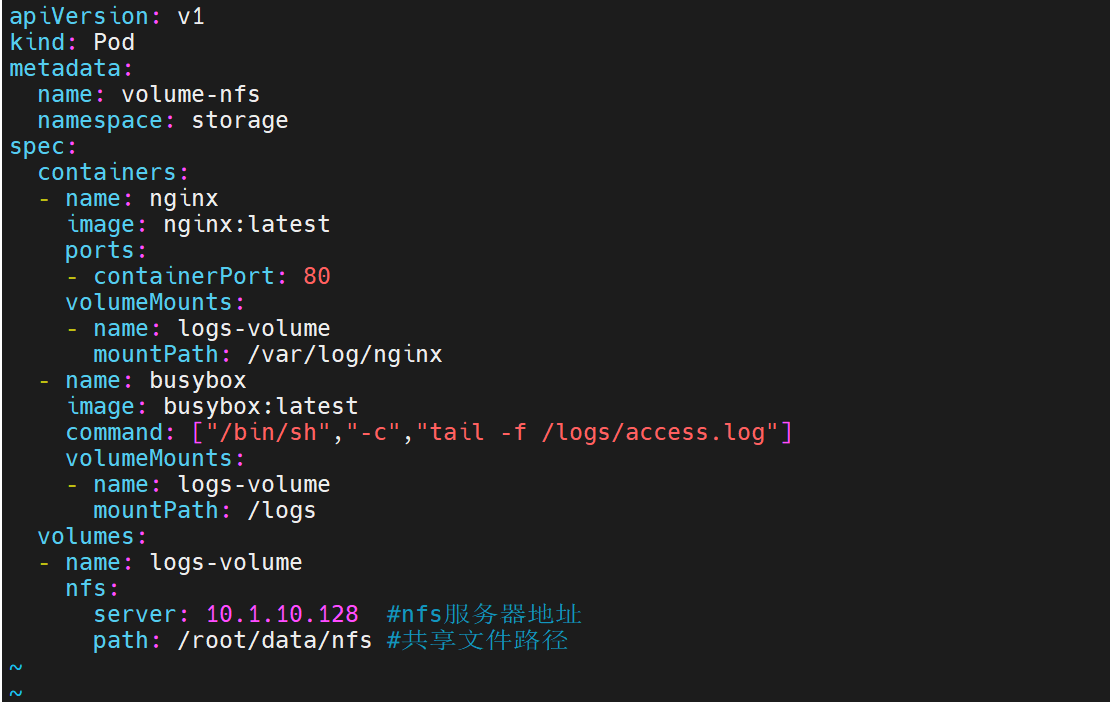
编辑并创建NFS Volume yaml配置文件
“vim nfs.yaml”
apiVersion: v1
kind: Pod
metadata:
name: volume-nfs
namespace: storage
spec:
containers:
- name: nginx
image: nginx:latest
ports:
- containerPort: 80
volumeMounts:
- name: logs-volume
mountPath: /var/log/nginx
- name: busybox
image: busybox:latest
command: [“/bin/sh”,”-c”,”tail -f /logs/access.log”]
volumeMounts:
- name: logs-volume
mountPath: /logs
volumes:
- name: logs-volume
nfs:
server: 10.1.10.128 #nfs服务器地址(我环境中的master节点)
path: /root/data/nfs #共享文件路径(先前创建的)


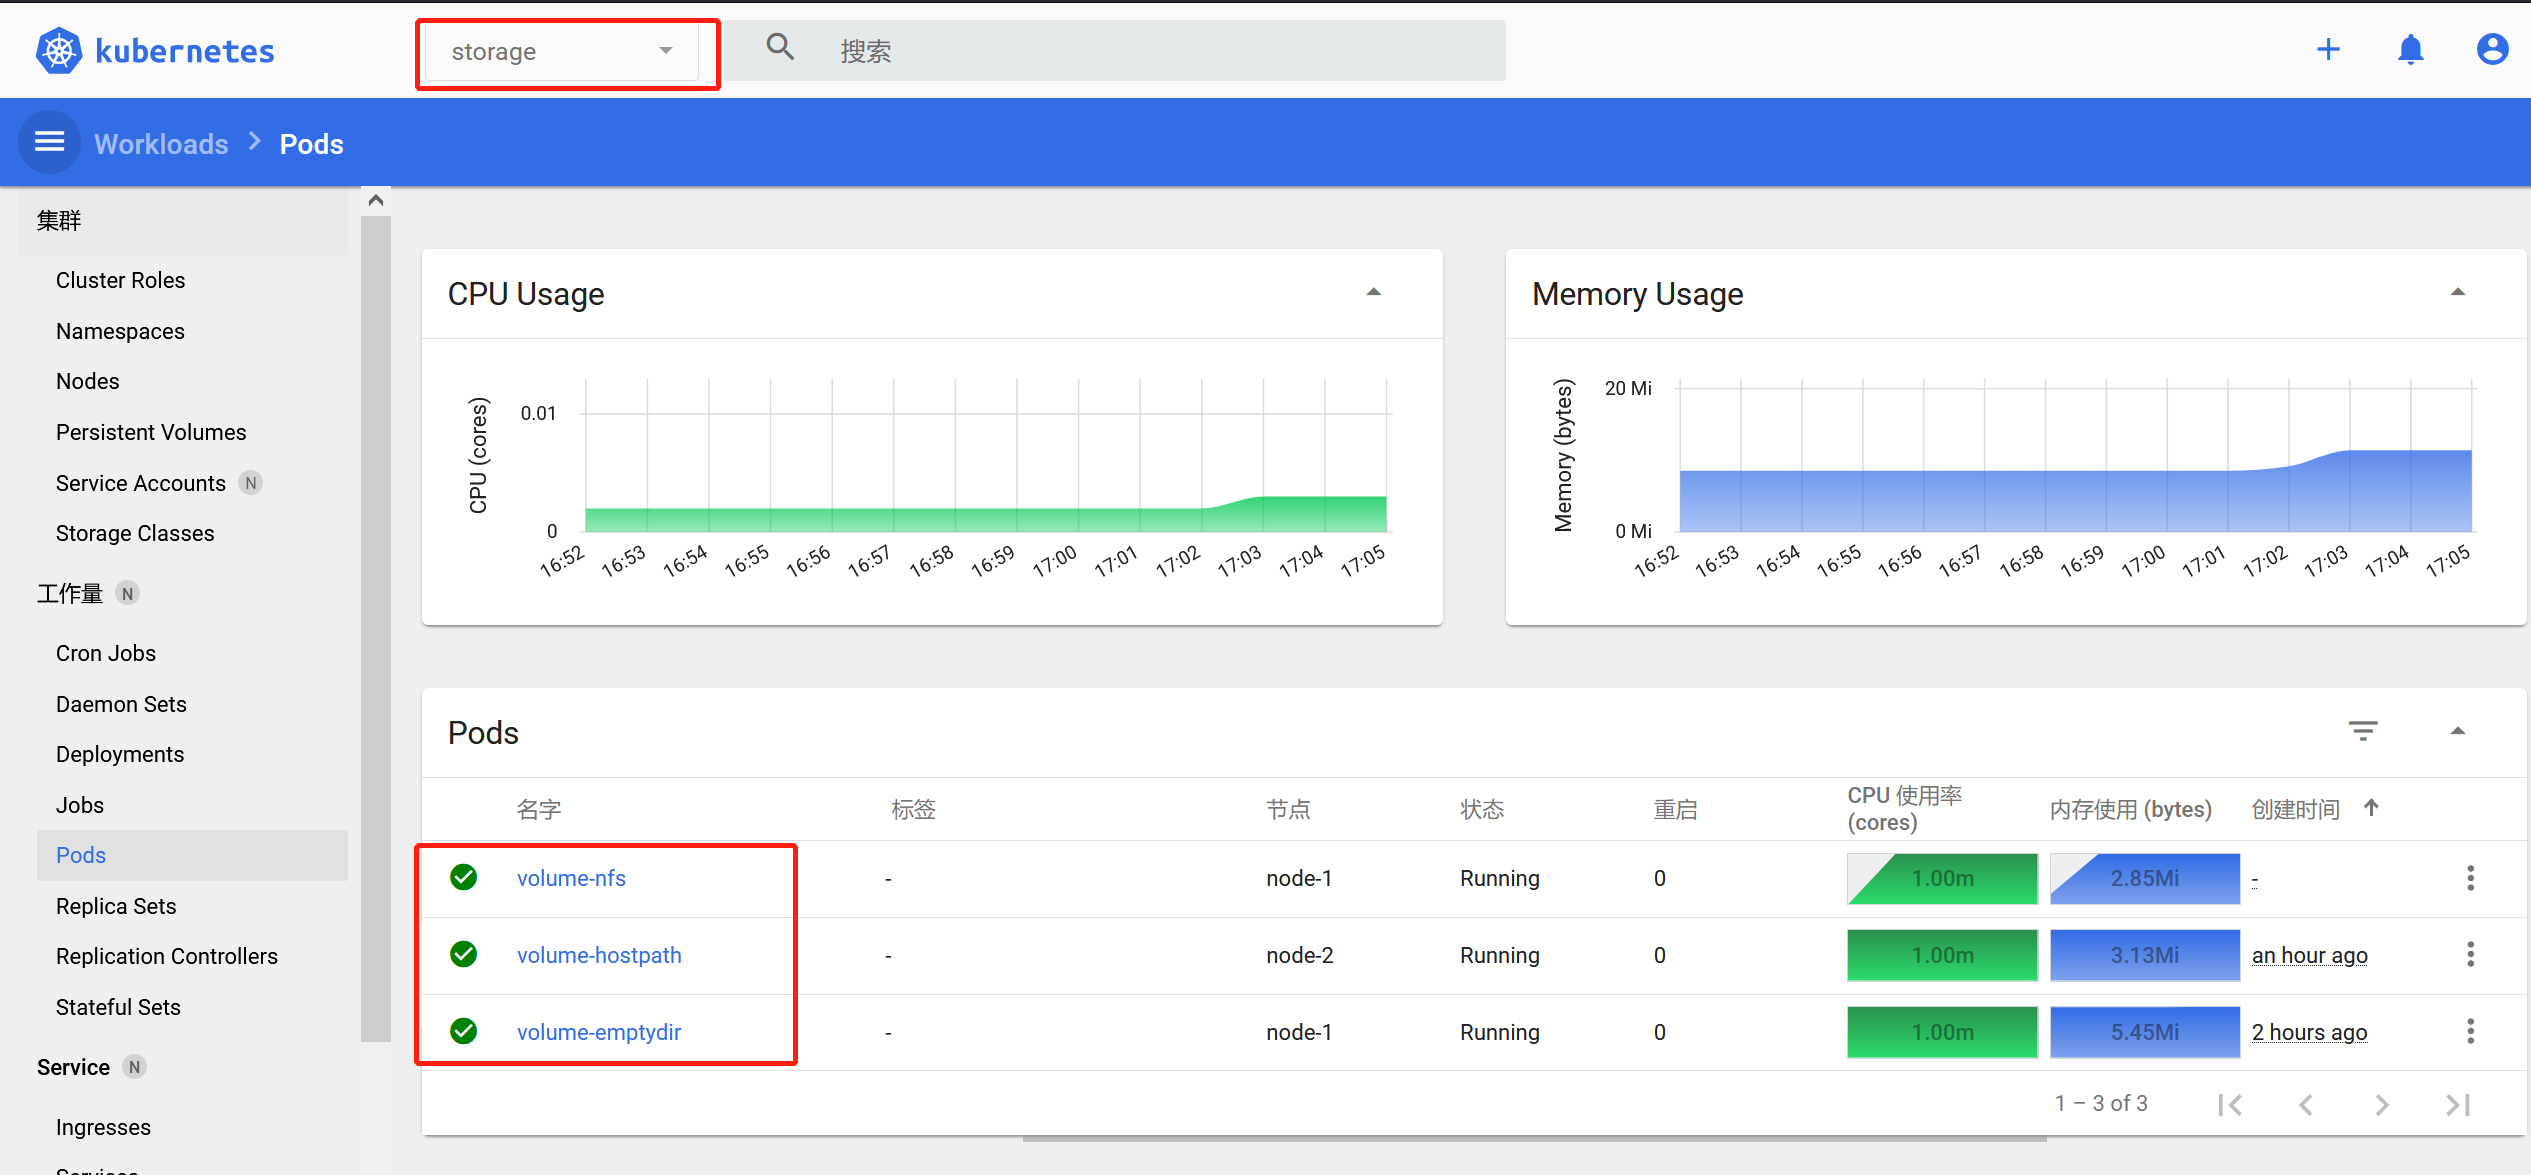
应用配置并查看状态
“kubectl apply -f nfs.yaml”
“kubectl get pods -n storage -o wide”
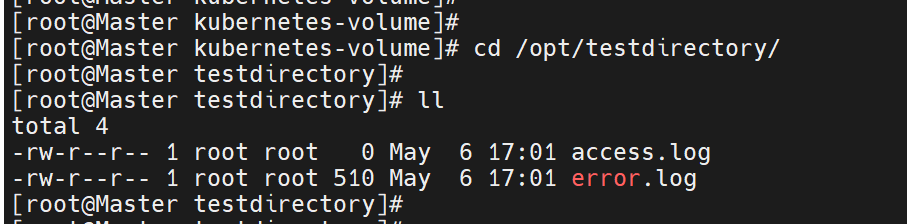
可以看到,我们创建的目录里面已经有了日志文件,效果已经显现

若有收获,就点个赞吧
0 人点赞
