一、简介
简介 https://www.elastic.co/cn/what-is/elasticsearch
官方文档:https://www.elastic.co/guide/en/elasticsearch/reference/current/index.html
官方中文:https://www.elastic.co/guide/cn/elasticsearch/guide/current/foreword_id.html
社区中文:
https://es.xiaoleilu.com/index.html
http://doc.codingdict.com/elasticsearch/0/
二、安装ElasticSearch
1、下载镜像文件
docker pull elasticsearch:7.4.2 #存储和检索数据 docker pull kibana:7.4.2 # 可视化检索数据
2、创建实例
docker运行es,由于es启动默认内存需要2G,使用下面命令指定内存大小
docker run -e ES_JAVA_OPTS=”-Xms256m -Xmx256m” -d -p 9200:9200 -p 9300:9300 —name ES01 ${imageId}
前一个9200是虚拟机的端口,后一个9200是容器中的端口
如下操作中 \后不加空格直接换行
mkdir -p /mydata/elasticsearch/configmkdir -p /mydata/elasticsearch/dataecho "http.host: 0.0.0.0" >> /mydata/elasticsearch/config/elasticsearch.ymlchmod -R 777 /mydata/elasticsearch/ #保证权限# 启动docker run --name elasticsearch -p 9200:9200 -p 9300:9300 \-e "discovery.type=single-node" \-e ES_JAVA_OPTS="-Xms64m -Xmx512m" \-v /mydata/elasticsearch/config/elasticsearch.yml:/usr/share/elasticsearch/config/elasticsearch.yml \-v /mydata/elasticsearch/data:/usr/share/elasticsearch/data \-v /mydata/elasticsearch/plugins:/usr/share/elasticsearch/plugins \-d elasticsearch:7.4.2
设置容器启动es自启 docker update elasticsearch —restart=always
3、Kibana
docker run —name kibana -e ELASTICSEARCH_HOSTS=http://192.168.159.128:9200 -p 5601:5601 \ -d kibana:7.4.2
http://192.168.159.128:9200 一定改为自己虚拟机的地址
查看端口:
nestat -nltup |grep 5601 ss -nltup |grep 5601
4、ik分词
不能用默认 elasticsearch-plugin install xxx.zip 进行自动安装
https://github.com/medcl/elasticsearch-analysis-ik/releases?after=v6.4.2 对应 es 版本安装
mkdir /mydata/elasticsearch/plugins/ik unzip elasticsearch-analysis-ik-7.4.2.zip
5、自定义分词
修改/usr/share/elasticsearch/plugins/ik/config/中的 IKAnalyzer.cfg.xml
/usr/share/elasticsearch/plugins/ik/config
如下第7行
<?xml version="1.0" encoding="UTF-8"?><!DOCTYPE properties SYSTEM "http://java.sun.com/dtd/properties.dtd"><properties><comment>IK Analyzer 扩展配置</comment> <!--用户可以在这里配置自己的扩展字典 --><entry key="ext_dict"></entry> <!--用户可以在这里配置自己的扩展停止词字典--><entry key="ext_stopwords"></entry> <!--用户可以在这里配置远程扩展字典 --><entry key="remote_ext_dict">http://192.168.159.128/fenci/fenci.txt</entry><!--用户可以在这里配置远程扩展停止词字典--><!-- <entry key="remote_ext_stopwords">words_location</entry> --> </properties>原来的 xml<?xml version="1.0" encoding="UTF-8"?><!DOCTYPE properties SYSTEM "http://java.sun.com/dtd/properties.dtd"><properties><comment>IK Analyzer 扩展配置</comment><!--用户可以在这里配置自己的扩展字典 --><entry key="ext_dict"></entry><!--用户可以在这里配置自己的扩展停止词字典--><entry key="ext_stopwords"></entry><!--用户可以在这里配置远程扩展字典 --><!-- <entry key="remote_ext_dict">words_location</entry> --><!--用户可以在这里配置远程扩展停止词字典--><!-- <entry key="remote_ext_stopwords">words_location</entry> --></properties>
vi /mydata/nginx/html/fenci/fenci.txt 输入一些中文字段 输入连接既看到 http://192.168.159.128/fenci/fenci.txt
6、附录安装nginx
docker run -p 80:80 --name nginx \-v /mydata/nginx/html:/usr/share/nginx/html \-v /mydata/nginx/logs:/var/log/nginx \-v /mydata/nginx/conf:/etc/nginx \-d nginx:1.10
三、Elasticsearch-Rest-Client
1)、9300:TCP
- spring-data-elasticsearch:transport-api.jar;
- springboot 版本不同, transport-api.jar 不同,不能适配 es 版本
- 7.x 已经不建议使用,8 以后就要废弃
2)、9200:HTTP
- JestClient:非官方,更新慢
- RestTemplate:模拟发 HTTP 请求,ES 很多操作需要自己封装,麻烦
- HttpClient:同上
- Elasticsearch-Rest-Client:官方 RestClient,封装了 ES 操作,API 层次分明,上手简单
最终选择 Elasticsearch-Rest-Client(elasticsearch-rest-high-level-client)
https://www.elastic.co/guide/en/elasticsearch/client/java-rest/current/java-rest-high.html
官网进入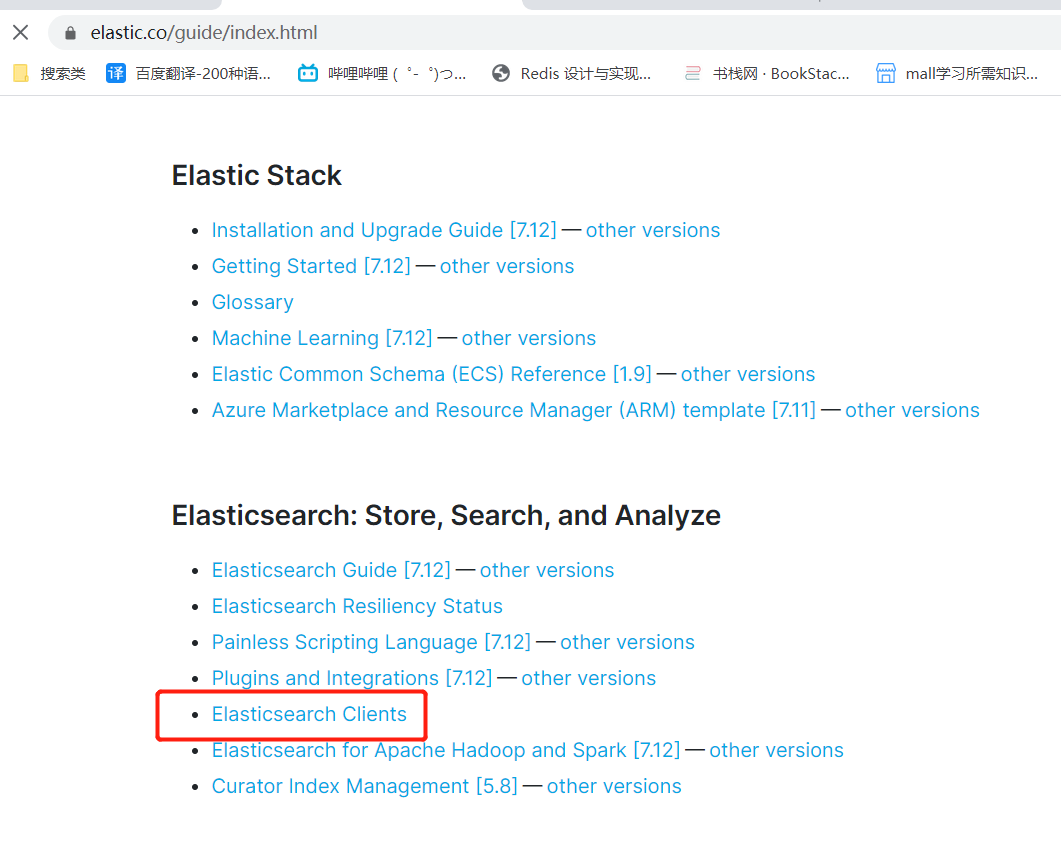
二、springboot(1.x)默认支持两种技术与es交互: Jest、SpringData ElasticSearch
<dependency><groupId>org.springframework.boot</groupId><artifactId>spring-boot-starter-data-elasticsearch</artifactId></dependency><dependency><groupId>org.springframework.boot</groupId><artifactId>spring-boot-starter-web</artifactId></dependency>
进入org.springframework.boot.autoconfigure.jar
进入org.springframework.boot.data.elasticsearch
进入org.springframework.boot.elasticsearch
1.ElasticsearchAutoConfiguration,配置了Client,节点信息:clusterNodes
2.ElasticsearchDataAutoConfiguration,操作es
3.ElasticsearchRepositoriesAutoConfiguration,编写一个ElasticsearchRepository的子接口,操作实现es
1、Jest (默认不生效)
需要引入: io.searchbox.client.JestClient
2.SpringDataElasticSearch 【es版本有可能不合适】
https://github.com/spring-projects/spring-data-elasticsearch

若有收获,就点个赞吧
0 人点赞
