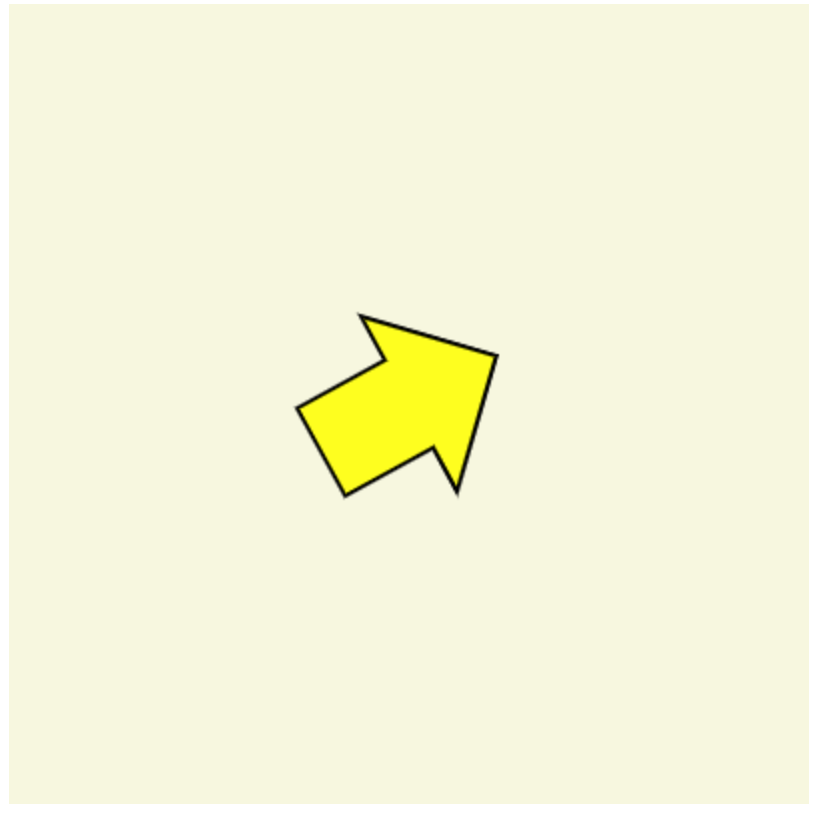
实例跟随鼠标方向的箭头
https://codepen.io/bb798sky/pen/abzLYjo?editors=0010
// index.html<!doctype html><html><head><meta charset="utf-8"><title>Rotate to Mouse</title><style>canvas {background: rgb(247, 247, 223);}</style></head><body><canvas id="canvas" width="400" height="400"></canvas>//封装了一些动画浏览器兼容性所需要的api,如requestAnimationFrame,鼠标位置的captureMouse等;<script src="./utils.js"></script>//绘制一个箭头;<script src="./arrow.js"></script><script>window.onload = function () {var canvas = document.getElementById('canvas'),context = canvas.getContext('2d'),mouse = utils.captureMouse(canvas),arrow = new Arrow(); //封装了箭头绘制函数每次绘制箭头只需要new一个Arrow();arrow.x = canvas.width / 2;//箭头的位置,置于画布中央;arrow.y = canvas.height / 2;(function drawFrame() {//下一帧动画重绘之前更新动画//https://developer.mozilla.org/zh-CN/docs/Web/API/Window/requestAnimationFramewindow.requestAnimationFrame(drawFrame, canvas);context.clearRect(0, 0, canvas.width, canvas.height);var dx = mouse.x - arrow.x,dy = mouse.y - arrow.y;arrow.rotation = Math.atan2(dy, dx); //动画常用到的反余切变异的函数,可以得到角度;arrow.draw(context);//调用arrow原型的方法draw,在context上进行绘制;}());};</script></body></html>
// arrow.js 用来绘制一个剪头function Arrow () {this.x = 0;this.y = 0;this.color = "#ffff00";this.rotation = 0;}Arrow.prototype.draw = function (context) {context.save();context.translate(this.x, this.y); //光标以当前位置加x和y进行移动context.rotate(this.rotation);context.lineWidth = 2;context.fillStyle = this.color;context.beginPath();context.moveTo(-50, -25);context.lineTo(0, -25);context.lineTo(0, -50);context.lineTo(50, 0);context.lineTo(0, 50);context.lineTo(0, 25);context.lineTo(-50, 25);context.lineTo(-50, -25);context.closePath();context.fill();//填充context.stroke();//描边context.restore();};
如何做到的跟随鼠标旋转
根据上边的程序可以看到是
- 先得到了画布
- 再绘制了箭头
- 先进行了save()最后进行了restore()
- 再确定了箭头的位置
- 再用requestAnimationFrame执行了drawFrame
- 在drawFrame方法中获取了鼠标的位置x、y坐标减去了箭头位置的值
- 然后进行了Math.atan(dx,dy)弧的旋转
你的疑问
1.为什么绘制箭头的时候要先进行save()再绘制再进行restore()呢?
https://developer.mozilla.org/zh-CN/docs/Web/API/CanvasRenderingContext2D/save
https://developer.mozilla.org/zh-CN/docs/Web/API/CanvasRenderingContext2D/restore
了解到**CanvasRenderingContext2D**.save() 是 Canvas 2D API 通过将当前状态放入栈中,保存 canvas 全部状态的方法。**CanvasRenderingContext2D**.restore() 是 Canvas 2D API 通过在绘图状态栈中弹出顶端的状态,将 canvas 恢复到最近的保存状态的方法。 如果没有保存状态,此方法不做任何改变。
这样每次绘制箭头的时候先保存没有任何绘制效果状态再进行绘制再进行恢复,这样就实现了绘制->清除->绘制->q清除,一帧一帧的展示了。
2.Math.atan2()是什么
https://developer.mozilla.org/en-US/docs/Web/JavaScript/Reference/Global_Objects/Math/atan2
一句话,atant2是能分辨对角的tant方法;
atant2接收收个参数,传入对边和临边可以返回这个角度的弧,而且可以区分对角。
关于canvas的坐标系计算可以看我这篇文章
关于三角学基础可以看我这篇文章

