我们为什么要做下拉刷新的动效
5W产品分析法分析下拉刷新动效
what产品背景
我们就拿今天的第一个案例分析。以后每个案例都会这样分析。
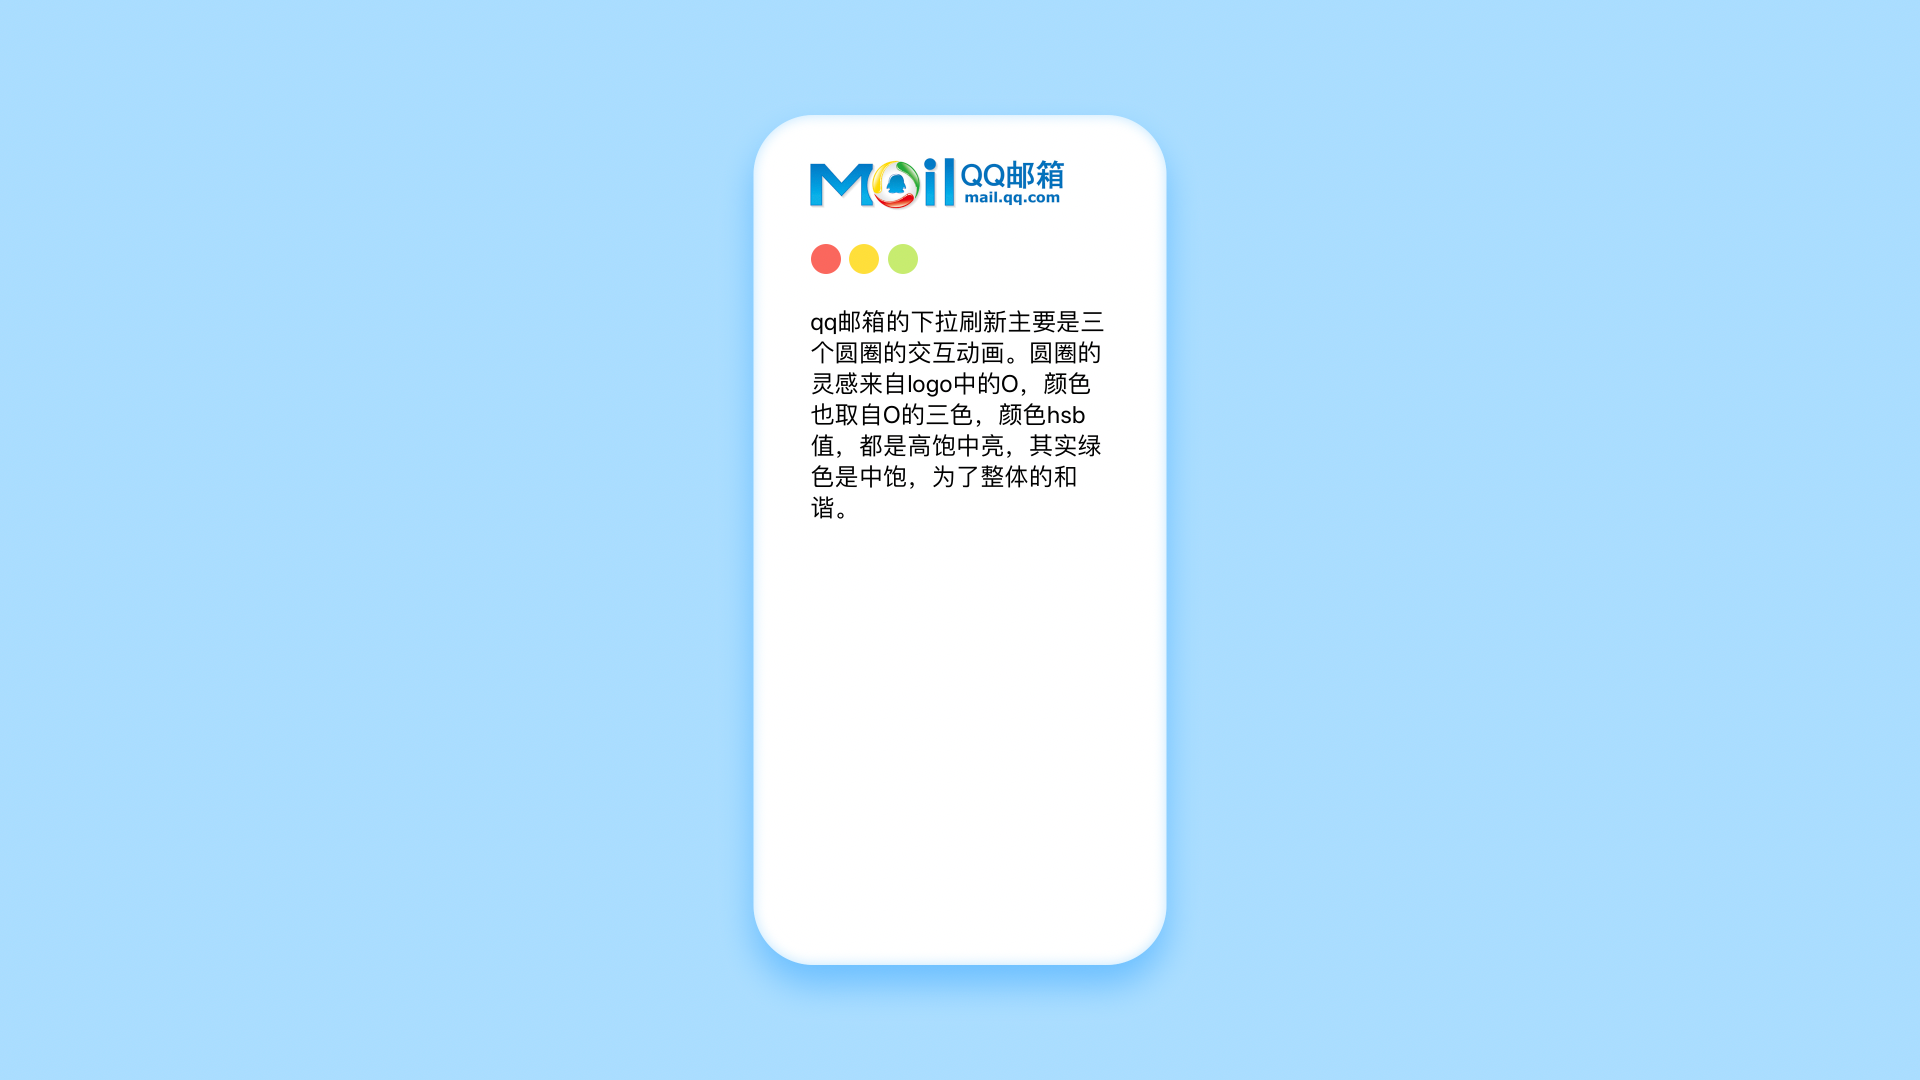
qq邮箱,动效的元素和颜色的灵感都来自于其logo。之后,我也看了很多案例。大多数动效的灵感来源是产品logo和产品的品牌形象。
加载逻辑: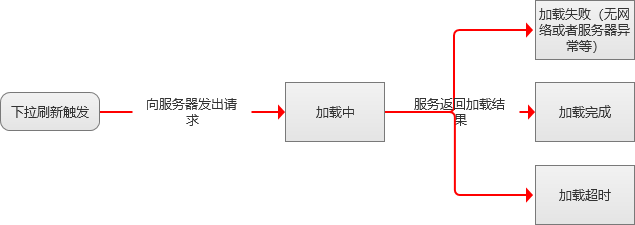
who目标人群
通常目标人群和品牌风格就决定加载动效的调性。到时候具体案例,具体分析。
why预期目标
- 让等待变的更有趣,忽略时间的流逝:刷新加载本质上是本地内容和服务器的数据交互,为了让用户感知不到无聊,通常将刷新动画做的非常有趣,同时也贴合产品或品牌本身的定位
- 业务场景需要:下拉刷新这个动作对互联网的用户来说已经是非常习惯了,同时,这个交互动作对于某些feed流或社交类产品而言,是一个非常高频的操作和入口,因此基于业务层面的考虑,在这个高频的入口上增加功能或者运营的入口,为业务上的指标带来一些转化
where使用场景
when使用节点
如何验证
通过相关的业务指标或者业务数据来验证
下拉刷新动效的类型
以后再说
下拉刷新实际案例
1: qq邮箱
动效的灵感
展示视频

项目文件:
代码展示:
ios默认的类型-Code
这里我用代码写出来了,没有用动画,这里大部分代码来自于社区的一位作者,我改了其中的部分代码,以便于自定义。
import * as React from "react"import { PropertyControls, ControlType, RenderTarget } from "framer"interface Props {width: numberheight: numberanimate: booleanstroke: numbercolor: stringparticles: numberspacing: numberduration: numberlineWidth: numberlineHeight: number}export class iOS extends React.Component<Props> {static defaultProps = {width: 30,height: 30,animate: true,color: "#09f",particles: 12,spacing: 10,duration: 1,lineWidth: 2,lineHeight: 7,}static propertyControls: PropertyControls<Props> = {animate: {type: ControlType.Boolean,//@ts-ignoreenabled: "Canvas",disabled: "Preview",title: "Animate",},color: { type: ControlType.Color, title: "Color" },particles: {type: ControlType.Number,min: 6,max: 24,title: "Particles",},lineWidth: {type: ControlType.Number,min: 1,max: 30,step: 0.1,title: "lineWidth",},lineHeight: {type: ControlType.Number,min: 1,max: 30,step: 0.1,title: "lineHeight",},spacing: {type: ControlType.Number,min: 1,max: 20,title: "Spacing",},duration: {type: ControlType.Number,min: 1,max: 10,title: "Duration",},}render() {const {width,height,animate,color,particles,spacing,duration,lineWidth,lineHeight,} = this.propsconst css = `@-webkit-keyframes iOSSpin {30% {opacity: 1;box-shadow: 0px 0px 6px rgba( 255, 255, 255, 0.8 );}}`let iteration = "infinite"if (RenderTarget.current() != RenderTarget.preview && !animate) {iteration = "1"}const key = duration + iterationconst line = {position: "absolute",width: `${lineHeight}px`,height: `${lineWidth}px`,borderRadius: "4px",backgroundColor: color,opacity: 0.2,animationName: "iOSSpin",animationDuration: `${duration}s`,animationIterationCount: iteration,animationTimingFunction: "ease",}let lines = []for (let i = 1; i < particles + 1; i++) {lines.push(<divkey={i}style={Object.assign({}, line, {transform: `rotate( ${(i / particles) *360}deg ) translateX(${spacing}px)`,animationDelay: `${i * (duration / 12)}s`,})}/>)}return (<div style={{ position: "relative", width: width, height: height }}><style>{css}</style><divstyle={{marginLeft: "60%",marginTop: "50%",transform: "translateX(-3.5px) translateY(-1px)",}}>{lines}</div></div>)}}
核心交互Override
import { Override, Data, motionValue, useTransform, useAnimation } from "framer"

//define scrollY
const scrollY = motionValue(0)

//define data
const data = Data({
    isLoading: false,
    isRefresh: false,
})

//listen scrollYchange
scrollY.onChange(offset => {
    //condition title
    if (offset > 0) {
        data.isRefresh = true
    } else {
        ;(data.isRefresh = false), (data.isLoading = false)
    }
    //animate circle
    if (offset > 98) {
        data.isLoading = true
        ScrollControls.start({ y: 58 })
    }
})

//scroll components
let ScrollControls
export function scroll(): Override {
    ScrollControls = useAnimation()
    // Create a function to get a random integer
    function getRndInteger(min, max) {
        return Math.floor(Math.random() * (max - min + 1)) + min
    }
    const refreshTime = getRndInteger(800, 1500)
    console.log(refreshTime)

    return {
        contentOffsetY: scrollY,
        onPanEnd: () => {
            //define scrollContent
            setTimeout(() => {
                ScrollControls.start({
                    y: 0,
                    transition: { duration: 0.15, ease: "easeOut" },
                })
            }, 1200)
        },
        scrollAnimate: ScrollControls,
    }
}

//green
let greenControls
export function green(props): Override {
    greenControls = useAnimation()
    const y = useTransform(scrollY, [0, 65], [0, 38])
    const x = useTransform(scrollY, [0, 51, 98], [0, 14, 20])
    return {
        y: y,
        x: x,
        animate: data.isLoading ? { opacity: 0 } : { opacity: 1 },
    }
}
//yello
let yelloControls
export function yello(): Override {
    yelloControls = useAnimation()
    const y = useTransform(scrollY, [0, 65], [0, 38])
    return {
        y: y,
        animate: data.isLoading ? { opacity: 0 } : { opacity: 1 },
    }
}

//red
let redControls
export function red(props): Override {
    redControls = useAnimation()
    const y = useTransform(scrollY, [0, 65], [0, 38])
    const x = useTransform(scrollY, [0, 51, 98], [0, -14, -20])
    return {
        y: y,
        x: x,
        animate: data.isLoading ? { opacity: 0 } : { opacity: 1 },
    }
}

//邮箱账号
export function email(): Override {
    return {
        animate: data.isRefresh
            ? {
                  opacity: 0,
              }
            : {
                  opacity: 1,
              },
        transition: {
            duration: 0.15,
            ease: [0.25, 0.1, 0.25, 1],
        },
    }
}

//接收中
export function refreshing(): Override {
    return {
        animate: data.isRefresh
            ? {
                  opacity: 1,
              }
            : {
                  opacity: 0,
              },
        transition: {
            duration: 0.15,
            ease: [0.25, 0.1, 0.25, 1],
        },
    }
}

const duration = 0.9
const redColor = "hsl(4, 94%, 67%)"
const greenColor = "hsl(78, 77%, 68%)"
const yelloColor = "hsl(50, 100%, 61%)"

export function greenAnimate(): Override {
    return {
        animate: data.isLoading
            ? {
                  background: [greenColor, redColor, yelloColor],
                  x: [0, -40],
              }
            : {},
        opacity: data.isLoading ? 1 : 0,
        transition: {
            duration: duration,
            flip: Infinity,
            ease: "easeInOut",
        },
    }
}
export function redAniamte(): Override {
    return {
        animate: data.isLoading
            ? {
                  background: [redColor, yelloColor, greenColor],
                  x: [0, 40],
              }
            : {},
        opacity: data.isLoading ? 1 : 0,
        transition: {
            duration: duration,
            flip: Infinity,
            ease: "easeInOut",
        },
    }
}
export function yelloAnimate(): Override {
    return {
        animate: data.isLoading
            ? {
                  background: [yelloColor, greenColor, redColor],
              }
            : {},
        opacity: data.isLoading ? 1 : 0,
        transition: {
            duration: duration,
            flip: Infinity,
            ease: "easeInOut",
        },
    }
}
2: B站
动效的灵感
B站的下拉刷新动效是一个b站小电视在动,比较风趣,符合品牌形象,也是符合用户画像的。废话不多说,我们来分析一下。
视频讲解

动效的解析
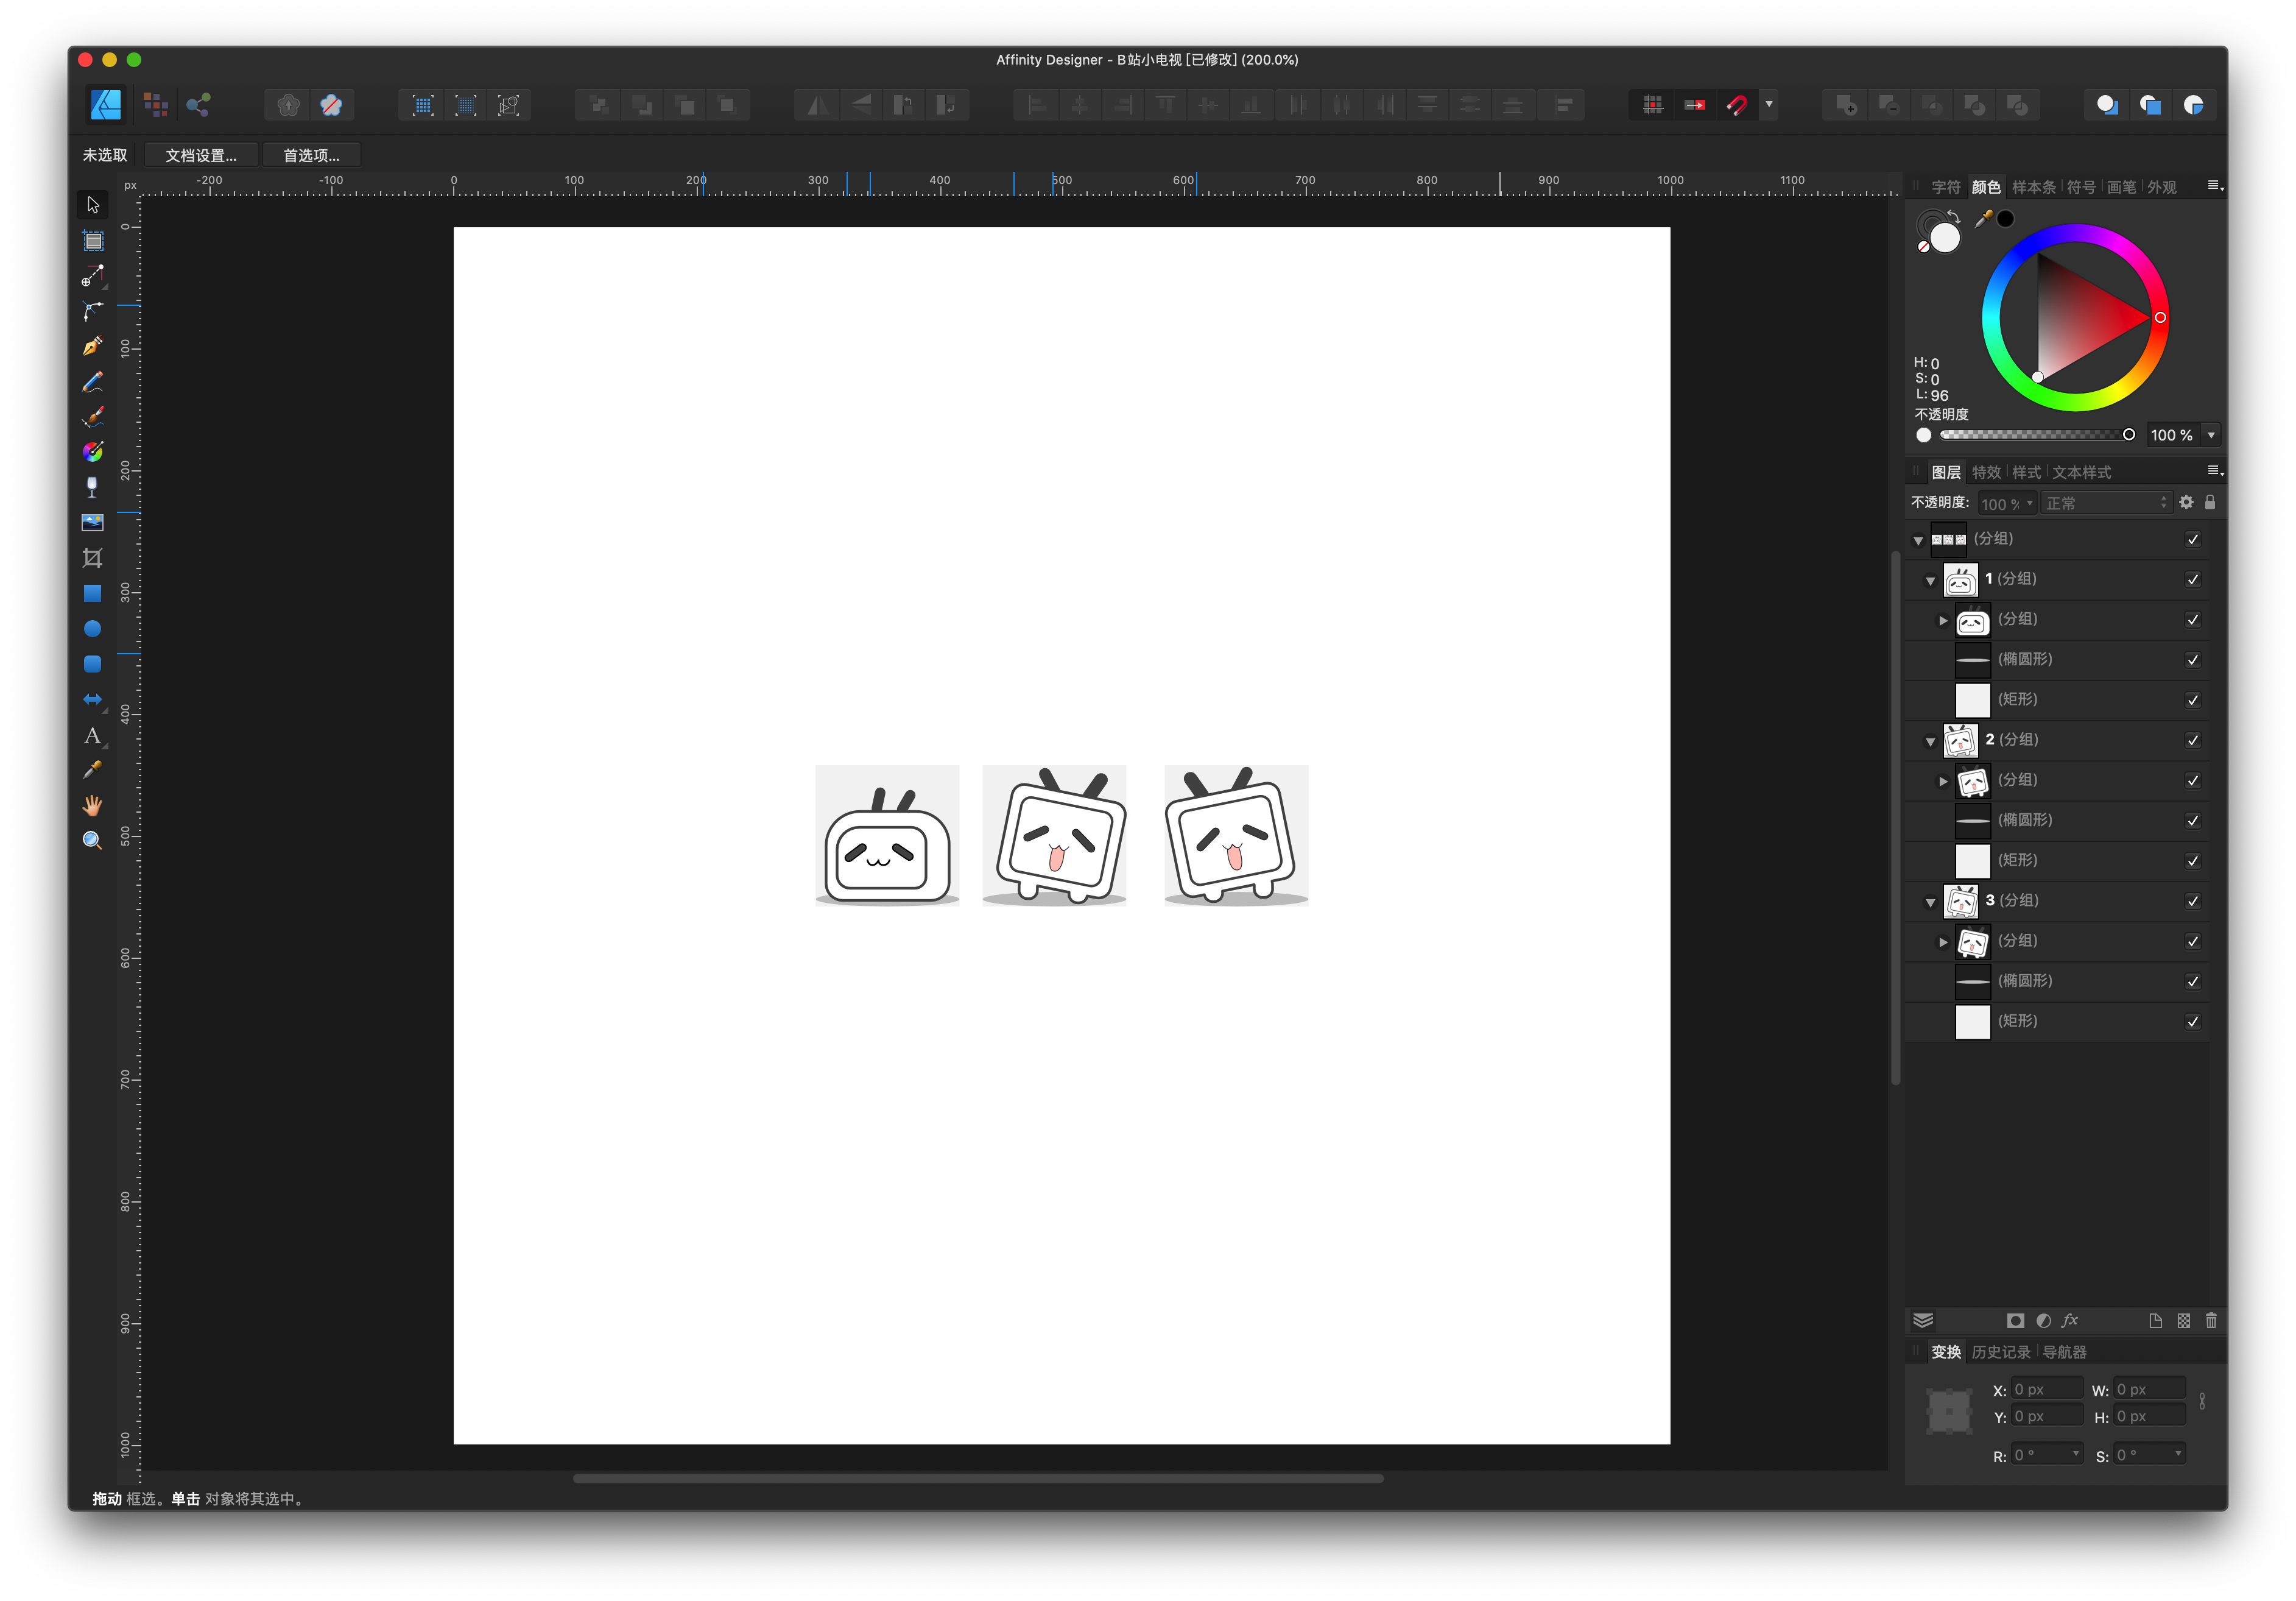
affinity designer 临摹素材
我们来说一下这个动态图。仔细分析发现,这个动态图是由3张图,来形成一个类似GIf图的效果。整体画风还是偏矢量的,所以我用 Affinity designer临摹这三个图片(我不喜欢用ai,哈哈)
接下来,就该制作动画了。制作Gif图,AE和ps都是可以的,但是AE的可扩展性更强,所以我们选择用AE。
导出素材
既然,我们是要用AE来做动画,那就要看看AE支持的图片素材格式。经过一顿分析,常见的jpg,png,eps,ai格式都是支持的。但是这里建议导出eps。为啥呢?因为eps单个可编辑,png不可以。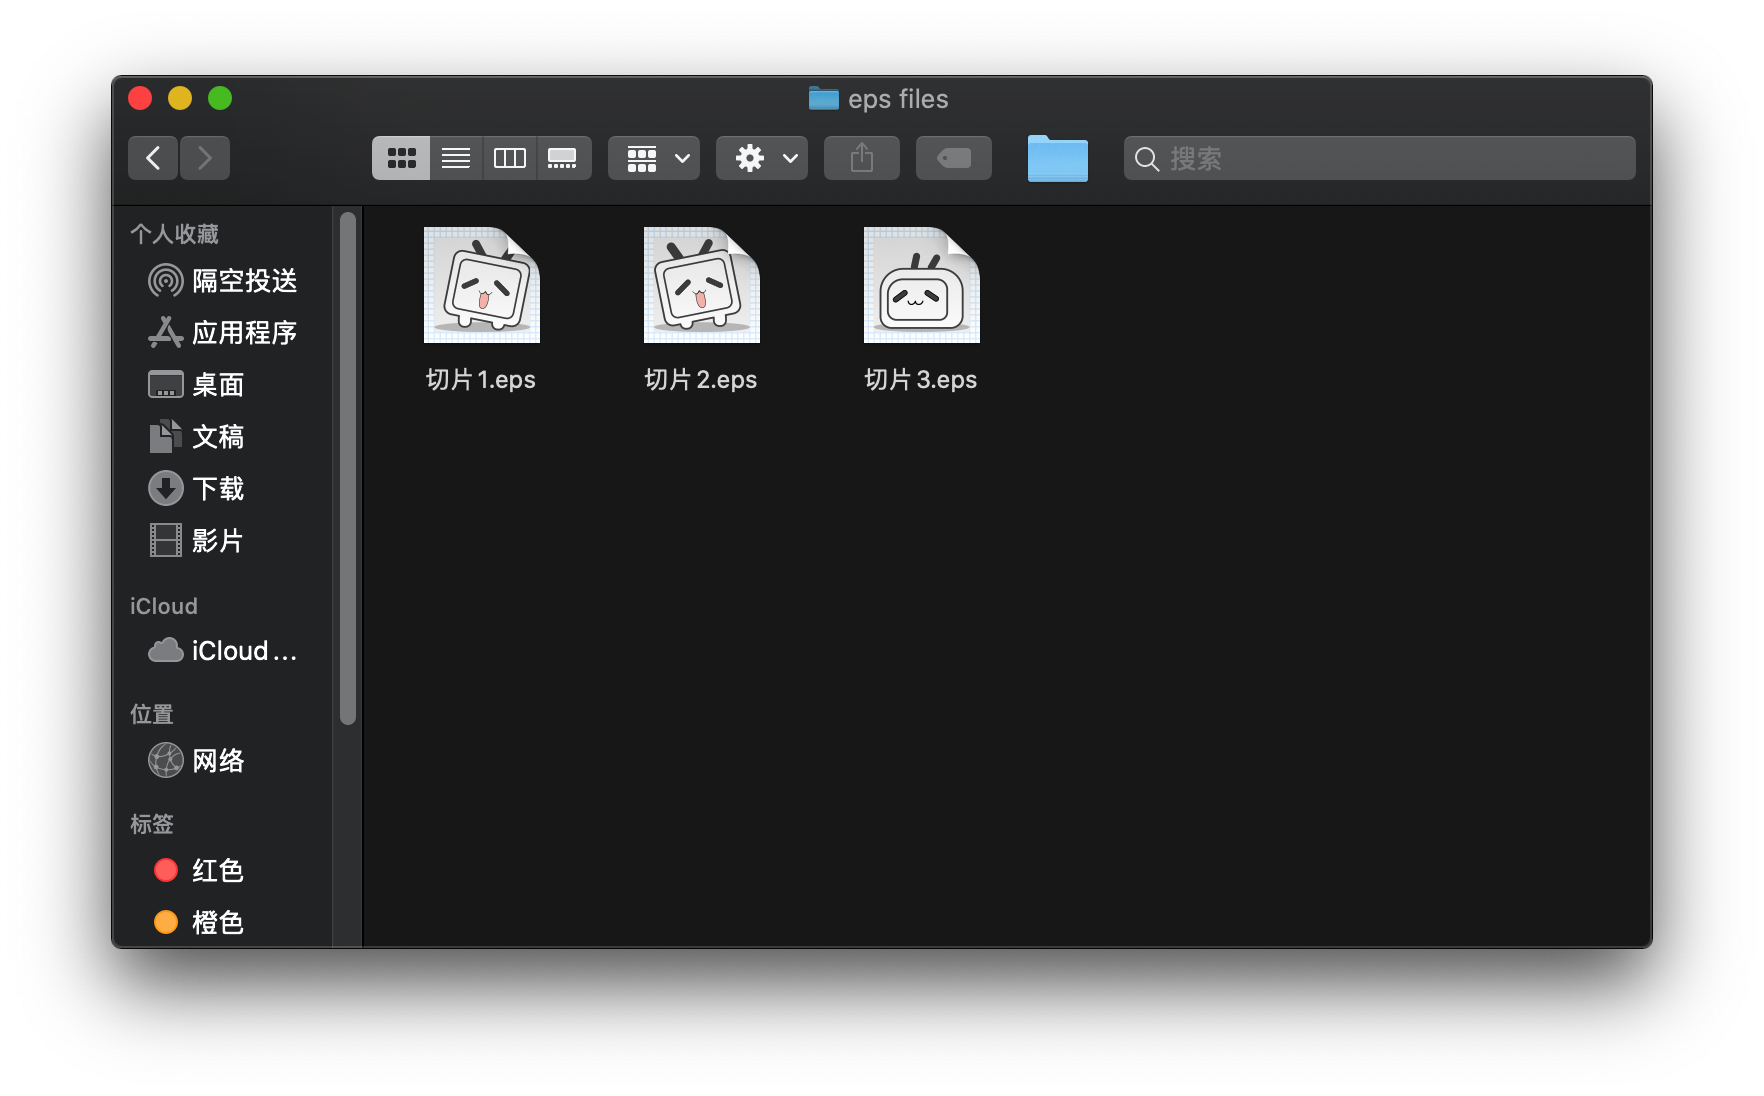 这里是导出的3张图
AE制作动画
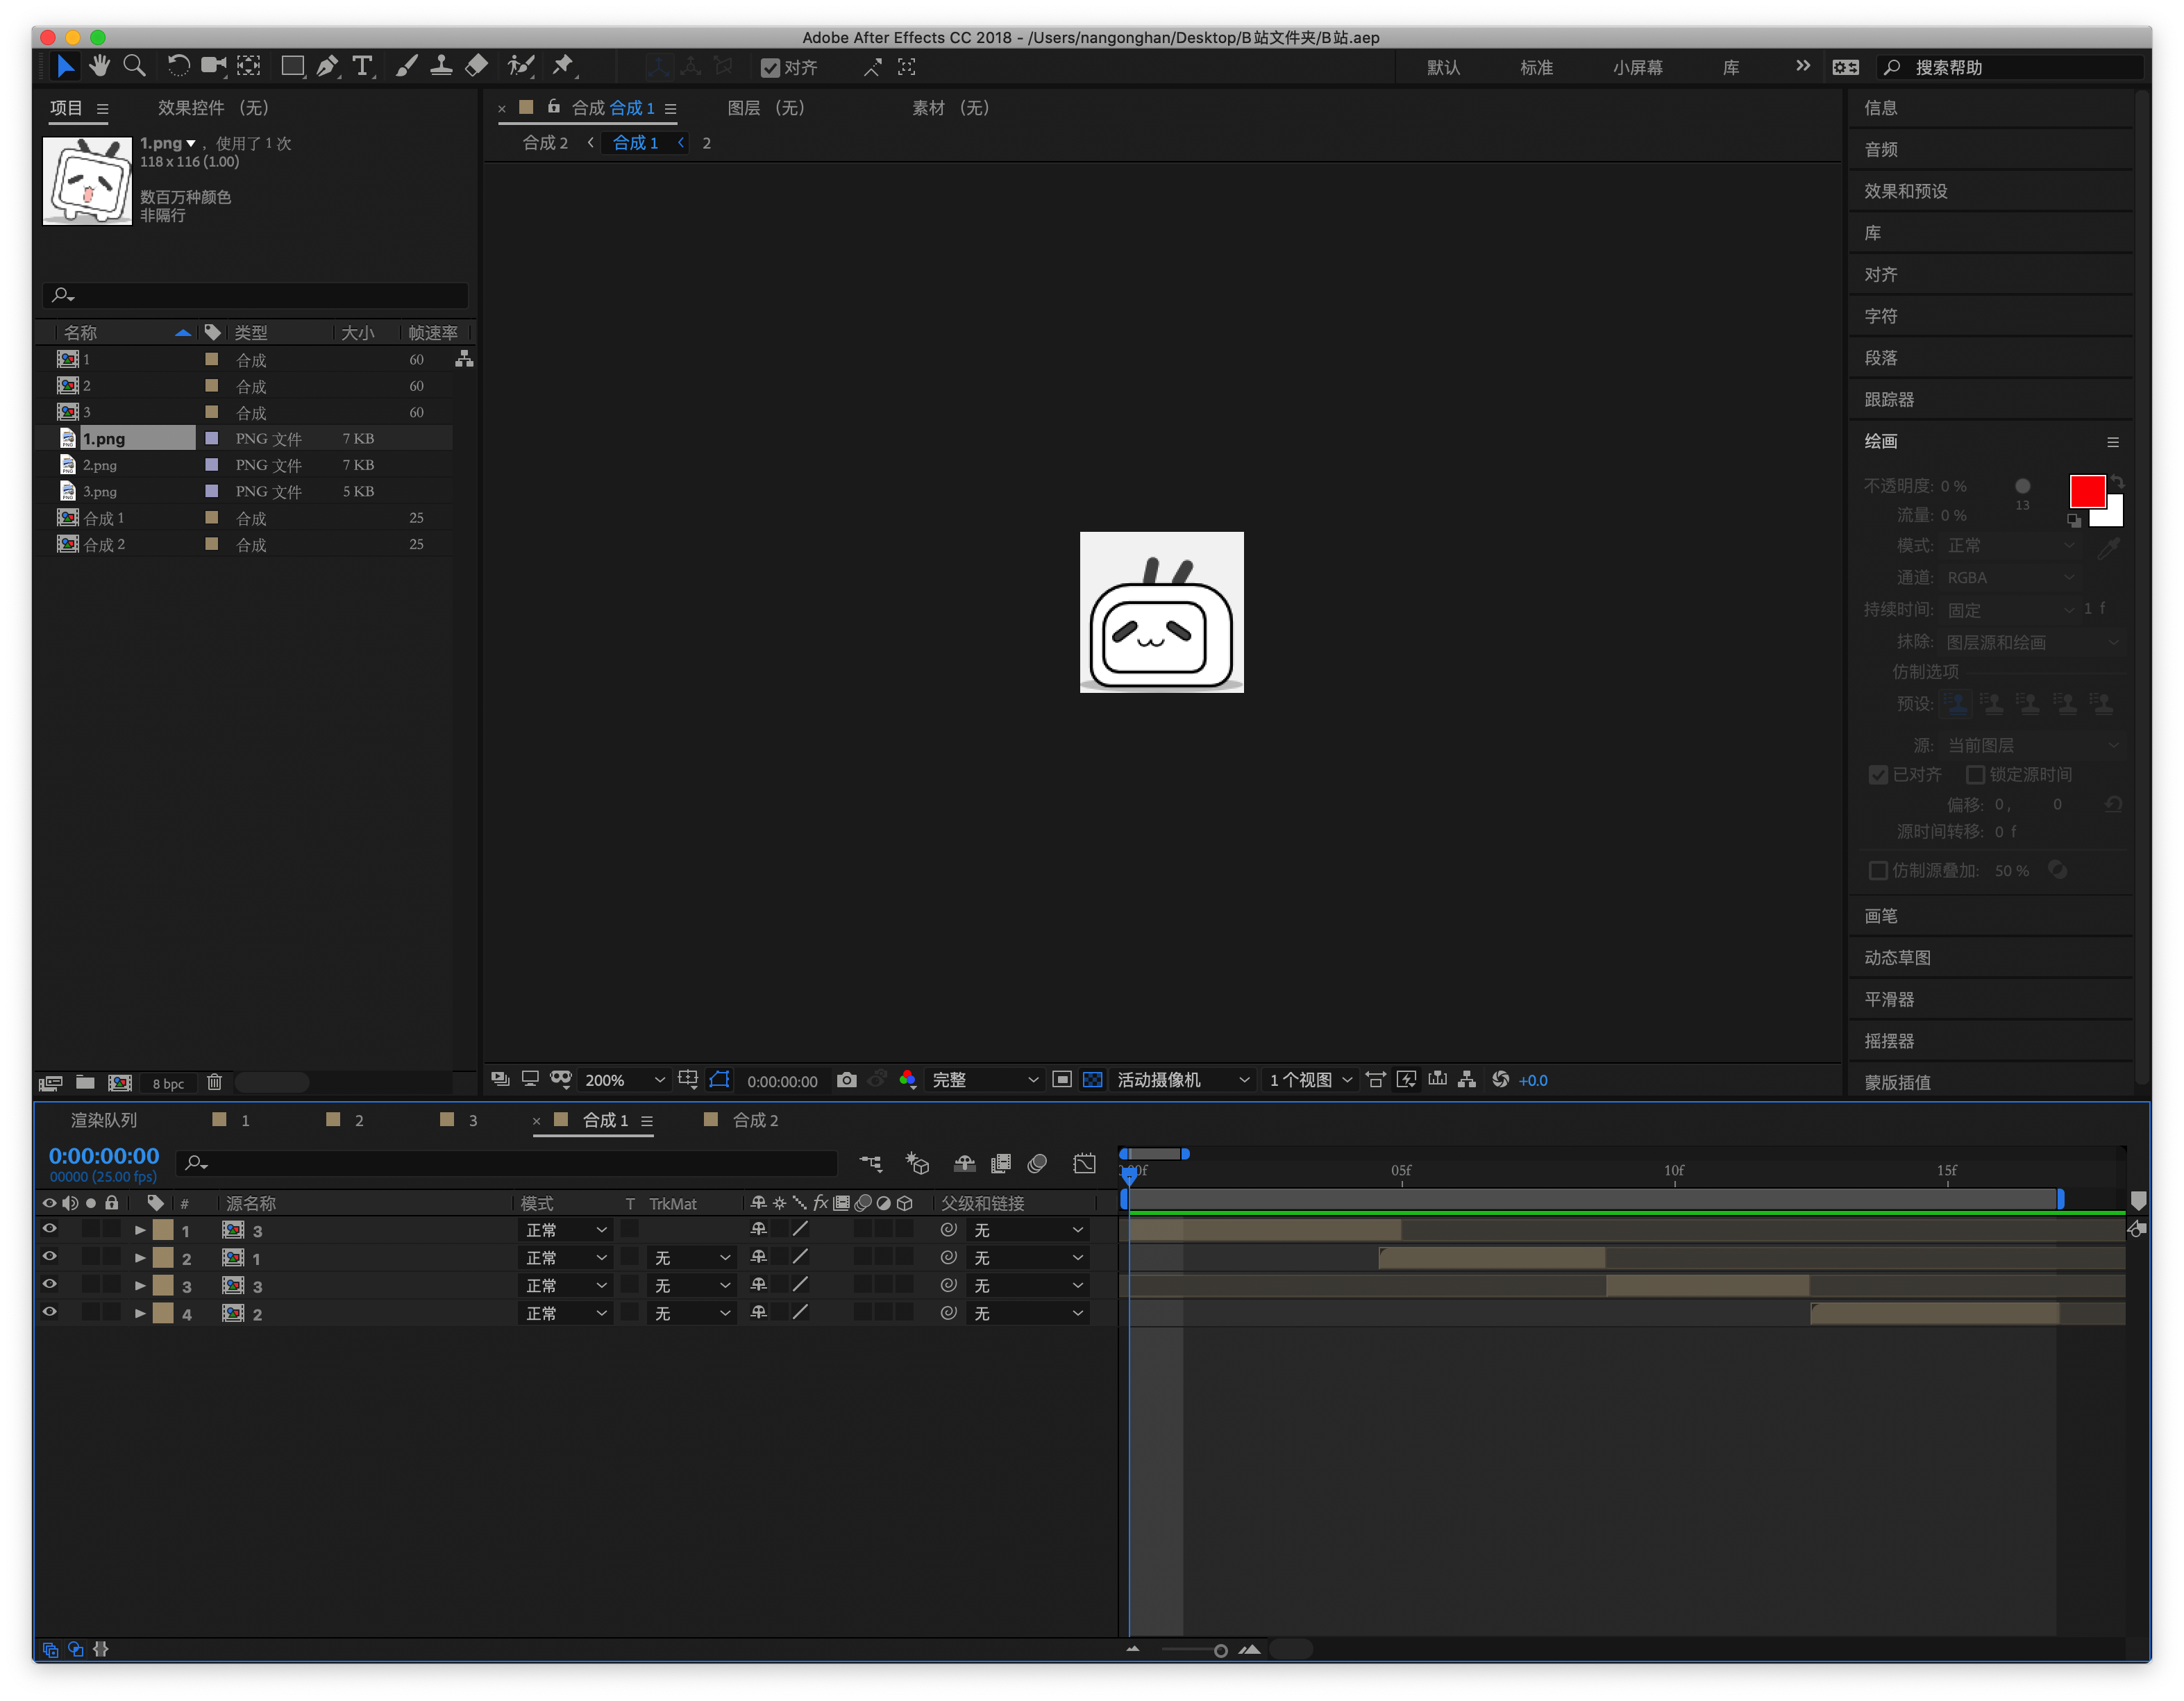
AE导出素材
ae可以导出什么素材呢?
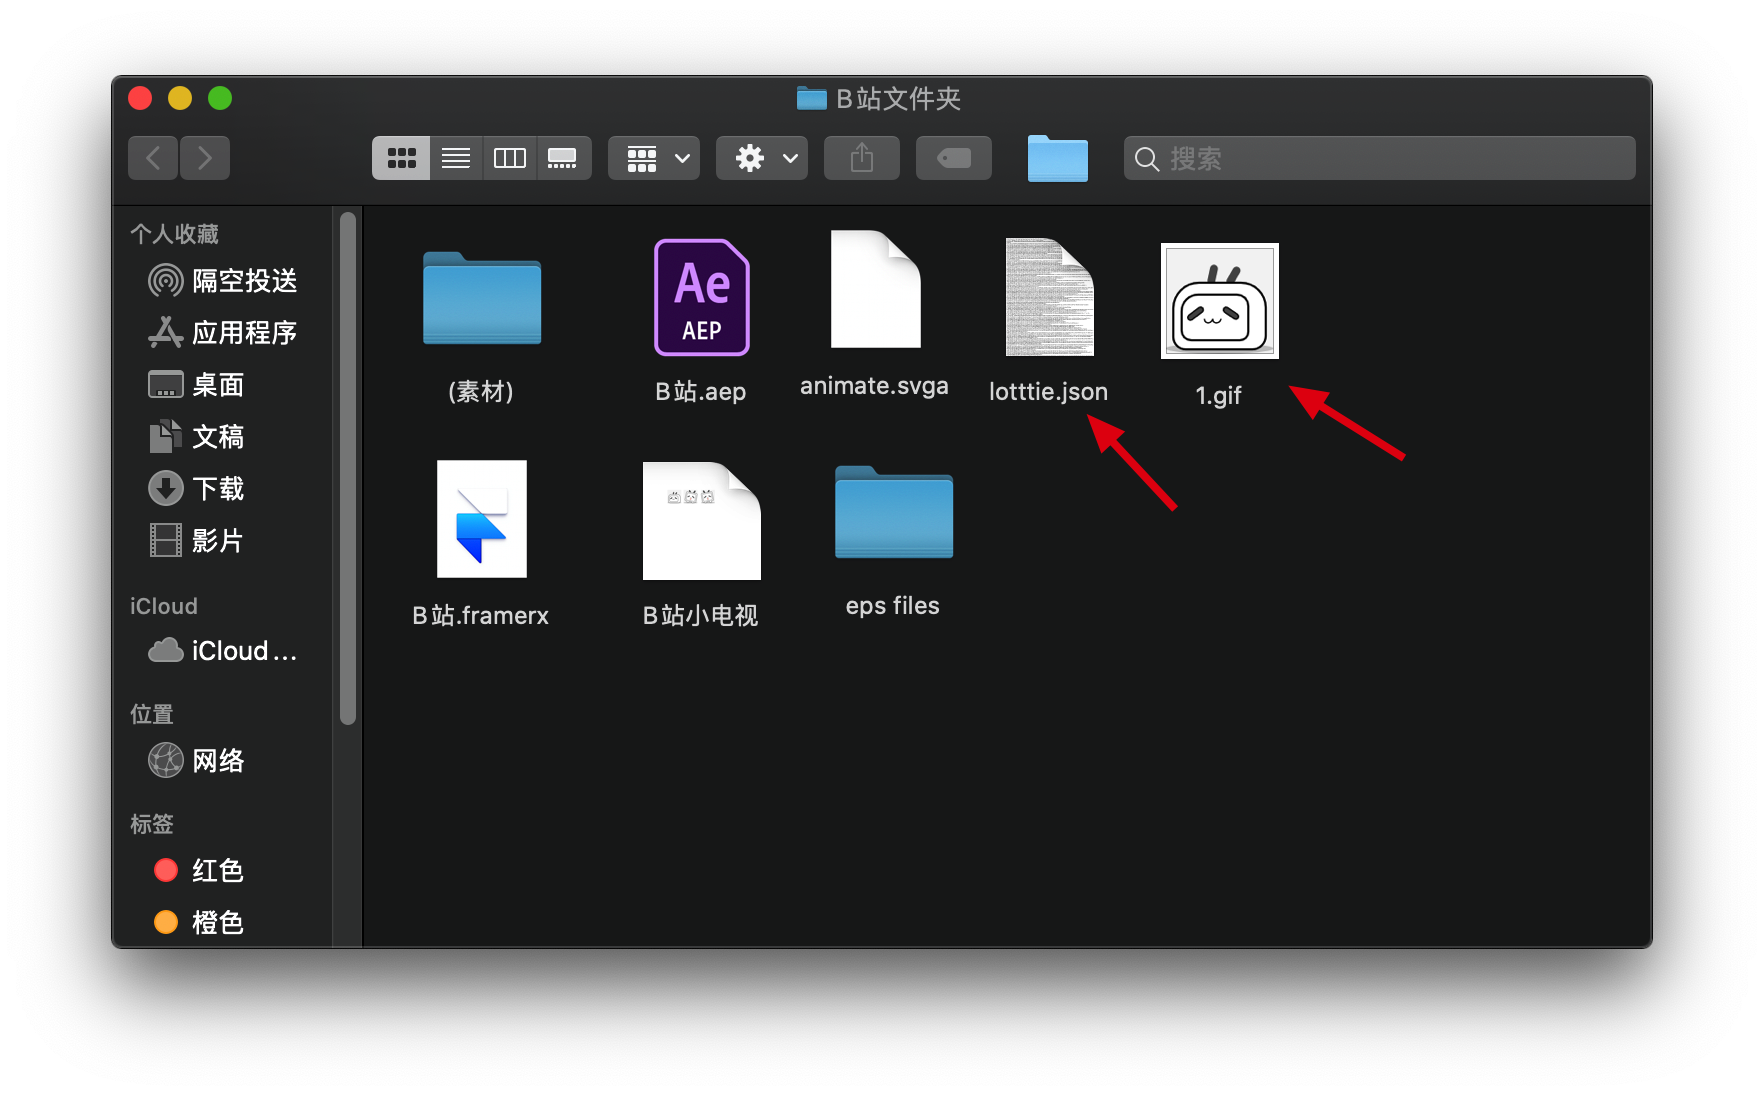
- gif —通过gifgun
- json —通过bodymovin插件,导出lottie需要的json文件
- svga —通过svga-concert导出svga动画需要的svga格式的文件
- apng
- webp
- css精灵图
具体的这几种格式,可以另行百度。我们这里简单说一下。
- gif格式已经比较古老了,占资源大,支持的颜色不多等等一大堆问题。适用于比较简单的格式,就像我们这个动效,颜色不多,也不复杂。frame X支持预览
- json: 这个主要是支持矢量动画的,也就是比较复杂的矢量动画,当然我们这个比较简单,虽然说是矢量化的,导入进入本质上还是个图片,不是矢量路径。也可以用。就是在实际应用的时候,需要加载库。framerX支持这个json文件的预览。
- svga:这个的话,主要是支持位图动画的,被YY直播公司首次大量使用,并且之后还开源了出来。以直播间送礼物特效用的最多,当然这个也可以用。不过,framer X目前不支持svga的预览。
- apng和webp是gif的升级版,颜色问题解决了,但是资源占用也还是问题,这个framer不支持预览。
我们这次的案导出的是Gif 和 json
项目文件:
代码展示
这个是支持json文件显示的code组件,framer 商店里面也有这个,使用这个code组件,需要安装react-lottie依赖。
import * as React from "react"
import { PropertyControls, ControlType } from "framer"
import Lottie from "react-lottie"

const styleError: React.CSSProperties = {
    height: "100%",
    width: "100%",
    display: "flex",
    alignItems: "center",
    justifyContent: "center",
    textAlign: "center",
    color: "#FF0000",
    padding: 20,
    overflow: "hidden",
}

const style: React.CSSProperties = {
    height: "100%",
    width: "100%",
    display: "flex",
    alignItems: "center",
    justifyContent: "center",
    textAlign: "center",
    color: "#131313",
    overflow: "hidden",
}

const lottiePlaceholder =
    "https://raw.githubusercontent.com/framer/Lottie/master/Lottie.framerfx/assets/component.png"
const lottieJsonURL =
    "https://raw.githubusercontent.com/framer/Lottie/master/Lottie.framerfx/assets/logo.json"

export const enum LottiePlayStates {
    Play = "▶",
    Pause = "❙❙",
    Stop = "■",
}

const StringIsNumber = value => isNaN(Number(value)) === false

function enumToArray(enumme) {
    return Object.keys(enumme)
        .filter(StringIsNumber)
        .map(key => enumme[key])
}

interface Props {
    lottieJsonURL: string
    loop: boolean
    refresh: LottiePlayStates
}

const defaultOptions = {
    loop: true,
    autoplay: true,
    animationData: null,
    rendererSettings: {
        preserveAspectRatio: "xMidYMid slice",
    },
}

export class Lottie extends React.Component<Partial<Props>> {
    static defaultProps = {
        lottieJsonURL: lottieJsonURL,
        loop: true,
        refresh: LottiePlayStates.Play,
        // Added three props below so Lottie doesn't complain about props in render()
        options: {},
        isStopped: false,
        isPaused: false,
    }
    static propertyControls: PropertyControls<Props> = {
        lottieJsonURL: { type: ControlType.String, title: "JSON" },
        loop: { type: ControlType.Boolean, title: "Loop" },
        refresh: {
            type: ControlType.SegmentedEnum,
            title: "State",
            options: [
                LottiePlayStates.Play,
                LottiePlayStates.Pause,
                LottiePlayStates.Stop,
            ],
        },
    }
    state = {
        error: false,
        isStopped: false,
        isPaused: false,
        animationData: null,
    }
    componentDidMount() {
        this.loadLottieData(this.props)
    }
    componentWillReceiveProps(nextProps) {
        if (nextProps.lottieJsonURL !== this.props.lottieJsonURL) {
            this.loadLottieData(nextProps)
        }
        if (nextProps.refresh !== this.props.refresh) {
            this.setState({
                isPaused: nextProps.refresh === LottiePlayStates.Pause,
                isStopped: nextProps.refresh === LottiePlayStates.Stop,
            })
        }
        if (nextProps.loop !== this.props.loop) {
            // seems like an issue with react-lottie, force it to reload the animation
            this.forceReloadAnimation()
        }
    }
    forceReloadAnimation = () => {
        this.setState({
            animationData: { ...this.state.animationData },
        })
    }
    loadLottieData = props => {
        const { lottieJsonURL } = props
        fetch(lottieJsonURL, {
            method: "GET",
            credentials: "omit",
            redirect: "follow",
        })
            .then(resp => {
                if (!resp.ok) {
                    console.error(
                        "There was an error while the fetching Lottie JSON URL"
                    )
                    console.log("Printing failed response...")
                    console.log(resp)
                    this.setState({
                        error: true,
                    })
                    return
                }
                resp.json()
                    .then(data => {
                        this.setState({
                            error: false,
                            animationData: data,
                        })
                    })
                    .catch(e => {
                        console.error(e)
                        console.log(
                            "Could not parse a valid JSON from the Lottie URL"
                        )
                        this.setState({
                            error: true,
                        })
                    })
            })
            .catch(e => {
                this.setState({
                    error: true,
                })
                console.error(e)
            })
    }
    render() {
        const { loop } = this.props
        const { error, animationData, isPaused, isStopped } = this.state
        if (error) {
            return (
                <div style={styleError}>
                    Error loading URL, please check the URL is a valid Lottie
                    JSON URL
                </div>
            )
        }
        if (!animationData) {
            return (
                <div style={style}>
                    <img src={lottiePlaceholder} />
                </div>
            )
        }
        const options = {
            ...defaultOptions,
            animationData,
            loop,
        }
        return (
            <Lottie
                options={options}
                isStopped={isStopped}
                isPaused={isPaused}
            />
        )
    }
}
核心交互Override
import { Override, Data, motionValue, useTransform, useAnimation } from "framer"

//data
const data = Data({
    isScroolTo65: false,
})

//define motionValue
const scrollY = motionValue(0)

//condition

scrollY.onChange(offset => {
    //opacity
    if (offset > 65) {
        data.isScroolTo65 = true
        controls.start({
            y: 65,
            transition: { duration: 0.15, ease: "easeOut" },
        })
    } else if (offset < 1) {
        data.isScroolTo65 = false
    }
    //positionY
})
//scrollContent
let controls
export function scroll(): Override {
    controls = useAnimation()
    return {
        contentOffsetY: scrollY,
        onPanEnd() {
            setTimeout(() => {
                controls.start({
                    y: 0,
                    transition: { duration: 0.15, ease: "easeOut" },
                })
            }, 1200)
        },
        scrollAnimate: controls,
    }
}

//gif
export function Gif(): Override {
    const y = useTransform(scrollY, [0, 65], [0, 50])
    return {
        y: y,
        animate: data.isScroolTo65
            ? {
                  opacity: 1,
              }
            : {
                  opacity: 0,
              },
        transition: {
            duration: 0.15,
            ease: "easeInOut",
        },
    }
}
//photo
export function Photo(): Override {
    const y = useTransform(scrollY, [0, 65], [0, 50])
    return {
        y: y,
        animate: data.isScroolTo65
            ? {
                  opacity: 0,
              }
            : {
                  opacity: 1,
              },
        transition: {
            duration: 0.15,
            ease: "easeInOut",
        },
    }
}

若有收获,就点个赞吧
0 人点赞
