插件介绍
之前对 Ionic 3 项目插件的结构做过简单的介绍Ionic 3 插件应用:plugin基本知识了解
一个插件应该至少包含以下file:
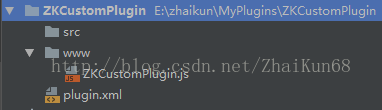
plugin-name
————————-src //插件支持平台
———android.java //添加了支持Android平台
————————-www //JS文件,将Cordova.exec方法暴露给HTML/JS调用
———android.js
————————-plugin.xml //插件的配置文件,通知CLI哪个平台应该从什么地方Copy哪些文件到什么地方,以及CLI在生成config.xml时应该根据平台加入什么样的特殊设置
在自定插件时,我们可以按照上述的目录结构,建立各自的文件,但是这样做的话,比较繁琐,因此一般不推荐这样做。
推荐使用插件生成工具plugman,他会自动帮我们创建好想要的插件目录,然后去对应文件中实现我们需要的功能即可。
安装plugman
$ npm install -g plugman
创建插件模板
plugman可用的命令
plugman manages plugin.xml-compatible cordova plugins into cordova-generated projects.Usage=====To display this help file, use one of the following:$ plugman --help$ plugman -hTo display the plugman version, use one of the following:$ plugman --version$ plugman -vOptional flags----------------debug|-d : Verbose modeInstall a plugin----------------$ plugman install --platform <platform> --project <directory> --plugin <plugin> [--variable NAME=VALUE]Parameters:- platform <platform>: One of android, ios, blackberry10, wp8, or windows8- project <directory>: Path reference to a cordova-generated project of the platform you specify- plugin <plugin>: One of a path reference to a local copy of a plugin, or a remote https: or git: URL pointing to a cordova plugin (optionally append #branch:subdir) ora plugin ID from http://plugins.cordova.io- variable NAME=VALUE: Some plugins require install-time variables to be defined. These could be things like API keys/tokens or other app-specific variables.Optional parameters:- www <directory>: www assets for the plugin will be installed into this directory. Default is to install into the standard www directory for the platform specified- plugins_dir <directory>: a copy of the plugin will be stored in this directory. Default is to install into the <project directory>/plugins folder- searchpath <directory>: when looking up plugins by ID, look in this directory and each of its subdirectories for the plugin before hitting the registry.Multiple search paths can be used by either specifying the flag multiple times, or by separating paths with a delimiter (: on 'nix, ; on Windows).Uninstall a plugin------------------$ plugman uninstall --platform <platform> --project <directory> --plugin <plugin-id>Parameters:- platform <platform>: One of android, ios, blackberry10, wp8, or windows8- project <directory>: Path reference to a cordova-generated project of the platform you specify- plugin <plugin-id>: The plugin to remove, identified by its id (see the plugin.xml's <plugin id> attribute)Interacting with the registry=============================NOTICE: The Cordova Plugin registry became read-only, so the following commands have been deprecated and removed:$ plugman adduser$ plugman publish$ plugman unpublish$ plugman owner add/rmFor managing plugins for the npm registry, use corresponding npm commands. For more info on npm commands see `npm help <command>`.Learn more about publishing your plugins to npm at http://plugins.cordova.io/npm/developers.htmlSearch for a plugin-------------------$ plugman search <keyword1 keyword2 ...>Display plugin information--------------------------$ plugman info <pluginID>Manage registry configuration-----------------------------Display current configuration settings:$ plugman config lsDisplay the current registry URL:$ plugman config get registrySet registry URL:$ plugman config set registry <url>Example:$ plugman config set registry http://localhost:5984/registry/_design/app/_rewriteManage Owners-------------Plugin owners are allowed to publish updates to a plugin. To display a list of owners for a plugin, use:$ plugman owner ls <pluginID>Example:$ plugman owner ls org.apache.cordova.core.fileCreate A Plugin---------------$ plugman create --name <pluginName> --plugin_id <pluginID> --plugin_version <version> [--path <directory>] [--variable NAME=VALUE]Parameters:- <pluginName>: The name of the plugin- <pluginID>: An ID for the plugin, ex: org.bar.foo- <version>: A version for the plugin, ex: 0.0.1- <directory>: An absolute or relative path for the directory where the plugin project will be created- variable NAME=VALUE: Extra variables such as description or AuthorAdd a Package.JSON file to plugin---------------------------------Creates a package.json file in the plugin based on values from plugin.xml.$ plugman createpackagejson <directory>Add a Platform to a Plugin--------------------------$ plugman platform add --platform_name <platform>Parameters:- <platform>: One of android, iosRemove a Platform from a Plugin-------------------------------$ plugman platform remove --platform_name <platform>Parameters:- <platform>: One of android, ios
使用创建插件的命令
Create A Plugin---------------$ plugman create --name <pluginName> --plugin_id <pluginID> --plugin_version <version> [--path <directory>] [--variable NAME=VALUE]Parameters:- <pluginName>: The name of the plugin- <pluginID>: An ID for the plugin, ex: org.bar.foo- <version>: A version for the plugin, ex: 0.0.1- <directory>: An absolute or relative path for the directory where the plugin project will be created- variable NAME=VALUE: Extra variables such as description or Author
对应的参数都有说明,此处不再进行翻译,开始创建一个插件模板(插件可以选择创建在任意目录)
$ plugman create --name ZKCustomPlugin --plugin_id zhaikun68.plugin.custom --plugin_version 0.0.1 --path E:\zhaikun\MyPlugins --variable zhaikun68
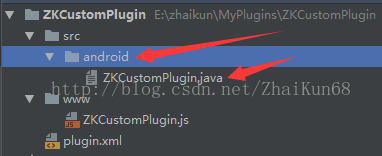
添加插件支持的平台
支持Android
$ plugman platform add --platform_name android
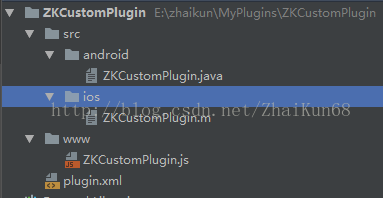
支持iOS平台
$ plugman platform add --platform_name ios
plugin.xml文件内容说明
<?xml version='1.0' encoding='utf-8'?><!--插件的标识,即发布安装到 plugin 的 ID ,在创建插件是设定--><plugin id="zhaikun68.plugin.custom" version="0.0.1" xmlns="http://apache.org/cordova/ns/plugins/1.0"xmlns:android="http://schemas.android.com/apk/res/android"><!--插件的名称--><name>ZKCustomPlugin</name><ZHAIKUN68/><!--对应我们的 javascript 文件,src 属性指向 www/ZKCustomPlugin.js--><js-module name="ZKCustomPlugin" src="www/ZKCustomPlugin.js"><!--指定clobbers ,然后通过target的值来调用 ZKCustomPlugin.js,此处对应 ZKCustomPlugin.js 中exports的对象--><clobbers target="cordova.plugins.ZKCustomPlugin"/></js-module><!--支持的平台Android--><platform name="android"><config-file parent="/*"target="res/xml/config.xml"><!--这里是表示在res/xml/config.xml文件中插入以下一行代码--><feature name="ZKCustomPlugin"><param name="android-package"value="zhaikun68.plugin.custom.ZKCustomPlugin"/><!--调用插件的类名,实现了execute方法--></feature></config-file><config-file parent="/*" target="AndroidManifest.xml"/><!--对AndroidManifest.xml文件进行修改--><!--表示将插件src/android目录下的ZKCustomPlugin.java文件拷贝到android的src/zhaikun68/plugin/custom目录下面去--><!--如果有引用包,也可以这样拷贝到安卓的指定lib下面去--><source-file src="src/android/ZKCustomPlugin.java" target-dir="src/zhaikun68/plugin/custom/ZKCustomPlugin"/></platform><!--支持的平台iOS--><platform name="ios"><config-file parent="/*" target="config.xml"><feature name="ZKCustomPlugin"><param name="ios-package" value="ZKCustomPlugin"/></feature></config-file><source-file src="src/ios/ZKCustomPlugin.m"/></platform></plugin>
ZKCustomPlugin.js文件内容说明
var exec = require('cordova/exec');exports.coolMethod = function (arg0, success, error) {/*** Cordova.exec()方法说明* function(winParam) {}:成功回调函数。假设您的 exec成功完成,此功能将随您传递给它的任何参数一起执行* function(error) {}:错误回调函数。如果操作未成功完成,则此功能将执行可选的错误参数* "service":在本机端呼叫的服务名称,与原生端的类名保持一致* "action":在本机端调用的动作名称,对应原生类execute()的入参,原生代码通过对action进行判断,从而知道JS让原生端执行什么样的功能* [ arguments ]:传到原生环境的参数数组*/exec(success, error, "ZKCustomPlugin", "coolMethod", [arg0]);};
ZKCustomPlugin.java文件内容说明
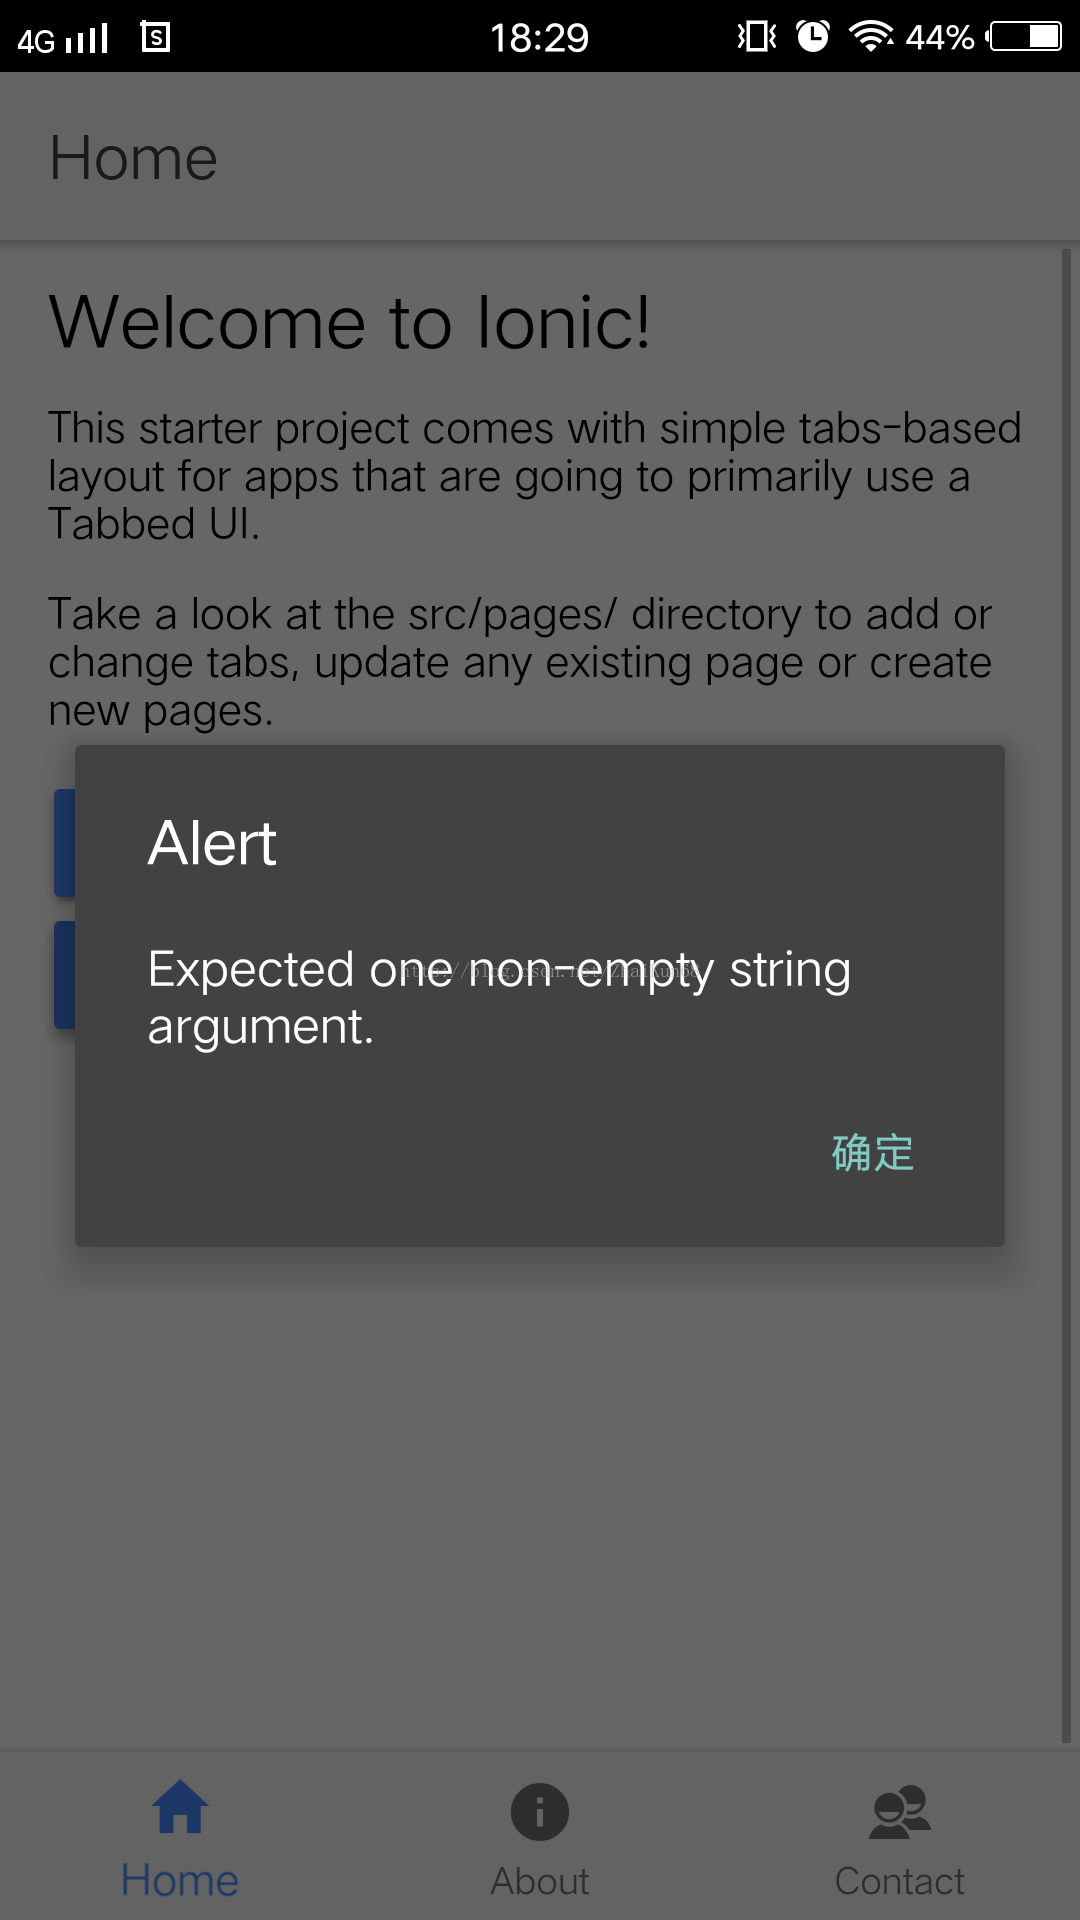
package zhaikun68.plugin.custom;import org.apache.cordova.CordovaPlugin;import org.apache.cordova.CallbackContext;import org.json.JSONArray;import org.json.JSONException;import org.json.JSONObject;/*** This class echoes a string called from JavaScript.*/public class ZKCustomPlugin extends CordovaPlugin {//必须继承CordovaPlugin/*** action对应exec传过来的action* args对应exec传过来的参数数组* callbackContext:对应exec传过来的回调函数*/@Overridepublic boolean execute(String action, JSONArray args, CallbackContext callbackContext) throws JSONException {if (action.equals("coolMethod")) {String message = args.getString(0);this.coolMethod(message, callbackContext);return true;}return false;}private void coolMethod(String message, CallbackContext callbackContext) {if (message != null && message.length() > 0) {callbackContext.success(message);//成功的回调函数} else {callbackContext.error("Expected one non-empty string argument.");//失败的回调函数}}}
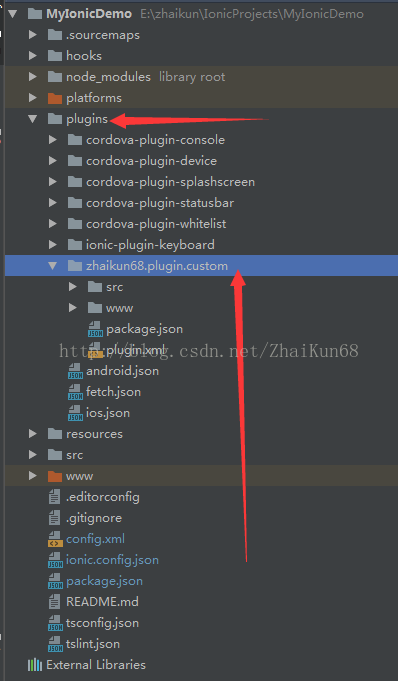
将自定义的插件添加到我们创建的项目
$ ionic cordova plugin add E:\zhaikun\MyPlugins\ZKCustomPlugin
未添加成功,有错误信息提示
$ > cordova plugin add E:\zhaikun\MyPlugins\ZKCustomPlugin --save× Running command - failed![ERROR] An error occurred while running cordova plugin add E:\zhaikun\MyPlugins\ZKCustomPlugin --save (exit code 1):Error: Invalid Plugin! E:\zhaikun\MyPlugins\ZKCustomPlugin needs a valid package.json
错误信息翻译过来大概就是:插件的根目录下需要一个package.json文件
记性好的大牛应该发现了在 plugman 工具中,正好有创建package.json文件的命令
Add a Package.JSON file to plugin---------------------------------Creates a package.json file in the plugin based on values from plugin.xml.$ plugman createpackagejson <directory>
创建package.json文件(进入插件的根目录)
$ plugman createpackagejson E:\zhaikun\MyPlugins\ZKCustomPlugin
回车后会提示输入插件名、版本号、插件描述、git仓库地址、作者和证书信息,如果不进行修改,一直回车即可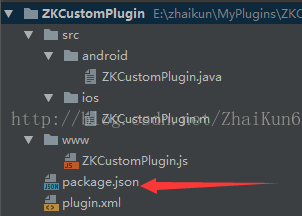
回到我们项目的根目录,重新添加插件
$ ionic cordova plugin add E:\zhaikun\MyPlugins\ZKCustomPlugin
插件调用
在home.html文件中增加两个按钮
<ion-header><ion-navbar><ion-title>Home</ion-title></ion-navbar></ion-header><ion-content padding><h2>Welcome to Ionic!</h2><p>This starter project comes with simple tabs-based layout for appsthat are going to primarily use a Tabbed UI.</p><p>Take a look at the <code>src/pages/</code> directory to add or change tabs,update any existing page or create new pages.</p><!--这里是添加的两个按钮--><button ion-button (click)="getNativeSuccess()">模拟-成功调用原生插件</button><button ion-button (click)="getNativeFailed()">模拟-失败调用原生插件</button></ion-content>
然后修改home.ts文件中的内容
import {Component} from '@angular/core';import {NavController} from 'ionic-angular';declare let cordova: any;//这里是修改的代码@Component({selector: 'page-home',templateUrl: 'home.html'})export class HomePage {constructor(public navCtrl: NavController) {}//这里是修改的代码getNativeSuccess() {cordova.plugins.ZKCustomPlugin.coolMethod('原生插件调用成功',successMsg => {alert(successMsg)}, failedMsg => {alert(failedMsg)});}//这里是修改的代码getNativeFailed() {cordova.plugins.ZKCustomPlugin.coolMethod('',successMsg => {alert(successMsg)}, failedMsg => {alert(failedMsg)});}}
然后编译项目即可
$ ionic cordova build android
效果图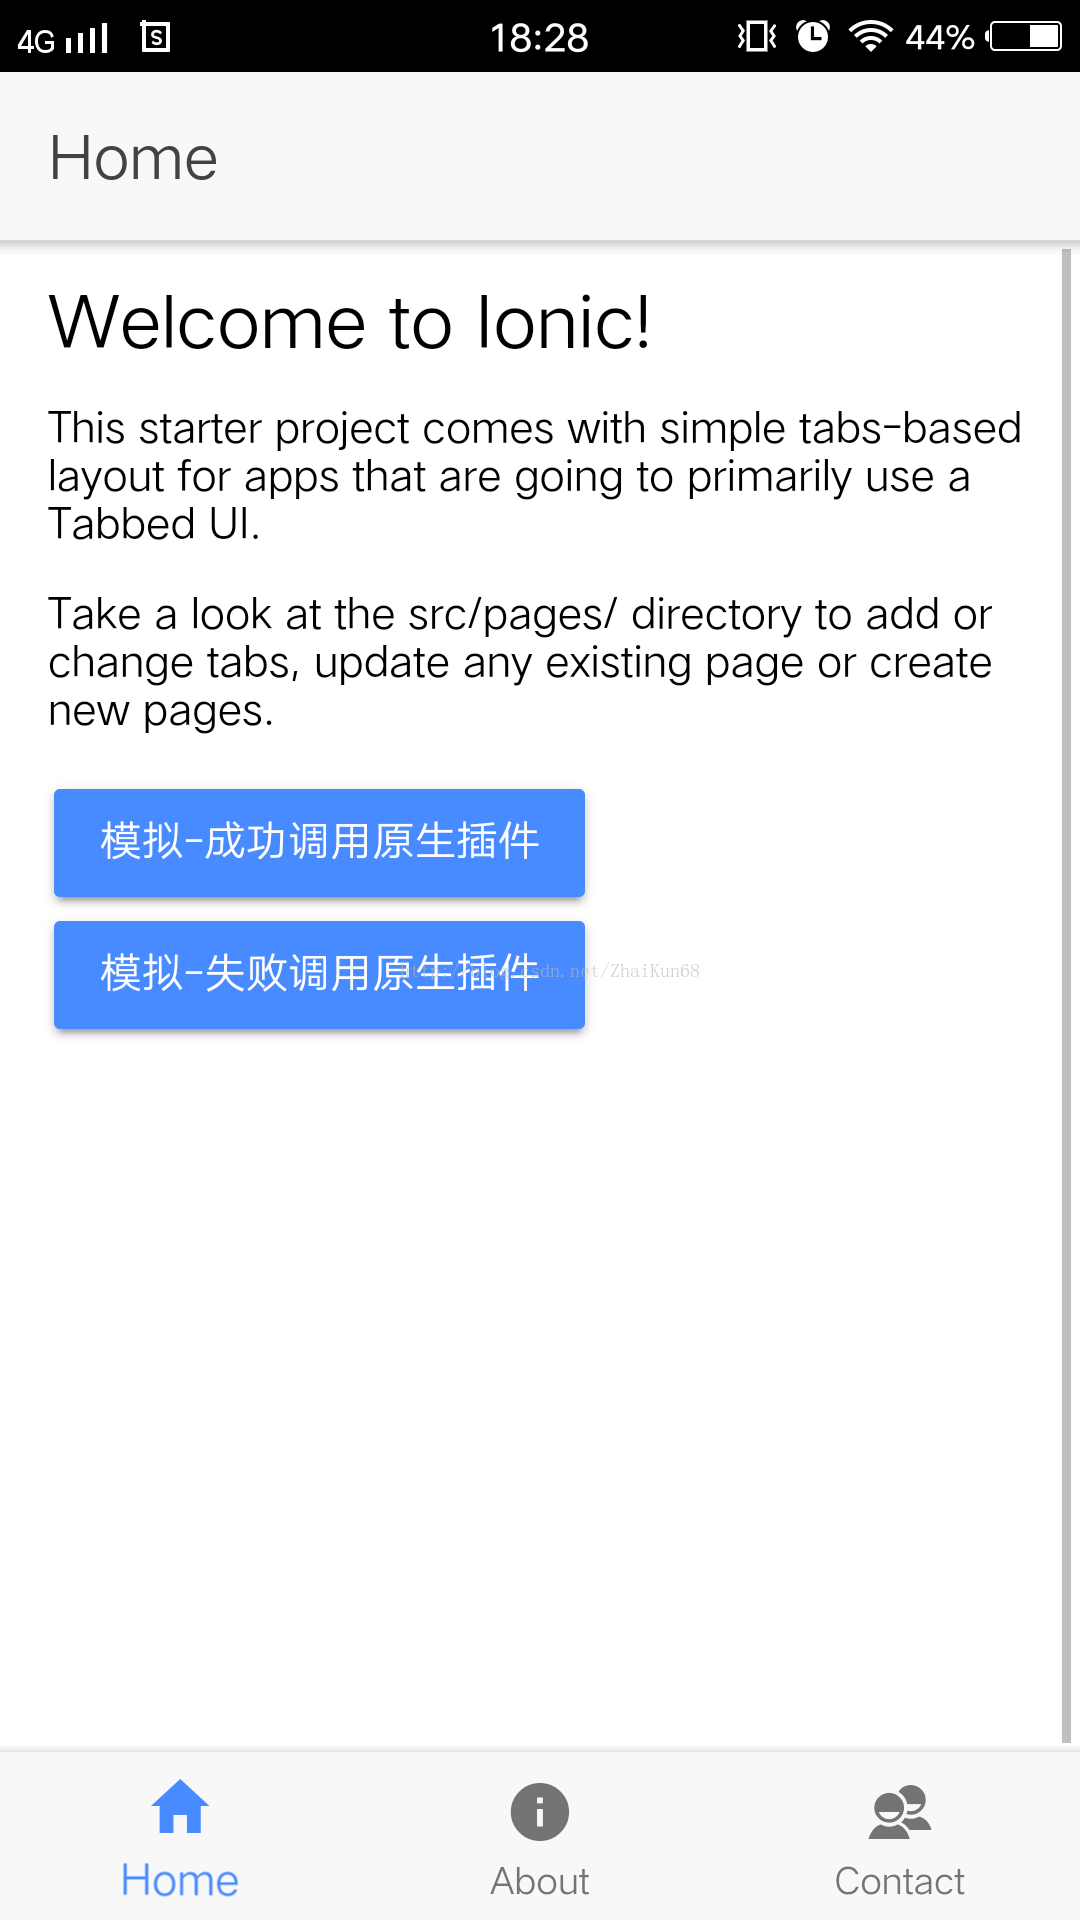
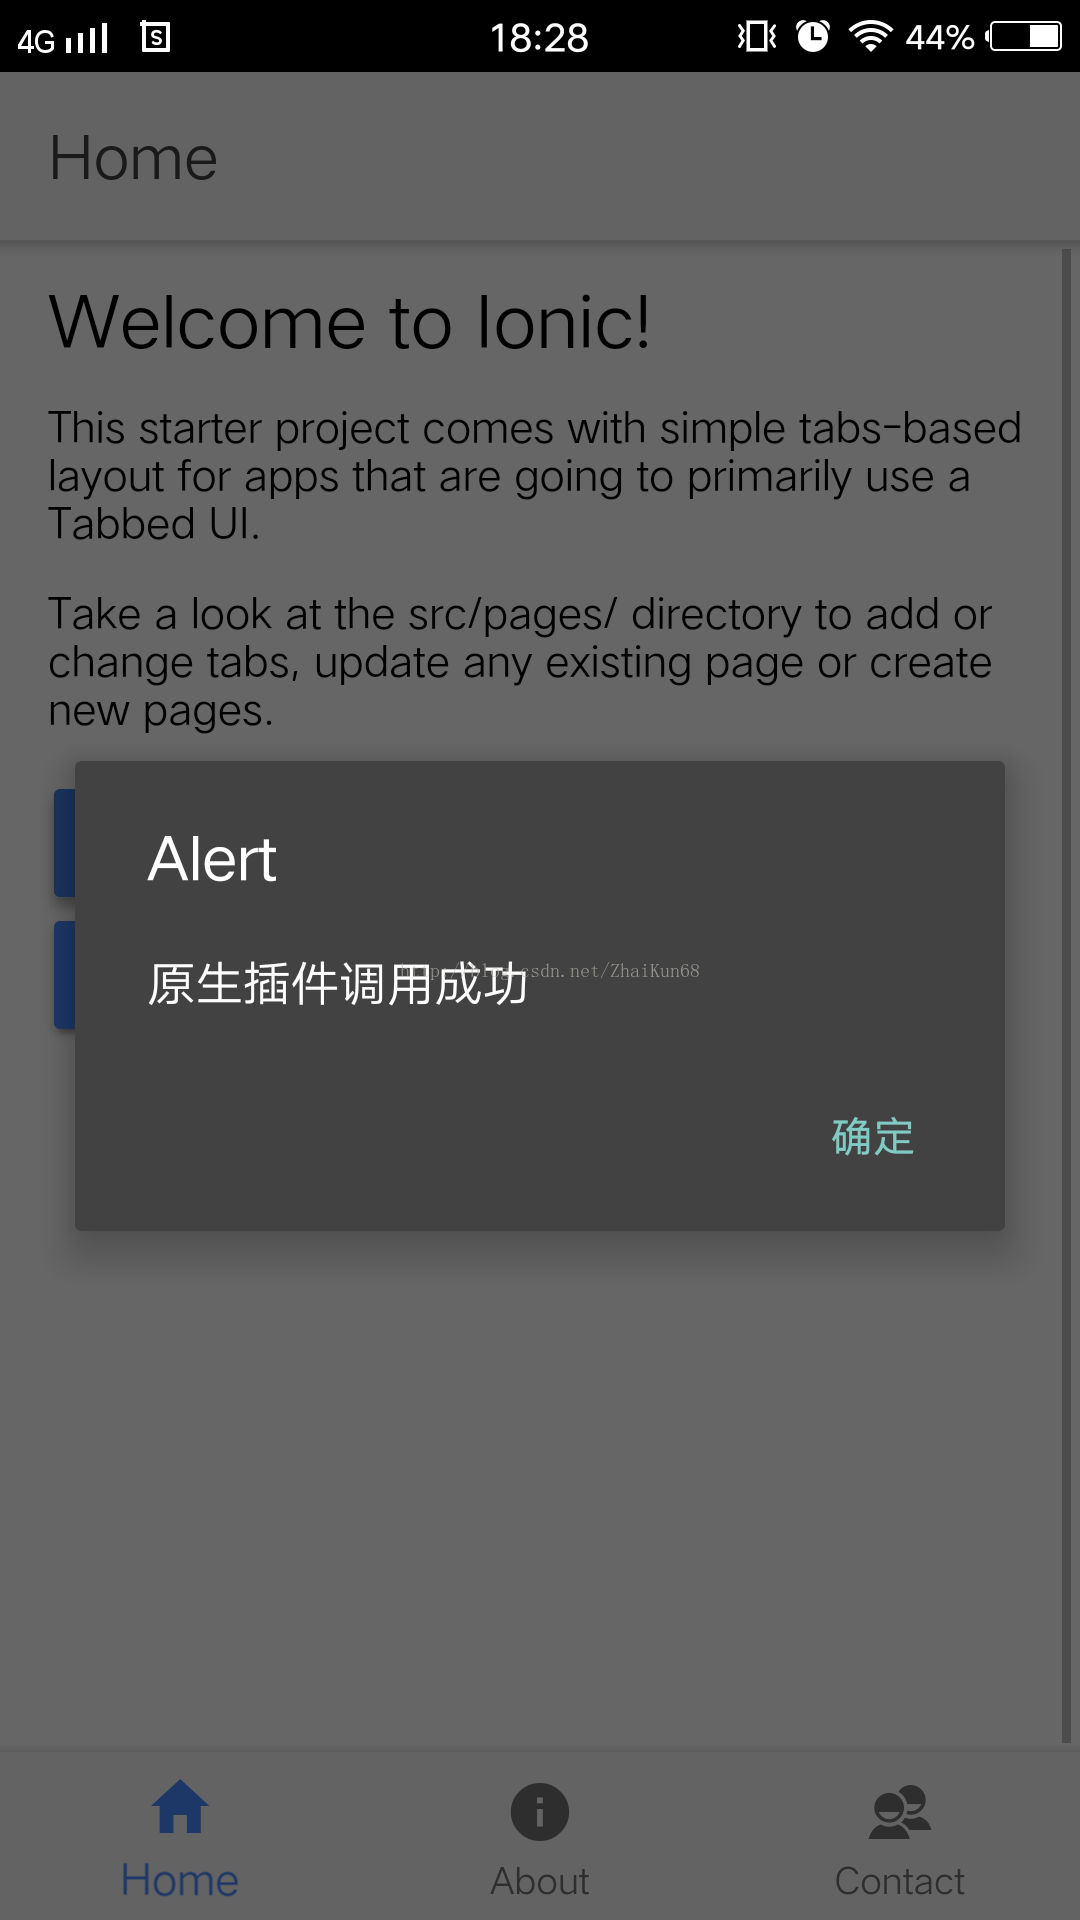
此处的调试是在真机上进行的,在浏览器调试会出现运行时异常
此外,插件一旦添加到项目中,以后如需对插件进行升级,需先卸载掉原先的插件,在重新安装

若有收获,就点个赞吧
0 人点赞
