认证源码流程分析
1、在进行认证的时候,我们将用户的信息封装好一个对象 UsernamePasswordToken 之后,是通过 Subject.login(tpken) 方法来进行提交认证的,这也是第一步,用 Debug 模式启动一次认证操作
2、下一步进入到一个 DelegatingSubject 的类中,执行依旧是 login() 方法。这个就是 subject.log() 的具体实现方法。同时我们看到一个之前要了解的一个异常 AuthenticationException 认证失败的父类异常。
红色框中的代码是: Subject subject = this.securityManager.login(this, token);
咱们之前有提到过, subject 的认证是托管给 SecurityManager 来进行操作的,而这里做的就是托管给 SecurityManager 。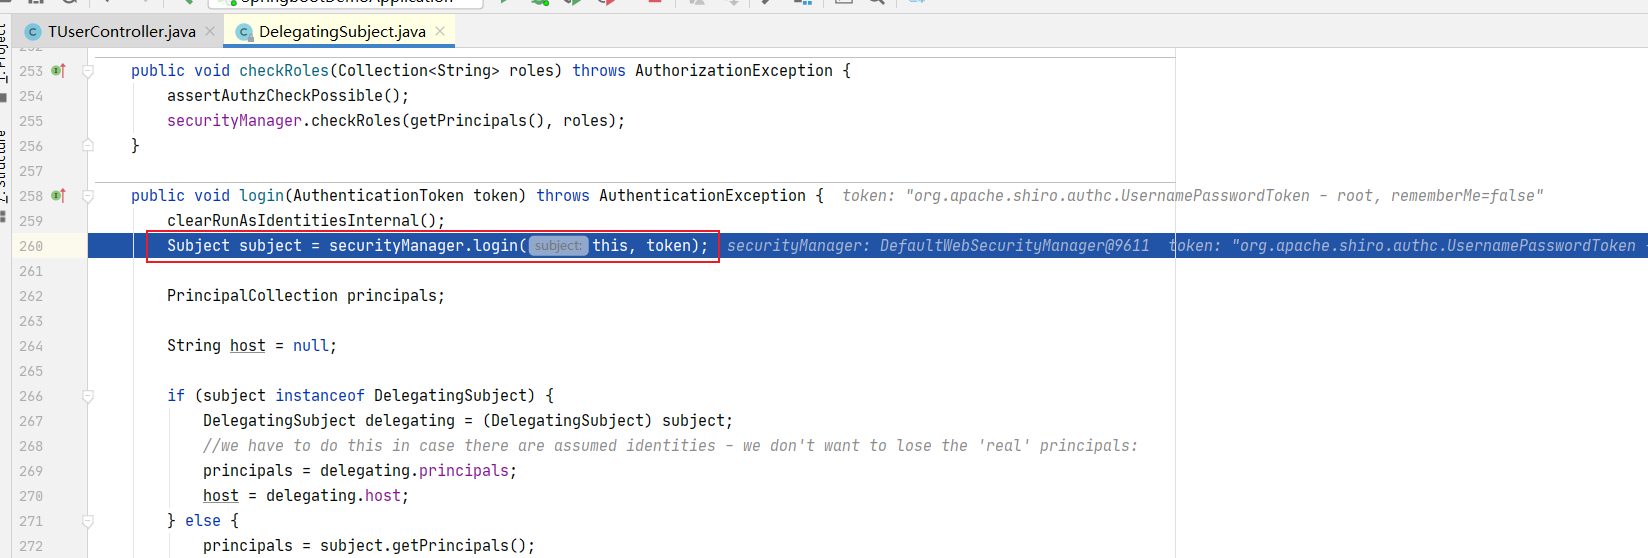
在 securityManager.login(this, token) 方法上需要两个参数
- this:当前的主体,当前认证的主体。
- token:我们的认证信息。其中密码是以数组的形式呈现的。
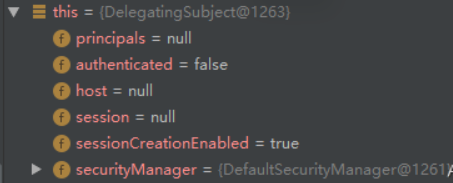

这里使用的是 securityManager ,是SecurityManagerFactory创建的并 绑定到当前环境中。
3、继续进入,这一步就执行了一个内部的方法 authenticate(token)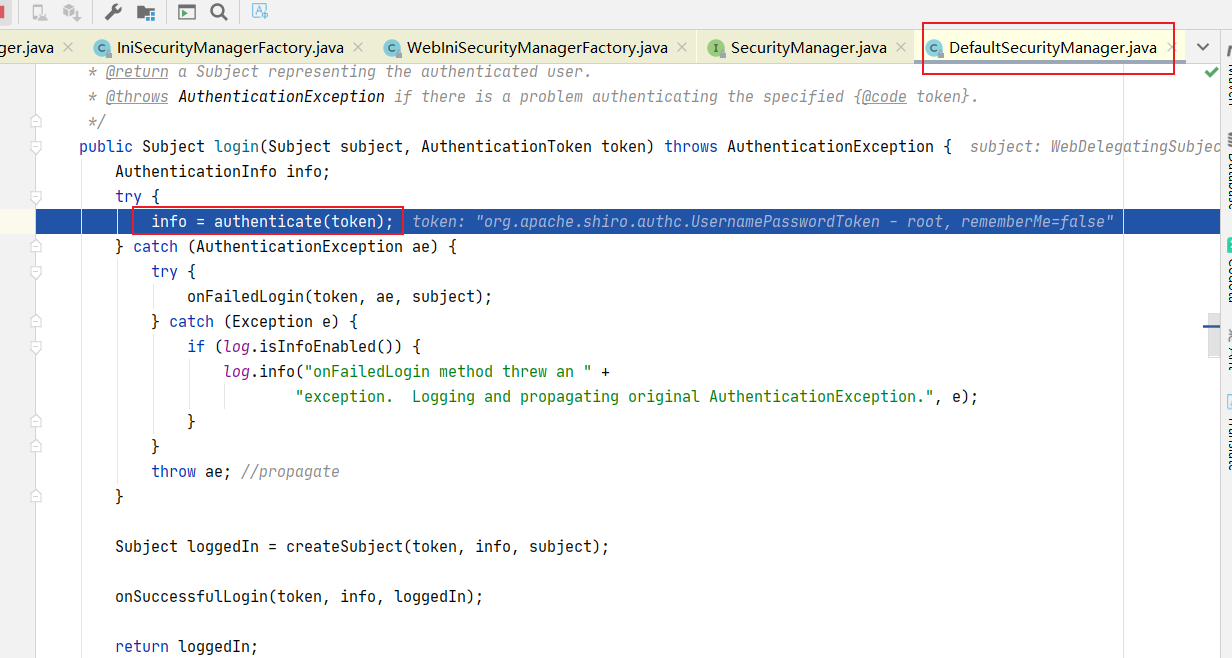
点击去发现执行的只有一句代码。其中的 authenticator 就是认证器,这也就是说SecurityManager 也没有进行登录的认证,而是继续的进行委托,将这件事情委托给 Authenticator 认证器再继续进行认证操作。既然是委托,所以 token 则继续的进行传递。
4、继续下一步,我们就来到了 AbstractAuthenticator.authenticate(AuthenticationToken token) 方法中了。会先做一次非空的判断,接着就执行到了 info = doAuthenticate(token);
这里执行的是内部的一个认证的方法,token 继续传递。其中我们看到最终想要的是一个 AuthenticationInfo 类型的对象,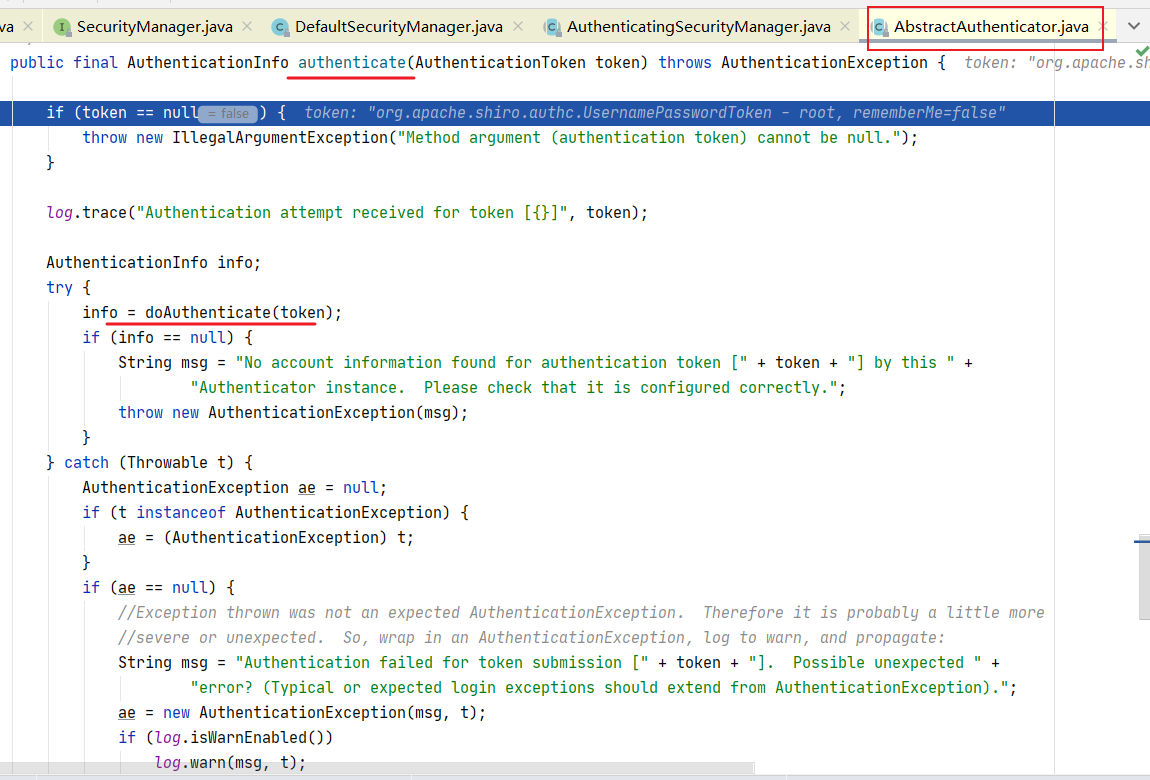
我们继续点进去之后,很多同学发现了,不是说内部的方法吗?为什么跳转到其他的类中,执行方法。这里我们首先看一下 AbstractAuthenticator 是一个抽象类,在本类中的 doAuthenticate(AuthenticationToken var1) 这个方法是一个抽象方法,而跳转到的类是 ModularRealmAuthenticator ,他继承了 AbstractAuthenticator ,同时重写了 doAuthenticate 方法,所以这里会跳转到其子类重写的方法中。
我们继续回到代码中来,这里做先获取我们的 Realms ,这里的 Realms 就是从我们的配置中获取的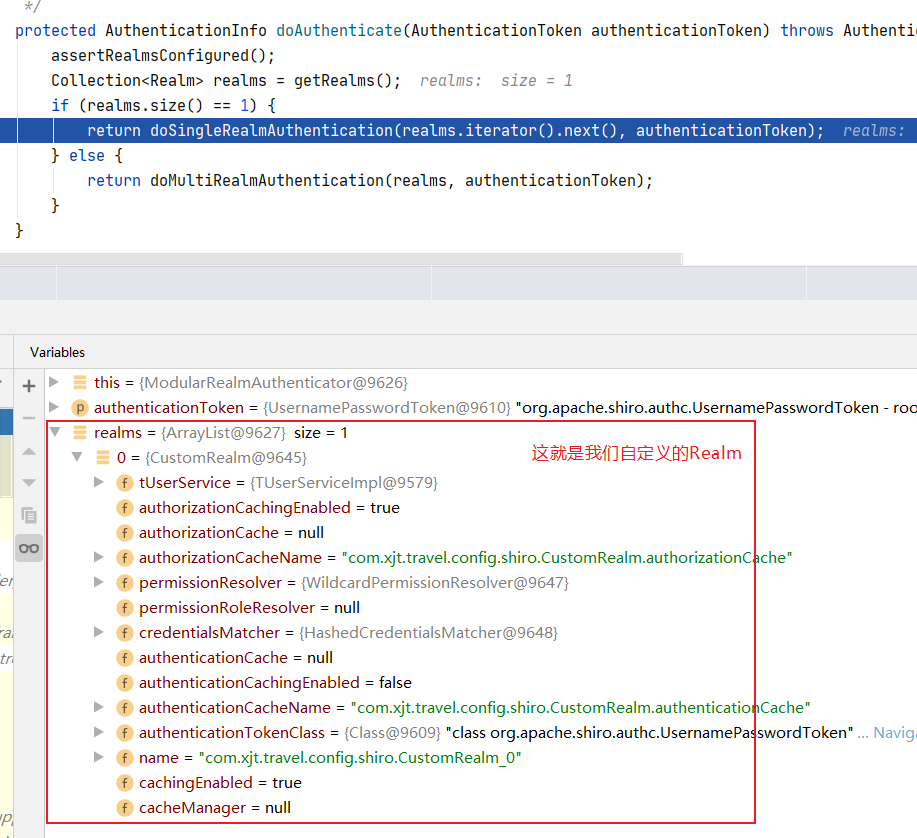
点进去继续查看代码,发现调用的是 realm.getAuthenticationInfo(token); 方法,返回的就是我们之前提到的 AuthenticationInfo 对象。AuthenticationInfo 在这里表示的就是,通过用户名在 Realm 中查询到用户信息,然后将查询的到信息封装为 AuthenticationInfo 进行返回。
接下来开始先认证用户名,接着再认证密码。所以这里,如果判断返回的 info 为空(因为是先更具用户名进行判断),所以就会抛出 UnknownAccountException 的异常。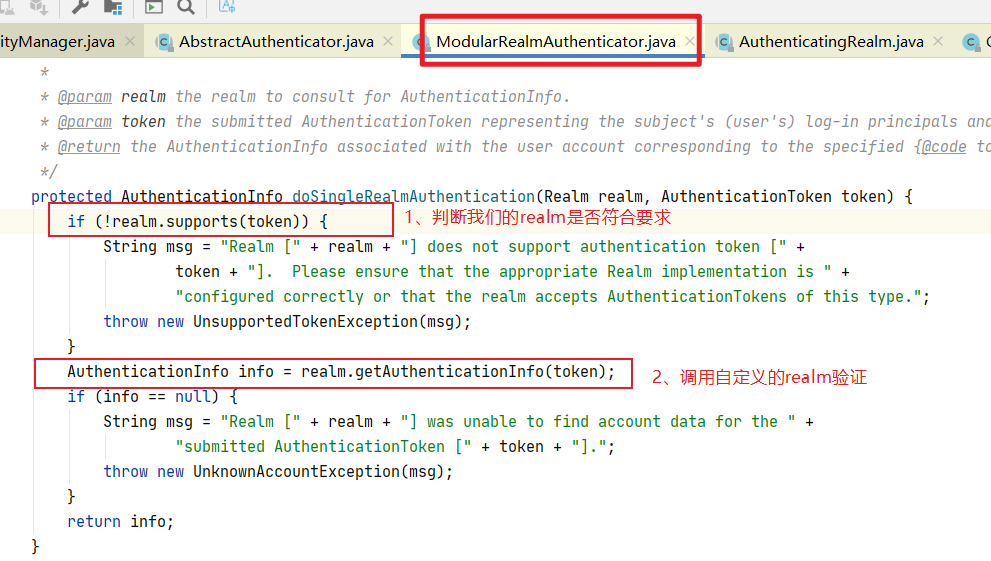
这里我们就要先做”用户名”的认证 。
继续跟进代码,我们跟到了 AuthenticatingRealm.getAuthenticationInfo(AuthenticationToken token) 方法中了。先会去缓存中获取AuthenticationInfo,代码info = doGetAuthenticationInfo(token)这个方式就是执行主要认证的核心点了,去执行自定义的 Realm 的重写认证的方法doGetAuthenticationInfo 。token 继续进行传递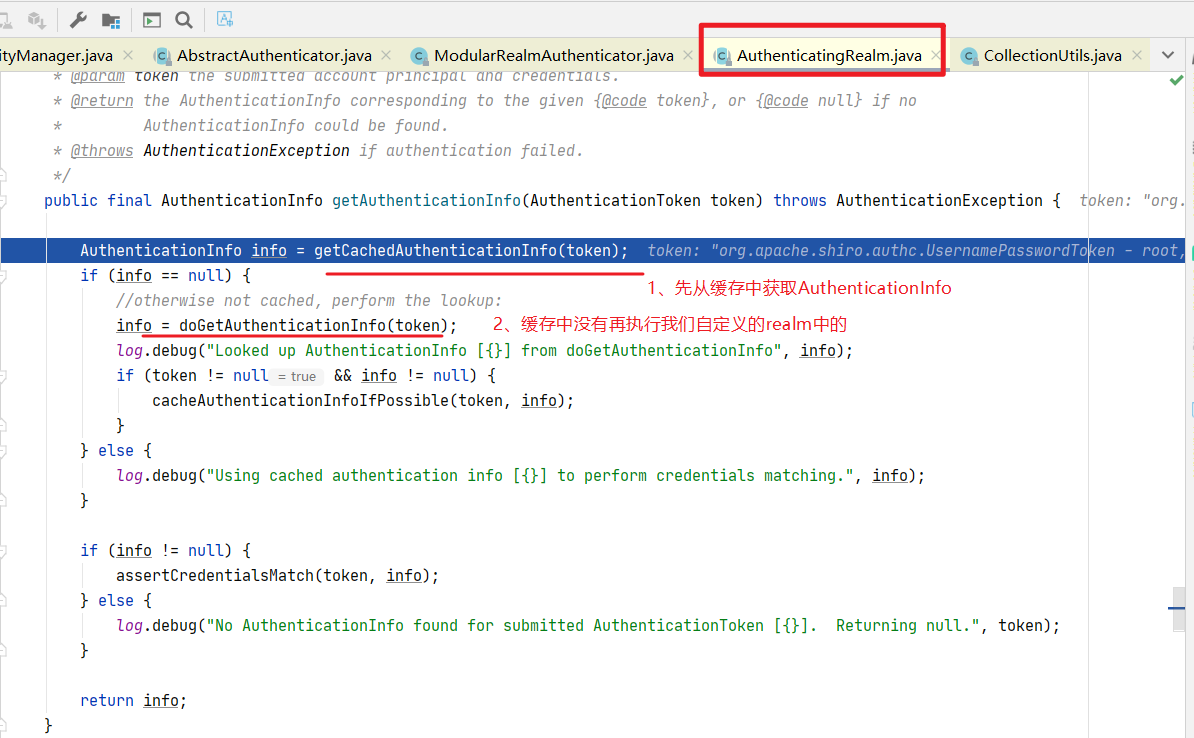
继续跟进,就到我们自定义的Realm.doGetAuthenticationInfo()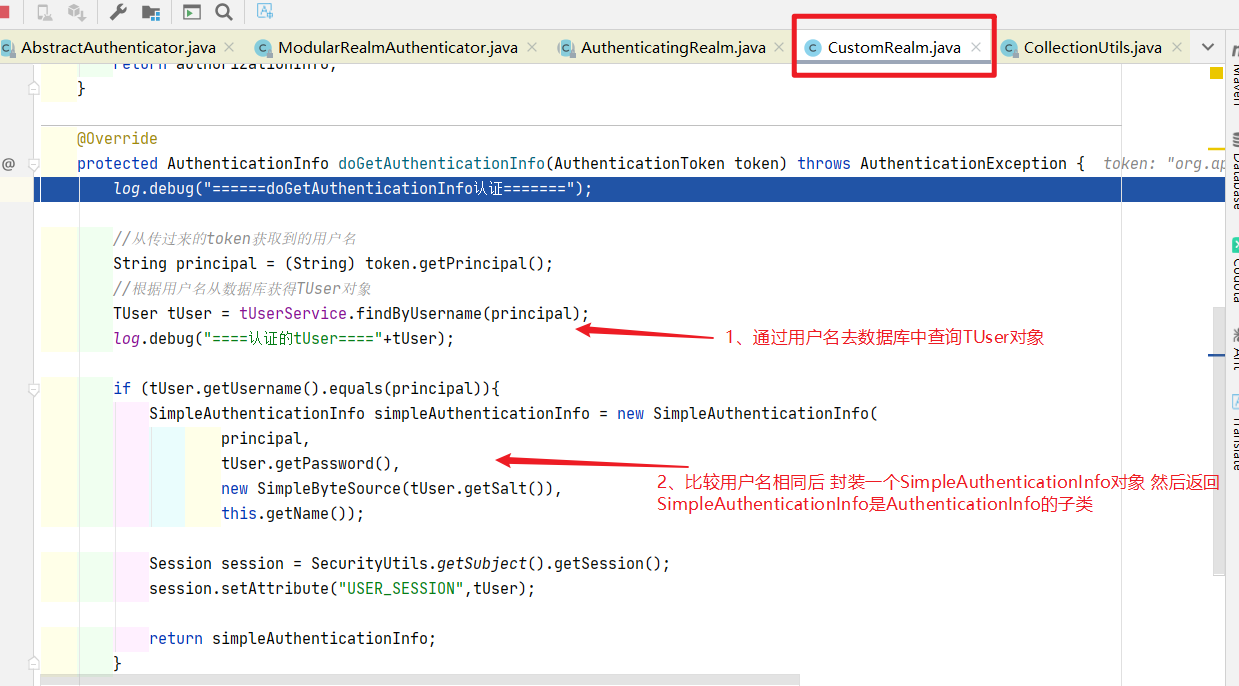
到这里认证”用户名”的操作结束了,接着我们要一层一层的进行返回。我们先回到了 AuthenticatingRealm.getAuthenticationInfo(AuthenticationToken token) 方法中。因为查询出来的 info 肯定是不为空的,我们直接看到 assertCredentialsMatch(token, info); 这个方法中。 接下来就是开始认证”密码”。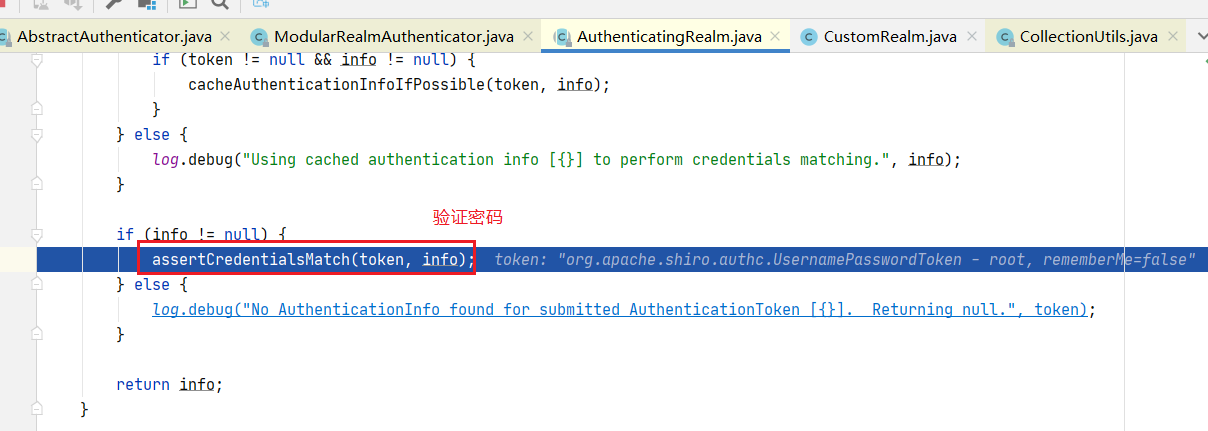
跟进代码,我们会跳转到AuthenticatingRealm.assertCredentialsMatch(AuthenticationToken token, AuthenticationInfo info)
这个方法,第一句话是获取加密器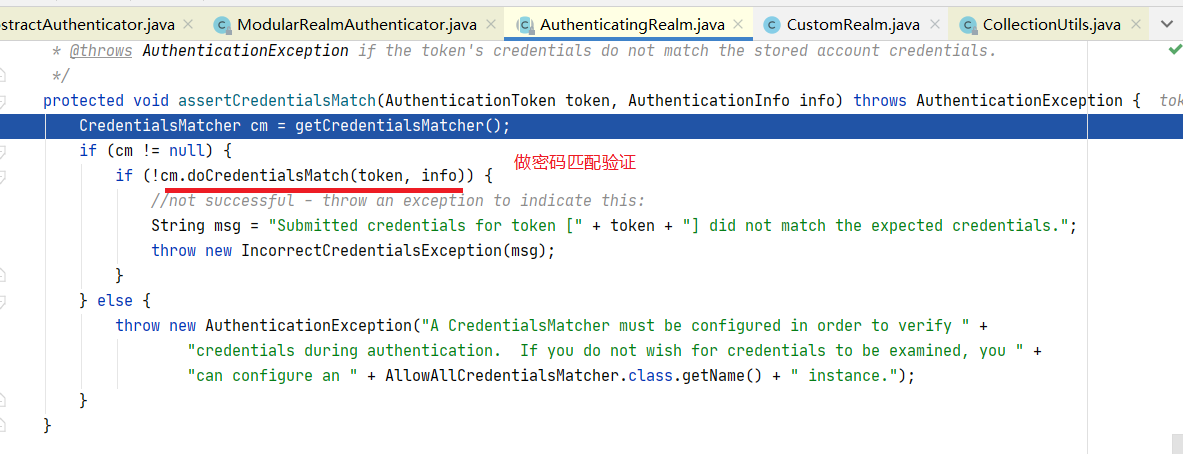
getCredentialsMatcher() 获取凭证(密码)匹配器,这里返回了HashedCredentialsMatcher就是我们在ShiroConfig.java中配置的
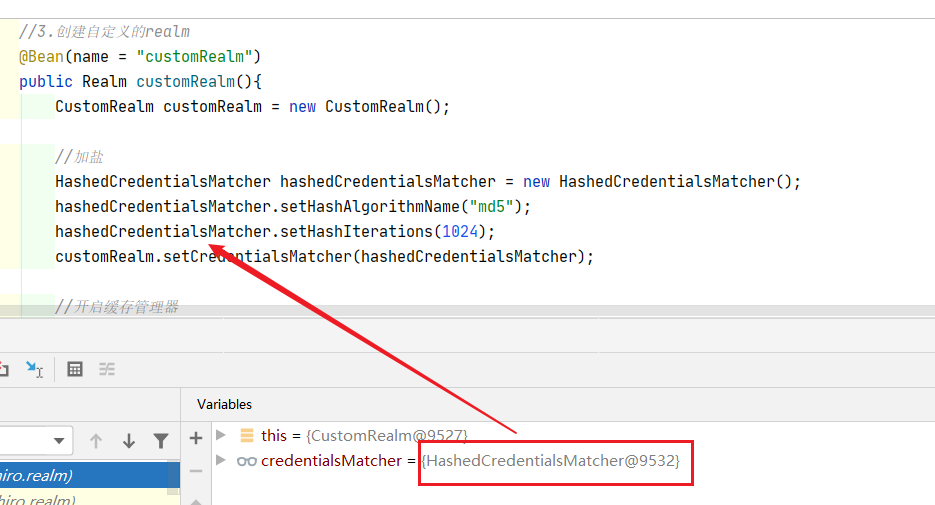
重点在 cm.doCredentialsMatch(token, info) 这个方法,他需要两个参数,都是数据类型
- token:当前待认证密码的用户信息
- info:从Realm 中根据用户名查询出来的用户信息
跟进代码后,这个方法的代码很简洁明了,就是从我们的两个参数中取出密码的值,然后进行判断是否相等,返回一个 boolean 的数据类型即可。
在两个密码判断完成之后,返回到上一层代码中 if (!cm.doCredentialsMatch(token, info)) ,如果密码不正确就会抛出 IncorrectCredentialsException 这个异常,我们之前也是提到过的。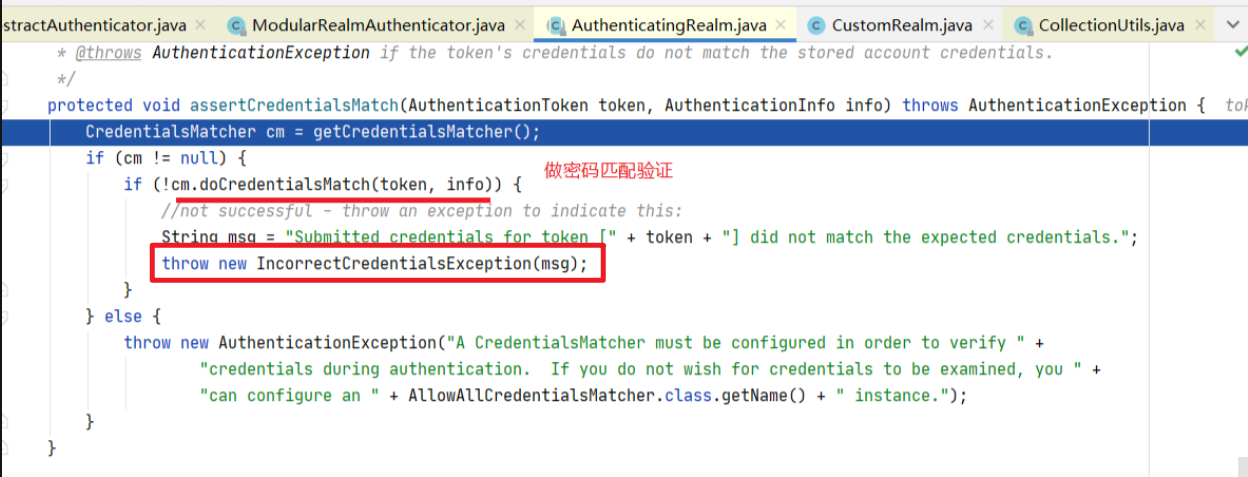
最后,密码验证通过后返回AuthenticationInfo对象,这个info包含principals、credentials、credentialsSalt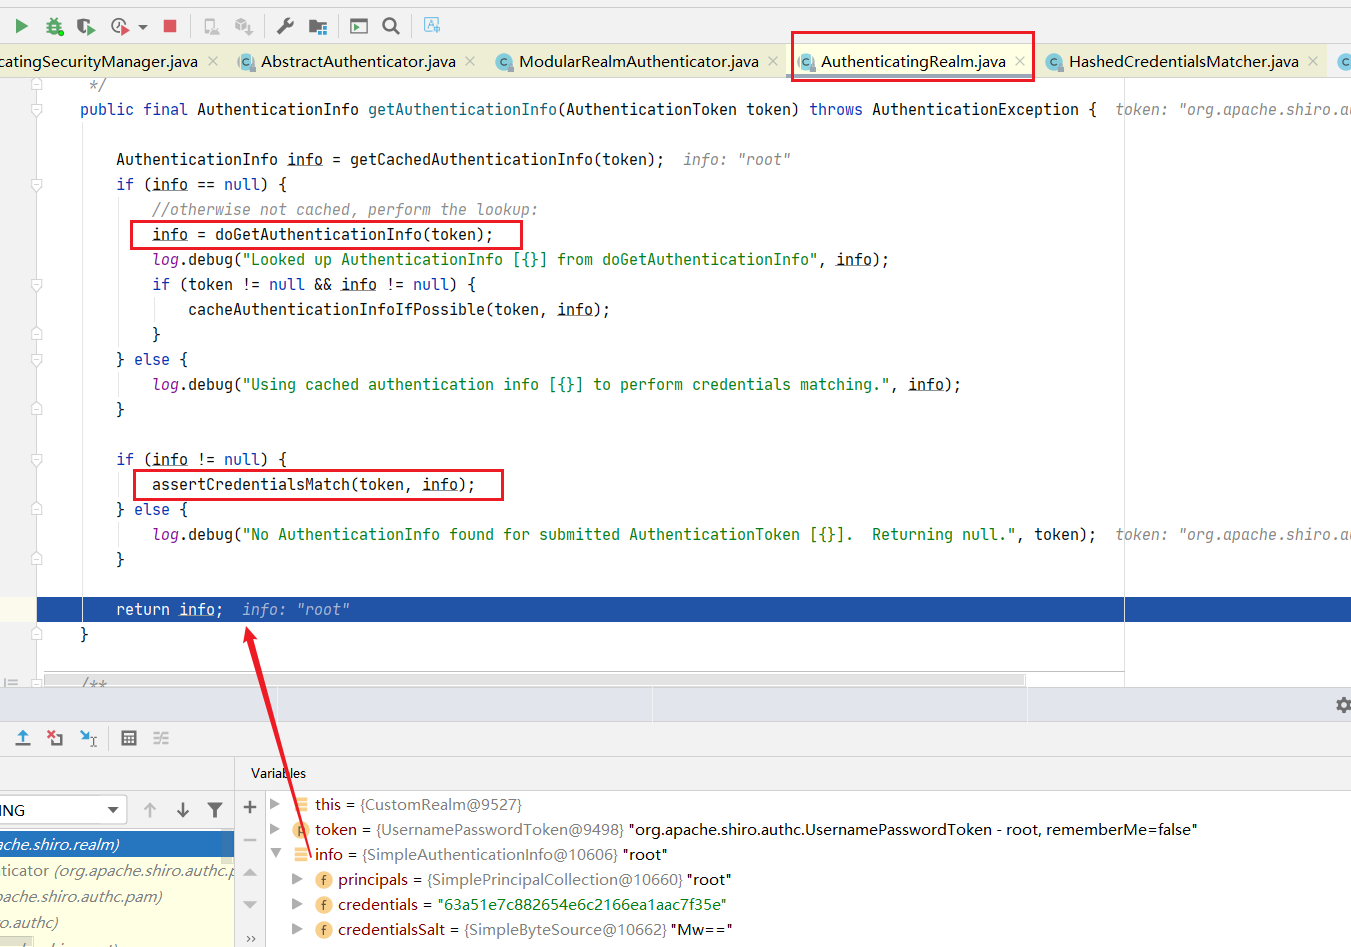
之后就是一层层的返回AuthenticationInfo对象了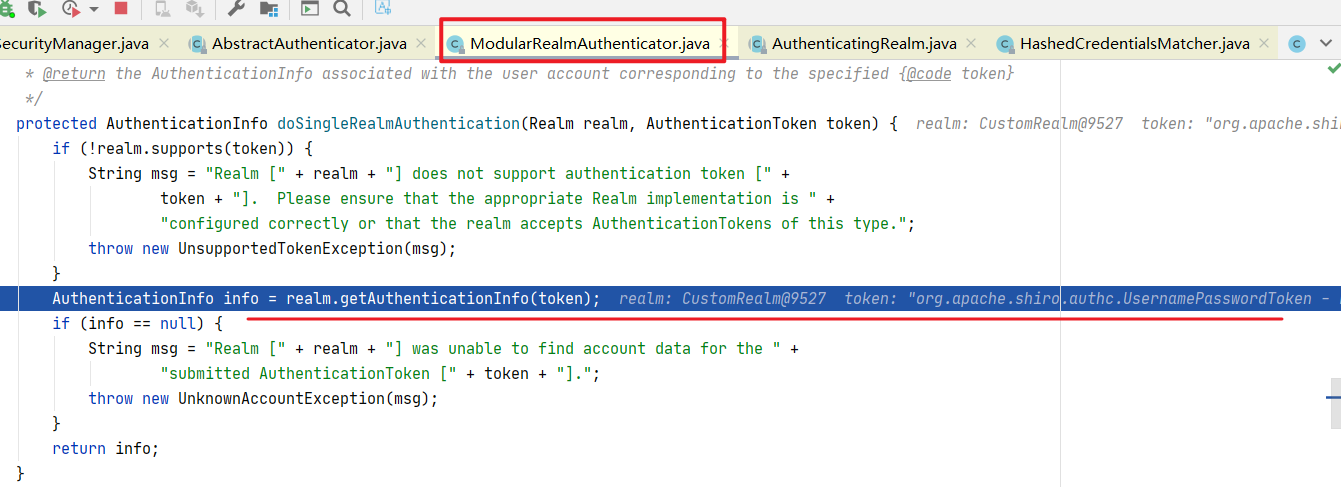
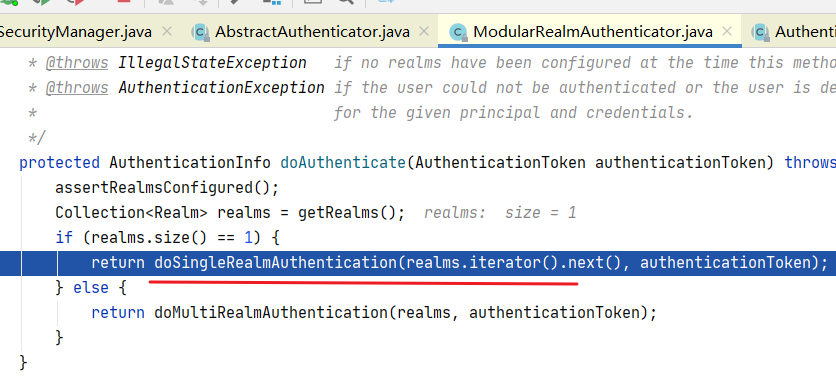
走到AbstractAuthenticator.authenticate(),doAuthenticate(token)认证成功获取到认证对象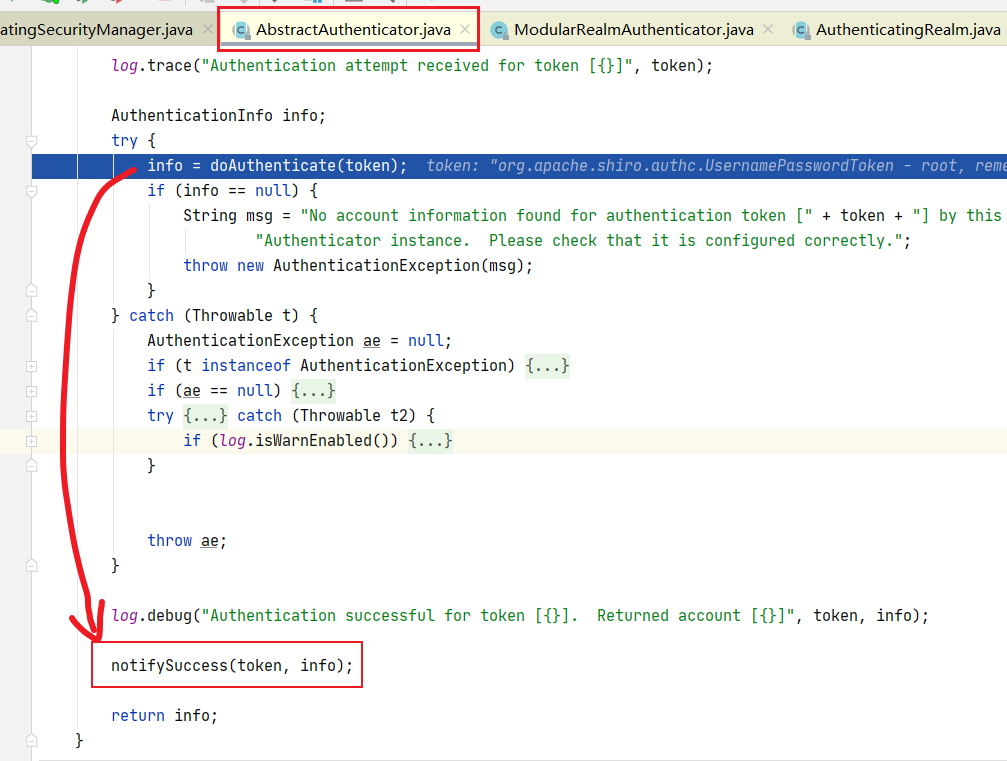

创建Subject对象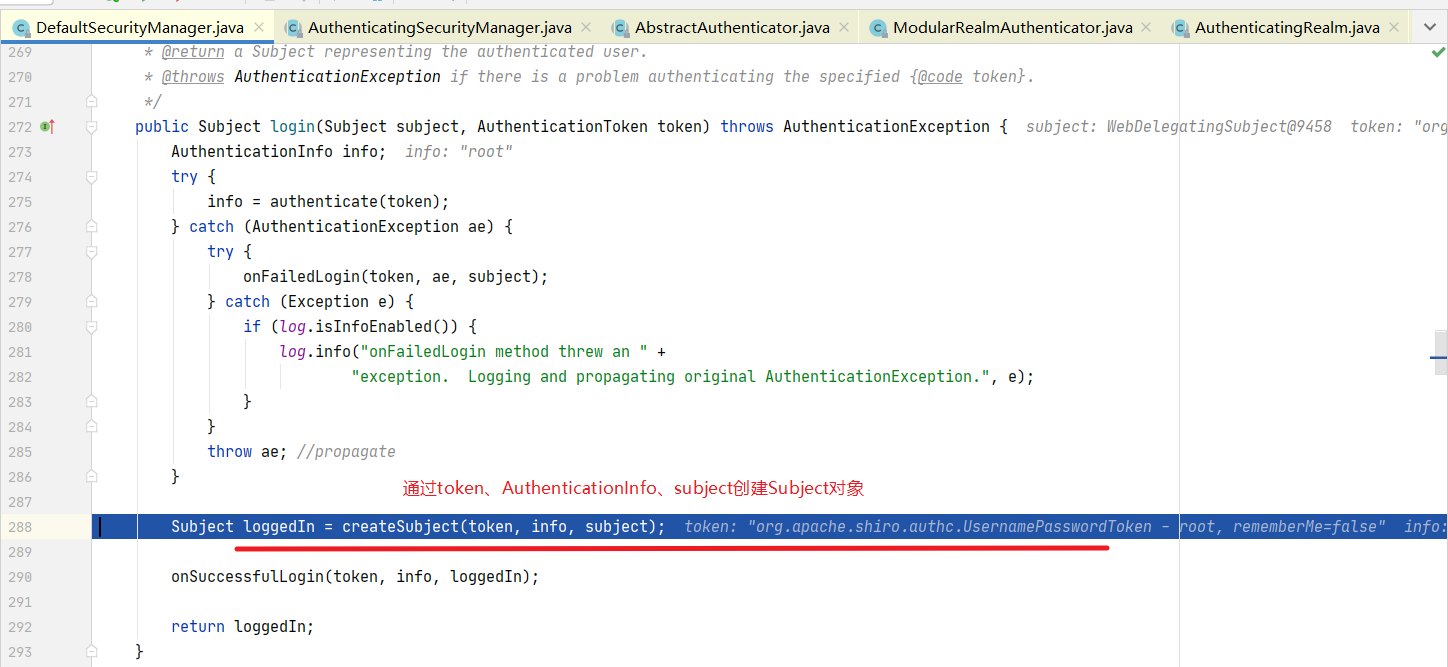

执行DefaultSecurityManager.createSubject(context) 具体创建,这个过程使用了代理模式 过程复杂就不具体赘述了
总结:
- 页面传来认证信息,我们封装成 UsernamePasswordToken
- 使用 Subject.login() 方法提交认证,参数就是 token
- Subject 委托给 SecurityManager,然后执行 SecurityManager.login() 方法,这里需要借助 Realm 数据源进行认证。
- SecurityManager 再次委托给 Authenticator 进行真正的认证过程
- 先认证用户名
- 用户名正确后再认证密码
用一幅图来总结一下对上述代码的流程

