- RestFul Api文档在线自动生成工具=>Api文档与API定义同步更新
- 直接运行,可以在线测试API接口;
在项目中使用swagger,需要使用springfox:
- swagger2
- ui
SpringBoot集成Swagger2
- 新建一个springboot-web项目
- 导入依赖坐标(建议不用最新版本)
```xml
io.springfox springfox-swagger2 2.9.2
**注意:**导入最新版本`3.0.0`时,在配置swagger且正常运行项目后,无法打开swagger-ui的页面(原因还未查明)- 编写一个hello工程- 配置Swagger====>config```java@Configuration@EnableSwagger2public class SwaggerConfig {}
- 测试运行,访问页面http://localhost:8080/swagger-ui.html
 配置Swagger2
配置swagger信息
Swagger的bean实例Docket【可以参考swagger源码进行配置】
@Configuration@EnableSwagger2 //开启swagger2public class SwaggerConfig {//配置swagger的Docket的bean实例@Beanpublic Docket docket() {return new Docket(DocumentationType.SWAGGER_2).apiInfo(apiInfo());}//配置swagger的信息=apiinfopublic ApiInfo apiInfo() {Contact DEFAULT_CONTACT = new Contact("heqiaosheng", "", "1357976441@qq.com");return new ApiInfo("何巧生的swagger API文档","今天你博学了吗","v1.0","urn:tos",DEFAULT_CONTACT,"Apache 2.0","http://www.apache.org/licenses/LICENSE-2.0",new ArrayList<VendorExtension>());}}
Swagger配置扫描接口
Docket.select ( )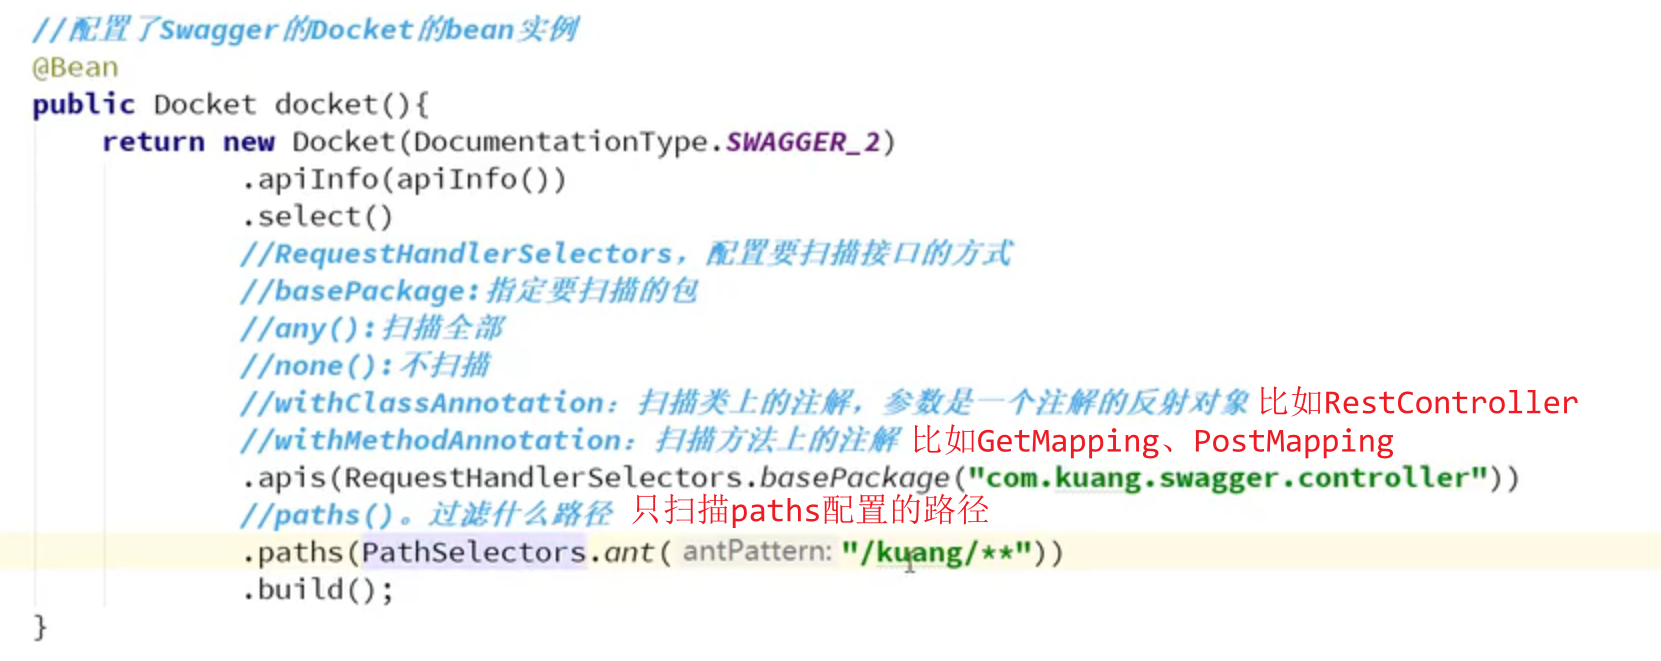
使用select()后就必须使用.build,使用.build后就只剩下两个方法.apis()和.paths()可以使用.build表示工厂模式
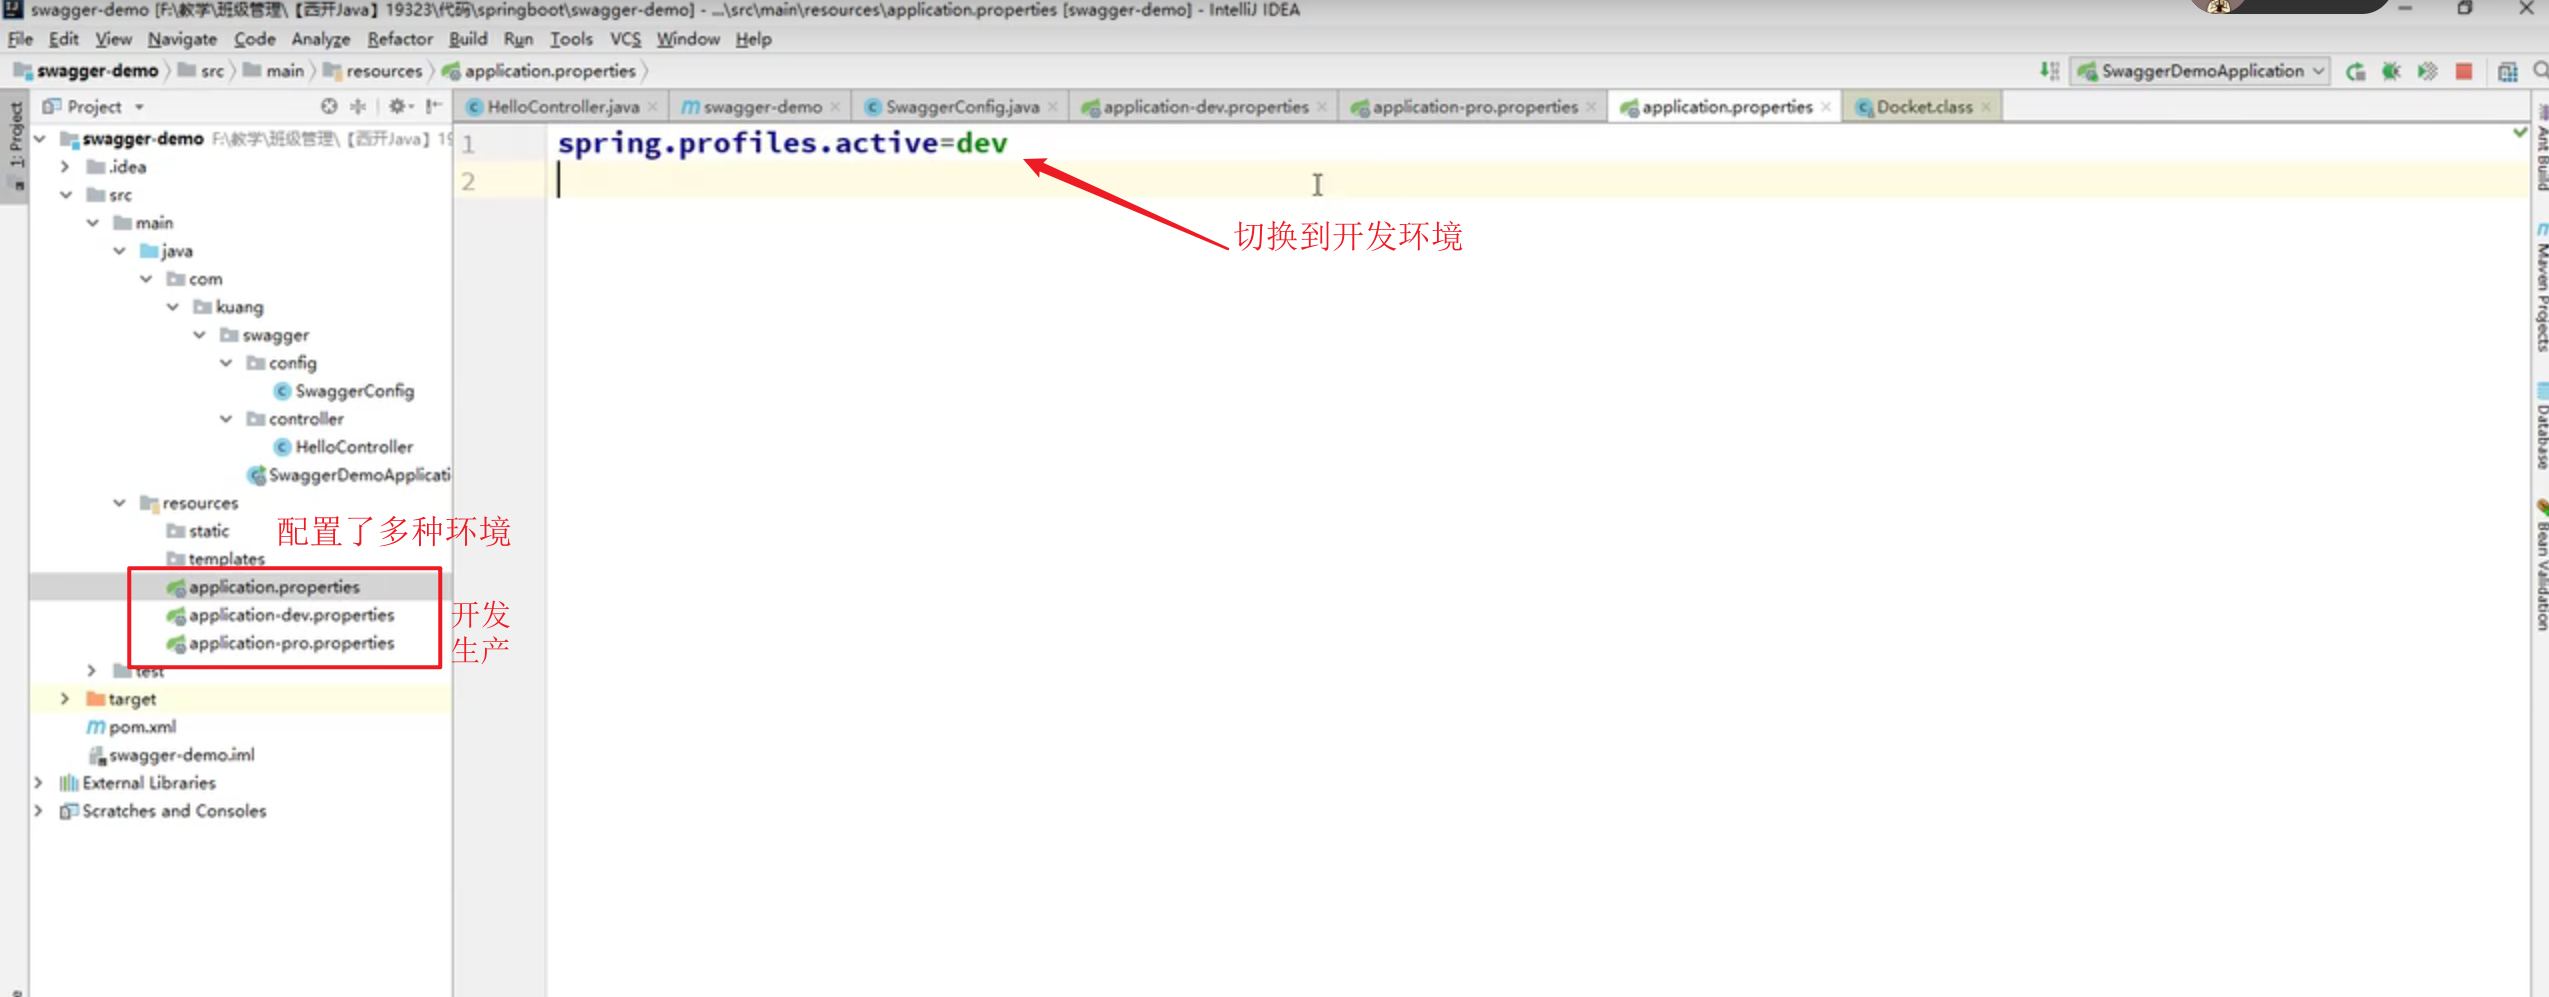
配置是否启动Swagger

出题:我只希望我的Swagger在生产环境中使用,在发布的时候不使用?
●判断是不是生产环境【flag = false】
●注入enable (flag)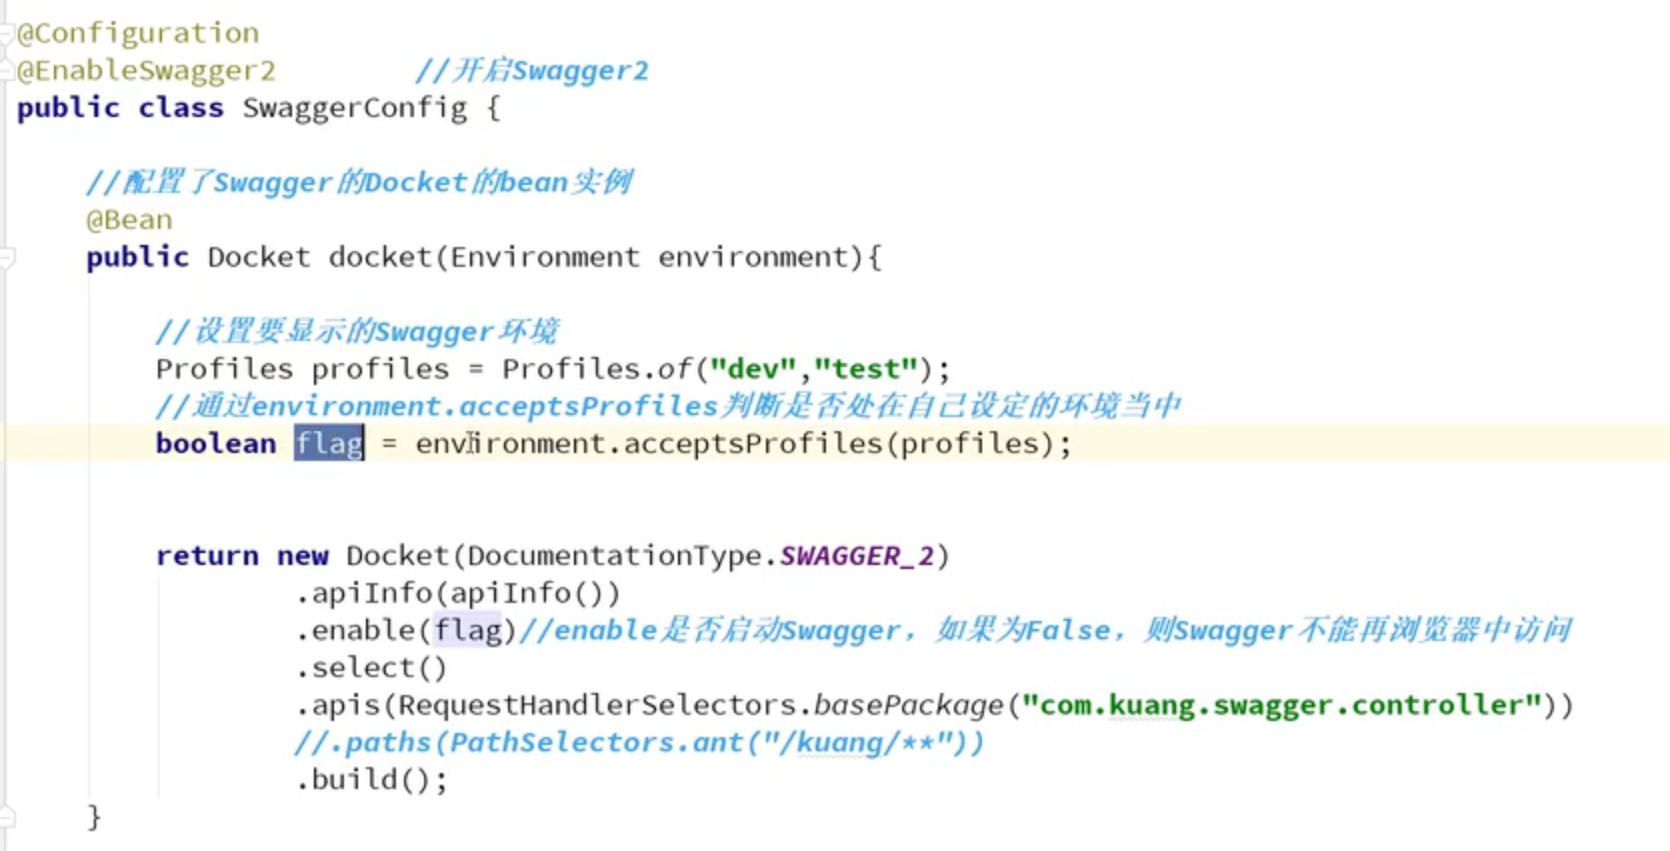
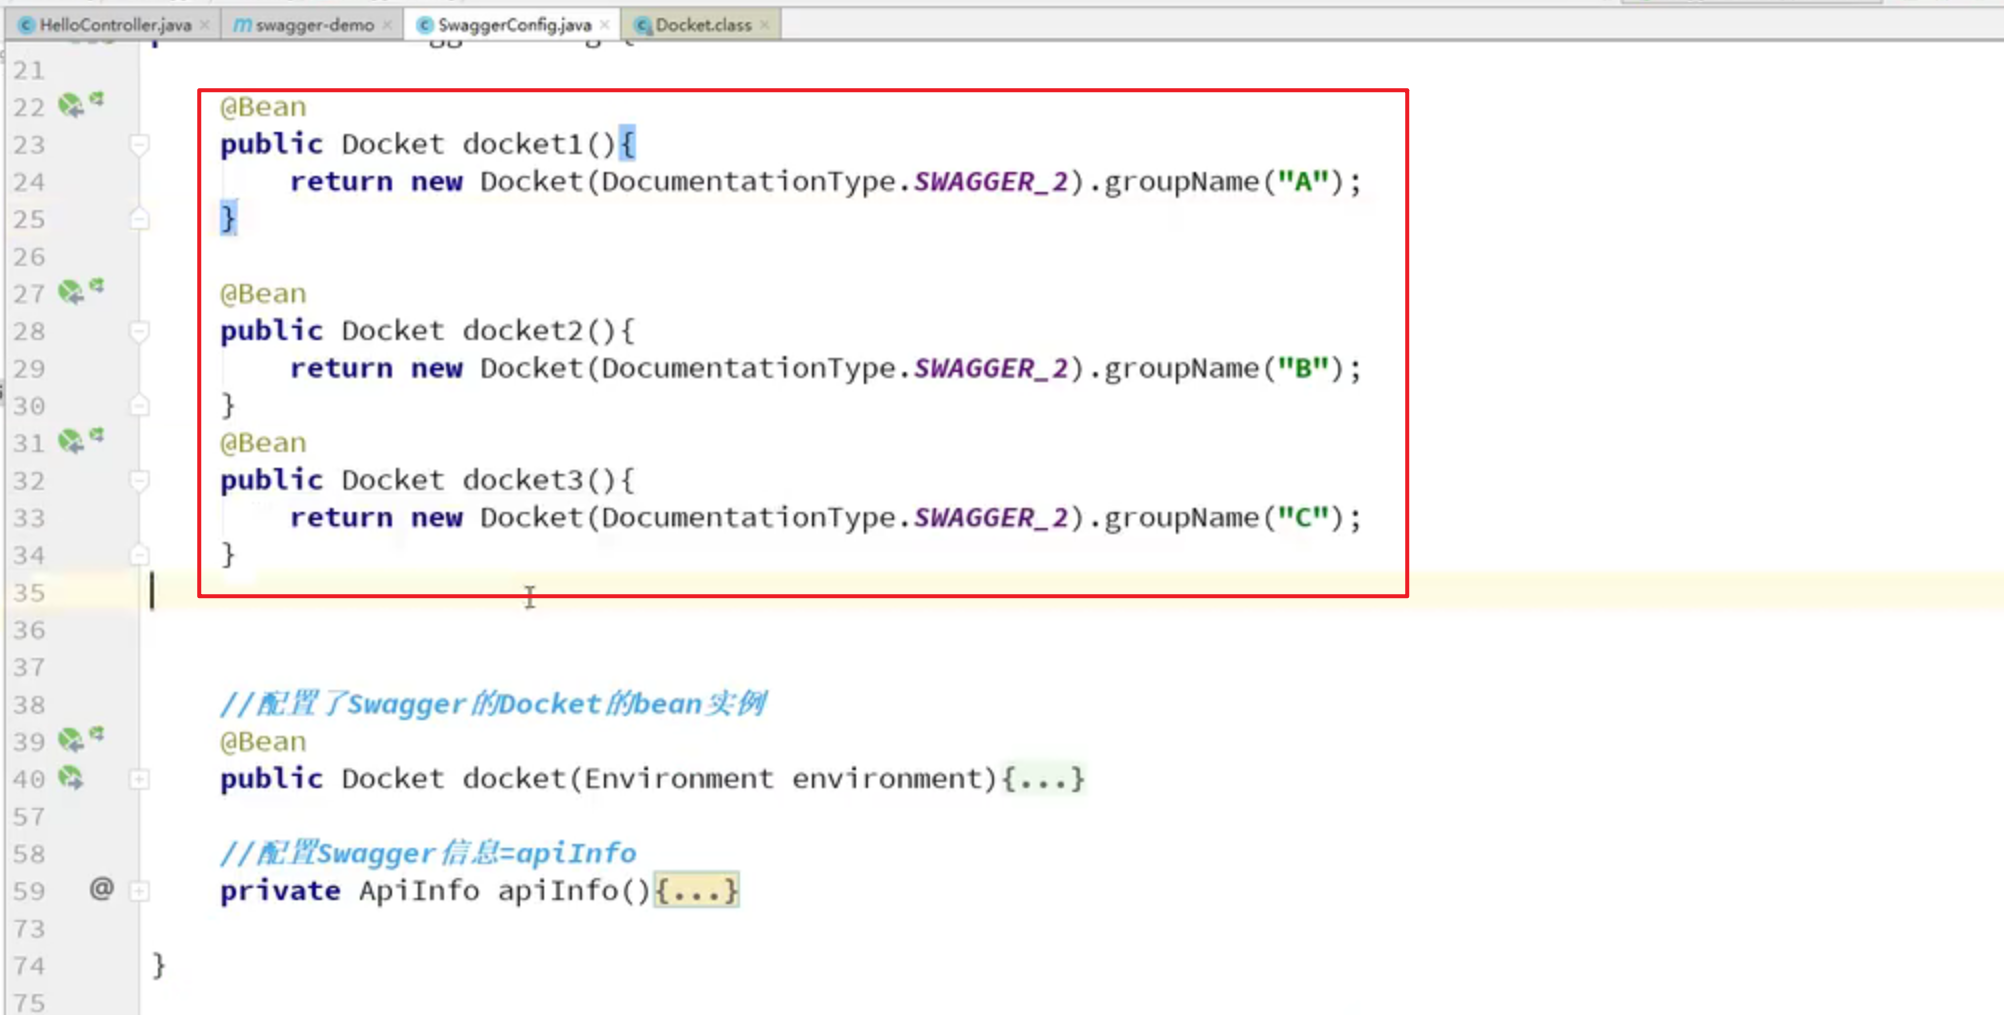
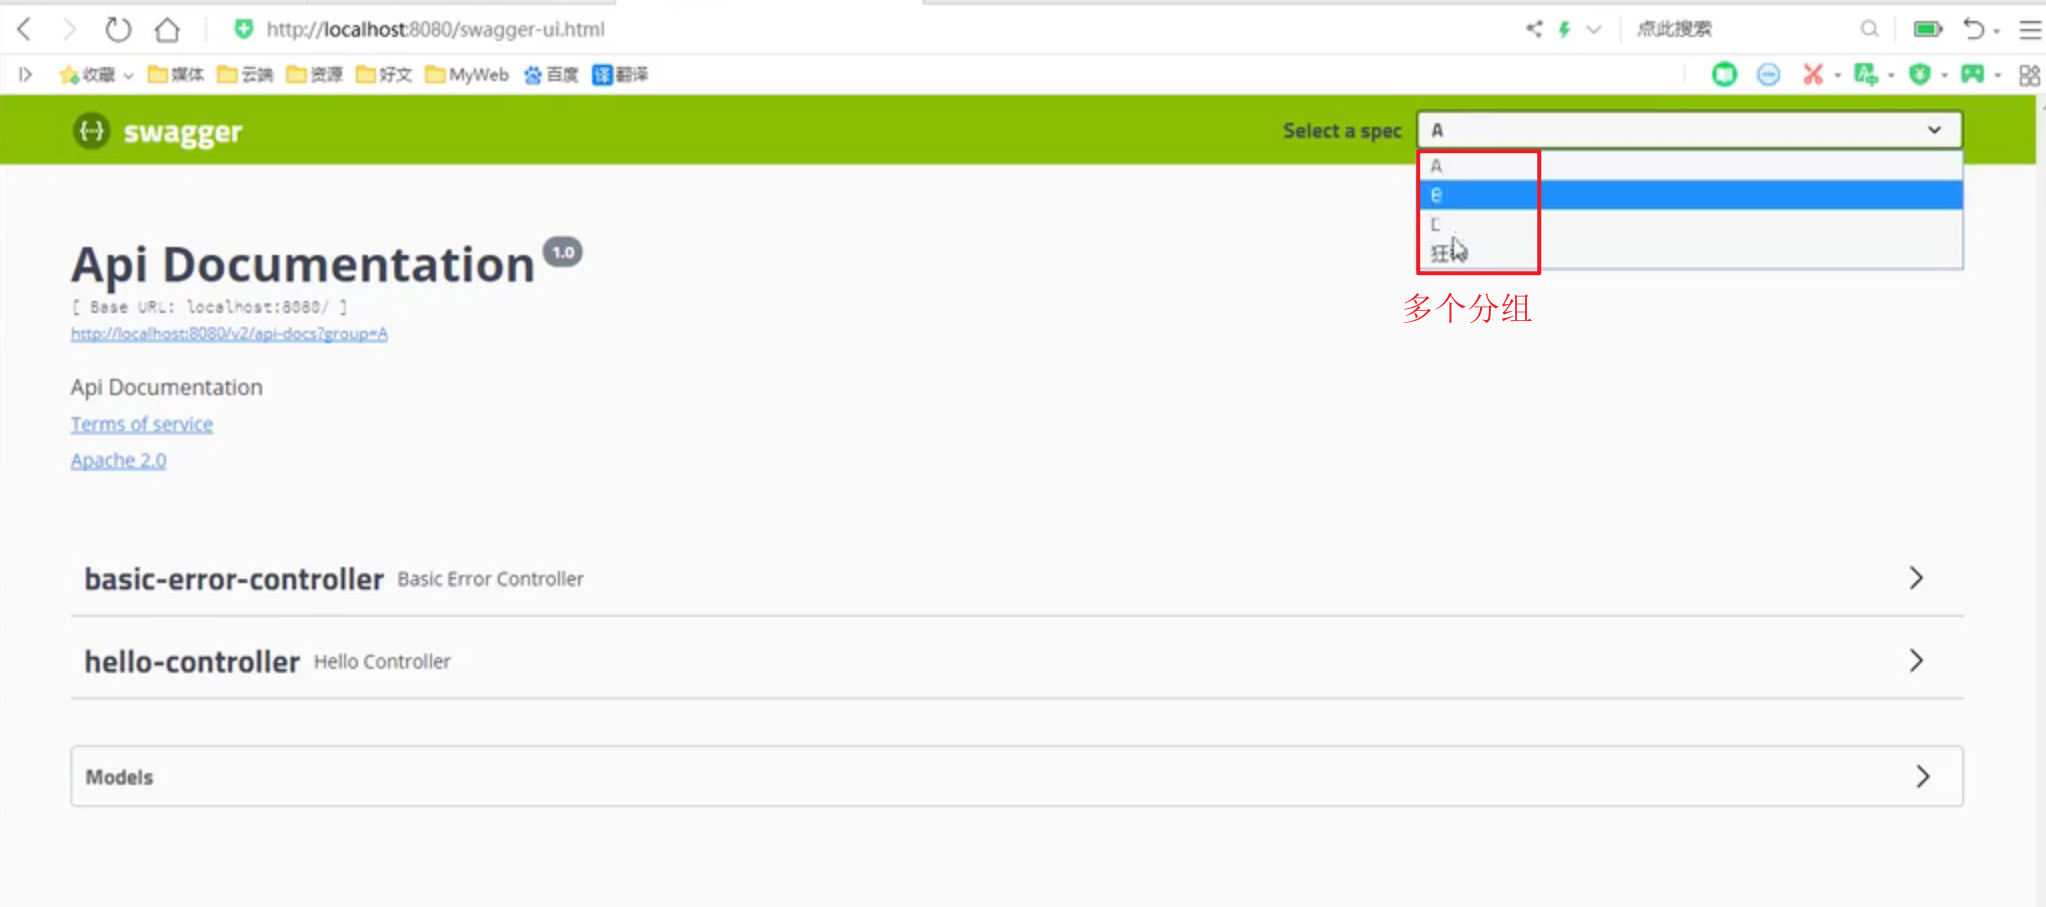
配置API文档的分组
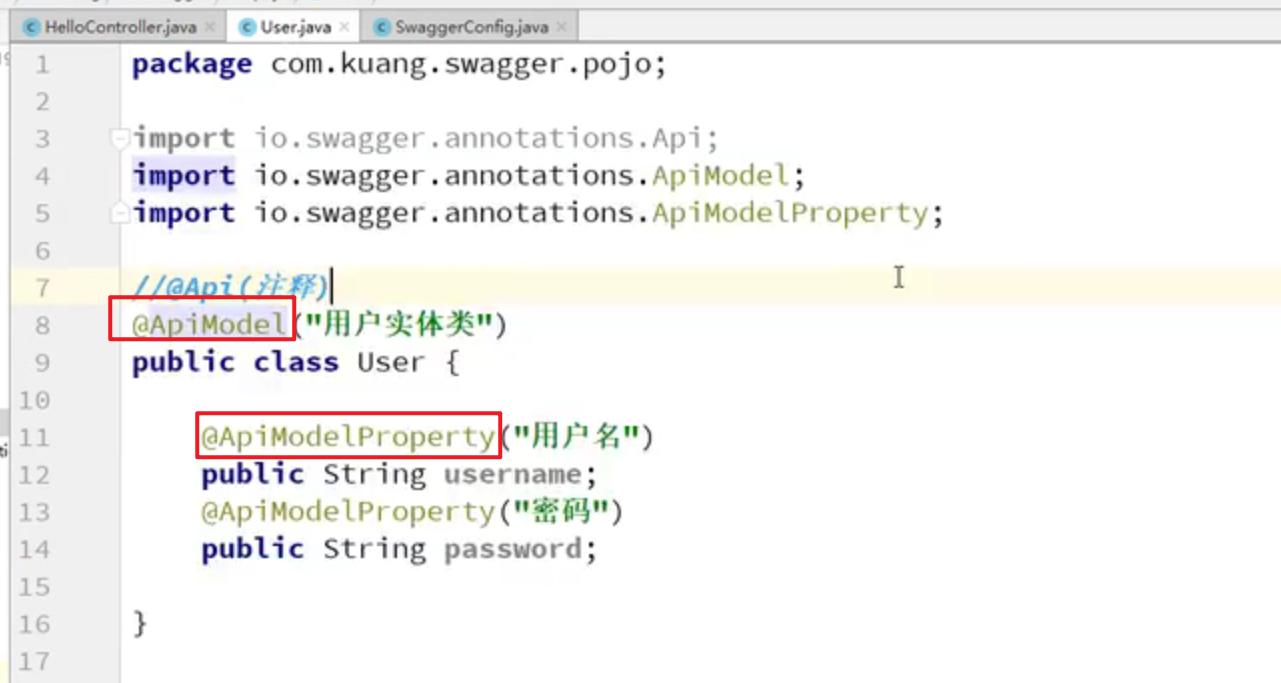
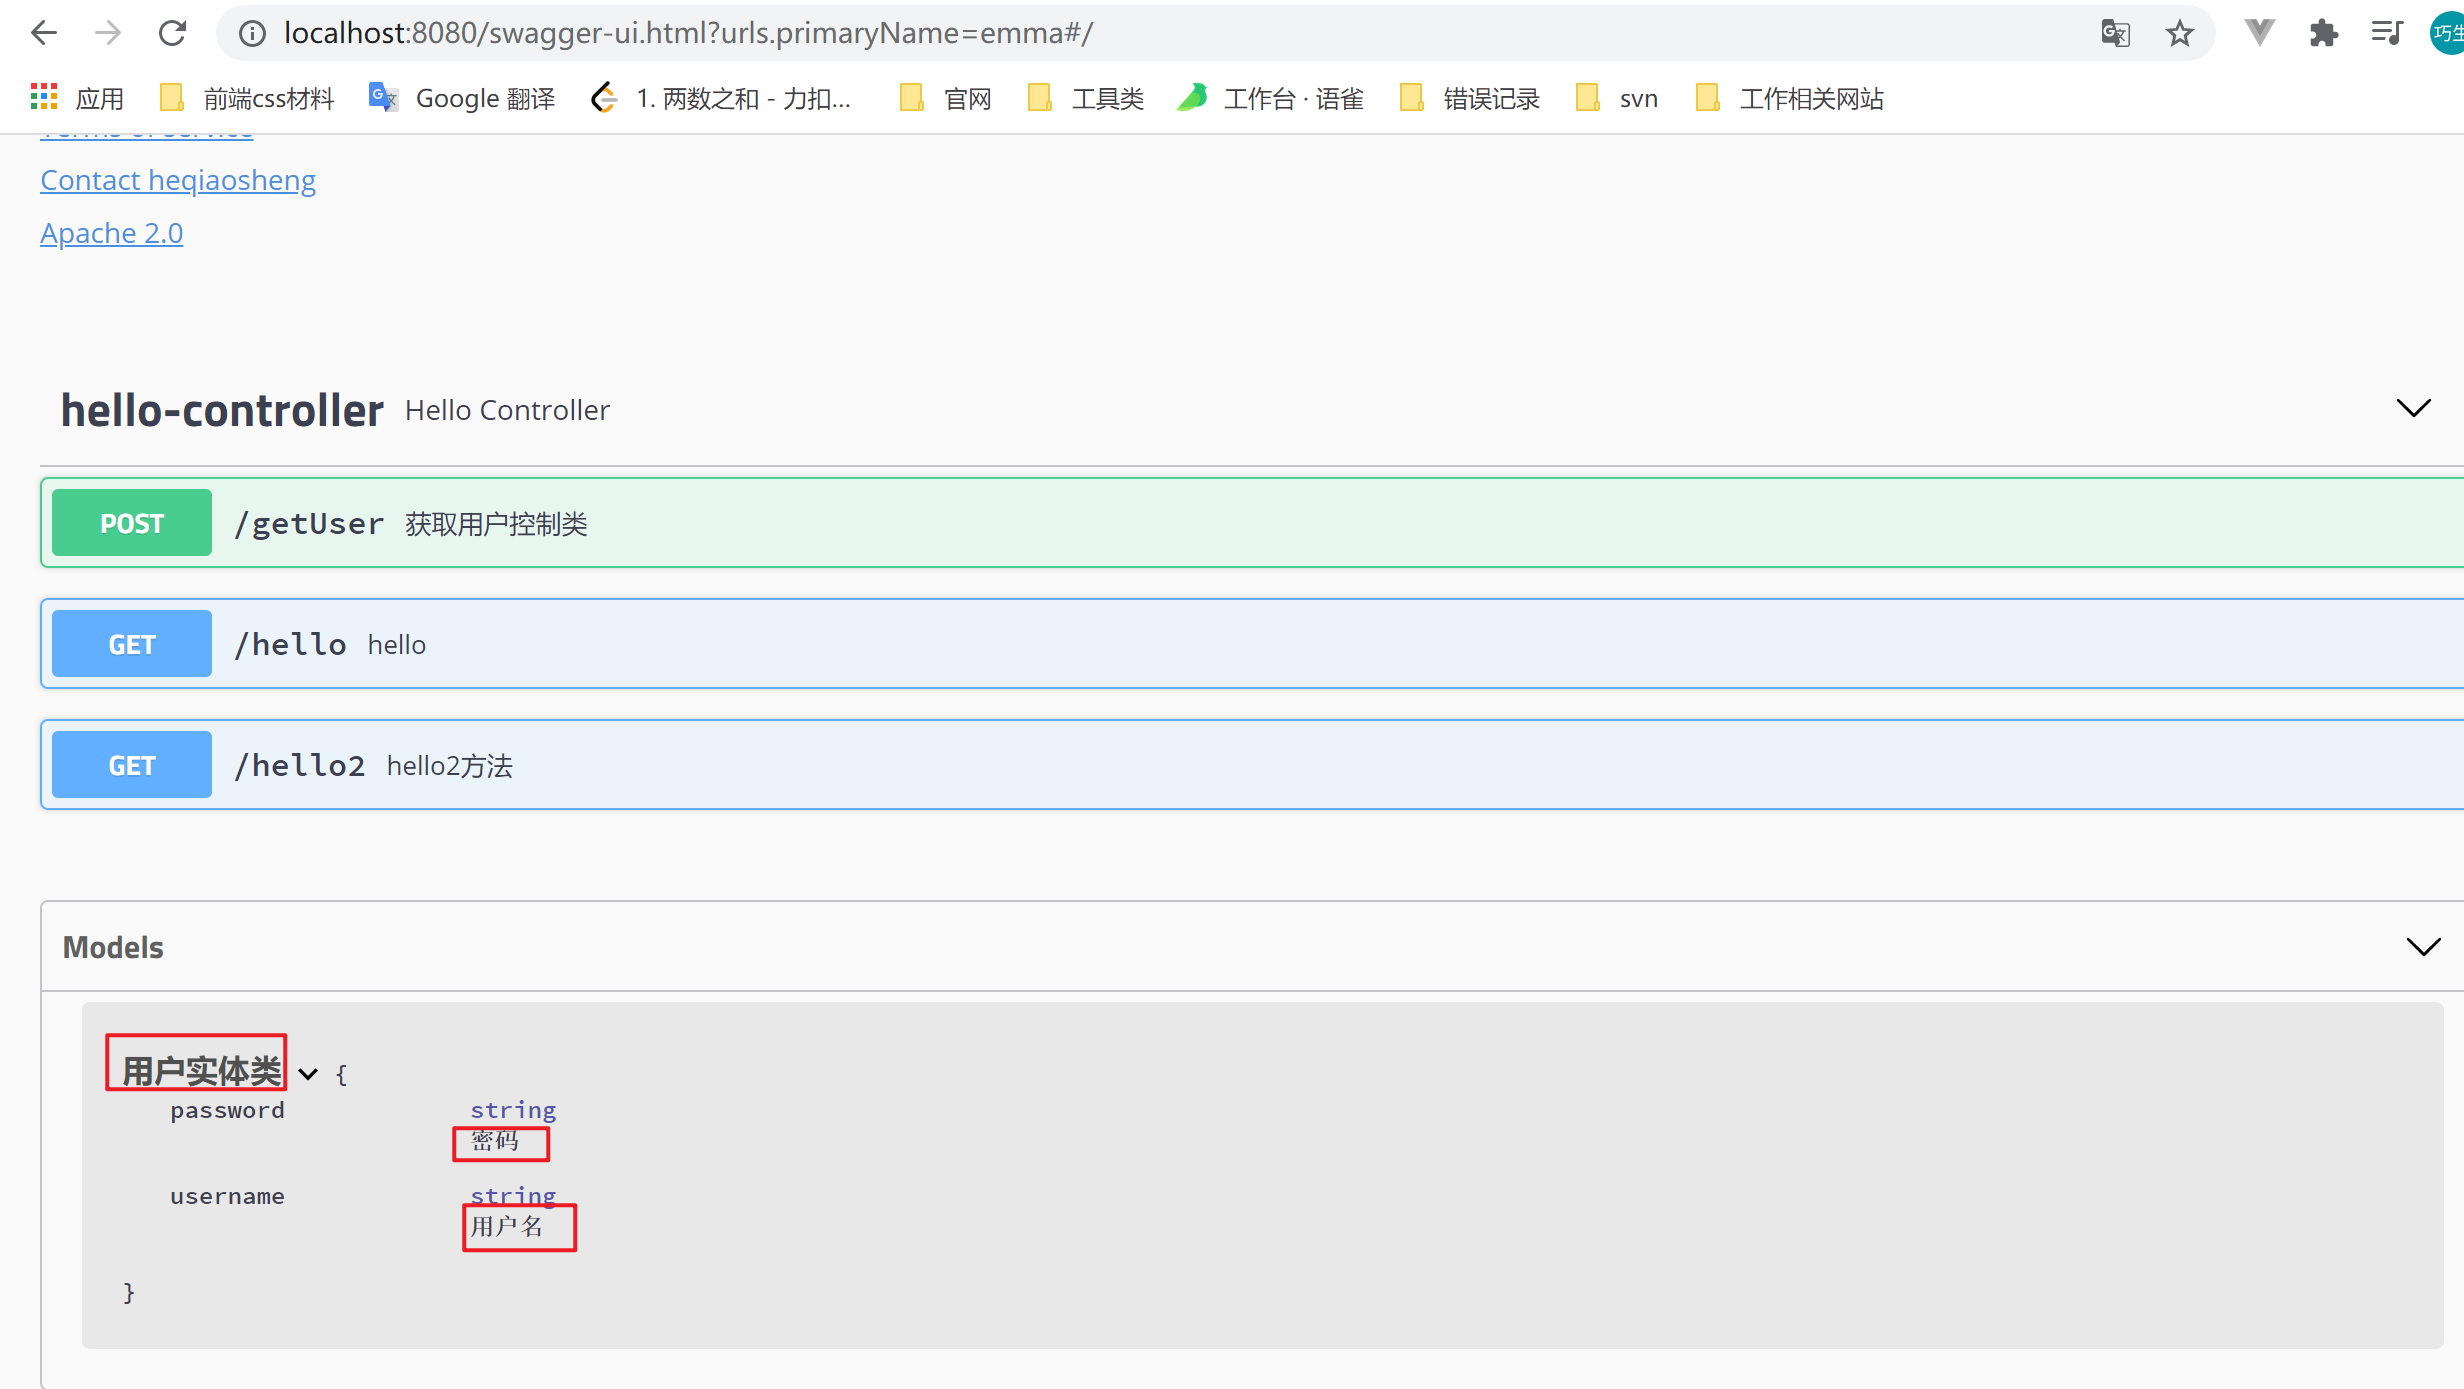
Swagger注释
实体类
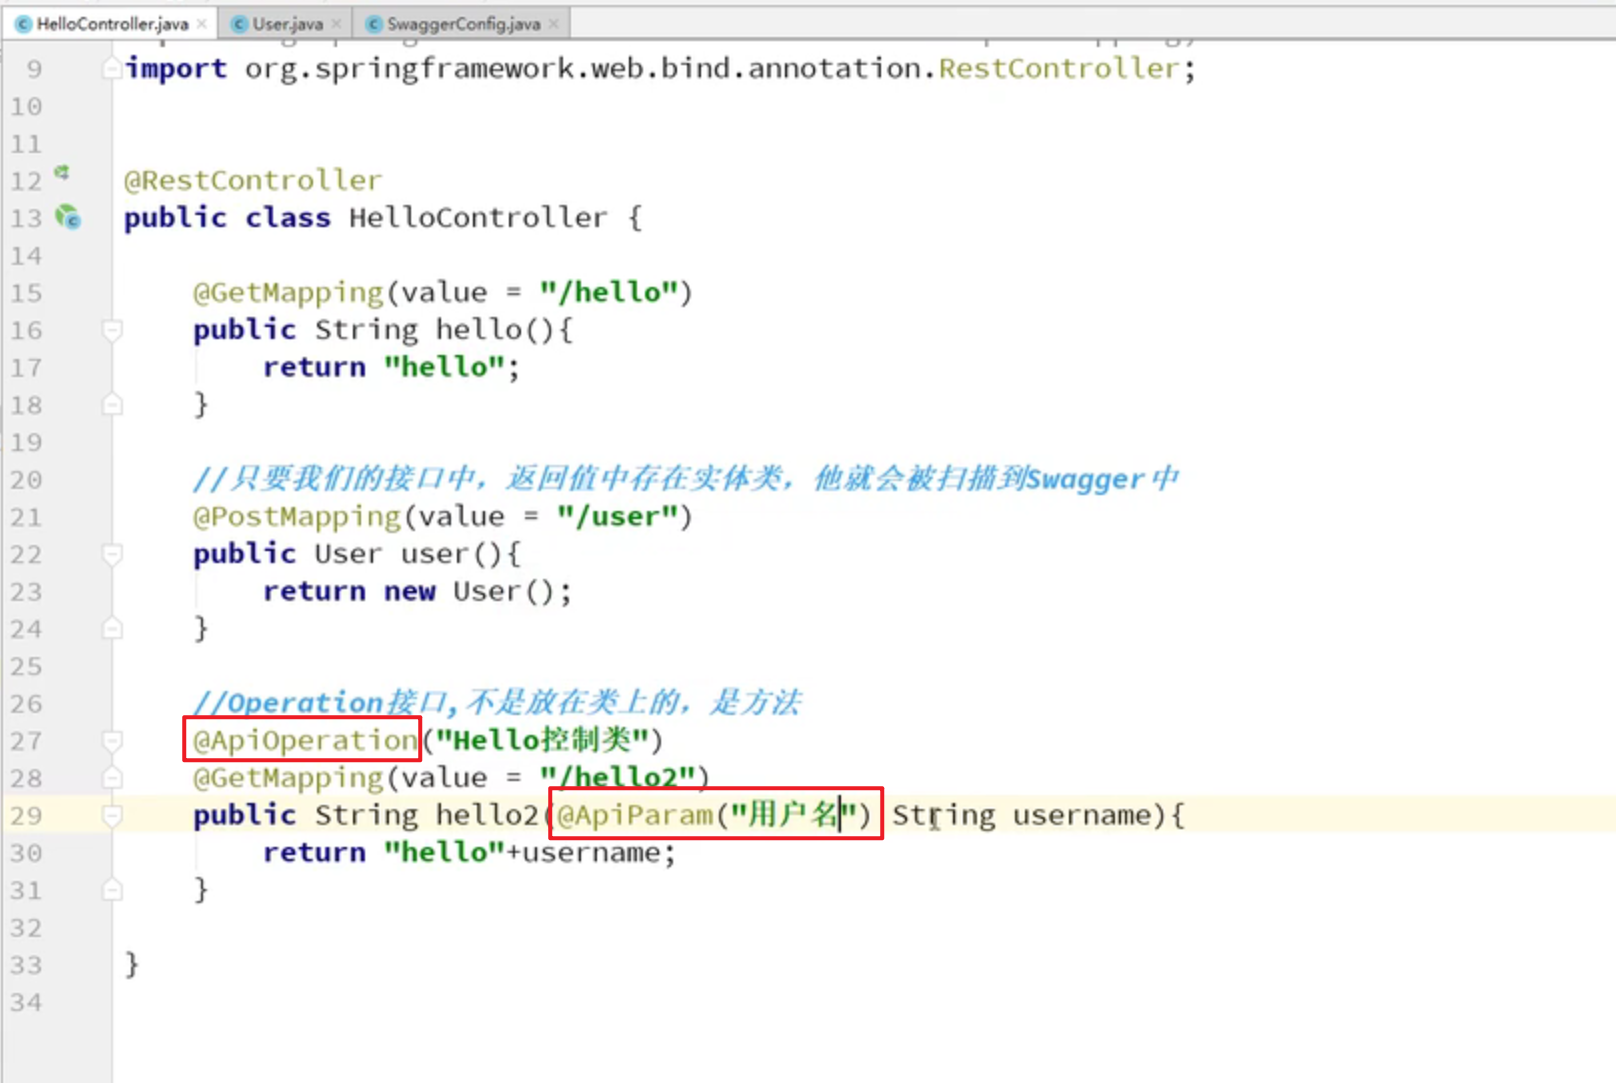
Controller类
其他注释
@JsonProperty
在序列化和反序列化时使用。用于属性上,作用是把该属性的名称序列化成另一个自己想要的名称,如把trueName属性序列化为name,
@JsonProperty("name")private String trueName; // 假如 trueName 最后为"小明"// 转化为 json 后: {"name":"小明"}
注意事项:
类和父类必须都实现序列化后,才可以反序列化,类没有实现序列化,也可以使用此注解序列化
感觉这个注解的作用是:
- 前端传参数过来的时候,使用这个注解,可以获取到前端与注解中同名的属性
- 后端处理好结果后,返回给前端的属性名也不以实体类属性名为准,而以注解中的属性名为准
Swagger入门案例
SwaggerConfig配置类
@Configuration@EnableSwagger2 //开启swagger2public class SwaggerConfig {//设置分个组名@Beanpublic Docket docket1(){return new Docket(DocumentationType.SWAGGER_2).groupName("A");}@Beanpublic Docket docket2(){return new Docket(DocumentationType.SWAGGER_2).groupName("B");}@Beanpublic Docket docket3(){return new Docket(DocumentationType.SWAGGER_2).groupName("C");}//配置swagger的Docket的bean实例@Beanpublic Docket docket(Environment environment) {Profiles profiles=Profiles.of("dev","test");boolean flag = environment.acceptsProfiles(profiles);return new Docket(DocumentationType.SWAGGER_2).apiInfo(apiInfo()).groupName("emma").enable(true).select().apis(RequestHandlerSelectors.basePackage("com.emma.swagger2_study.contoller"))// .paths(PathSelectors.ant("/emma/**")).build();}//配置swagger的信息=apiinfopublic ApiInfo apiInfo() {Contact DEFAULT_CONTACT = new Contact("heqiaosheng", "", "1357976441@qq.com");return new ApiInfo("何巧生的swagger API文档","今天你博学了吗","v1.0","urn:tos",DEFAULT_CONTACT,"Apache 2.0","http://www.apache.org/licenses/LICENSE-2.0",new ArrayList<VendorExtension>());}}
Controller类
@RestControllerpublic class HelloController {@GetMapping("/hello")public String hello() {return "hello swagger2";}@ApiOperation("hello2方法")@GetMapping("/hello2")public User hello2() {return new User();}@ApiOperation("获取用户控制类")@PostMapping("/getUser")public User getUser(@ApiParam("用户") User user) {return user;}}
实体类
@Data@ApiModel("用户实体类")public class User {@ApiModelProperty("用户名")private String username;@ApiModelProperty("密码")private String password;}
总结
总结
- 我们可以通过Swagger给一些比较难理解的属性或者接口, 增加注释信息
- 接口文档实时更新
- 可以在线测试
Swagger是一个优秀的工具, 几乎所有大公司都有使用它
【注意点】在正式发布的时候,关闭Swagger!!!出于安全考虑,而且节省运行的内存
工作中学到的Swagger
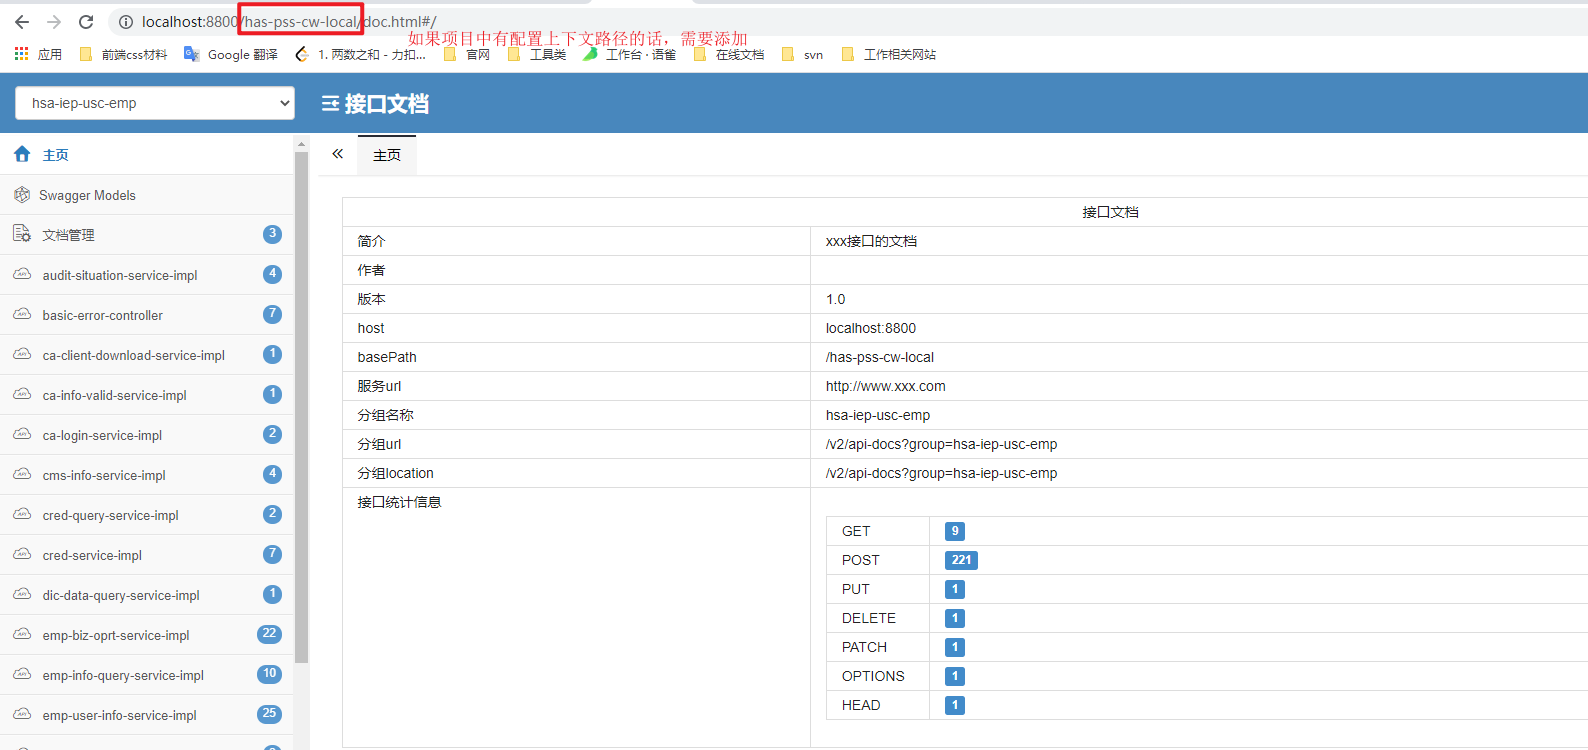
新的一种swagger接口界面
<!-- 这里使用 swagger-bootstrap-ui 替代了原有丑陋的ui,拯救处女座~ --><dependency><groupId>com.github.xiaoymin</groupId><artifactId>swagger-bootstrap-ui</artifactId><version>1.9.0</version></dependency><dependency><groupId>io.springfox</groupId><artifactId>springfox-swagger2</artifactId><version>2.9.2</version></dependency>
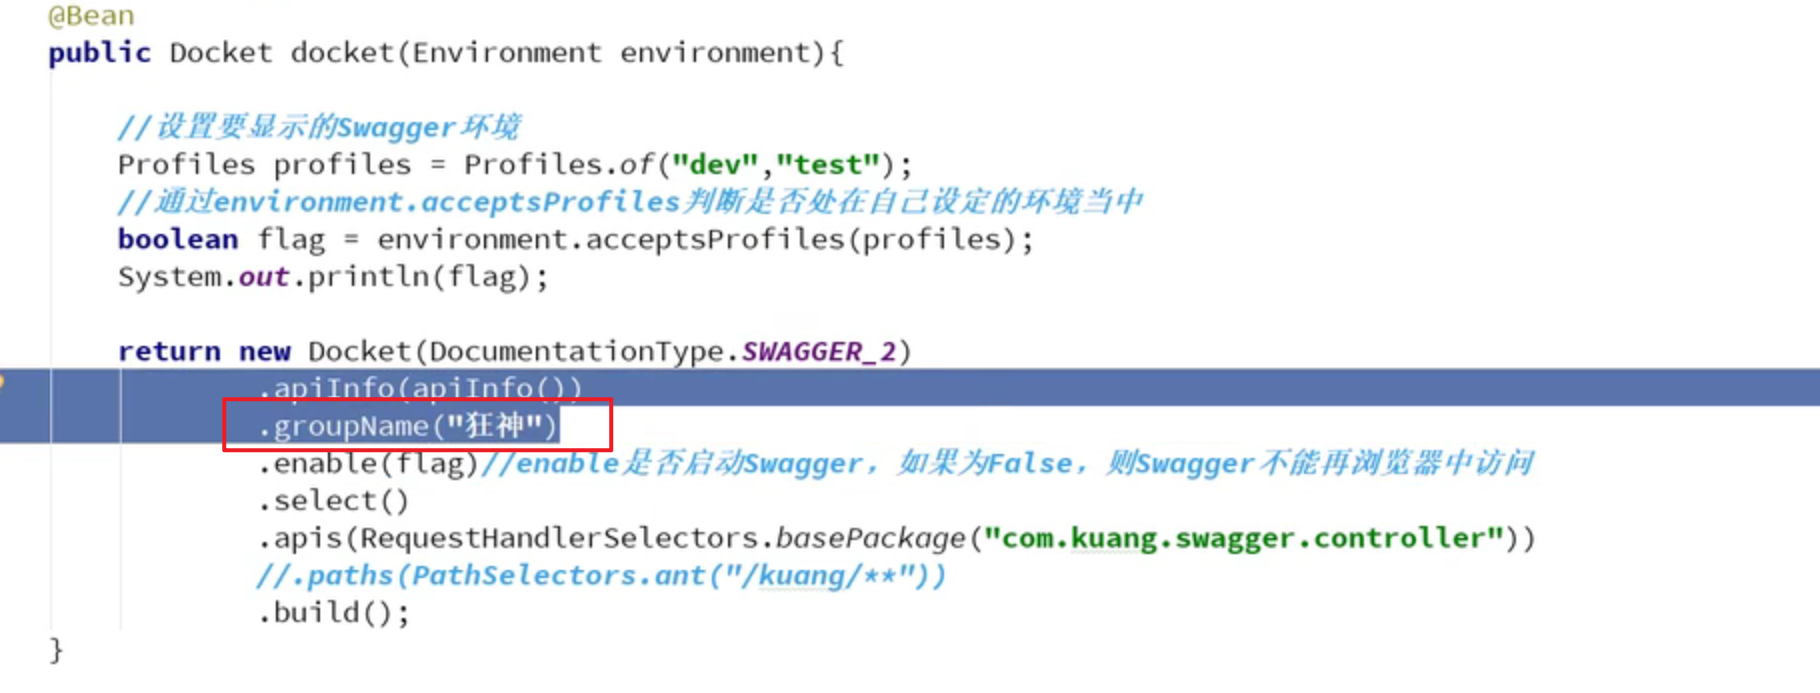
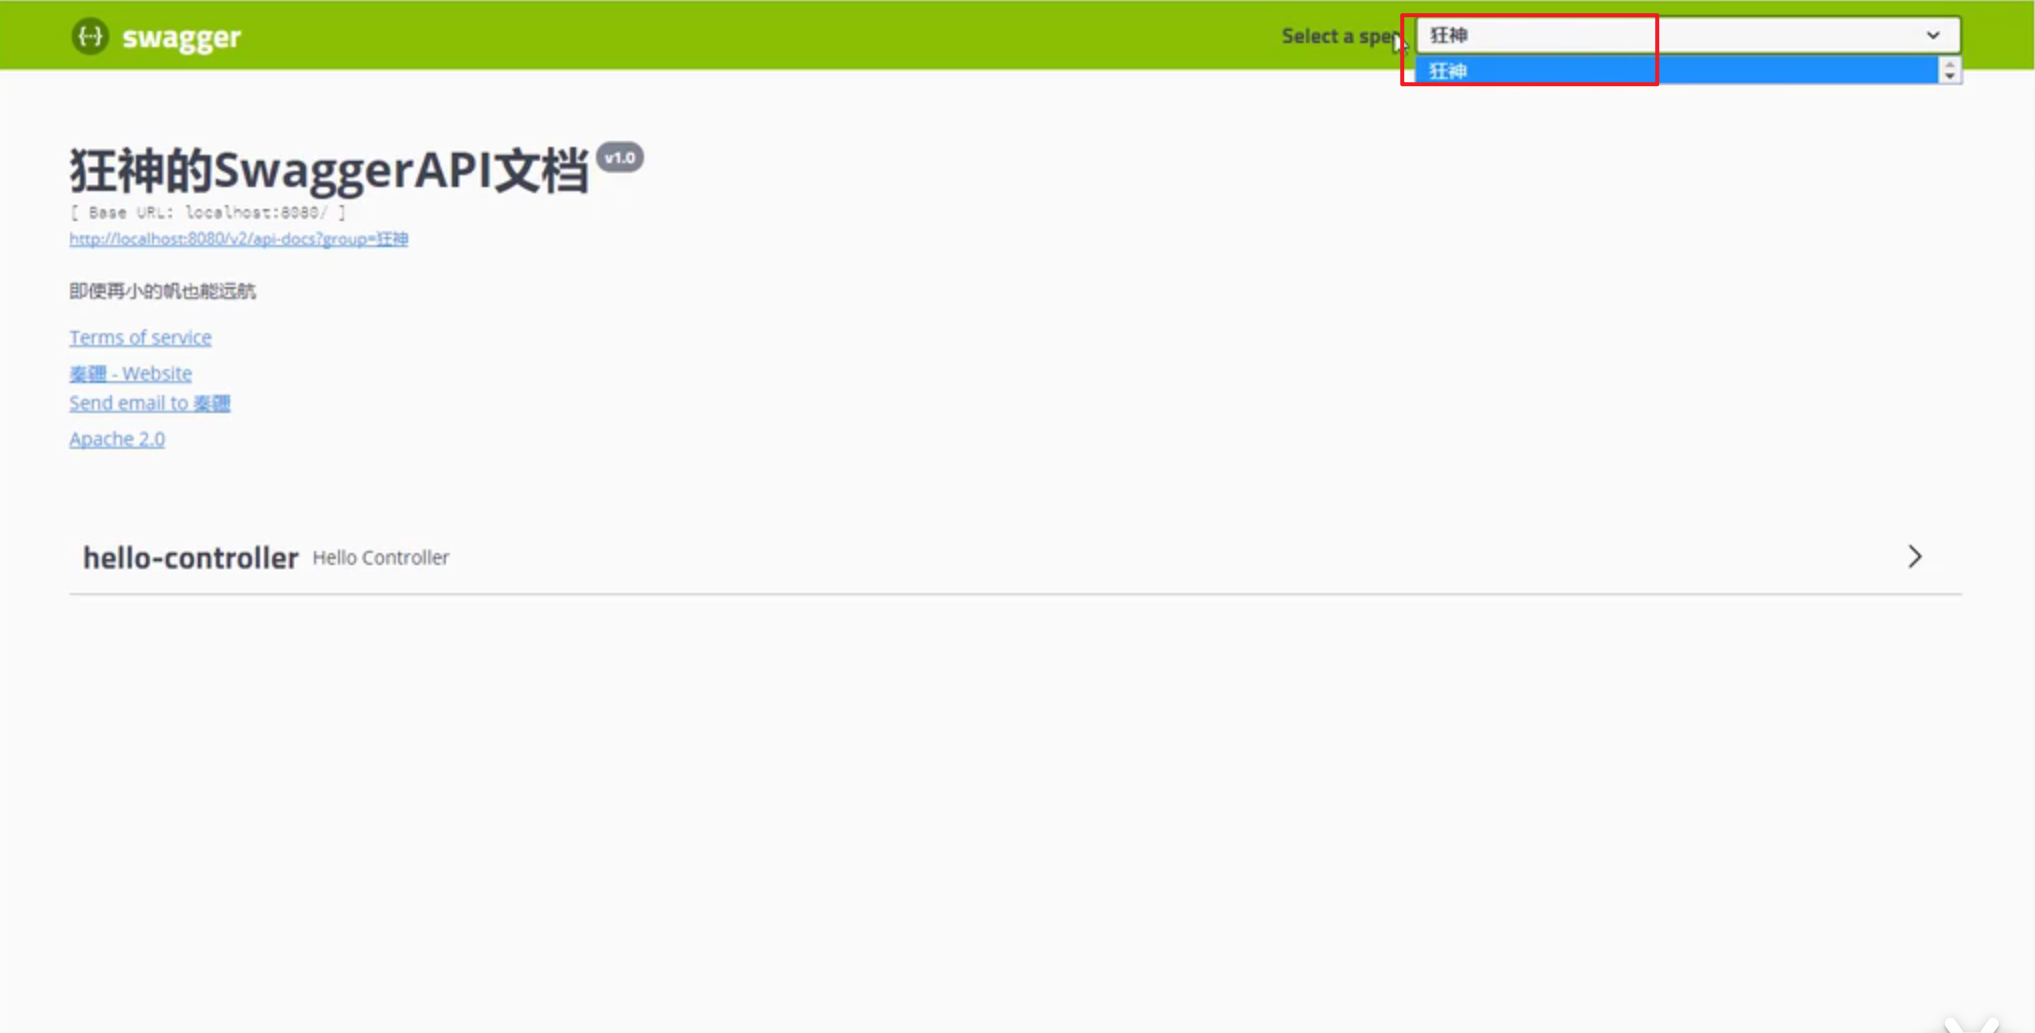 如何配置多个分组?配置多个Docket实例即可