此地址有详情的英文解释版本,包含了 Sonytype的配置过程,转移到Jcenter的步骤等等
注:以下所有涉及的代码可在此进行查看
1、两者区别
- Jcenter
Jcenter是由https://bintray.com/ 管理的一个Maven库,可以在此找到所有的库
引入库的方式
allprojects {repositories {jcenter()}}
- Maven Central
Maven Central是由https://sonatype.org/ 管理的一个Maven库,可以在此找到所有的库
引入库的方式
allprojects {
    repositories {
        mavenCentral()
    }
}
两者虽然都是Maven仓库,但是其间完全无任何关联,且是独立开的
2、上传库到Jcenter
2.1、创建Bintray账户
需要在 https://bintray.com 创建一个 Package 在 maven上

2.2、工程配置
- 首先需要在顶层Project的
build.gradle文件中添加如下脚本
 dependencies {
        classpath 'com.android.tools.build:gradle:1.2.3'
        classpath 'com.jfrog.bintray.gradle:gradle-bintray-plugin:1.4'
        classpath 'com.github.dcendents:android-maven-gradle-plugin:1.3'
    }
注意:如果属于APP的插件无法在 moudle中访问到,需要在module的 build.gradle脚本中加上如下配置:
buildscript {
    repositories {
        jcenter()
    }

    dependencies {
        classpath 'com.jfrog.bintray.gradle:gradle-bintray-plugin:1.8.0'
        classpath 'com.github.dcendents:android-maven-gradle-plugin:2.1'
    }
}�
- 在
local.properties中声明关键的信息,具体可见 PickView 本地的文件配置(这些是关键信息不能暴露在外)
bintray.user=YOUR_BINTRAY_USERNAME
bintray.apikey=YOUR_BINTRAY_API_KEY
bintray.gpg.password=YOUR_GPG_PASSWORD
YOUR_BINTRAY_USERNAME: 代表在此注册的用户名
YOUR_BINTRAY_API_KEY: 代表在 在此 最后一项的 APIKEY
YOUR_GPG_PASSWORD: 代表在 SonaType 上注册的密码
注意:如果全局的local.properties无法找到导致的异常,需要在单独的Moudle下去新建此问题,并且填写信息
- 在对应上传的Module项目的
build.gradle中依次按照下方的模板添加, 有些是可选的
apply plugin: 'com.android.library'

ext {
    bintrayRepo = 'maven'
    bintrayName = 'PickView'

    publishedGroupId = 'com.brucetoo.pickview'
    libraryName = 'PickView'
    artifact = 'library'

    libraryDescription = '.....'

    siteUrl = 'https://github.com/brucetoo/PickView'
    gitUrl = 'https://github.com/brucetoo/PickView.git'

    libraryVersion = '1.2.3'

    developerId = 'brucetoo'
    developerName = 'brucetoo'
    developerEmail = 'brucetoo14@gmail.com'

    licenseName = 'The Apache Software License, Version 2.0'
    licenseUrl = 'http://www.apache.org/licenses/LICENSE-2.0.txt'
    allLicenses = ["Apache-2.0"]
}


// 将此两个脚本放在最后,用于上传库,具体的参数在上方 ext 已经定义
apply from: 'https://raw.githubusercontent.com/nuuneoi/JCenter/master/installv1.gradle'
apply from: 'https://raw.githubusercontent.com/nuuneoi/JCenter/master/bintrayv1.gradle'
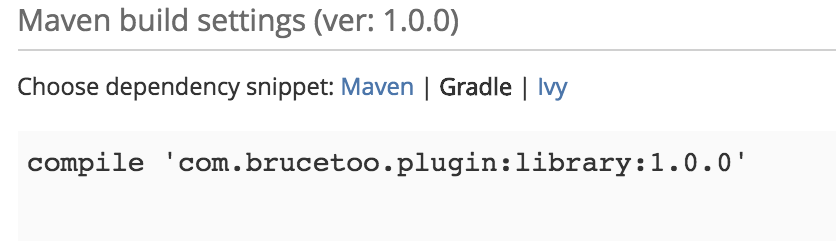
按照如上配置后,引入该库的方式如下:
compile 'com.brucetoo.pickview:library:1.2.3'
也就是GROUP_ID:ARTIFACT_ID:VERSION 的形式
- 编译此Module,成功后通过脚本
gradlew bintrayUpload 或者 .gradlew bintrayUpload
或者andrdoi studio右侧的工具开始上传库,如下: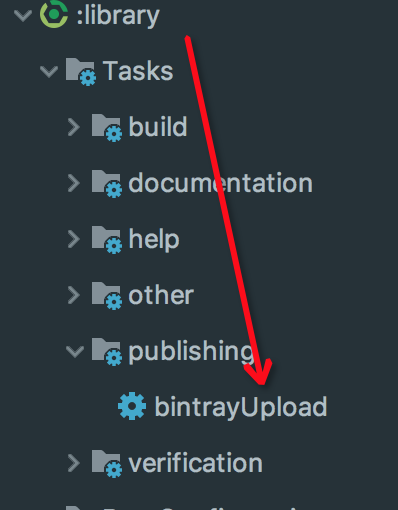
- 上传成功后,会在jcent 中看到上传的库
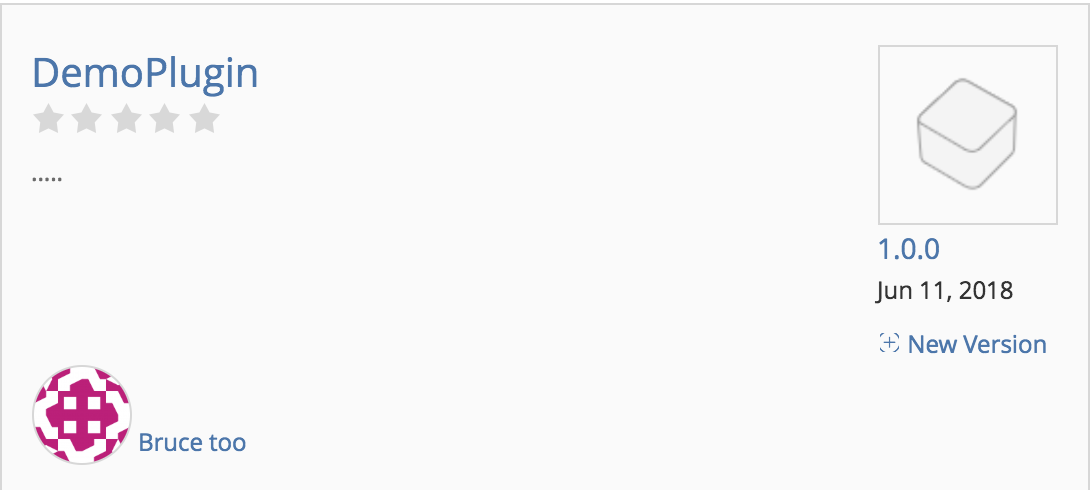
- 点击上图的DemoPlugin, 进入页面后右下角有个
Add to Jcenter按钮,点击进入审批流程(此过程大概4个小时),审批成功后会看到如下图示

- 然后就能够从 jcenter 库中 compile 引入上传的库了

若有收获,就点个赞吧
0 人点赞
