Angular中的数据绑定分以下几种:
使用
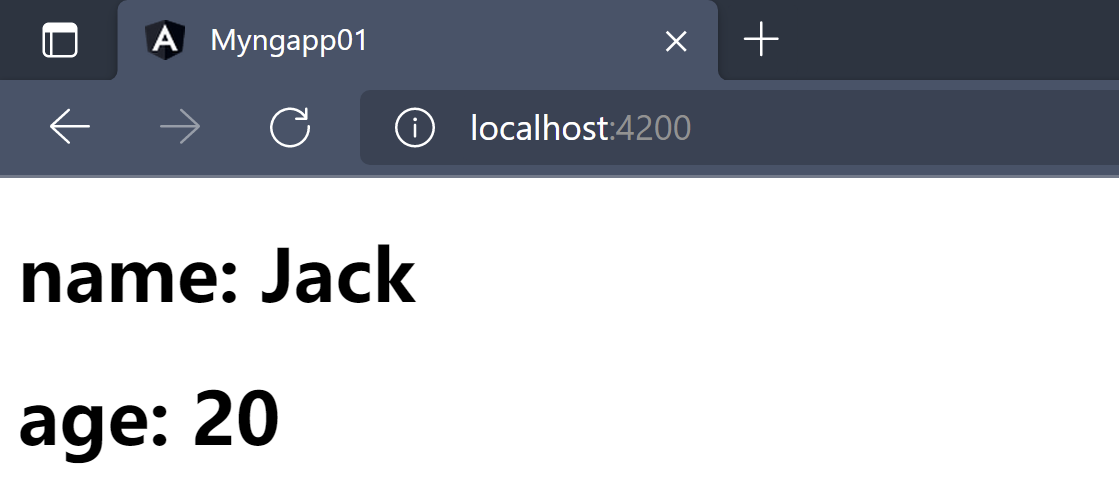
{{ng表达式}}进行绑定 ```typescript import { Component, OnInit } from ‘@angular/core’;
@Component({ selector: ‘app-my-com03’, templateUrl: ‘./my-com03.component.html’, styleUrls: [‘./my-com03.component.css’] }) export class MyCom03Component { name = ‘Jack’; age = 20; }
```html======my-com03.component.html========<h1>name: {{name}}</h1><h1>age: {{age}}</h1>======app.component.html=========<app-my-com03></app-my-com03>
- ng表达式支持类型
| 比较运算符(
{{a < 20}}) | true | | —- | —- | | 逻辑运算符({{a > 20 && a < 40}}) | true | | 调用方法({{a.toUpperCase()}}) | true | | 获取数组下标({{a[1]}}) | true | | 三目运算符({{a < 20 ? fun1() : fun2()}}) | true | | 调用属性({{a.length}}) | true | | new操作({{new Obj()}}) | false | | JSON序列化({{JSON.stringfy}}) | false |
2、属性绑定
angular中实现属性绑定有两种方式:
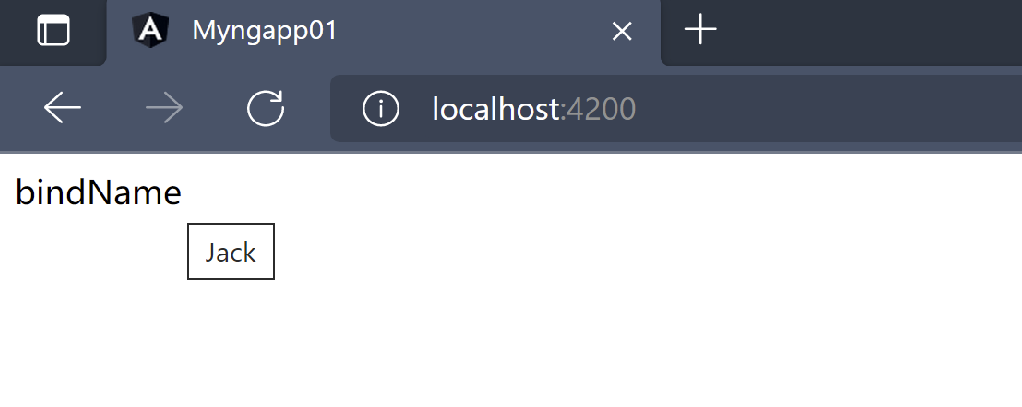
使用
{{}}对属性进行绑定======my-com03.component.html========<span title="{{name}}">bindName</span>
使用
[prop]="参数"实现属性绑定======my-com03.component.html========<span [title]="age">bindAge</span>

3、事件绑定
- angular中的事件绑定语法:
(事件名)="方法名(args)"======my-com03.component.html========<button (click)="printName()">Name</button>

4、指令绑定
4.1、Angular指令系统
下列例子中:省略了在
app.component.html引用组件的代码,和组件注册代码循环绑定
*ngFor:语法规则
<div *ngFor="let item of items">{{item.name}}</div>
定义的临时变量名必须使用
let声明;如果要使用循环的下标,需要传参操作如下例============ng-for-component.component.html===========<ul><li *ngFor = "let stu of stuList; index as i">{{i}}:{{stu.name}}</li></ul>
```typescript =============ng-for-component.component.ts=========== @Component({ selector: ‘app-ng-for-component’, templateUrl: ‘./ng-for-component.component.html’, styleUrls: [‘./ng-for-component.component.css’] }) export class NgForComponentComponent { stuList = [ {name: ‘mike’}, {name: ‘jack’}, {name: ‘joe’}, {name: ‘july’} ];
}
- 再根视图中引用新的组件观察输出结果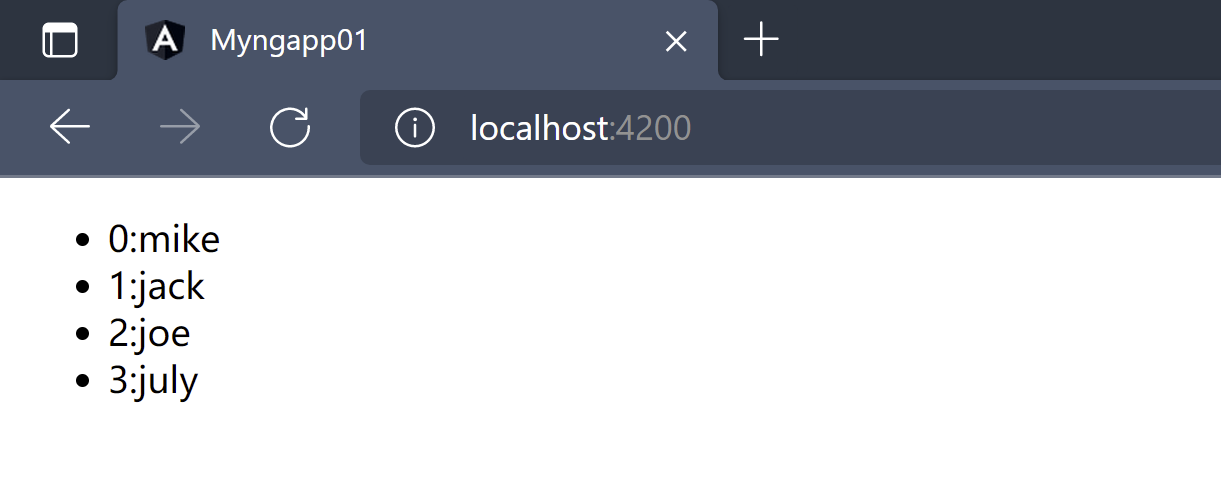<a name="Ag1Uw"></a>### *ngif指令- `*ngIf="布尔表达式"`- `NgIf`指令的主要作用时应用于宿主元素,来决定`DOM`树中是否存在宿主元素及其子元素```typescript@Component({selector: 'app-ng-if-component',templateUrl: './ng-if-component.component.html',styleUrls: ['./ng-if-component.component.css']})export class NgForComponentComponent {age = 10;isVip = true;isSVip = false;}
<div *ngIf="isVip"><h1>好康的!!!</h1></div><div *ngIf="isSVip"><h1>超级好康的!!!</h1></div>
- 显示结果如下:
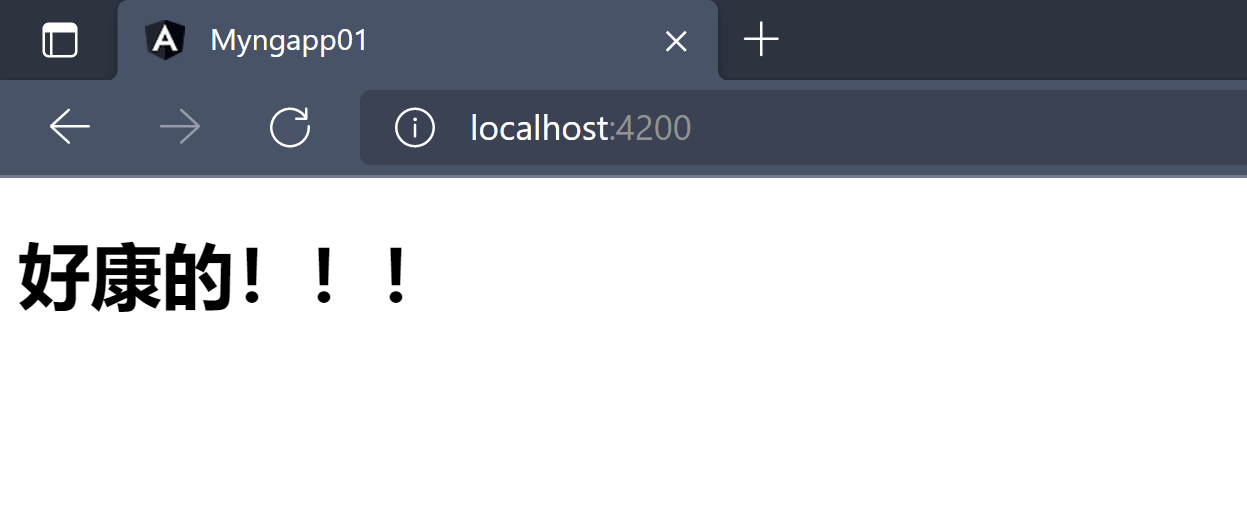
查看页面元素可以看到,
*ngIf参数为false的宿主元素及其子元素会被删除<app-ng-if-component _ngcontent-vio-c12="" _nghost-vio-c11=""><div _ngcontent-vio-c11=""><h1 _ngcontent-vio-c11="">好康的!!!</h1></div></app-ng-if-component>
与
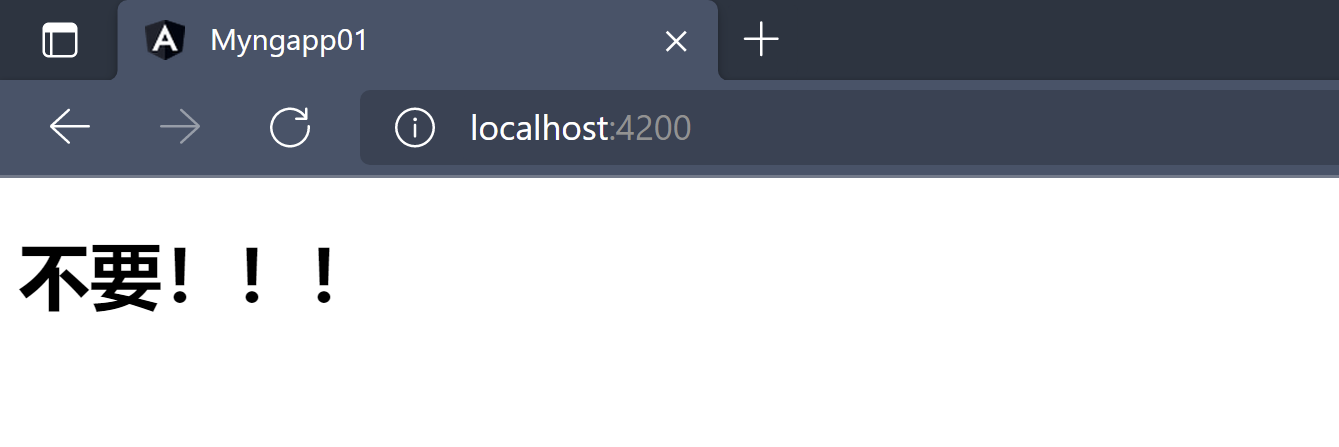
*ngIf相对的else情况处理:*ngIf="condition; else Templatexxx"需要结合ng-template元素使用ng-template元素定义了一个默认情况下不渲染任何内容的模板,只有被引用后才会被渲染;ng-template使用#模板id的方式进行模板和引用的对应<div *ngIf="age >= 18; else healthTemplate"><h1>好康的!!!</h1></div><ng-template #healthTemplate><h1>不要!!!</h1></ng-template>
结果:
*ngSwitch指令
- 对于分支比较多的类型,再使用
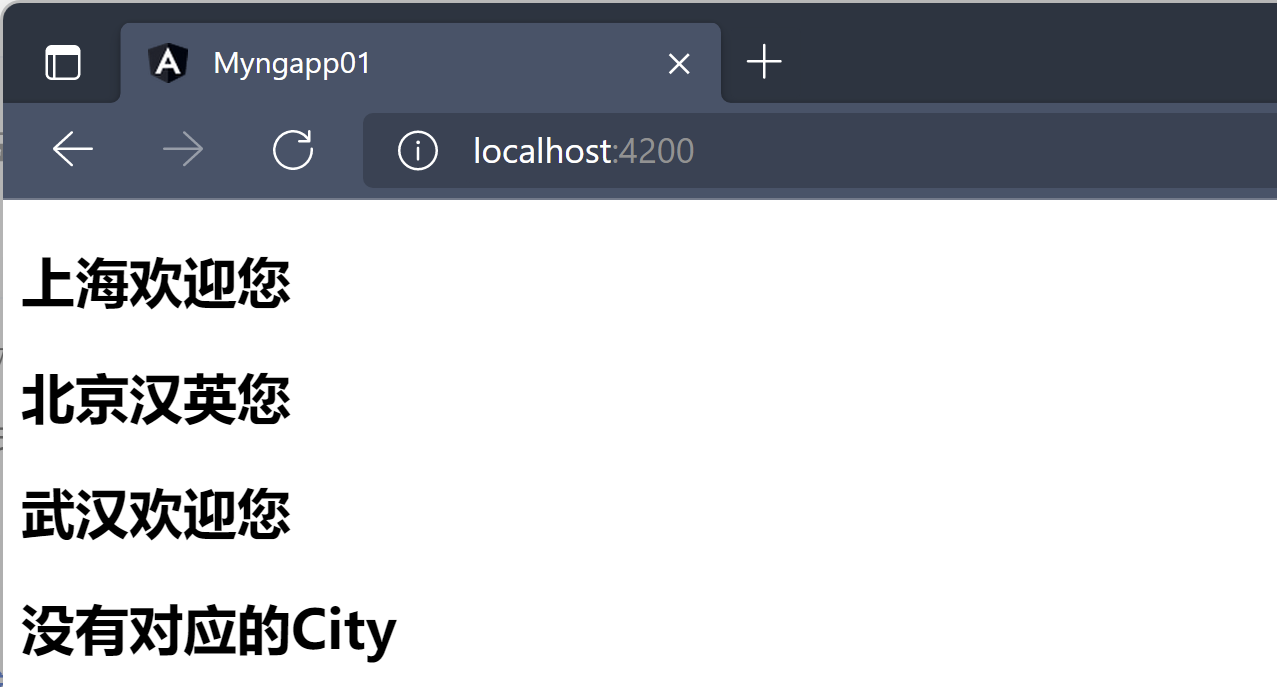
ngIf来判断比较麻烦,且代码不简洁,此时可以使用ngSwitch ngSwitch和ngSwitchCalse、ngSwitchDefault,一起使用可以处理多种分支情况==========ng-switch-com.component.ts=========@Component({selector: 'app-ng-switch-com',templateUrl: './ng-switch-com.component.html',styleUrls: ['./ng-switch-com.component.css']})export class NgSwitchComComponent {users = [{name: 'jack', city: "Shanghai"},{name: "joe", city: "Beijing"},{name: "july", city: "Wuhan"},{name: "mike", city: "GagaTun"}]}
=======ng-switch-com.component.html========<div *ngFor="let user of users"><div [ngSwitch]="user['city']"><h2 *ngSwitchCase="'Beijing'">北京汉英您</h2><h2 *ngSwitchCase="'Shanghai'">上海欢迎您</h2><h2 *ngSwitchCase="'Wuhan'">武汉欢迎您</h2><h2 *ngSwitchDefault>没有对应的City</h2></div></div>
显示效果
[ngStyle]样式指令
- 使用
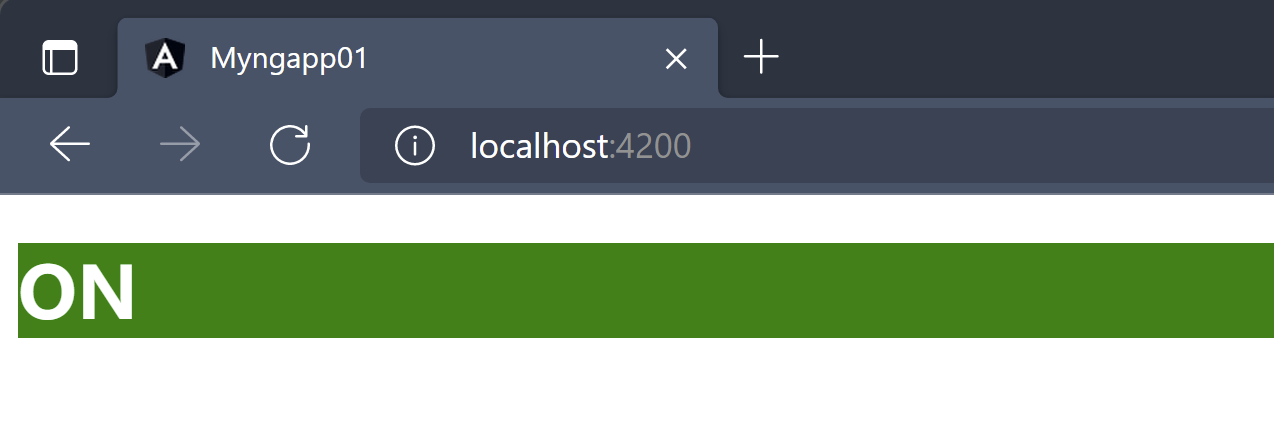
ngStyle根据组件的不同状态设置多个内联样式 语法规则:
[ngStyle]="样式Obj"@Component({selector: 'app-ng-style-com',templateUrl: './ng-style-com.component.html',styleUrls: ['./ng-style-com.component.css']})export class NgStyleComComponent {status = true;//样式ObjswitchStyles = {background: this.status ? 'green' : 'red',color: "white"}}
<h1 [ngStyle]="switchStyles" >{{status ? "ON" : "OFF"}}</h1>
查看输出结果:
通过这种方式,如果想要修改元素样式,不需要对
html文件进行修改,直接修改样式对象,一般样式定义在专门的样式文件中[ngClass]指令
为了解决
ngStyle样式绑定存在的CSS和TS脚本的耦合,使用ngClass解决ngClass的主要作用时添加和删除多个CSS类,如果需要添加或删除单个类,应该使用类绑定而不是ngClassngClass的绑定值也必须是一个对象,这个对象的属性值时boolean值,true指定样式生效,false指定样式不生效===========ng-class-com.component.css=========.status-success{color: green;}.status-error{color: red;}
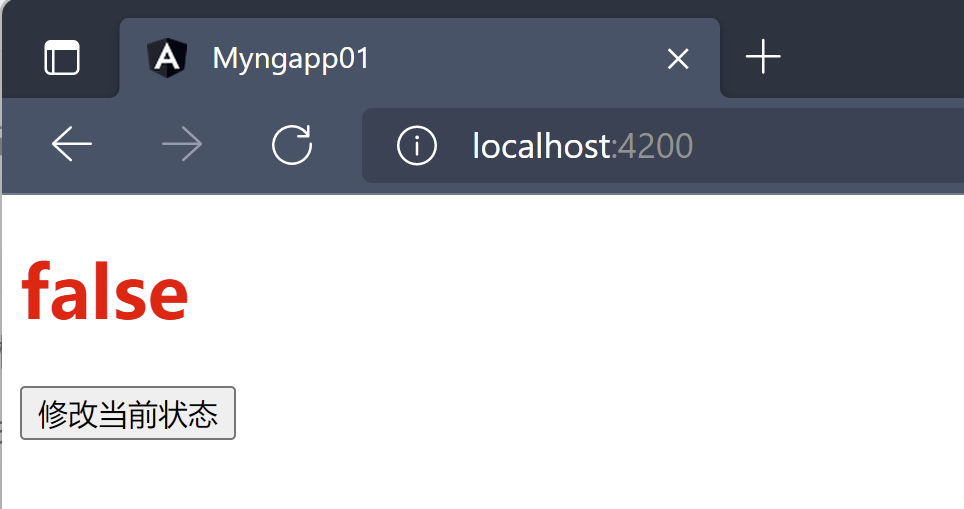
=============ng-class-com.component.html===========<h1 [ngClass]="status ? 'status-success' : 'status-error'" >{{status}}</h1>
=============ng-class-com.component.ts===========@Component({selector: 'app-ng-class-com',templateUrl: './ng-class-com.component.html',styleUrls: ['./ng-class-com.component.css']})export class NgClassComComponent {status = false;}
上述例子中将样式的判断逻辑放在了
html文件中,开发过程中应该将逻辑处理放在ts脚本中============ng-class-com.component.ts=============@Component({selector: 'app-ng-class-com',templateUrl: './ng-class-com.component.html',styleUrls: ['./ng-class-com.component.css']})export class NgClassComComponent {status = true;currentClass = {'status-success': true,'status-error': false};setCurrentStatus(){this.status = !this.status;this.currentClass = {'status-success': !this.currentClass["status-success"],'status-error': !this.currentClass["status-error"]}}}
=============ng-class-com.component.html===========<h1 [ngClass]="currentClass" >{{status}}</h1><button (click)="setCurrentStatus()">修改当前状态</button>
查看效果
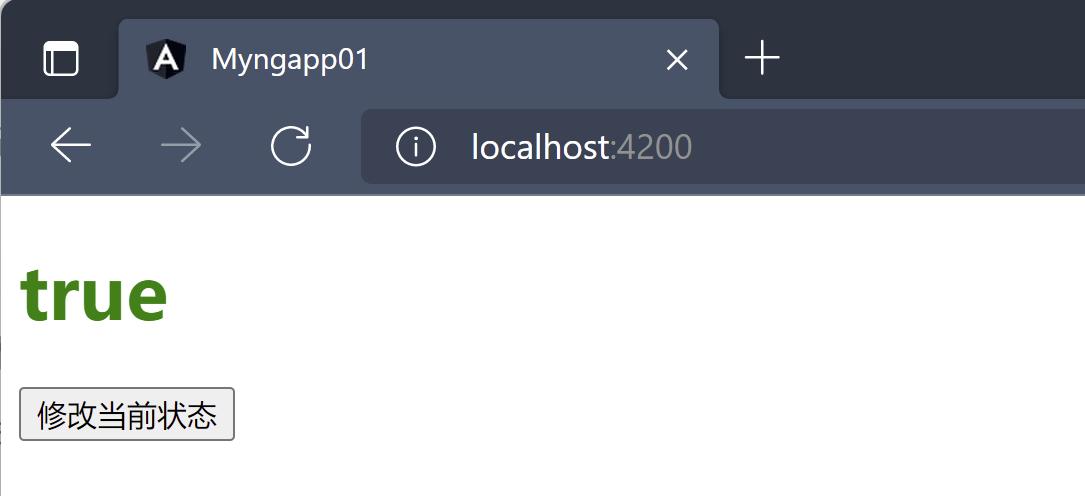
- 点击修改后
*和[]修饰指令的区别
在Angular中指令分为三种类型:
ngModel:这个指令用于实现数据的双向绑定,双向指的是Model和View之间的绑定,Model改变View随之改变,View改变Model随之发生改变ngModel绑定语法:[(ngModel)]="属性"要使用
ngModel指令需要导入FormsModule模块===========app.module.ts=============imports: [//Angular用于Web项目需要导入BrowserModuleBrowserModule,//导入表单模块FormsModule]
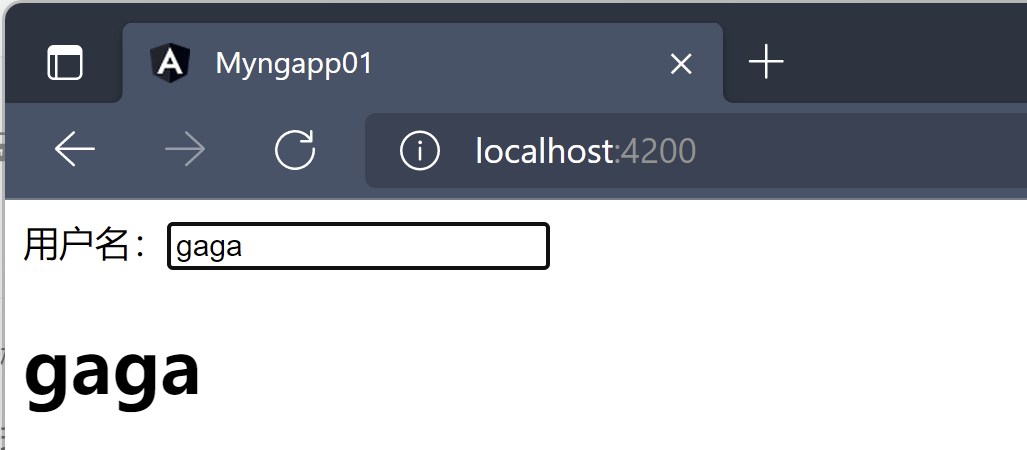
============ng-model-com.component.ts========@Component({selector: 'app-ng-model-com',templateUrl: './ng-model-com.component.html',styleUrls: ['./ng-model-com.component.css']})export class NgModelComComponent{userName = 'jack';}
==========ng-model-com.component.html============用户名:<input [(ngModel)]="userName" placeholder="用户名"/><h1>{{userName}}</h1>
效果:根据双向绑定,显示内容将根据
input标签中输入的内容进行绑定显示

- 修改输入框中的内容,绑定显示内容因该随之发生改变
ngModelChange
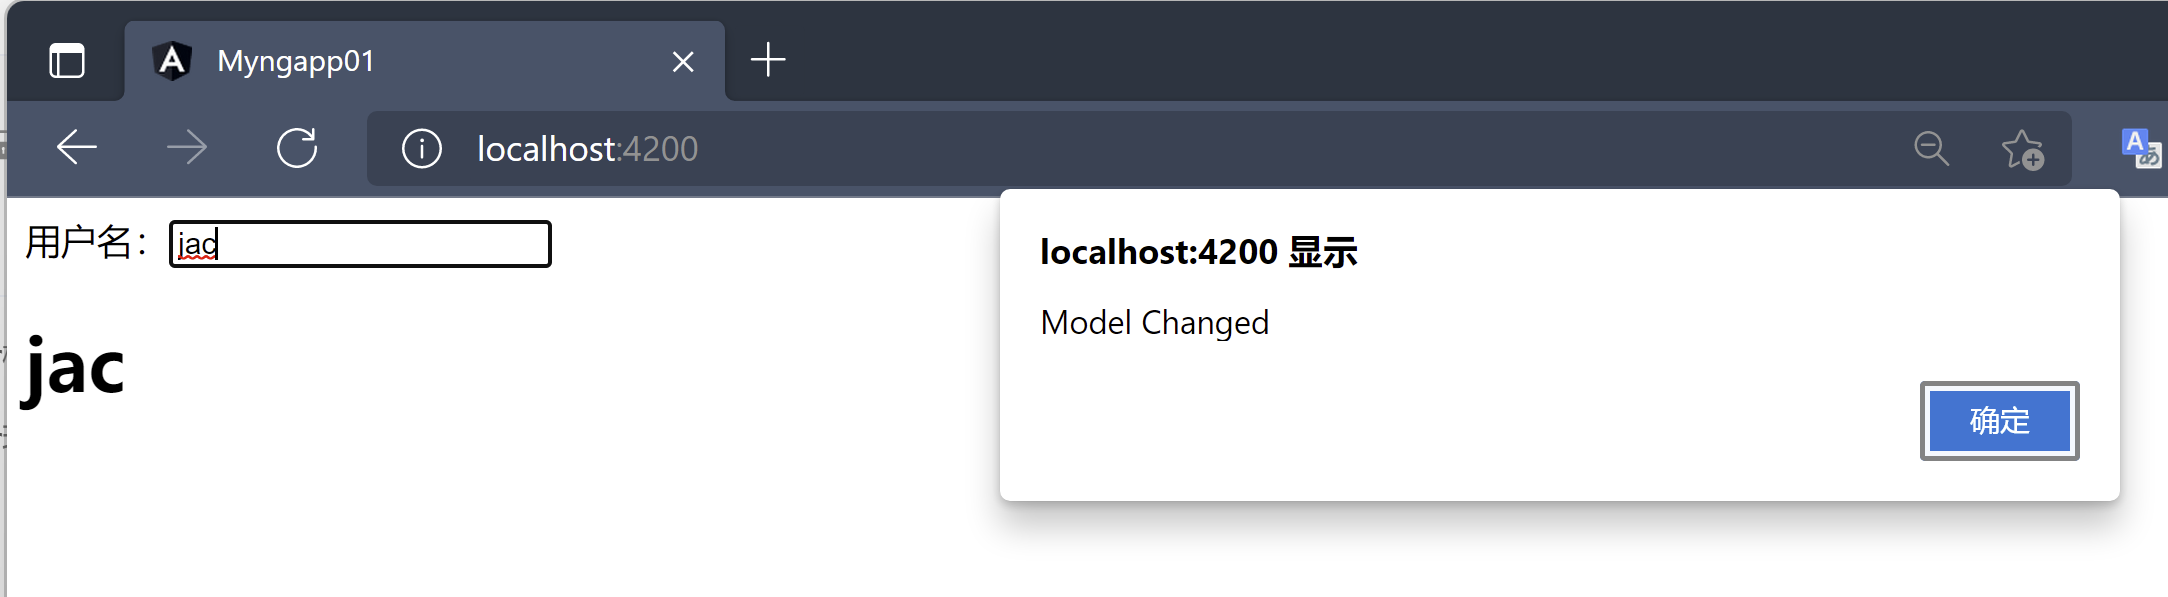
ngModelChange用于监听模型数据的改变,语法:(ngModelChange)="fun()"用户名:<input [(ngModel)]="userName"(ngModelChange)="nameChange()" placeholder="用户名"/><h1>{{userName}}</h1>
@Component({selector: 'app-ng-model-com',templateUrl: './ng-model-com.component.html',styleUrls: ['./ng-model-com.component.css']})export class NgModelComComponent{userName = 'jack';nameChange(){alert("Model Changed");}}
当
Model数据发生改变,触发绑定方法
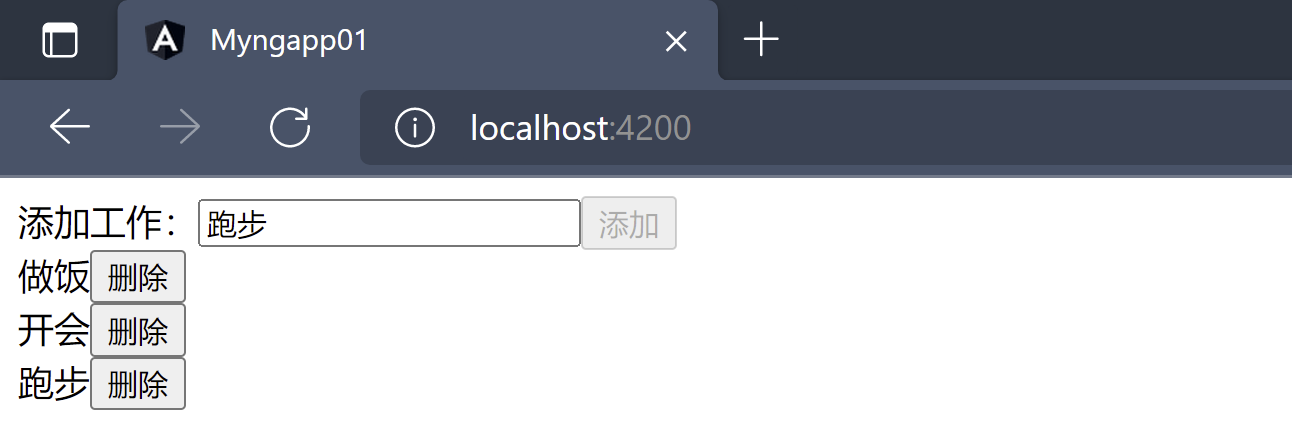
案例:实现一个功能,输入框输入一个job,点击添加,添加到列表,每一个列表都有删除,将当前项从列表中移除
@Component({selector: 'app-ng-model-com',templateUrl: './ng-model-com.component.html',styleUrls: ['./ng-model-com.component.css']})export class NgModelComComponent{addJob = '';addBtn = true;jobs: string[] = [];checkJobName(){this.addBtn = this.addJob.length <= 0 || this.jobs.indexOf(this.addJob) !== -1;}doAddJob(){this.jobs.push(this.addJob)this.addJob = '';this.addBtn = true;}doDeleteJob(index: number){this.jobs.splice(index, 1);}}
添加工作:<input [(ngModel)]="addJob" (ngModelChange)="checkJobName()"/><button (click)="doAddJob()" [disabled]="addBtn">添加</button><div *ngFor="let job of jobs; index as i"><span>{{job}}</span><button (click)="doDeleteJob(i)">删除</button></div>
- 实现效果:
6、自定义指令
- 上述的指令都是Angular内置的指令,我们也可以自定义指令,本质上指令也是一种组件
- 指令是作为标签元素的属性来使用的:
- 因此他的选择器使用
selector: "[指令名]"来定义
- 因此他的选择器使用
创建一个指令的快捷方式:
- 指令的存放位置位置app根目录下
- 同时在
app.module.ts的@declaration中注册声明自定义的指令C:\Users\92541\Desktop\sd-wan\myngapp01>ng g directive taggingCREATE src/app/tagging.directive.spec.ts (228 bytes)CREATE src/app/tagging.directive.ts (143 bytes)UPDATE src/app/app.module.ts (1343 bytes)
指令使用
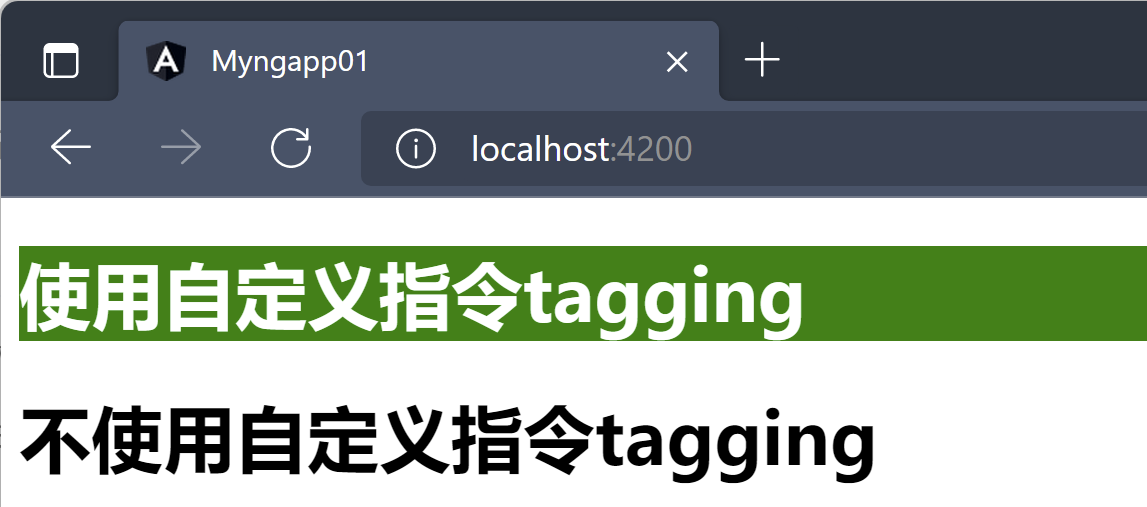
@Directive装饰器装饰,其只有选择器selector,指令是组件的父类,组件是一种特殊的指令==========tagging.directive.ts===========@Directive({selector: '[appTagging]'})export class TaggingDirective {//通过构造函数constructor(e: ElementRef) {//nativeElement指的是使用指令的元素e.nativeElement.style.background = 'green';e.nativeElement.style.color = 'white'}}
<h1 appTagging>使用自定义指令tagging</h1><h1>不使用自定义指令tagging</h1>
运行查看自定义指令的效果

若有收获,就点个赞吧
0 人点赞
