- 组件:可以被重复利用的页面片段
- 一个组件(Component)由三部分组成:
- 模板(Template)
- 脚本(Script)
- 样式(Style)
在ng中,任何一个组件都必须声明到一个模块(Module)中
1、新建组件
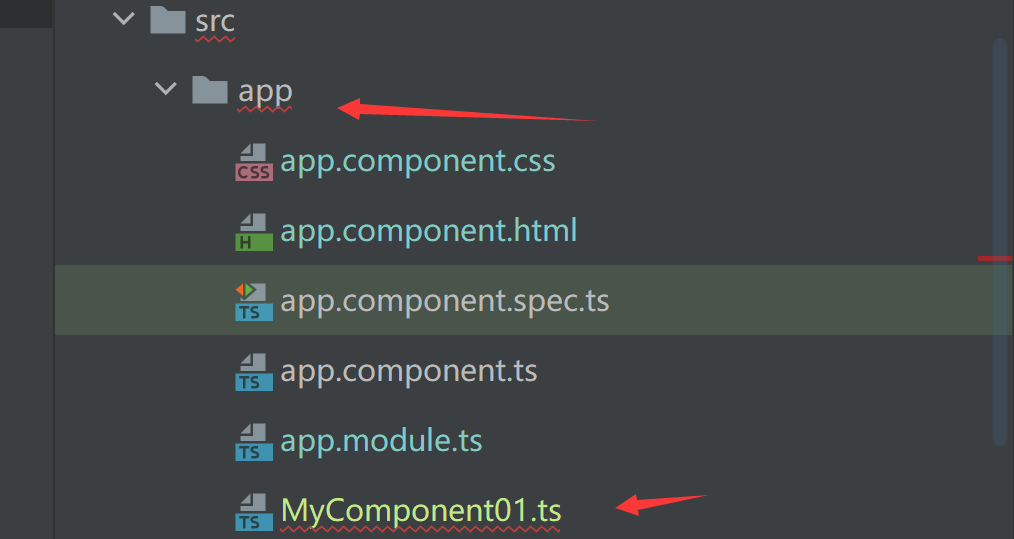
为app模块添加一个组件,在app目录下创建新的组件
MyComponent01,根据官方文档建议,组件命名规则遵循:xxx.component.ts的方式
1.1、创建组件类
- 为当前类添加装饰器,装饰器的作用就是表明当前类的作用,装饰器的本质是一个函数,定义组件需要用装饰器修饰说明当前是一个组件
- 装饰器中定义组件的模板、样式(可选)、选择器等 ```typescript import {Component} from “@angular/core”;
//装饰器(Decorator):指定class的用途 @Component({ //组件对应的html模板 template: “
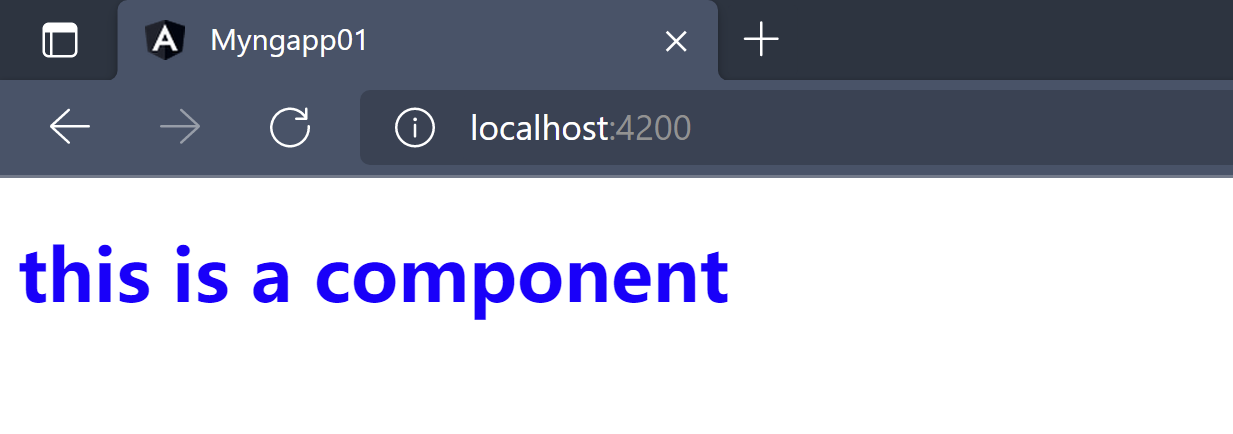
this is a component
“, //组件选择器:指定当前组件时属性、标签还是类..,根据文档命名规则采用-区分,例如xxx-yyy selector: “myComponent01”, //样式 styles: [ “h1{color: blue}” ] }) export class MyComponent01{}
<a name="nAMwP"></a>## 1.2、在模块中注册组件- 组件必须要属于某一个模块,因此必须在模块中注册组件- 在app模块`app.module.ts`中注册`MyComponent01`组件,在`declaration`中声明新增的组件```typescript@NgModule({declarations: [AppComponent,//注册新增的组件MyComponent01],imports: [BrowserModule],providers: [],//启动引导组件bootstrap: [AppComponent]})export class AppModule { }
1.3、使用新的组件
尝试在
app.component.html中使用新增的自定义组件<myComponent01></myComponent01>
查看运行结果:
2、自定义组件规范化
- 组件文件命名规则:
xxx.component.ts - 组件选择器命名规则:使用
-进行分割,主要目的时区分与html本身自带的标签 模板和样式不建议直接定义在组件文件中,应该剥离处理便于后期维护
示例
新建一个组件
myCom02,文件命名为myCom02.component.ts单独创建模板文件、样式文件
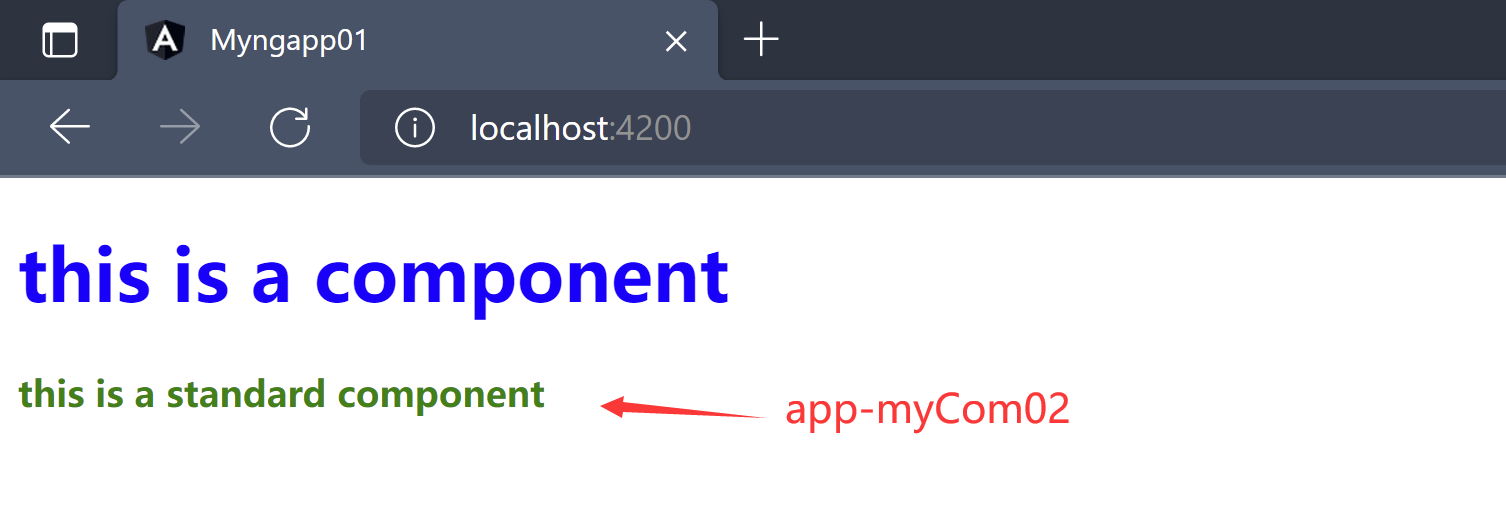
============myCom02.component.html=============<h1 class='standard'>this is a standard component</h1>
============myCom02.component.css===============h1{font-size: inherit;}.standard{color: green;}
定义组件的模板、样式、选择器 ```typescript ===========myCom02.component.ts============== import {Component} from “@angular/core”;
@Component({ selector: “app-myCom02”, templateUrl: “./myCom02.component.html”, styleUrls: [‘./myCom02.component.css’] }) export class MyCom02Component{
}
- 在模块中声明注册新的组件```typescript==============app.module.ts==============@NgModule({declarations: [AppComponent,//注册新增的组件MyComponent01,MyCom02Component],imports: [BrowserModule],providers: [],//启动引导组件bootstrap: [AppComponent]})export class AppModule { }
调用新的自定义组件
=============app.component.html==============<myComponent01></myComponent01><app-myCom02></app-myCom02>
运行结果
注意:定义的组件不能再自己的模板中调用,会导致无穷回调从而导致栈内存溢出
3、组件创建工具
- 创建一个组件,涉及组件模板创建、样式创建、组件注册、组件选择器声明等步骤,每创建一次组件就需要执行一次这一套重复的流程
- Angular提供了创建组件的简化工具,命令: ```powershell ng generate component 组件名 ===如果angular项目不是通过ng new创建的,则在node module文件下使用npx命令完成组件创建==== npx ng generate component 组件名
==简化写法== ng g component 组件名
- 组件生成命令必须在项目的根目录下执行```powershellC:\Users\92541\Desktop\sd-wan\myngapp01>ng g component myCom03CREATE src/app/my-com03/my-com03.component.html (23 bytes)CREATE src/app/my-com03/my-com03.component.spec.ts (634 bytes)CREATE src/app/my-com03/my-com03.component.ts (282 bytes)CREATE src/app/my-com03/my-com03.component.css (0 bytes)UPDATE src/app/app.module.ts (595 bytes)
- 通过命令生成的组件会自动创建一个符合驼峰命名规范用
-分割的文件夹,文件夹中生成如下文件xxx.component.html模板文件xxx.component.spec.ts:单元测试文件(非必须,可以删除)xxx.component.ts:组件声明文件xxx.component.css:组件样式文件
- 同时自动执行
UPDATE src/app/app.module.ts,将组件进行注册@NgModule({declarations: [AppComponent,//注册新增的组件MyComponent01,MyCom02Component,//组件生成工具为我们添加的组件声明MyCom03Component],imports: [BrowserModule],providers: [],//启动引导组件bootstrap: [AppComponent]})export class AppModule { }

若有收获,就点个赞吧
0 人点赞
