- 要处理从一个视图到下一个视图的导航,使用Angular Router。Router会通过将浏览器URL解释为更改视图的操作指令来启用导航
- 单页面应用和多页面应用
- 多页面应用:每次获取一个新的页面,都会执行一次DOM树的销毁和新DOM树的创建,重复加载资源
- 单页面应用:在SPA(单页面应用)中,所有应用的所有功能都存在于同一个HTML页面中。浏览器只需要渲染那些用户需要的部分,不需要重新加载页面。DOM树只需要创建一次,其余所需内容的html片段使用异步请求的方式填充
- 单页面应用的缺陷:不利于SEO策略优化
Angular中实现单页面应用步骤
创建应用所需的路由组件home和detail组件
ng g component homeng g component detail
1.1、定义路由词典
为每一个路由组件分配一个路由地址,完成组件和URL的映射
path:路由URL路径,URL路径的首位不能有/,例如:/xxx或者xxx/这样的格式是错误的,但是xxx/yyy是合法的;允许为空(path=''),则认为是默认首页。使用**代表任意地址component:组件类名redirectTo:指定重定向的路由地址,和component二选一;使用重定向的时候需要通过pathMatch指定匹配规则(一般使用full完全匹配规则) ```typescript ============app.module.ts============ //声明路由词典,对象数组 const routes = [ //path: ’路由地址‘,component: 组件,redirectTo: ‘重定向path’,pathMatch: ‘匹配规则一般为full’ {path: ‘’, redirectTo: ‘home’, pathMatch: ‘full’}, {path: ‘home’, component: HomeComponent}, {path: ‘detail’, component: DetailComponent}, //使用匹配任意地址,必须使用在路由表的最后,否则之后的请求会被覆盖阻拦 {path: ‘‘, component: 异常处理组件} ];
@NgModule({…})…
<a name="c3kQ8"></a>## 1.2、注册路由词典- 根组件导入`RouterModule`模块,此模块可以调用两个方法`forRoot`和`forChild`- `forRoot`:此路由应用于系统的根模块- `forChild`:此路由应用于系统的某个子模块中```typescript===========app.module.ts============imports: [...//导入路由模块,路由应用于根模块RouterModule.forRoot(routes)]
1.3、定义路由出口
在跟模板
app.component.html中通过<router-outlet>定义路由出口(路由挂载点)===========app.component.html=============<h1>这是主页啊=_=</h1><hr><!--定义路由挂载点--><router-outlet></router-outlet>
1.4、访问测试
浏览器访问
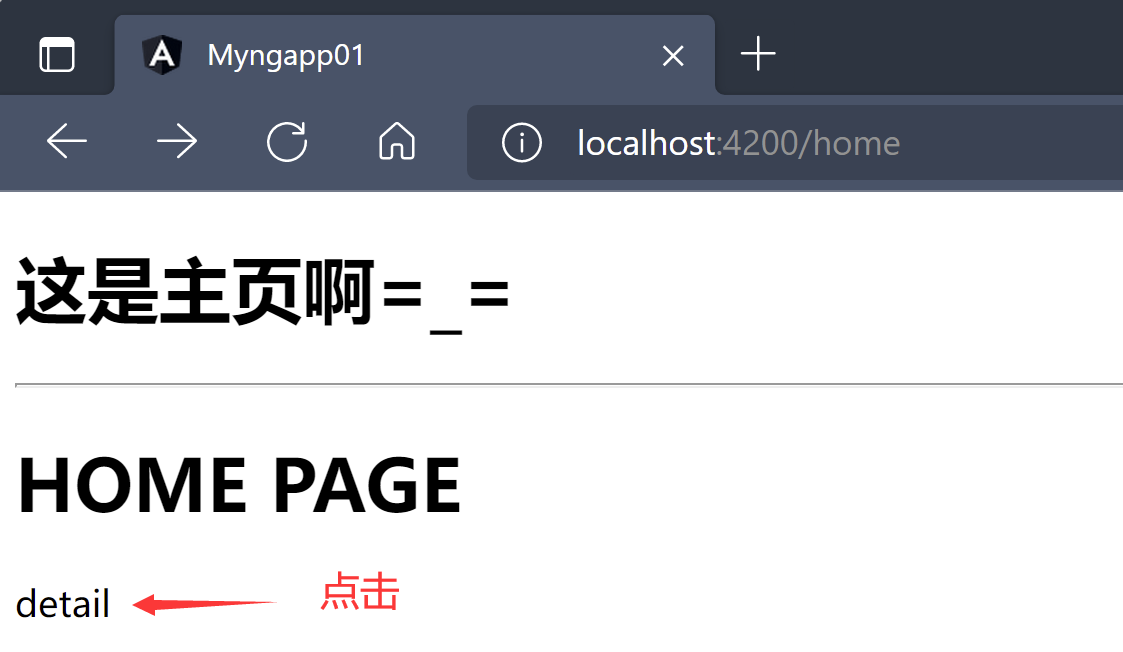
https://localhost:4200会被重定向访问https://localhost:4200/home地址- 浏览器访问
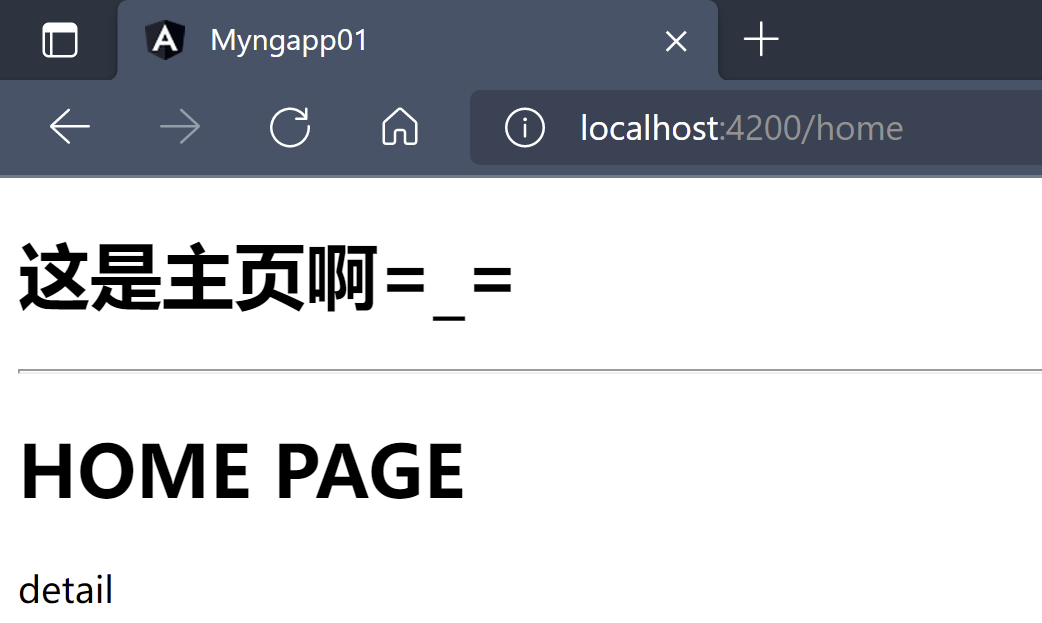
https://localhost:4200/home

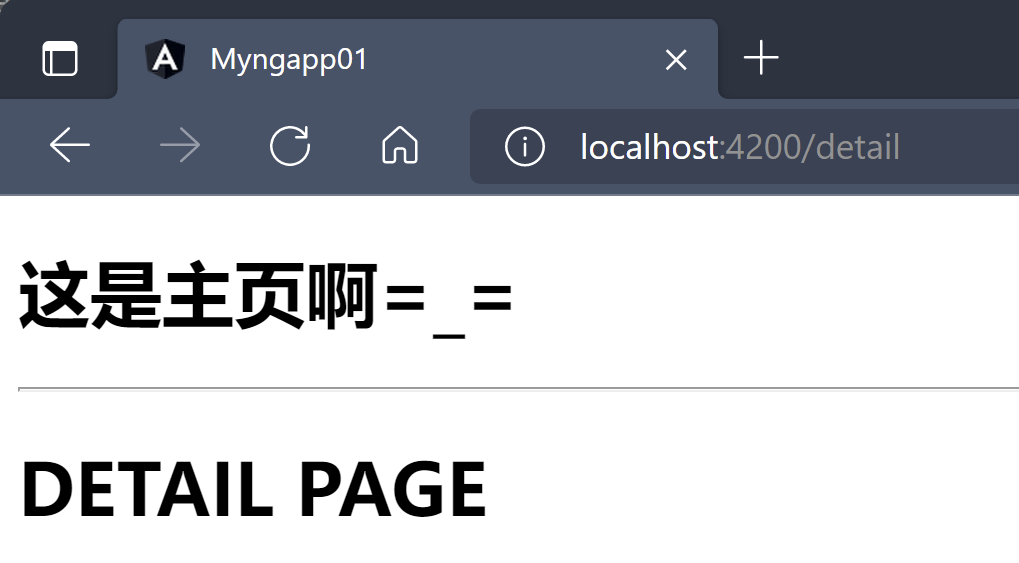
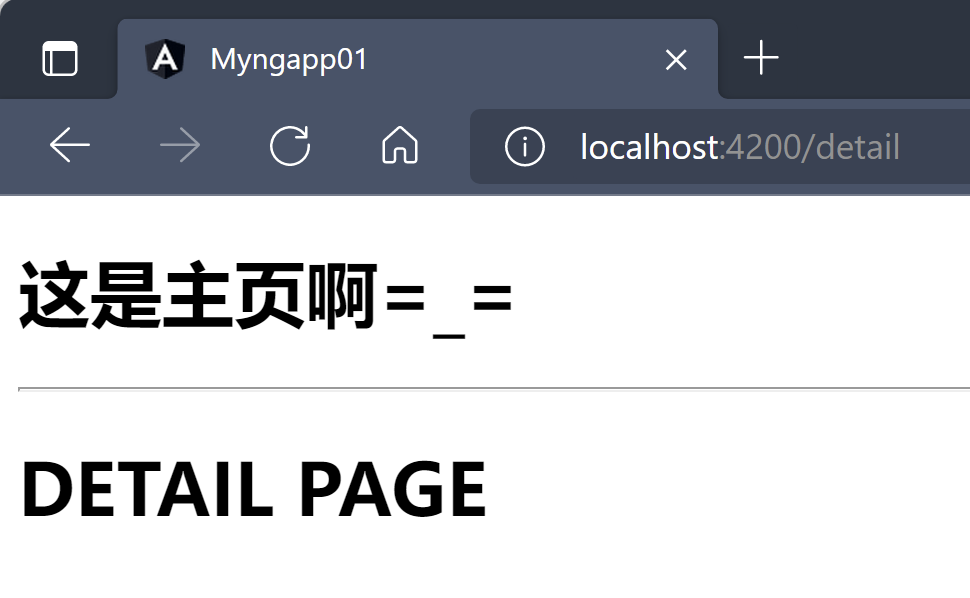
- 浏览器访问
https://localhost:4200/detail
2、路由跳转(导航)
从一个路由地址跳转到另一个路由地址,有两种方式:
在需要跳转的标签上添加
routerLink属性,属性值是需要跳转的路由地址===========home.component.html============<h1>HOME PAGE</h1><div routerLink="/detail">detail</div>
2.2、脚本方法
使用
RouterModule模块提供的Router对象,在实现脚本方式的跳转,调用Router对象的navigateByUrl('路由地址')方法实现跳转=============home.component.html==============<h1>HOME PAGE</h1><div (click)="getDetail()">detail</div>
=============home.component.ts==================@Component({selector: 'app-home',templateUrl: './home.component.html',styleUrls: ['./home.component.css']})export class HomeComponent implements OnInit {//注入路由器服务constructor(private router: Router) { }ngOnInit(): void {}getDetail(){//通过路由器服务实现路由跳转this.router.navigateByUrl('/detail');}}
3、路由参数
3.1、发送路由参数
Angular中的路由地址可以设置参数,称之为路由参数,路由参数的语法规则
path/:参数名================app.module.ts==============//声明路由词典,对象数组const routes = [//path: ’路由地址‘,component: 组件,redirectTo: '重定向path',pathMatch: '匹配规则一般为full'{path: '', redirectTo: 'home', pathMatch: 'full'},{path: 'home', component: HomeComponent},//使用 path/:参数名 的方式指定路由的参数{path: 'detail/:id', component: DetailComponent}];
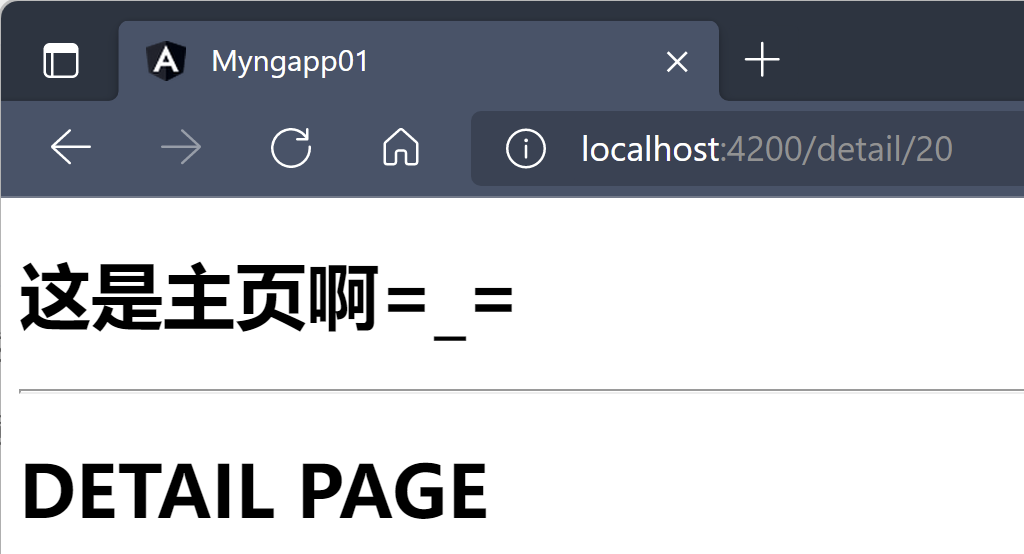
- 浏览器方位带参数的路由地址
https://localhost:4200/20


3.2、接收路由参数
接收路由参数:在路由请求目的组件中的
ngOnInit()中接收路由参数,即在组件初始化的时候加载路由参数- 获取当前路由对象
ActivatedRoute - 订阅
ActivatedRoute实例对象的params结果,这个结果就是路由参数 ```typescript =============detail.component.ts============== @Component({ selector: ‘app-detail’, templateUrl: ‘./detail.component.html’, styleUrls: [‘./detail.component.css’] }) export class DetailComponent implements OnInit {
public id: number = 0;
//获取当前路由对象ActivatedRoute constructor(private route: ActivatedRoute) { }
ngOnInit(): void { //组件初始化的时候接收路由参数 this.route.params.subscribe(param => {
this.id = param['id'];
}) } }
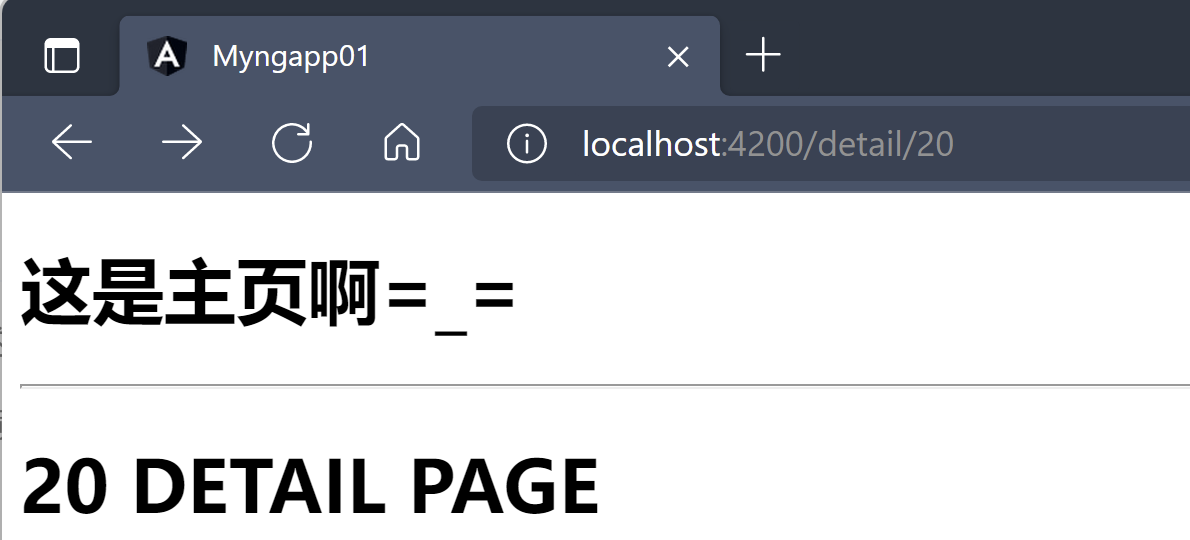
```html=============detail.component.html============<h1>{{id}} DETAIL PAGE</h1>
- 获取当前路由对象
浏览器发送带参数的如下请求:
https://localhost:4200/detail/20
4、路由嵌套
创建一个
MessageComponent组件,用来当作二级路由的组件ng g component message
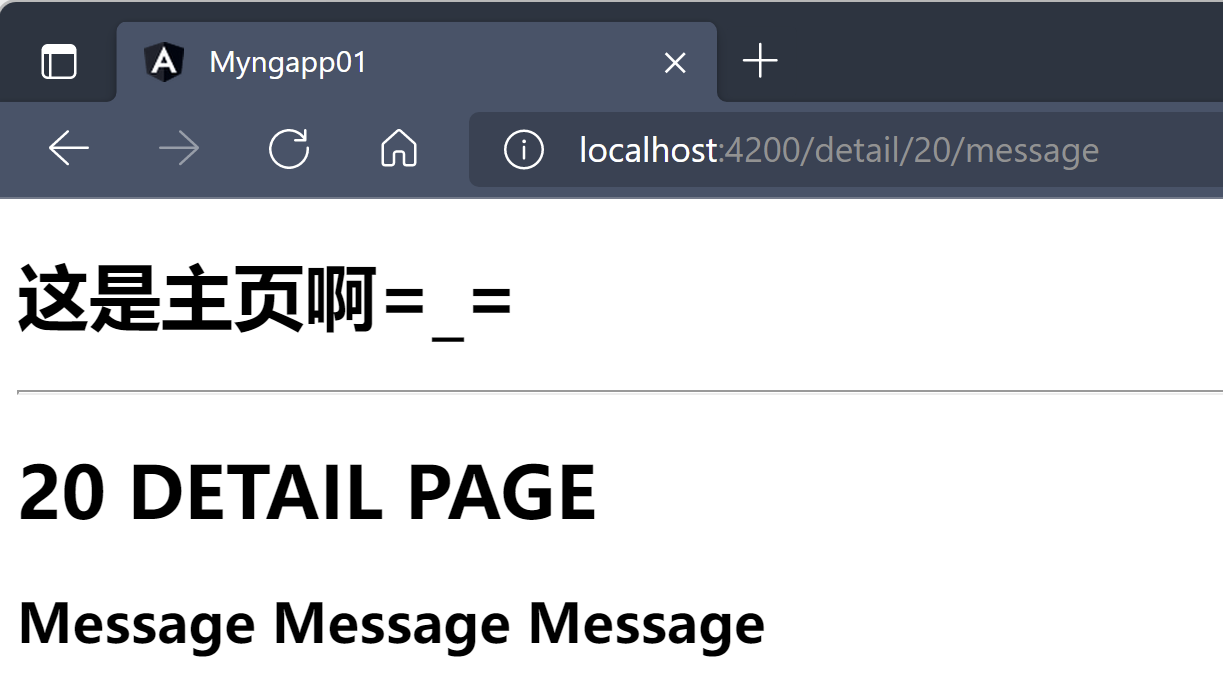
==============message.component.html===========<h2>Message Message Message</h2>
实现路由嵌套需要修改路由词典,在对应的路由词典中的路由对象添加
children属性,属性值是一个数组,数组成员为路由对象==============app.module.ts================const routes = [//path: ’路由地址‘,component: 组件,redirectTo: '重定向path',pathMatch: '匹配规则一般为full'{path: '', redirectTo: 'home', pathMatch: 'full'},{path: 'home', component: HomeComponent},//使用 path/:参数名 的方式指定路由的参数{path: 'detail/:id',component: DetailComponent,children: [{path: 'message', component: MessageComponent}]}];
在
DetailComponent组件中使用<router-outlet>标签注册路由词典=============detail.component.html============<h1>{{id}} DETAIL PAGE</h1><router-outlet></router-outlet>
浏览器访问:
https://localhost:4200/detail/20/message
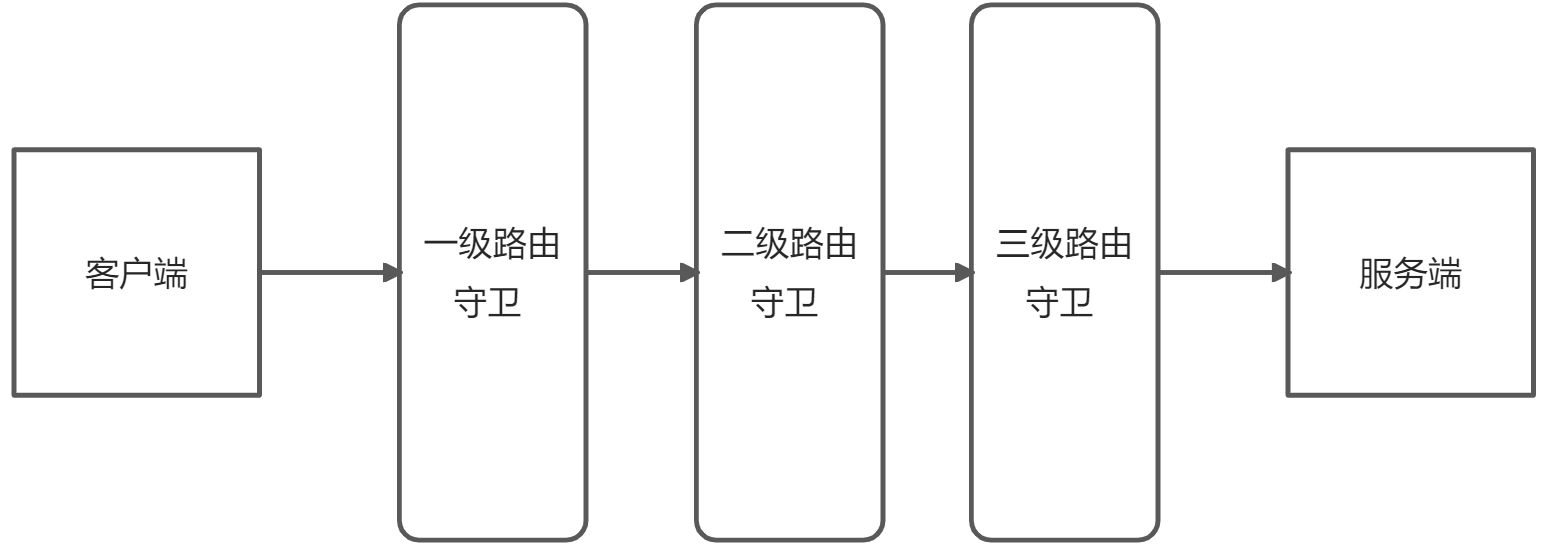
5、路由守卫Guard
- 路由守卫:实现访问路由组件前的检查功能,又来对权限的鉴定处理;路由守卫本质上也是一个服务,是可注入的,声明在跟模块中
使用路由守卫的步骤:
创建路由守卫,可以使用
Angular Cli工具进行快速创建,也可以手动创建,下面使用命令行创建C:\Users\92541\Desktop\sd-wan\myngapp01>ng g guard auth/auth? Which interfaces would you like to implement? CanActivateCREATE src/app/auth/auth.guard.spec.ts (331 bytes)CREATE src/app/auth/auth.guard.ts (457 bytes)
在路由守卫中根据实现的接口不同需要实现对应的守卫方法,方法的返回值是
boolean或者UrlTree类型- 布尔类型:加载路由或者不加载路由
- UrlTree类型:用于实现重定向 ```typescript =============time.guard.ts=============== //声明当前守卫服务是可注入 @Injectable({ providedIn: ‘root’ }) export class TimeGuard implements CanActivate{
constructor(private router: Router) { }
canActivate( //当前路由快照 route: ActivatedRouteSnapshot, //当前路由状态快照 state: RouterStateSnapshot): Observable
| Promise | boolean | UrlTree { const hour = new Date().getHours(); return (hour > 8 && hour < 10) ? true : this.router.navigateByUrl(‘/home’); } ``` 5.2、使用路由守卫
在路由词典中使用路由守卫,指定要守卫的路由,属性值是一个数组,可以放入多个守卫服务,守卫服务按照先后顺序执行
const routes = [//path: ’路由地址‘,component: 组件,redirectTo: '重定向path',pathMatch: '匹配规则一般为full'{path: '', redirectTo: 'home', pathMatch: 'full'},{path: 'home', component: HomeComponent},//使用 path/:参数名 的方式指定路由的参数{path: 'detail/:id',component: DetailComponent,//根据canActivate判断是否加载当前路由canActivate: [TimeGuard],children: [{path: 'message', component: MessageComponent}]}];
当在指定时间段外访问
https://localhost:4200/detail/20,会被重定向到home

若有收获,就点个赞吧
0 人点赞
