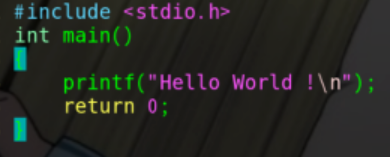
知识点梳理 :
1.嵌入式操作系统 Linux wince…
2.嵌入式IO操作 嵌入式系统编程 网络编程
3.相关中间件 蓝牙 wifi zigbee 等
4.核心竞争力 掌握一款 你熟悉芯片 stm32 arm A系列智能芯片
day01上午—linux基本命令
一、文件编辑
1.1笔记
常用工具
1.编辑器 用于编写文本 .c .txt .sh
1.gedit 非常适用于初学者 它的使用方式 和 Windows下的 笔记本比较相似
gedit 空格 文件名.c
gedit 1.c 打开1.c 文件 如果该文件不存在 就创建该文件
使用方式和笔记本相同
2.vi/vim 强大编辑器
普通模式 当我们进入到文件时默认是普通模式
普通模式 ——》 编辑模式 按i键 在屏幕左下方提示 insert 单词 意味你已经进入编辑模式
编辑模式 ——》 普通模式 按ESC
普通模式 ——》 命令模式 按 shitf + : w :保存 q 退出 q!强制退出 wq 保存并退出
两种方法 找到一种适合自己的 学会并使用
2.编译器 把计算机高级语言 c c++ 转换成 机器cpu 可以识别的 二进制文本
GCC 把c语言转换成二进制文本
编译的方法 :
gcc 2.c -o 2
把计算机高级语言 转换成 二进制文件 目标文件 2
gcc 会检查2.c 语法有没有问题 语言没问题才会生产 目标文件 2
如果语法有问题 会报错语法问题
执行该文件
./2 ./二进制文件
1.2课堂练习
vi test.c #写C文件gcc -o test test.c #编译成二进制文件./test #运行编译的文件
二、常用操作
1.cp copy 复制粘贴文件
cp 6.txt 7.txt 把6.txt 内容复制一遍 到7.txt里
cp 123/ 789/ -r 注意 :如果复制的是目录文件 后面加参数 -r
2.mv 重新命名 两个文件的位置相同 路径是一样的
mv 123/ wubin/ 把123文件名字改成wubin
mv 移动 两个文件的位置不同 路径不一样
gec@ubuntu:~$ mv 1.c Desktop/ 把1.c 移动到Desktop/ 这个目录里
gec@ubuntu:~$ mv 789/ Desktop/
gec@ubuntu:~$ mv huaguang/ Desktop/ 把 huaguang/ 这个文件夹 移动到 Desktop/这个目录里
压缩命令
tar -zcvf 555.tar.gz 1.c 2.c 3.c
压缩格式 对应参数 压缩后生产文件名 所以被压缩的文件
解压命令
tar -zxvf 555.tar.gz -C Desktop/
解压命令 对应的参数 需要解压的文件 指定路径 你要解压的路径
day01下午—
一:环境准备
硬件开发平台 : ARM-A53 粤嵌6818型号开发板
摄像头 、串口等
1.领开发板 淘宝
软件开发环境 : Linux 操作系统 Ubuntu
tftf 网络传输
CRT 终端辅助工具
2.安装驱动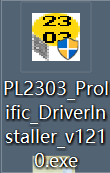
 右键更新驱动,重启电脑
3.解压文件到D盘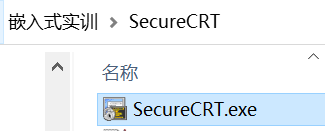

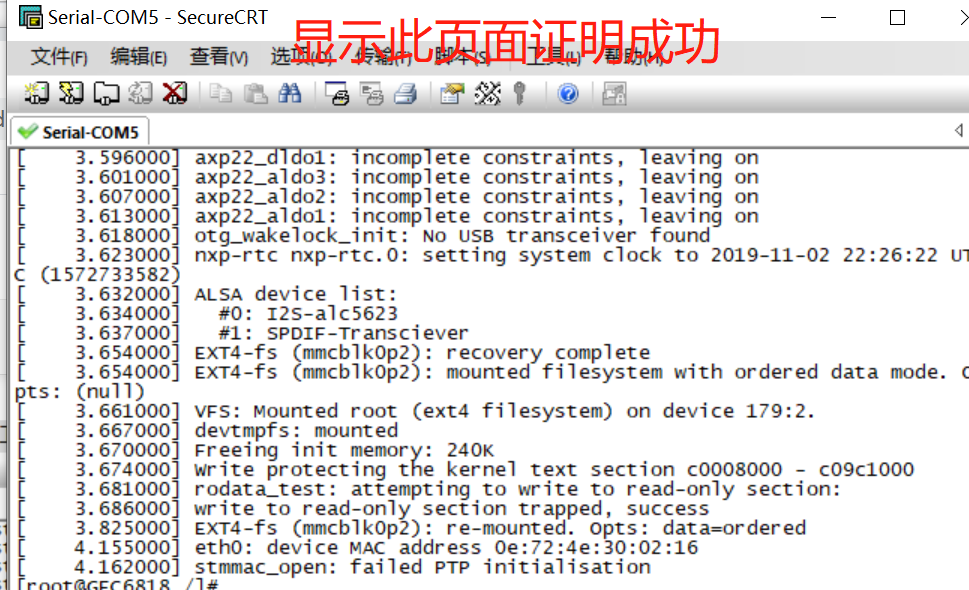
二、Linux下编程
查看man手册 (学原理)
man open #显示的是open(1),也就是从最前面的section开始man 2 open #查看open系统调用4.文件的操作方法 Linux 系统IO1.打开文件的操作 open2.写入文件的操作 write3.读取文件的操作 read4.关闭文件的操作 close我们可以从Linux 的函数手册中获取函数的相关信息Linux 函数手册 manual --- > man 手册Linux man函数手册分为9页 每一页内容各不相同1 Executable programs or shell commands2 System calls (functions provided by the kernel)3 Library calls (functions within program libraries)4 Special files (usually found in /dev)5 File formats and conventions eg /etc/passwd6 Games7 Miscellaneous (including macro packages and conventions), e.g.man(7), groff(7)8 System administration commands (usually only for root)9 Kernel routines [Non standard]输入 man 2 open第一步 函数的功能open, creat - open and possibly create a file or device第二步 函数的头文件#include <sys/types.h>#include <sys/stat.h>#include <fcntl.h>第三步 函数的原型int open(const char *pathname, int flags);int open(const char *pathname, int flags, mode_t mode);第四步 函数参数的分析和使用const char *pathname Given a pathname for a file, 路径名给我你将要打开文件的路径和文件名int flags The argument flags must include one of the following access modes:O_RDONLY, O_WRONLY, or O_RDWR.flags 参数必须是以下情况之一O_RDONLY, 只读O_WRONLY, 只写O_RDWR. 读写第五步 返回值成功 返回新的文件描述符失败 -1输入 man 2 write第一步 函数的功能write to a file descriptor向文件描述符写入数据流第二步 函数的头文件#include <unistd.h>第三步 函数的原型ssize_t write(int fd, const void *buf, size_t count);第四步 函数参数的分析和使用int fd 文件描述符 往哪个文件写入数据const void *buf 写入的数据内容size_t count 最多能写入多少数据第五步 返回值On success, the number of bytes written is returned成功 : 返回写入具体的字节数On error, -1失败返回 -1
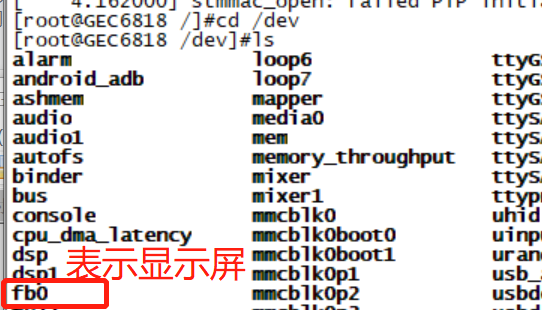
写lcd.c(让开发板屏幕显示绿色)
#include <stdio.h>#include <sys/types.h>#include <sys/stat.h>#include <fcntl.h>#include <unistd.h>// 第一步 打开LCD屏幕 /dev fb0 (lcd屏幕硬件)// 第二步 把像素点数据写入到lcd驱动文件中// 第三步 关闭LCD屏幕int main(){// 第一步 打开LCD屏幕 /dev fb0 (lcd屏幕硬件)int lcd_fd; // 文件描述符 file descriptorlcd_fd = open("/dev/fb0", O_WRONLY);if(lcd_fd == -1){printf("open lcd failed\n");}// 把像素点数据写入到lcd驱动文件中 我们把所有的像素点都赋值绿色 54FF9F// gec6818型号显示屏 分辨率 800*480int colorbuf[800*480];int i;for(i = 0; i < 800 * 480; i++){colorbuf[i] = 0x54FF9F; //绿色的RGB十六进制值//以0x开头的颜色值和#开头的颜色值都是16位进制的}// lcd_fd 代表lcd屏幕 也是我们将要写入数据的文件// colorbuf 代表我们将要写入的像素点数据// size_t count 我们要写入多少数据write(lcd_fd, colorbuf, 800*480*4); //int类型占4字节//第三步 关闭LCD屏幕close(lcd_fd);return 0;}
gedit lcd.carm-linux-gcc lcd.c -o lcd1 #交叉编译
三、把文件从 Ubuntu 传送到 开发板上的方法
1.一定先生成二进制可执行文件 lcd1
2.把可执行文件 复制到 windows下
3.在开发板上(CRT) 输入 rx lcd1
把文件拖进 弹框内 选择 xmodel
或者
选择弹框上 传输 选择 xmodel 选择你要传送的文件
4.在开发板上执行二进制文件
chmod 777 lcd #添加权限
./lcd
四、进阶
屏幕显示三色旗
屏幕显示彩虹
#include <stdio.h>#include <sys/types.h>#include <sys/stat.h>#include <fcntl.h>#include <unistd.h>// 第一步 打开LCD屏幕 /dev fb0 (lcd屏幕硬件)// 第二步 把像素点数据写入到lcd驱动文件中// 第三步 关闭LCD屏幕int main(){// 第一步 打开LCD屏幕 /dev fb0 (lcd屏幕硬件)int lcd_fd; // 文件描述符 file descriptorlcd_fd = open("/dev/fb0", O_WRONLY);if(lcd_fd == -1){printf("open lcd failed\n");return 0;}// 把像素点数据写入到lcd驱动文件中 我们把所有的像素点都赋值绿色 54FF9Fint colorbuf[800*480];int i;int index = 0;int color_list[9] = {0xF5DEB3, 0xFF0000, 0xFF7F00, 0xFFFF00, 0x00FF00, 0x00FFFF, 0x0000FF, 0x8B00FF, 0xF5DEB3};for(i = 0; i < 800 * 480; i++){int color = 0;int y = i/800;int x = i%800;int y2 = y-479;int x2 = x-400;if (y2*y2+x2*x2 > 460*460){index = 0;}else if(y2*y2+x2*x2 > 430*430){index = 1;}else if(y2*y2+x2*x2 > 400*400){index = 2;}else if(y2*y2+x2*x2 > 370*370){index = 3;}else if(y2*y2+x2*x2 > 340*340){index = 4;}else if(y2*y2+x2*x2 > 310*310){index = 5;}else if(y2*y2+x2*x2 > 280*280){index = 6;}else if(y2*y2+x2*x2 > 250*250){index = 7;}else{index = 8;}colorbuf[i] = color_list[index];}// lcd_fd 代表lcd屏幕 也是我们将要写入数据的文件// colorbuf 代表我们将要写入的像素点数据// size_t count 我们要写入多少数据write(lcd_fd, colorbuf, 800*480*4);//第三步 关闭LCD屏幕close(lcd_fd);return 0;}
