- 一、Harbor
- 二、安装 harbor 2.4.1
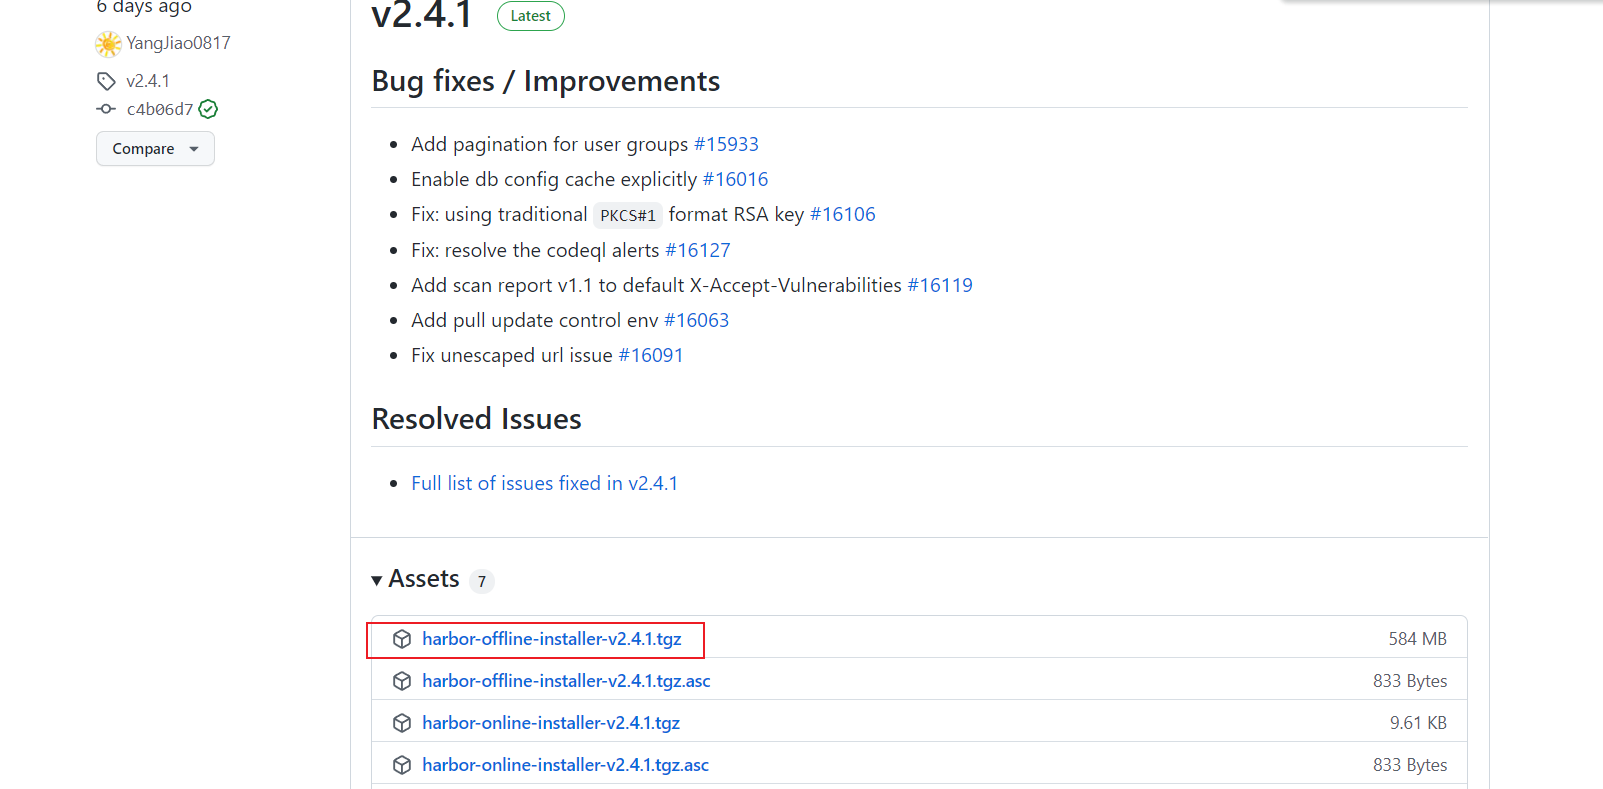
- GitHub下载地址]">step1、下载 harbor 离线包[GitHub下载地址]
- step2、解压离线包
- 解压
- 三、私有仓库使用及配置
- 四、其他功能介绍
Harbor GItHub 安装版本:Harbor 2.4.1 服务器版本:Centos7 前置安装程序:docker、docker-compose、openssl
一、Harbor
Harbor(港口,港湾)是一个用于存储和分发Docker镜像的企业级Registry服务器。
对比 Docker官方提供的Registry,Harbor具有的优势如下:
- 提供分层传输机制,优化网络传输
Docker镜像是是分层的,而如果每次传输都使用全量文件(所以用FTP的方式并不适合),显然不经济。
Harbor 提供识别分层传输的机制,以层的UUID为标识,确定传输的对象。
- 提供分层传输机制,优化网络传输
- 提供WEB界面,优化用户体验
对比只用镜像的名字来进行上传下载显然很不方便,Harbor 提供图形化用户界面可以支持登陆、搜索功能,包括区分公有、私有镜像。
- 提供WEB界面,优化用户体验
- 支持水平扩展集群
当访问压力足够大时,支持集群部署
- 支持水平扩展集群
- 良好的安全机制
支持权限管理,更好的管理权限问题。二、安装 harbor 2.4.1
step1、下载 harbor 离线包[GitHub下载地址]
step2、解压离线包
```shell $ pwd /opt/docker/harbor
- 良好的安全机制
解压
$ tar -zvxf harbor-offline-installer-v2.4.1.tgz
<a name="PGSho"></a>### step3、准备 SSL 证书```shell## 当前路径$ pwd/opt/docker/harbor## 创建 ssl 证书存放路径$ mkdir /opt/docker/harbor/cert## 进入到 ssl 证书存放路径$ cd /opt/docker/harbor/cert## 生成无加密的根证书私钥$ openssl genrsa -out ca.key 4096## 使用上述私钥自签名证书(域名替换为自己域名)$ openssl req -x509 -new -nodes -sha512 -days 3650 -subj "/C=CN/ST=Beijing/L=Beijing/O=harbor.zhixing.com/OU=harbor.zhixing.com/CN=harbor.zhixing.com" -key ca.key -out ca.crt## 生成服务器端自己域名的 key$ openssl genrsa -out harbor.zhixing.com.key 4096## 生成服务器端自己域名的 CSR 签名请求$ openssl req -sha512 -new -subj "/C=CN/ST=Beijing/L=Beijing/O=harbor.zhixing.com/OU=harbor.zhixing.com/CN=harbor.zhixing.com" -key harbor.zhixing.com.key -out harbor.zhixing.com.csr## 生成一个 openssl 命令需要的外部配置文件 xexternalfile.ext$ cat > xexternalfile.ext <<-EOFauthorityKeyIdentifier=keyid,issuerbasicConstraints=CA:FALSEkeyUsage = digitalSignature, nonRepudiation, keyEncipherment, dataEnciphermentextendedKeyUsage = serverAuthsubjectAltName = @alt_names[alt_names]DNS.1=harbor.zhixing.comEOF## 通过外部配置文件 xexternalfile.ext和 csr 生成 crt($ openssl x509 -req -sha512 -days 3650 -extfile xexternalfile.ext -CA ca.crt -CAkey ca.key -CAcreateserial -in harbor.zhixing.com.csr -out harbor.zhixing.com.crt## 将服务端的 crt 转换成客户端用的 certopenssl x509 -inform PEM -in harbor.zhixing.com.crt -out harbor.zhixing.com.cert
step4、创建数据存放位置
$ pwd/opt/docker/harbor## 创建数据存放目录$ mkdir data
step5、查看当前目录结构
$ pwd
/opt/docker/harbor

$ ll
cert/  # 存放ssl证书
data/  # harbor 运行时数据
harbor # harbor 安装相关信息
step6、配置 harbor.yml
$ pwd
/opt/docker/harbor/harbor

## 复制配置文件
$ cp harbor.yml.tmpl harbor.yml

## 编辑配置文件(截取部分关键配置)
$ vi harbor.yml
## harbor 访问域名
hostname: harbor.zhixing.com
https:
  # https port for harbor, default is 443
  port: 443
  # The path of cert and key files for nginx
  ## ssl 证书存放路径
  certificate: /opt/docker/harbor/cert/harbor.zhixing.com.crt
  private_key: /opt/docker/harbor/cert/harbor.zhixing.com.key

# Remember Change the admin password from UI after launching Harbor.
## harbor 图形化界面默认用户密码
harbor_admin_password: Harbor12345

# Harbor DB configuration
database:
  # The password for the root user of Harbor DB. Change this before any production use.
  ## harbor 默认数据库密码
  password: root123
  # The maximum number of connections in the idle connection pool. If it <=0, no idle connections are retained.
  max_idle_conns: 100
  # The maximum number of open connections to the database. If it <= 0, then there is no limit on the number of open connections.
  # Note: the default number of connections is 1024 for postgres of harbor.
  max_open_conns: 900

# The default data volume
## harbor 数据存放路径
data_volume: /opt/docker/harbor/data
step7、安装
$ pwd
/opt/docker/harbor/harbor

$ sh prepare

$ sh install.sh
......省略打印信息
Creating network "harbor_harbor" with the default driver
Creating harbor-log ... done
Creating redis         ... done
Creating harbor-db     ... done
Creating registryctl   ... done
Creating registry      ... done
Creating harbor-portal ... done
Creating harbor-core   ... done
Creating nginx             ... done
Creating harbor-jobservice ... done
✔ ----Harbor has been installed and started successfully.----
step8、安装成功查看
略
三、私有仓库使用及配置
3.1、图形化界面访问
step1、修改访问主机 hosts 文件(公网域名可以忽略)
192.168.1.231 harbor.zhixing.com # 80
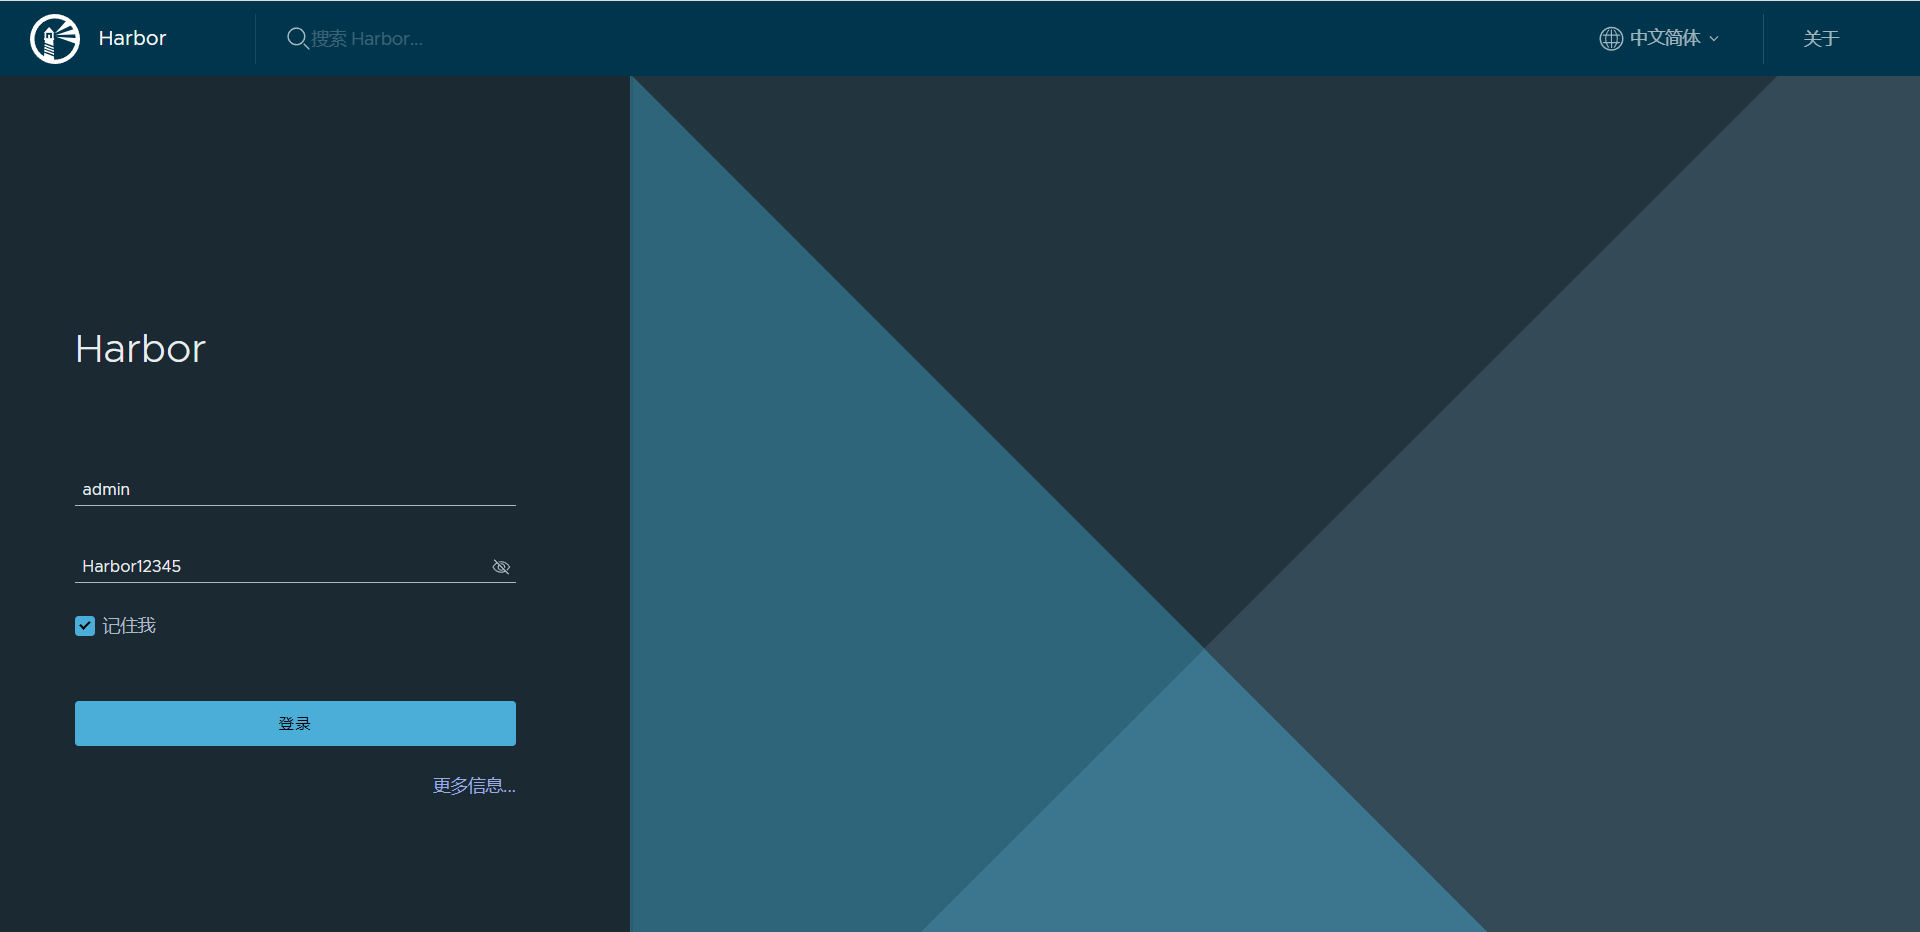
step2、访问图形化界面
默认账号:admin
密码对应配置文件中:Harbor12345(自己有修改按照修改后的值)
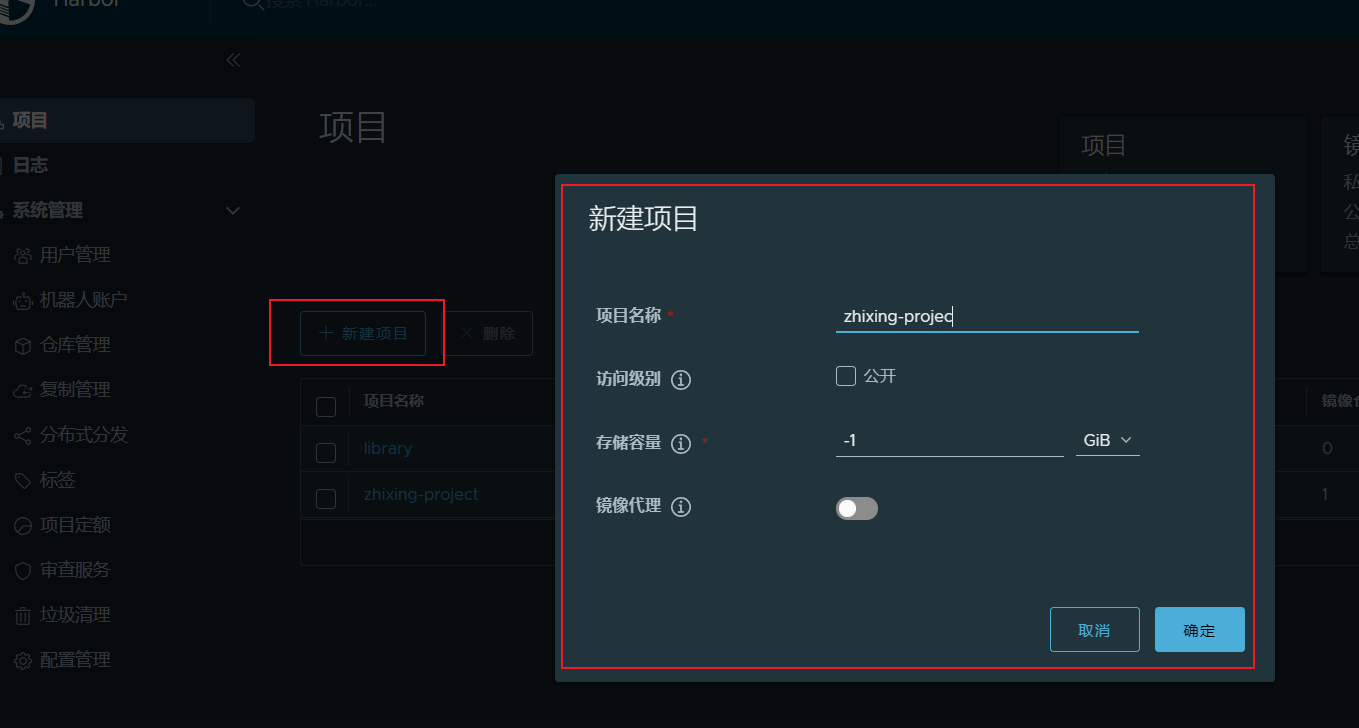
step3、创建一个私有仓库:zhixing-project
Harbor 项目分为
公开和私有公开项目:所有用户都可以访问,通常存放公共的镜像。默认公开项目:library私有项目:只有授权用户才可以访问,通常存放项目本身的镜像
3.2、docker 登录私有仓库推镜像
3.2.1、报错:Harbor/Docker:x509: certificate signed by unknown authority
官方文档
问题原因:自验签证书不被认同
客户端同步私有仓库ssl证书
$ pwd
/etc/docker/certs.d/harbor.zhixing.com

## 从私有仓库中的 ssl 同步过来
$ ll
harbor.zhixing.com.cert
harbor.zhixing.com.crt
harbor.zhixing.com.csr
harbor.zhixing.com.key
3.2.2、docker 登录仓库
$ docker login harbor.zhixing.com
Username: admin
Password:
WARNING! Your password will be stored unencrypted in /root/.docker/config.json.
Configure a credential helper to remove this warning. See
https://docs.docker.com/engine/reference/commandline/login/#credentials-store

Login Succeeded
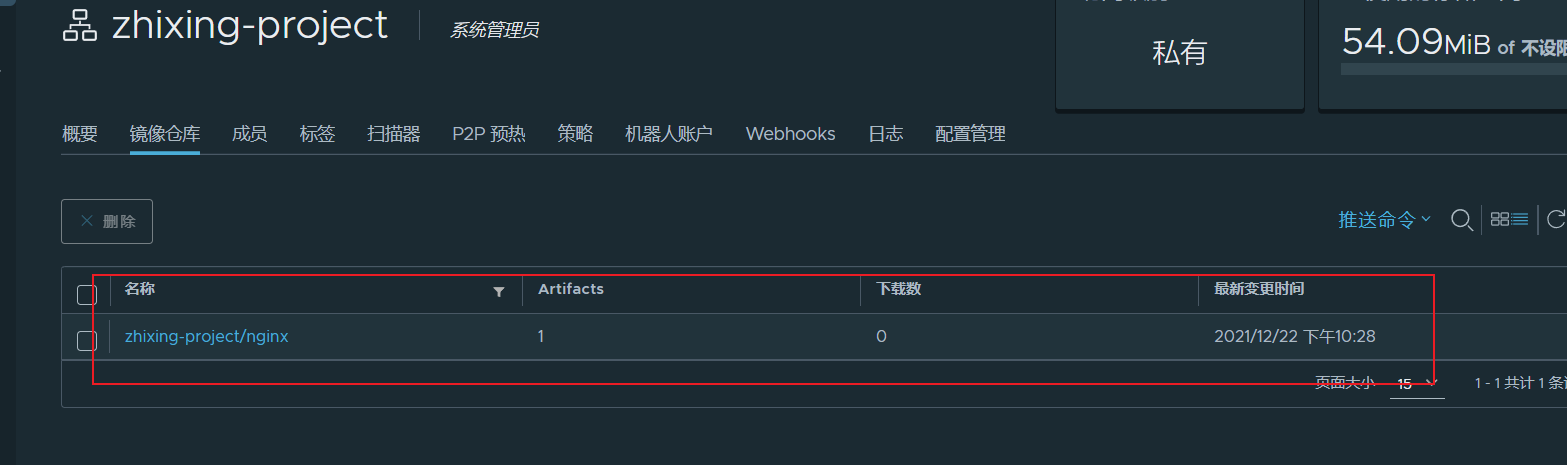
3.2.3、推送镜像到私有仓库中
# 拉取一个 nginx:latest 作为测试镜像
$ docker pull nginx:latest

# 重新打标签,指定到私有仓库的 zhixing-project 中
$ docker tag nginx harbor.zhixing.com/zhixing-project/nginx:latest

# 推送镜像到仓库中
$ docker push harbor.zhixing.com/zhixing-project/nginx:latest
3.2.4、退出登录
$ docker logout harbor.zhixing.com
Removing login credentials for harbor.zhixing.com
3.2、Harbor管理
$ pwd
/opt/docker/harbor/harbor

## 重新、停止管理
$ docker-compose down/ up -d /start / stop / pause

## 修改配置管理
$ docker-compose down
$ vi harbor.yml
$ sh prepare
$ docker-compose up -d
四、其他功能介绍
4.1、用户加入项目相关角色权限说明
| 角色 | 权限说明 |
|---|---|
| 访客 | 对指定项目拥有只读权限 |
| 开发人员 | 对指定项目拥有读写权限 |
| 维护人员 | 对指定项目拥有读写权限,创建 webhooks |
| 项目管理员 | 除读写权限,拥有用户管理/镜像扫描等管理权限 |

若有收获,就点个赞吧
0 人点赞
