水平居中和垂直居中的类型
水平居中
- 首先看它的父元素是不是块级元素,如果是,则直接给父元素设置 text-align: center; ```html
- 如果不是,则先将其父元素设置为块级元素,再给父元素设置 text-align: center;```html<style>#father {display: block;width: 500px;height: 300px;background-color: skyblue;text-align: center;}</style><span id="father"><span id="son">我是行内元素</span></span>
效果: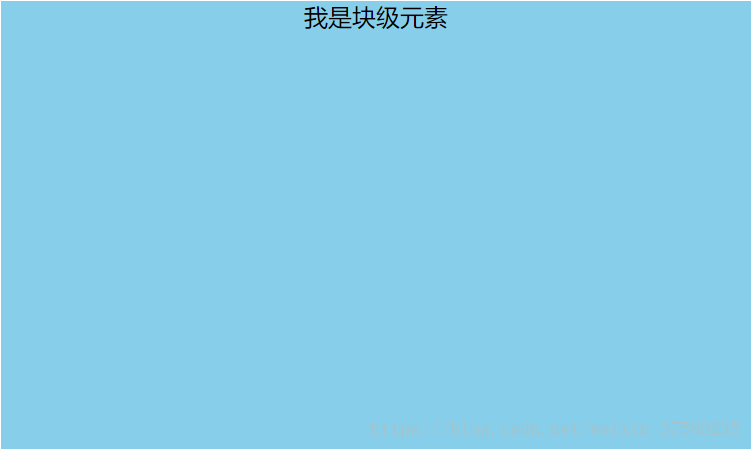
块级元素
方案一:(分宽度定不定两种情况)
定宽度:需要谁居中,给其设置 margin: 0 auto; (作用:使盒子自己居中) ```html
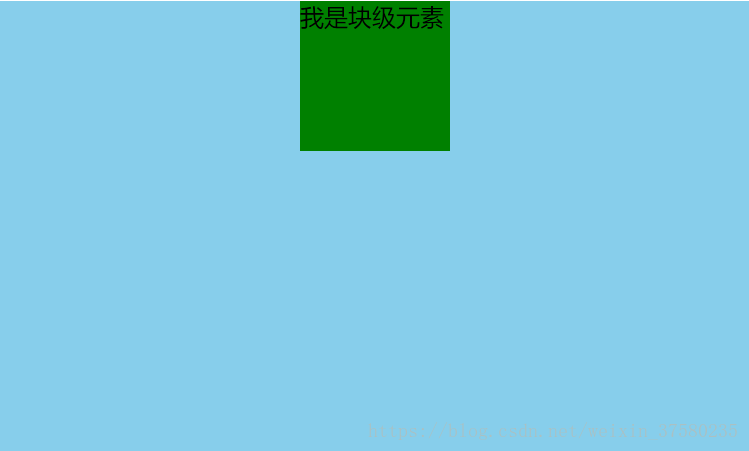
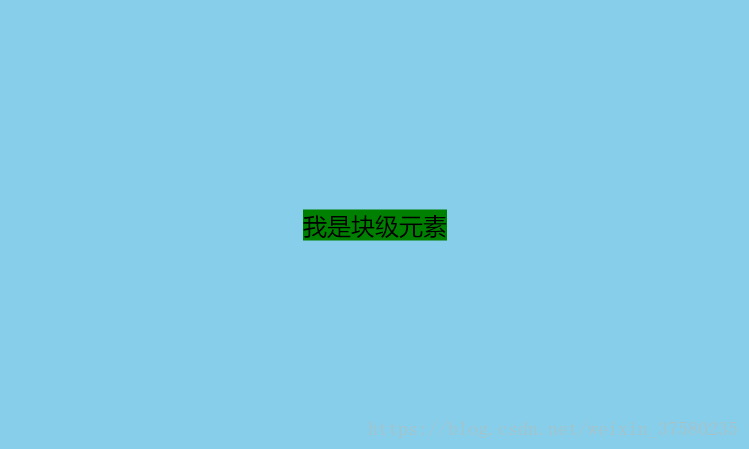
效果:<br />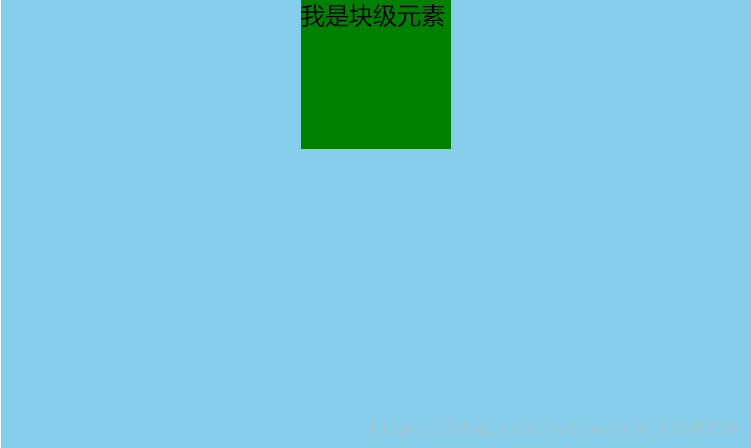- 不定宽度:默认子元素的宽度和父元素一样,这时需要设置子元素为display: inline-block; 或 display: inline;即将其转换成行内块级/行内元素,给父元素设置 text-align: center;```html<style>#father {width: 500px;height: 300px;background-color: skyblue;text-align: center;}#son {background-color: green;display: inline;}</style><div id="father"><div id="son">我是块级元素</div></div>
效果:(将#son转换成行内元素,内容的高度撑起了#son的高度,设置高度无用)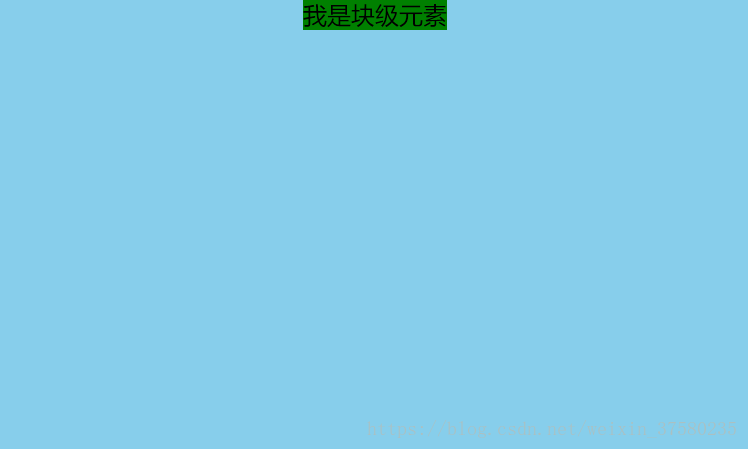
方案二:使用定位属性
首先设置父元素为相对定位,再设置子元素为绝对定位,设置子元素的left:50%,即让子元素的左上角水平居中;
定宽度:设置绝对子元素的 margin-left: -元素宽度的一半px; 或者设置transform: translateX(-50%); ```html
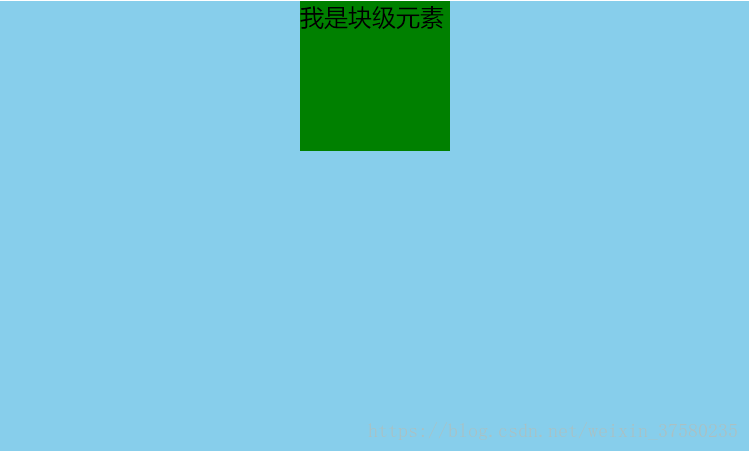
- 不定宽度:利用css3新增属性transform: translateX(-50%);```html<style>#father {width: 500px;height: 300px;background-color: skyblue;position: relative;}#son {height: 100px;background-color: green;position: absolute;left: 50%;transform: translateX(-50%);}</style><div id="father"><div id="son">我是块级元素</div></div>
方案三:使用flexbox布局实现(宽度定不定都可以)
使用flexbox布局,只需要给待处理的块状元素的父元素添加属性 display: flex; justify-content: center;
<style>#father {width: 500px;height: 300px;background-color: skyblue;display: flex;justify-content: center;}#son {width: 100px;height: 100px;background-color: green;}</style><div id="father"><div id="son">我是块级元素</div></div>
垂直居中
单行的行内元素
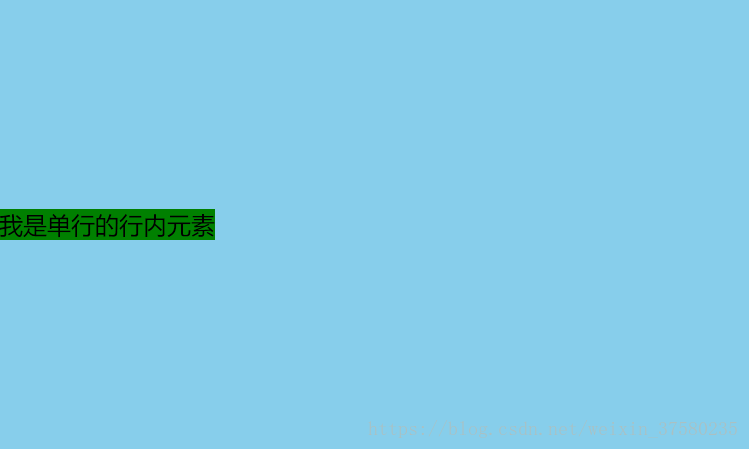
只需要设置单行行内元素的”行高等于盒子的高”即可;
<style>#father {width: 500px;height: 300px;background-color: skyblue;}#son {background-color: green;height: 300px;}</style><div id="father"><span id="son">我是单行的行内元素</span></div>
多行的行内元素
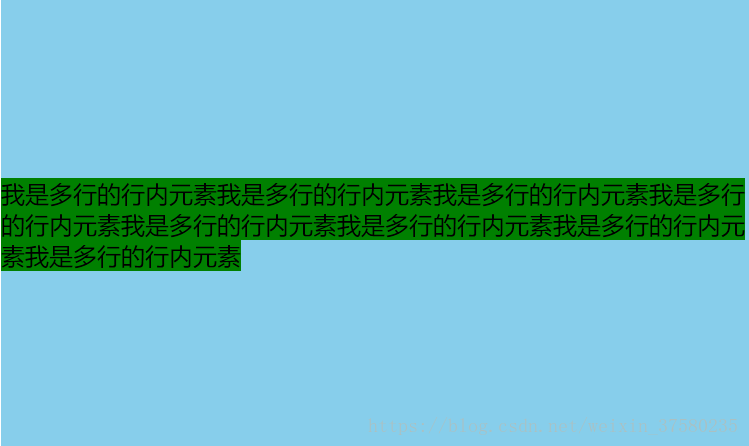
使用给父元素设置display:table-cell;和vertical-align: middle;属即可;
<style>#father {width: 500px;height: 300px;background-color: skyblue;display: table-cell;vertical-align:middle;}#son {background-color: green;}</style><div id="father"><span id="son">我是多行的行内元素我是多行的行内元素我是多行的行内元素我是多行的行内元素我是多行的行内元素我是多行的行内元素我是多行的行内元素我是多行的行内元素</span></div>
块级元素
方案一:使用定位
首先设置父元素为相对定位,再设置子元素为绝对定位,设置子元素的top: 50%,即让子元素的左上角垂直居中;
定高度:设置绝对子元素的 margin-top: -元素高度的一半px; 或者设置transform: translateY(-50%); ```html
- 不定高度:利用css3新增属性transform: translateY(-50%);```html<style>#father {width: 500px;height: 300px;background-color: skyblue;position: relative;}#son {width: 100px;background-color: green;position: absolute;left: 50%;transform: translateY(-50%);}</style><div id="father"><div id="son">我是块级元素</div></div>
效果: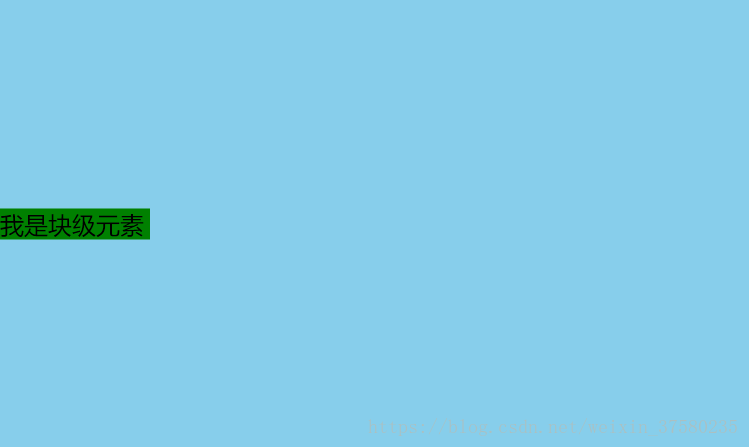
方案二:使用flexbox布局实现(高度定不定都可以)
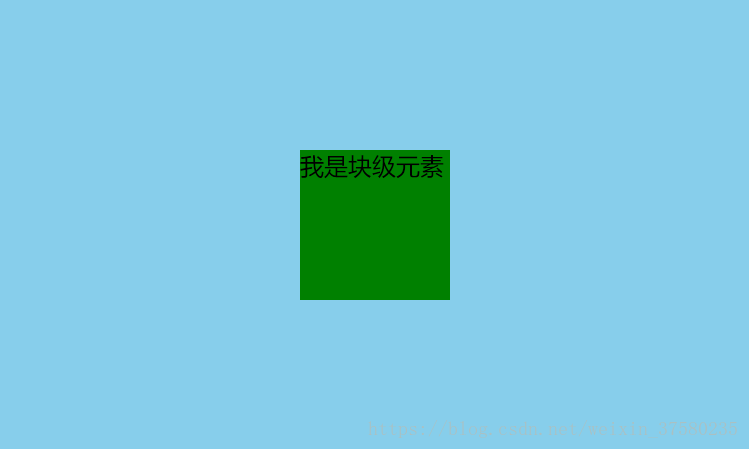
使用flexbox布局,只需要给待处理的块状元素的父元素添加属性 display: flex; align-items: center;
<style>#father {width: 500px;height: 300px;background-color: skyblue;display: flex;align-items: center;}#son {width: 100px;height: 100px;background-color: green;}</style><div id="father"><div id="son">我是块级元素</div></div>
效果: 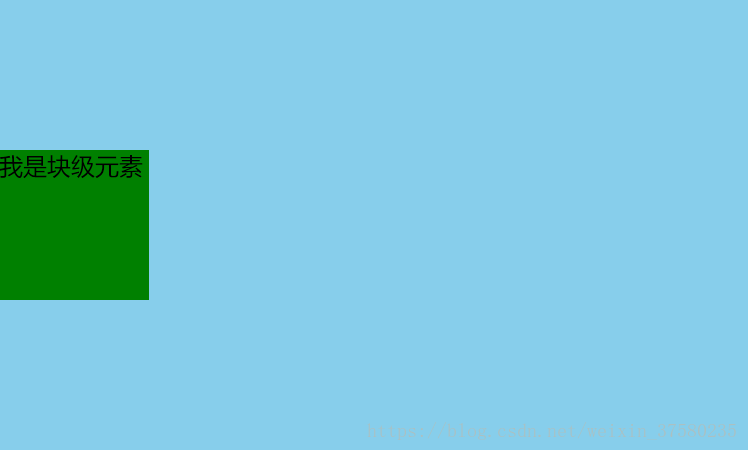
水平垂直居中
已知高度和宽度的元素
方案一:设置父元素为相对定位,给子元素设置绝对定位,top: 0; right: 0; bottom: 0; left: 0; margin: auto;
<style>#father {width: 500px;height: 300px;background-color: skyblue;position: relative;}#son {width: 100px;height: 100px;background-color: green;position: absolute;top: 0;right: 0;bottom: 0;left: 0;margin: auto;}</style><div id="father"><div id="son">我是块级元素</div></div>
效果: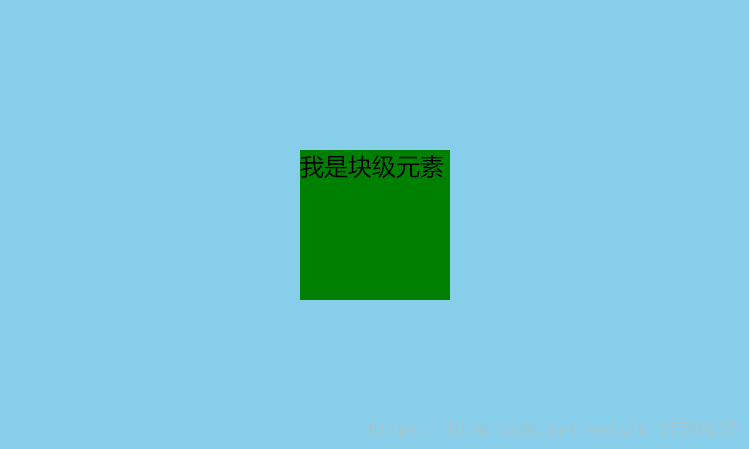
方案二:设置父元素为相对定位,给子元素设置绝对定位,left: 50%; top: 50%; margin-left: —元素宽度的一半px; margin-top: —元素高度的一半px;
<style>#father {width: 500px;height: 300px;background-color: skyblue;position: relative;}#son {width: 100px;height: 100px;background-color: green;position: absolute;left: 50%;top: 50%;margin-left: -50px;margin-top: -50px;}</style><div id="father"><div id="son">我是块级元素</div></div>
未知高度和宽度的元素
方案一:使用定位属性
设置父元素为相对定位,给子元素设置绝对定位,left: 50%; top: 50%; transform: translateX(-50%) translateY(-50%);
<style>#father {width: 500px;height: 300px;background-color: skyblue;position: relative;}#son {background-color: green;position: absolute;left: 50%;top: 50%;transform: translateX(-50%) translateY(-50%);}</style><div id="father"><div id="son">我是块级元素</div></div>
方案二:使用flex布局实现
设置父元素为flex定位,justify-content: center; align-items: center;
<style>#father {width: 500px;height: 300px;background-color: skyblue;display: flex;justify-content: center;align-items: center;}#son {background-color: green;}</style><div id="father"><div id="son">我是块级元素</div></div>
效果: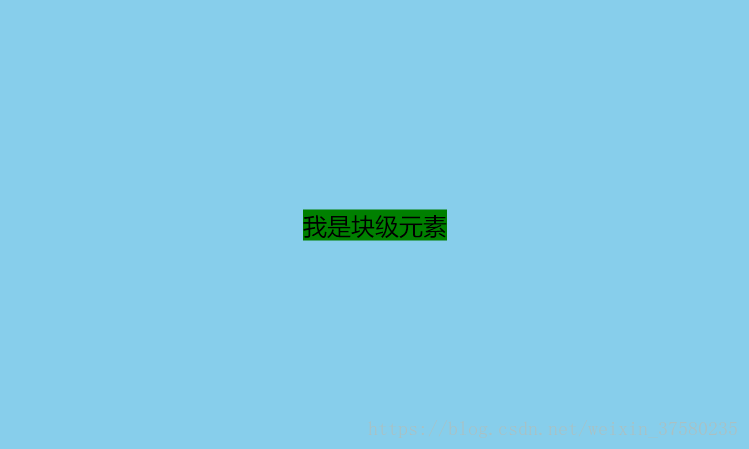
在前端开发过程中,盒子居中是常常用到的。其中 ,居中又可以分为水平居中和垂直居中。水平居中是比较容易的,直接设置元素的margin: 0 auto就可以实现。但是垂直居中相对来说是比较复杂一些的。下面我们一起来讨论一下实现垂直居中的方法。
首先,定义一个需要垂直居中的div元素,他的宽度和高度均为300px,背景色为橙色。代码如下:
<!DOCTYPE html><html lang="en"><head><meta charset="UTF-8"><title>index</title><style>.content {width: 300px;height: 300px;background: orange;}</style></head><body><div class="content"></div></body></html>
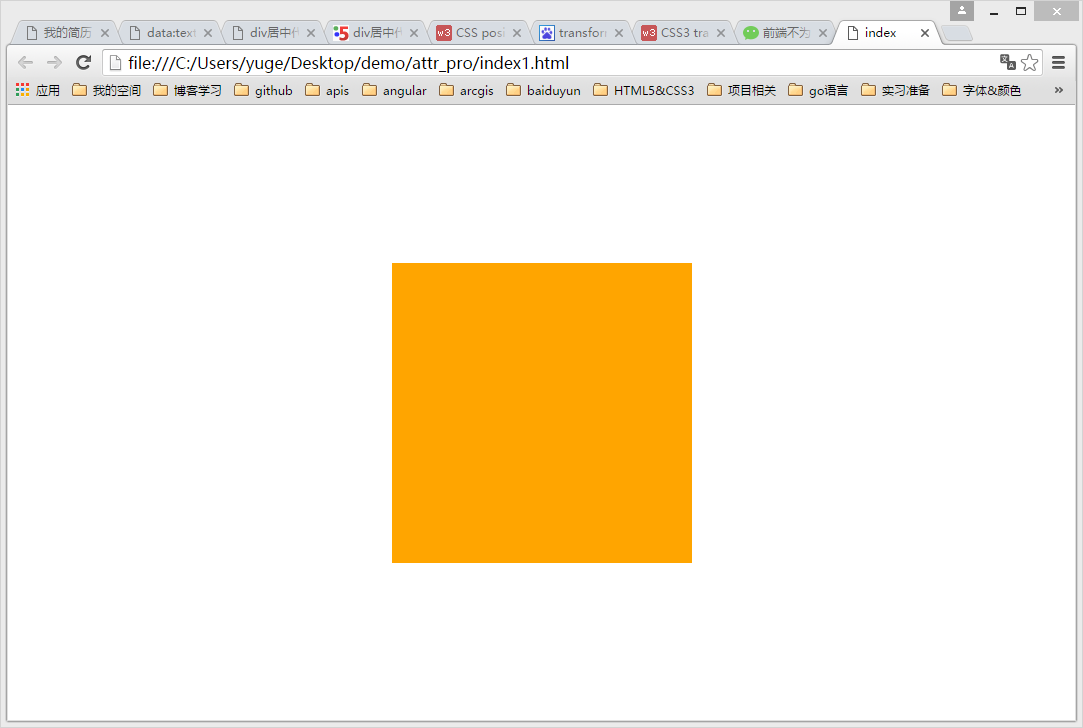
效果如下:
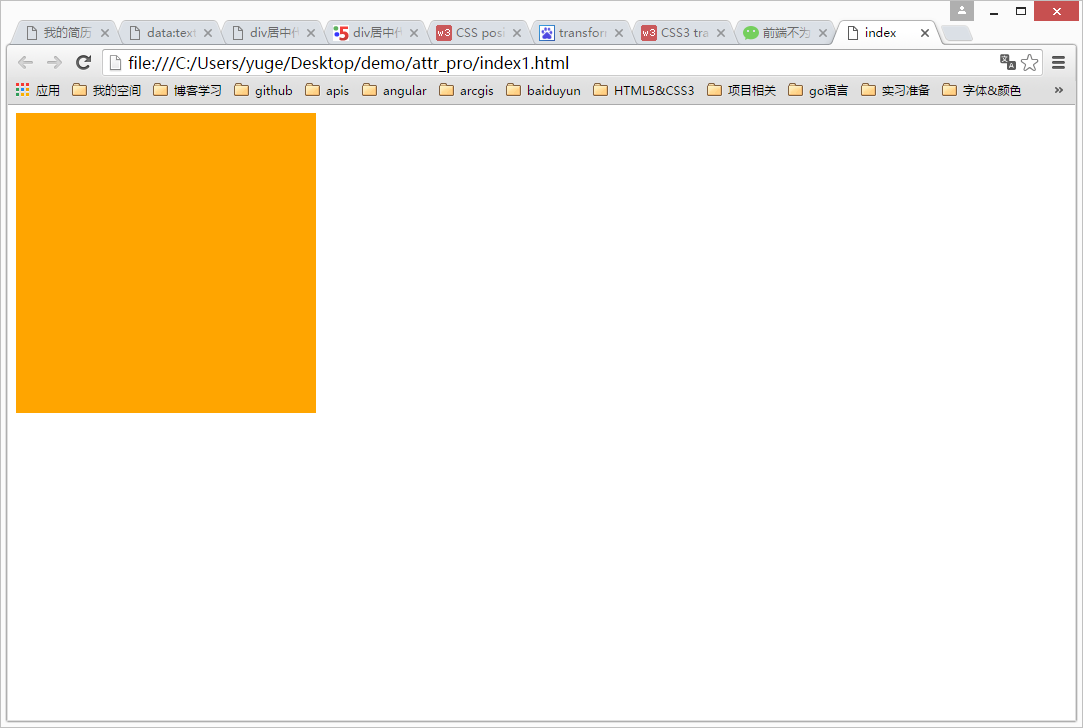
我们需要使得这个橙色的div居中,到底该怎么办呢?首先我们实现水平居中,上面已经提到过了,可以通过设置margin: 0 auto实现水平居中,代码如下:
<!DOCTYPE html><html lang="en"><head><meta charset="UTF-8"><title>index</title><style>.content {width: 300px;height: 300px;background: orange;margin: 0 auto;}</style></head><body><div class="content"></div></body></html>
效果如下:
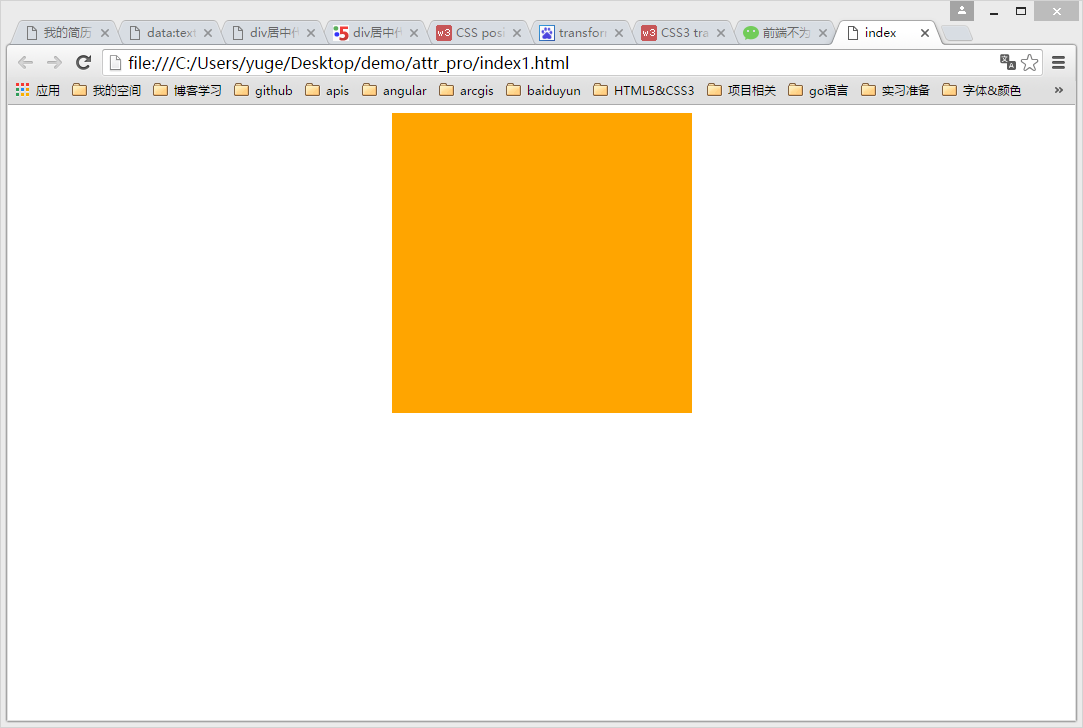
很好,已经实现水平居中了!接下来该打大boss了——实现垂直居中。不过,在这之前,我们先要设置div元素的祖先元素html和body的高度为100%(因为他们默认是为0的),并且清除默认样式,即把margin和padding设置为0(如果不清除默认样式的话,浏览器就会出现滚动条,聪明的亲,自己想想问什么)。
<!DOCTYPE html><html lang="en"><head><meta charset="UTF-8"><title>index</title><style>html, body {width: 100%;height: 100%;margin: 0;padding: 0;}.content {width: 300px;height: 300px;background: orange;margin: 0 auto; /*水平居中*/}</style></head><body><div class="content"></div></body></html>
接下来,需要做的事情就是要让div往下移动了。我们都知道top属性可以使得元素向下偏移的。但是,由于默认情况下,由于position的值为static(静止的、不可以移动的),元素在文档流里是从上往下、从左到右紧密的布局的,我们不可以直接通过top、left等属性改变它的偏移。所以,想要移动元素的位置,就要把position设置为不是static的其他值,如relative,absolute,fixed等。然后,就可以通过top、bottom、right、left等属性使它在文档中发生位置偏移(注意,relative是不会使元素脱离文档流的,absolute和fixed则会!也就是说,relative会占据着移动之前的位置,但是absolute和fixed就不会)。设置了position: relative后的代码如下:
<!DOCTYPE html><html lang="en"><head><meta charset="UTF-8"><title>index</title><style>html, body {width: 100%;height: 100%;margin: 0;padding: 0;}.content {width: 300px;height: 300px;background: orange;margin: 0 auto; /*水平居中*/position: relative; /*设置position属性*/}</style></head><body><div class="content"></div></body></html>
我们刷新一下页面,发现跟之前是没有任何变化的,因为,我们仅仅是使设置了元素的position=relative而已,但是还没开始移动他的垂直偏移。好,下面我们就让它偏移吧!垂直偏移需要用到top属性,它的值可以是具体的像素,也可以是百分数。因为我们现在不知道父元素(即body)的具体高度,所以,是不可以通过具体像素来偏移的,而应该用百分数。既然是要让它居中嘛!好,那么我们就让它的值为50%不就行了吗?问题真的那么简单,我们来试一下,就设置50%试一下:
<!DOCTYPE html><html lang="en"><head><meta charset="UTF-8"><title>index</title><style>html,body {width: 100%;height: 100%;margin: 0;padding: 0;}.content {width: 300px;height: 300px;background: orange;margin: 0 auto; /*水平居中*/position: relative; /*脱离文档流*/top: 50%; /*偏移*/}</style></head><body><div class="content"></div></body></html>
效果如下:
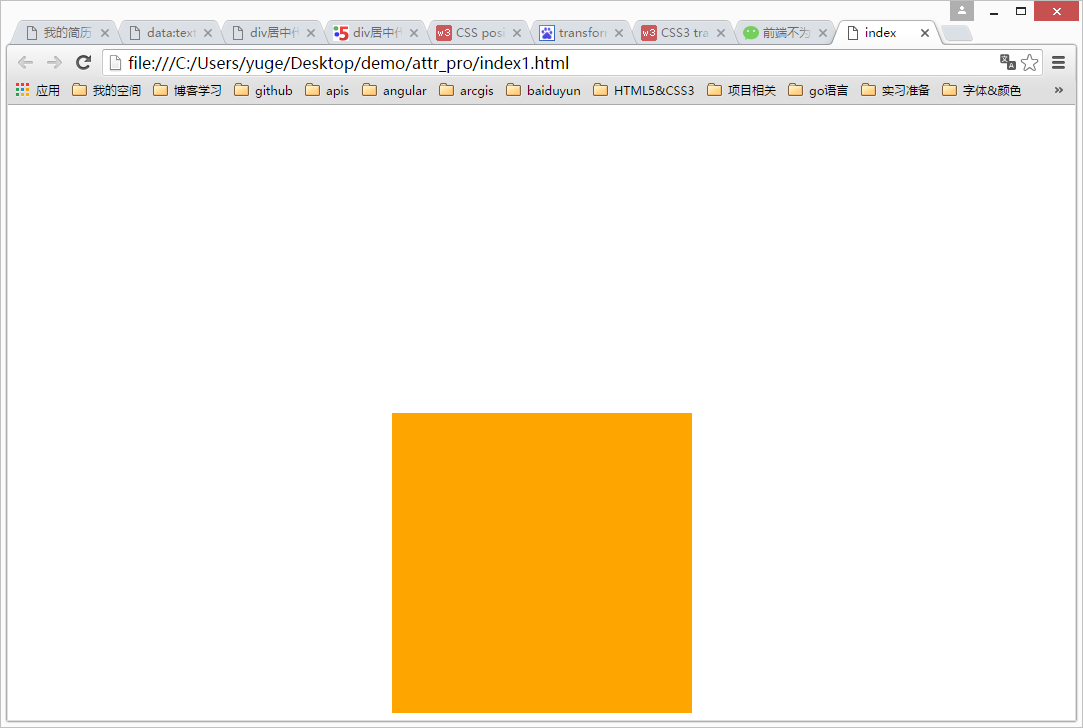
div垂直方向上面并没有居中。明显是偏下了。下面,我们在浏览器中间画一条红线用来参考,如下图:
margin-top方法
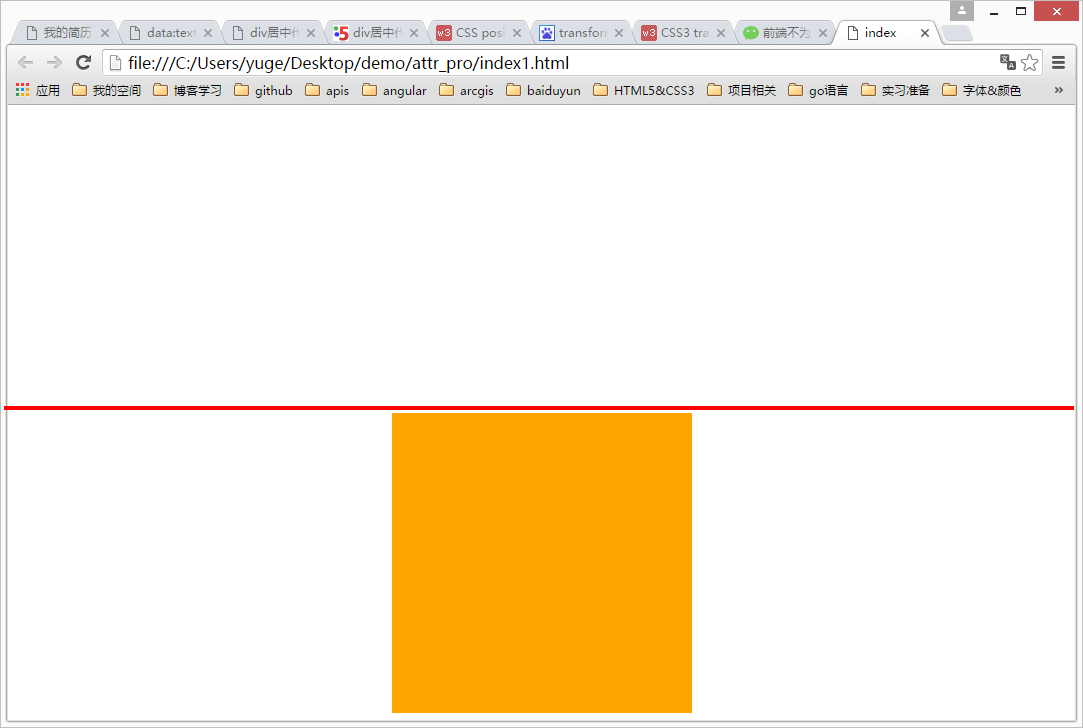
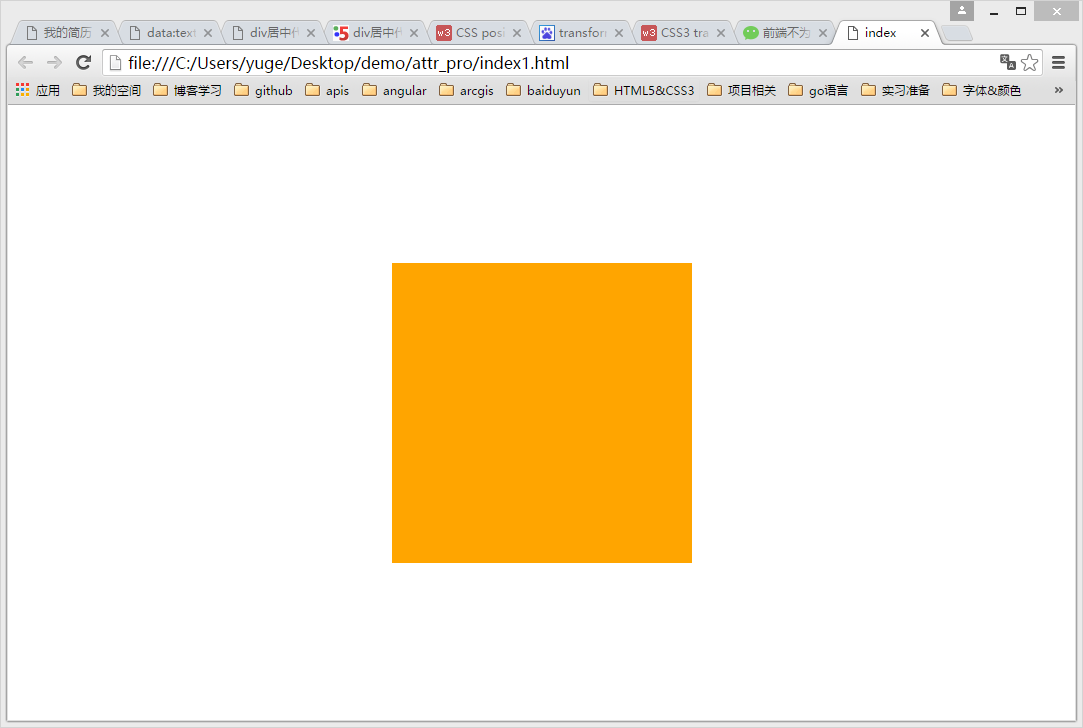
通过观察上图,只要让div的中心移动到红线的位置,那么整个div就居中了。那怎么让它中心移动到红线处呢?从图中可以观察到,从div的中心到红线的距离是div自身高度的一半。这时候,我们可以使用通过margin-top属性来设置,因为div的自身高度是300,所以,需要设置他的margin-top值为-150。为什么是要设置成负数的呢?因为正数是向下偏移,我们是希望div向上偏移,所以应该是负数,如下:
<!DOCTYPE html><html lang="en"><head><meta charset="UTF-8"><title>index</title><style>html,body {width: 100%;height: 100%;margin: 0;padding: 0;}.content {width: 300px;height: 300px;background: orange;margin: 0 auto; /*水平居中*/position: relative;top: 50%; /*偏移*/margin-top: -150px;}</style></head><body><div class="content"></div></body></html>
效果如下:
transform 方法
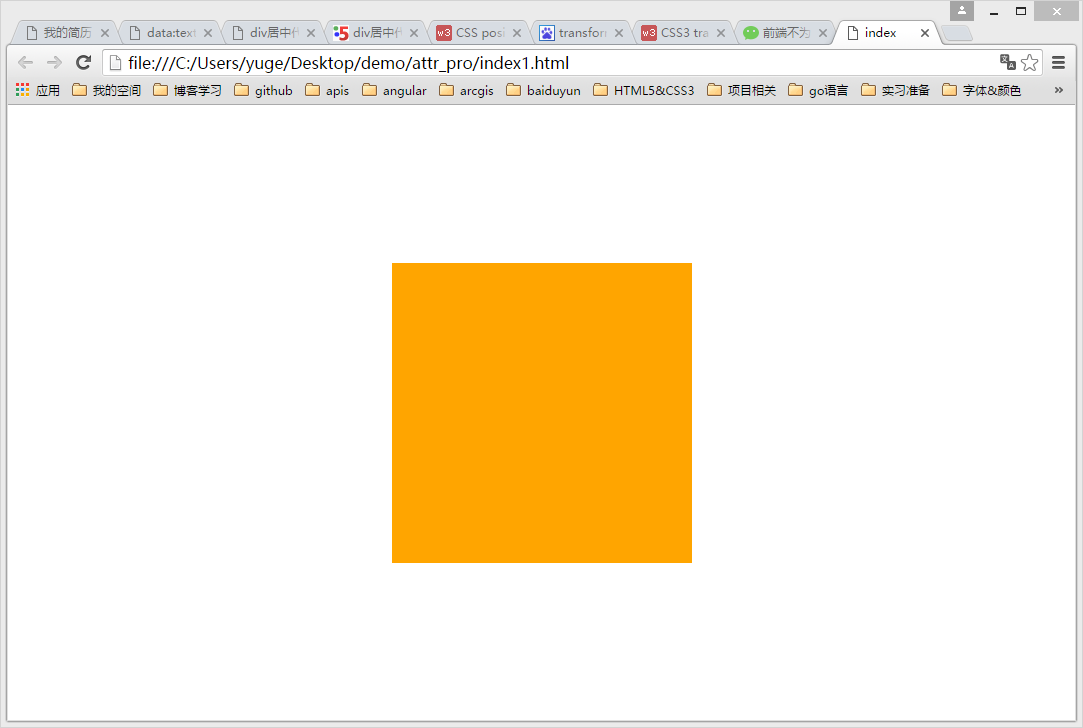
除了可以使用margin-top把div往上偏移之外,CSS3的transform属性也可以实现这个功能,通过设置div的transform: translateY(-50%),意思是使得div向上平移(translate)自身高度的一半(50%)。如下:
<!DOCTYPE html><html lang="en"><head><meta charset="UTF-8"><title>index</title><style>html,body {width: 100%;height: 100%;margin: 0;padding: 0;}.content {width: 300px;height: 300px;background: orange;margin: 0 auto; /*水平居中*/position: relative;top: 50%; /*偏移*/transform: translateY(-50%);}</style></head><body><div class="content"></div></body></html>
效果如下:
上面的两种方法,我们都是基于设置div的top值为50%之后,再进行调整垂偏移量来实现居中的。如果使用CSS3的弹性布局(flex)的话,问题就会变得容易多了。使用CSS3的弹性布局很简单,只要设置父元素(这里是指body)的display的值为flex即可。具体代码如下,对代码不做过多的解释,如果想了解弹性布局的可以看阮一峰老师的博客http://www.ruanyifeng.com/blog/2015/07/flex-grammar.html:
flex方法
<!DOCTYPE html><html lang="en"><head><meta charset="UTF-8"><title>index</title><style>html,body {width: 100%;height: 100%;margin: 0;padding: 0;}body {display: flex;align-items: center; /*定义body的元素垂直居中*/justify-content: center; /*定义body的里的元素水平居中*/}.content {width: 300px;height: 300px;background: orange;}</style></head><body><div class="content"></div></body></html>
效果
