安装前准备
需要的软件有:VisualSVN Server(服务端)、TortoiseSVN(SVN独立的客户端)、VisualSVN(用于Visual Studio 的SVN客户端插件(依赖于Tortoisesvn))
下载地址:
VisualSVN Server下载地址:http://www.visualsvn.com/server/download/
VisualSVN 下载地址:http://www.visualsvn.com/visualsvn/download/
TortoiseSVN下载地址:http://tortoisesvn.net/downloads.html
AnkhSVN下载地址:https://ankhsvn.open.collab.net/downloads
1. 安装SVN服务端VisualSVN Server
我们在服务器端使用的是一款免费易用的SVN服务器——VisualSVN Server,直接使用Subversion配置起来比较麻烦,如果想要以Web方式(http)协议访问还需要配置Apache,VisualSVN Server直接集成了Subversion和Apache,并且可以直接通过可视化来进行操作,比较方便。下面是安装步骤:
1.运行VisualSVN Server安装包,点击”Next”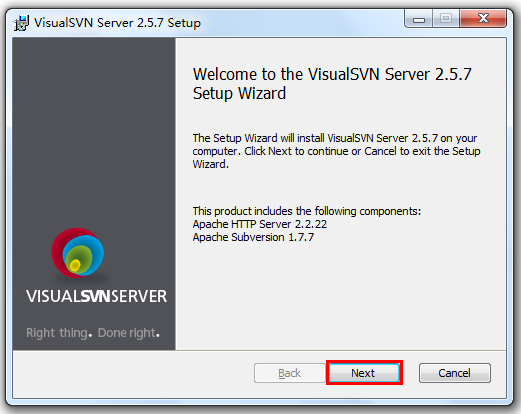
2.选中”I accept the terms in the License Agreement”,点击”Next”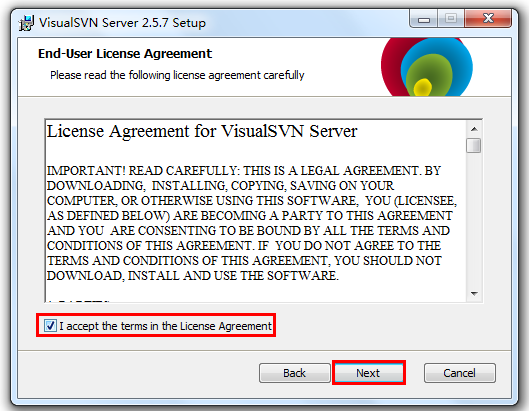
3.选择”VisualSVN Server and Management Console”,同时安装VisualSVN Server和管理控制台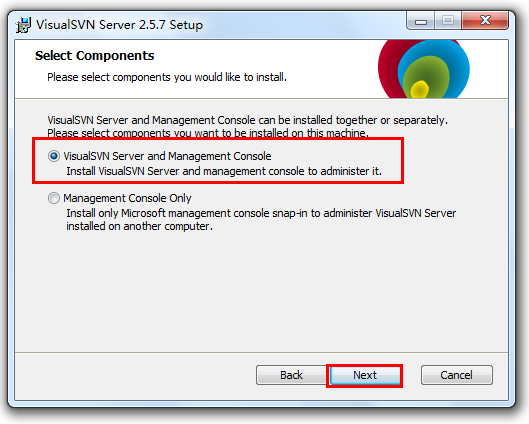
4.选择VisualSVN Server安装位置、源码仓库的位置和使用的端口,已经是否使用安全连接(https,速度较慢),点击”Next”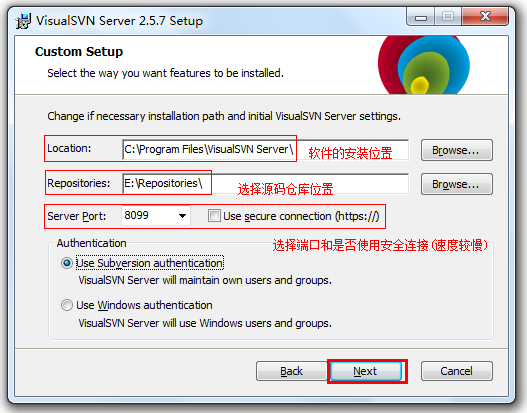
5.点击”Install”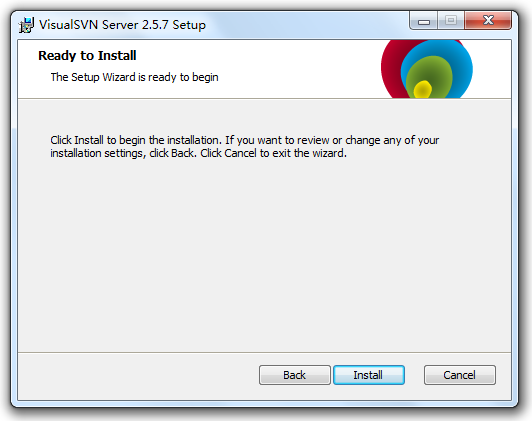
2.安装SVN客户端TortoiseSVN
TortoiseSVN是Subversion 版本控制系统Windows平台下的一个开源客户端,TortoiseSVN和Windows的外壳(如:资源管理器)集成,通过使用TortoiseSVN我们可以很方便的对SVN进行可视化操作。下面是安装过程:
1.运行安装包,点击”Next”后,选中”I Accept the terms in the License Agreement”,点击”Next”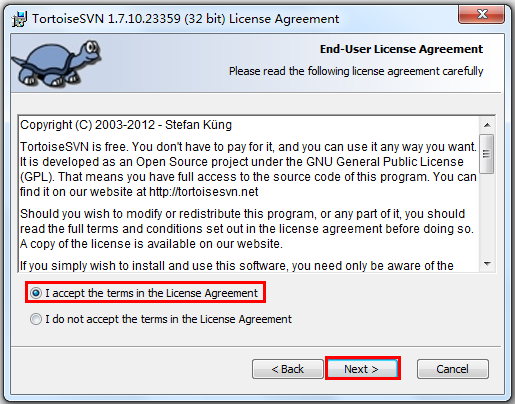
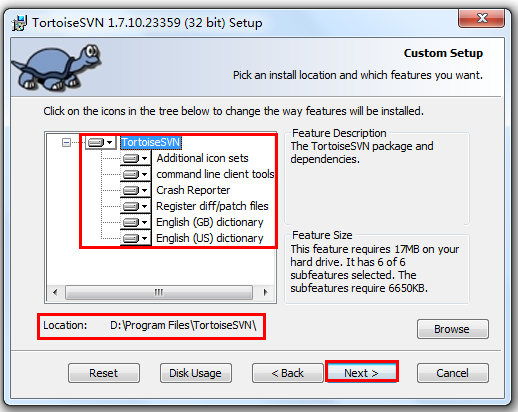
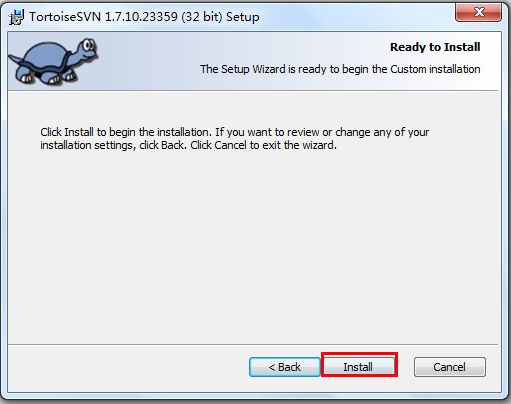
2.选择安装位置,和安装的组件后”Next”
注意:默认
command line client tools不会安装,需要选择安装,否则不回安装svn.exe,将无法使用svn命令行。
可选中文包安装:
如果想使用中文界面的TortoiseSVN的,可以从这里下载TortoiseSVN中文包:http://tortoisesvn.net/downloads.zh.html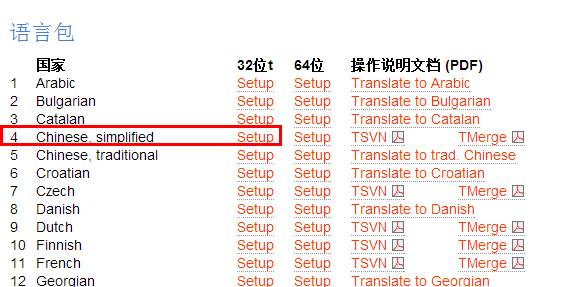
3.安装Visual Studio插件VisualSVN
VisualSVN是一个Visual Studio插件,无缝地集成Subversion和TortoiseSVN到Visual Studio 。 使用VisualSVN可以使我们能够非常方便的直接在熟悉的操作界面中使用SVN而不必切换到TortoiseSVN直接进行版本控制操作。下面是VisualSVN的安装过程:
1.运行安装包,点击”Next”之后选中”I accept the terms in the License Agreement”,点击”Next”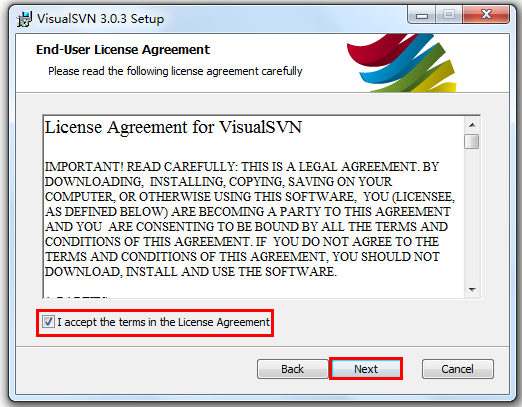
2.选择对应的Visual Studio版本,和安装位置后,点击”Next”,然后在直接”Install”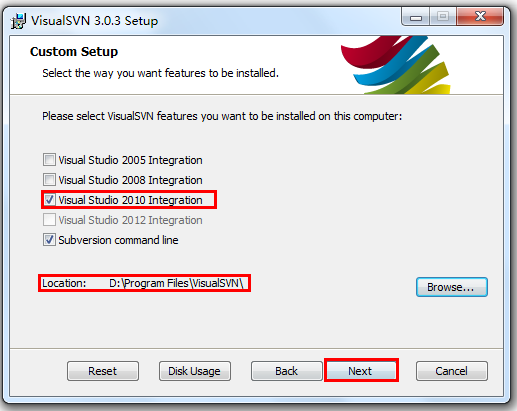
参考资料&进一步阅读
http://tortoisesvn.net/support.zh.html
https://www.cnblogs.com/IPrograming/archive/2012/12/15/SVN_1.html

若有收获,就点个赞吧
0 人点赞
