1:什么是注解?
(1):注解是代码中特殊标记,格式:@注解名称(属性名称=属性值,属性名称=属性值…..)
(2):使用注解,注解作用在类上面,方法上面,属性上面
(3):使用注解目的:简化xml配置,使代码更加简化优雅
2:spring针对bean管理(创建对象)提供相关注解
spring注解大全 / 注解
声明bean的注解
@Component 组件,没有明确的角色
@Service 在业务逻辑层使用(service层)
@Repository 在数据访问层使用(dao层)
@Controller 在展现层使用,控制器的声明(C,web层)
*上面四个注解功能是一样的,都可以用来创建bean实例
3:基于注解方式实现对象的创建
(1):使用注解,需要引入依赖aop jar包,导入项目中
(2):开启组件扫描
<?xml version="1.0" encoding="UTF-8"?><beans xmlns="http://www.springframework.org/schema/beans"xmlns:xsi="http://www.w3.org/2001/XMLSchema-instance"xmlns:aop="http://www.springframework.org/schema/aop"xmlns:p="http://www.springframework.org/schema/p"xmlns:util="http://www.springframework.org/schema/util"xmlns:tx="http://www.springframework.org/schema/tx"需要加context 命名空间xmlns:context="http://www.springframework.org/schema/context"xsi:schemaLocation="http://www.springframework.org/schema/beanshttp://www.springframework.org/schema/beans/spring-beans-3.0.xsdhttp://www.springframework.org/schema/aophttp://www.springframework.org/schema/aop/spring-aop-3.0.xsdhttp://www.springframework.org/schema/txhttp://www.springframework.org/schema/tx/spring-tx-3.0.xsdhttp://www.springframework.org/schema/contexthttp://www.springframework.org/schema/context/spring-context-3.0.xsdhttp://www.springframework.org/schema/utilhttp://www.springframework.org/schema/util/spring-util.xsd"><!-- 开启组件扫描 --><!-- context 上下文 --><!-- component-scan 组件扫描 --><!-- 基本包 包(扫描哪个包下的内容) --><!-- 扫描多包下注解,方式一: base-package="com.junjay.spring5.dao,com.junjay.spring5.service中间以逗号隔开"方式二:扫描包的上层目录com.junjay.spring5--><context:component-scanbase-package="com.junjay.spring5"></context:component-scan></beans>
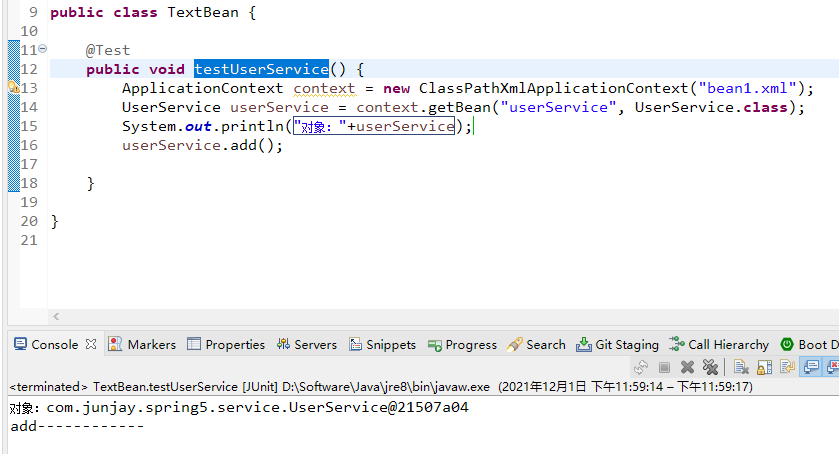
(3):创建类,在类上添加创建对象的注解,获取实例对象
package com.junjay.spring5.service;import org.springframework.stereotype.Component;// 等同于在xml配置文件中添加<bean id="userService" class="**.**.UserService"></bean>// id的值,与@Component中的value的值是一样的// 在注解里面value属性值,可以不省略写。默认值是类名称,首字母小写;eg:UserService =》userService@Component(value = "userService")// @Service 四个方式都可以实现对象创建,且默认值都是类名称,首字母小写;public class UserService {public void add() {System.out.println("add------------");}}
4:开启组件扫描中细节
<?xml version="1.0" encoding="UTF-8"?><beans xmlns="http://www.springframework.org/schema/beans"xmlns:xsi="http://www.w3.org/2001/XMLSchema-instance"xmlns:aop="http://www.springframework.org/schema/aop"xmlns:p="http://www.springframework.org/schema/p"xmlns:util="http://www.springframework.org/schema/util"xmlns:tx="http://www.springframework.org/schema/tx"xmlns:context="http://www.springframework.org/schema/context"xsi:schemaLocation="http://www.springframework.org/schema/beanshttp://www.springframework.org/schema/beans/spring-beans-3.0.xsdhttp://www.springframework.org/schema/aophttp://www.springframework.org/schema/aop/spring-aop-3.0.xsdhttp://www.springframework.org/schema/txhttp://www.springframework.org/schema/tx/spring-tx-3.0.xsdhttp://www.springframework.org/schema/contexthttp://www.springframework.org/schema/context/spring-context-3.0.xsdhttp://www.springframework.org/schema/utilhttp://www.springframework.org/schema/util/spring-util.xsd"><!-- 开启组件扫描 --><!-- context 上下文 --><!-- component-scan 组件扫描 --><!-- 基本包 包(扫描哪个包下的内容) --><!-- 扫描多包下注解, 方式一: base-package="com.junjay.spring5.dao,com.junjay.spring5.service中间以逗号隔开" 方式二:扫描包的上层目录com.junjay.spring5 --><context:component-scanbase-package="com.junjay.spring5"></context:component-scan><!-- 实例1 use-default-filters="false" 默认为 true 作用是否扫描com.junjay.spring5下的所有注解,改为false之后,可以自定义扫描那些注解 include-filter 扫描那些注解 通俗语言:不在扫描com.junjay.spring5的所有注解,而只扫描@Service(org.springframework.stereotype.Service)注解 --><context:component-scanbase-package="com.junjay.spring5" use-default-filters="false"><context:include-filter type="annotation"expression="org.springframework.stereotype.Service" /></context:component-scan><!-- 实例2 下面配置扫描包所有注解 exclude-filter 不扫描那些注解 白话:扫描com.junjay.spring5下的所有注解,但不扫描@Service(org.springframework.stereotype.Service)注解 --><context:component-scanbase-package="com.junjay.spring5"><context:exclude-filter type="annotation"expression="org.springframework.stereotype.Service" /></context:component-scan></beans>
5:基于注解方式实现属性注入
| @AutoWired | 根据属性类型自动装配 |
|---|---|
| @Qualifier | 根据属性的名称注入要和@AutoWired一起使用 |
| @Resource | 可以根据类型输入也可以根据名称注入 |
| @Value | 注入普通类型属性 |
@Autowired 注解
(1):把service和dao创建对象,在service和dao类上加上bean注解
package com.junjay.spring5.dao;/*** @author My* interface 接口关键字*/public interface UserDao{public void add();}
package com.junjay.spring5.dao;import javax.annotation.Resource;// <context:exclude-filter type="annotation">/*** @author My* implements 实现 UserDao 接口*/@Repositorypublic class UserDaoImpl implements UserDao{@Overridepublic void add() {System.err.println("add.......");}}
package com.junjay.spring5.service;import org.springframework.stereotype.Service;// 等同于在xml配置文件中添加<bean id="userService" class="**.**.UserService"></bean>// id的值,与@Component中的value的值是一样的// 在注解里面value属性值,可以不省略写。默认值是类名称,首字母小写;eg:UserService =》userService//@Component(value = "userService")@Servicepublic class UserService {public void add() {System.out.println("add------------");}}
(2):在service 注入userdao接口属性,通过@Autowired 注解,不在通过set注入属性
// 定义dao类型属性// 自动注入属性,不需要在加set方法@Autowiredprivate UserDao userDao;public void add() {System.out.println("add------------");userDao.add();}
测试: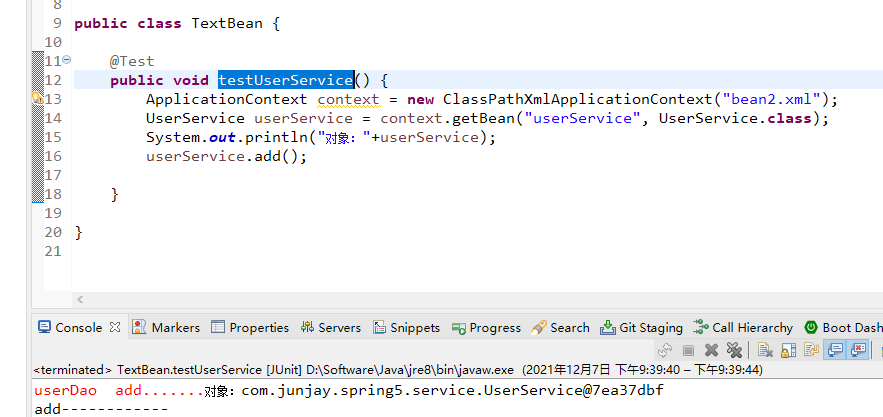
@Autowired和@Qualifier搭配使用(spring提供的属性注入注解)
// import org.springframework.beans.factory.annotation.Autowired;// import org.springframework.beans.factory.annotation.Qualifier;// 定义dao类型属性// 自动注入属性,不需要在加set方法@Autowired // 根据类型注入,但一个接口可以有多个实现类,如果有多个类型实现类,就找不到要注入哪一个@Qualifier(value = "userDaoImpl") // 这个时候就要用@Qualifier通过名称注入属性,默认为首字母小写userDaoImplprivate UserDao userDao;public void add() {//System.out.println("add------------");userDao.add();}
@Resource 使用(@Resource注解是javax提供的包,spring建议使用Autowired和Qualifier)
// import javax.annotation.Resource;// @Resource // 根据类型注入@Resource(name = "userDaoImpl") // 根据名称注入private UserDao userDao;public void add() {//System.out.println("add------------");userDao.add();}
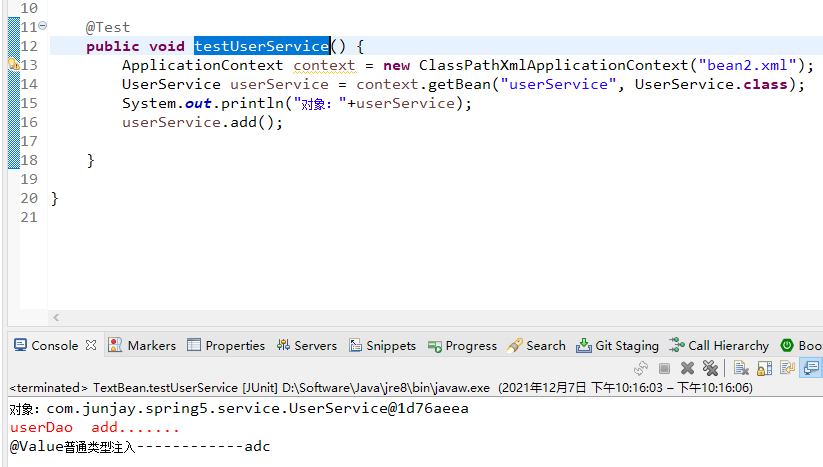
@value:注入普通类型属性
/*** 普通类型属性,注入值*/@Value(value = "adc")private String name;// 定义dao类型属性// 自动注入属性,不需要在加set方法// @Autowired // 根据类型注入,但一个接口可以有多个实现类,如果有多个类型实现类,就找不到要注入哪一个// @Qualifier(value = "userDaoImpl") // 这个时候就要用@Qualifier通过名称注入属性,默认为首字母小写userDaoImpl// private UserDao userDao;// @Resource // 根据类型注入@Resource(name = "userDaoImpl") // 根据名称注入private UserDao userDao;public void add() {System.out.println("@Value普通类型注入------------"+name);userDao.add();}
6:完全注解开发
(1):创建配置类,替代xml配置文件,将配置文件中内容放入配置类中
@Configuration的使用,AnnotationConfigApplicationContext容器创建过程
package com.junjay.spring5.config;import org.springframework.context.annotation.ComponentScan;import org.springframework.context.annotation.Configuration;// 作为配置类,替代xml配置文件。@Configuration// 扫描那些包下的注解// 等同于xml配置文件中:<context:component-scan base-package="com.junjay.spring5"></context:component-scan>// 配置文件中名称为 context:上下文,component-scan:扫描包,base-package:扫描包路径// 对应关系:context——@Configuration component-scan——@ComponentScan;base-package——basePackages =‘数组’// @Configuration表明了该类是配置类,@ComponentScan 扫描包 basePackages={"com.junjay.spring5"} 扫描那些路径下注解// 大白话:被@Configuration修饰的类是配置类,开启扫描包,扫描com.junjay.spring5下的注解@ComponentScan(basePackages = { "com.junjay.spring5", "" })public class SpringConfig {}
测试: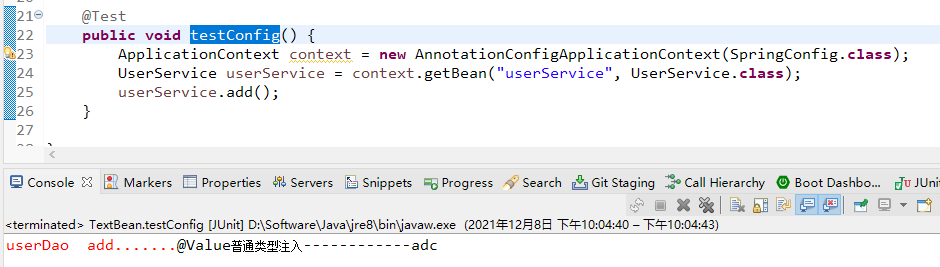
github

若有收获,就点个赞吧
0 人点赞
