参考:陈木鑫老师的《Spring Security 实战》
创建 spring boot 项目
通过 Intellij IDEA 创建 Spring Boot 项目的方式有许多种,其中最简单的方式就是使用 Spring Initializr
工具。
Spring Initializr 允许我们提前选定一些常用的项目依赖,此处我们选择 Security 作为构建 Spring
Security 项目的最小依赖,选择 Web 作为 Spring Boot 构建 Web 应用的核心依赖。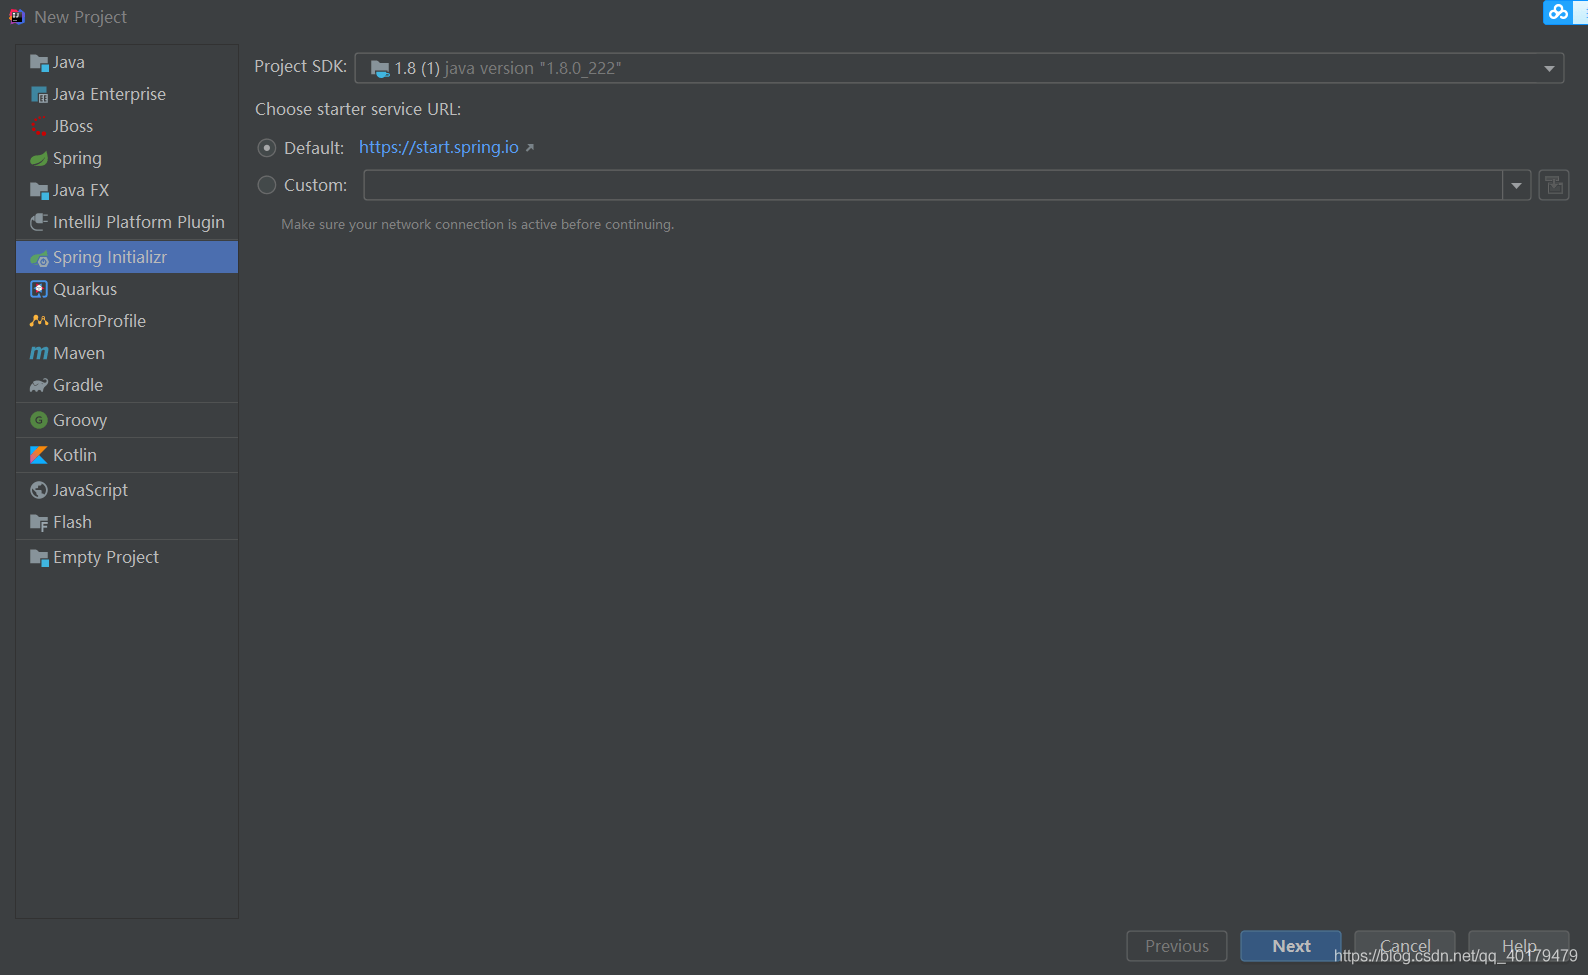
Next :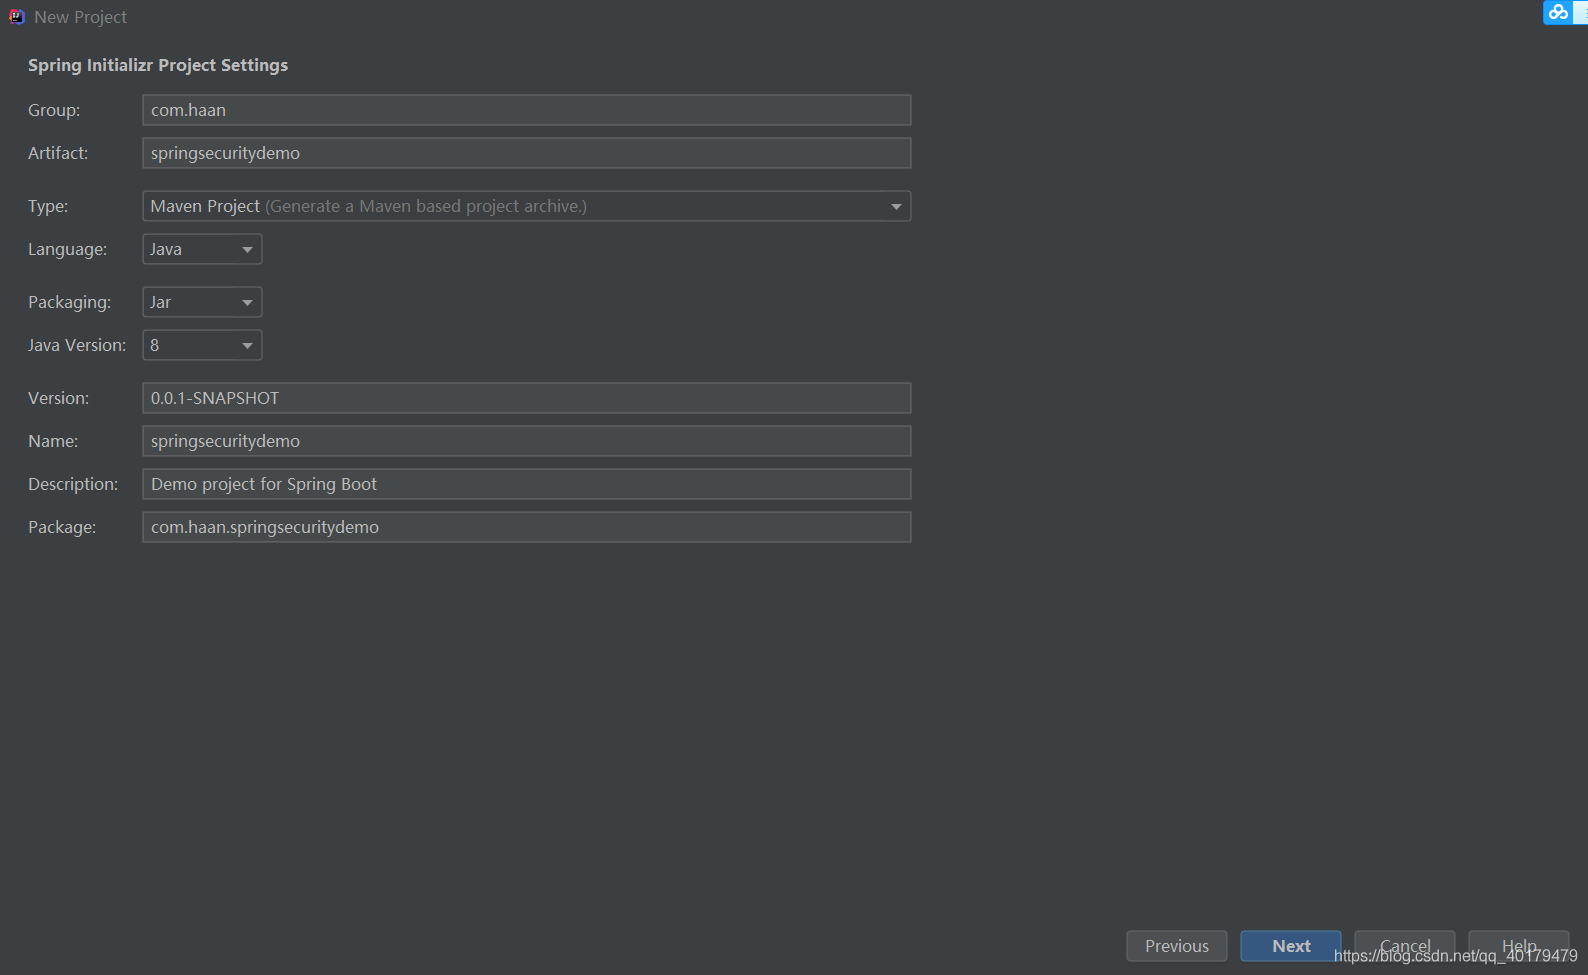
Next: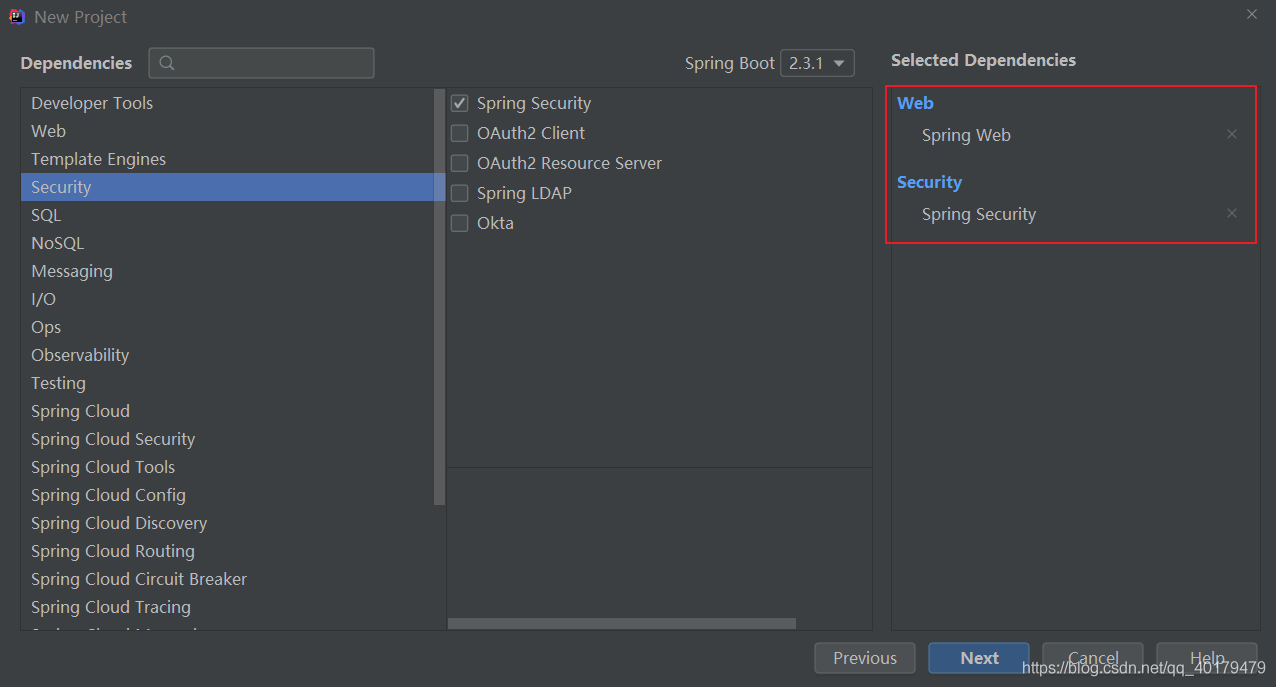
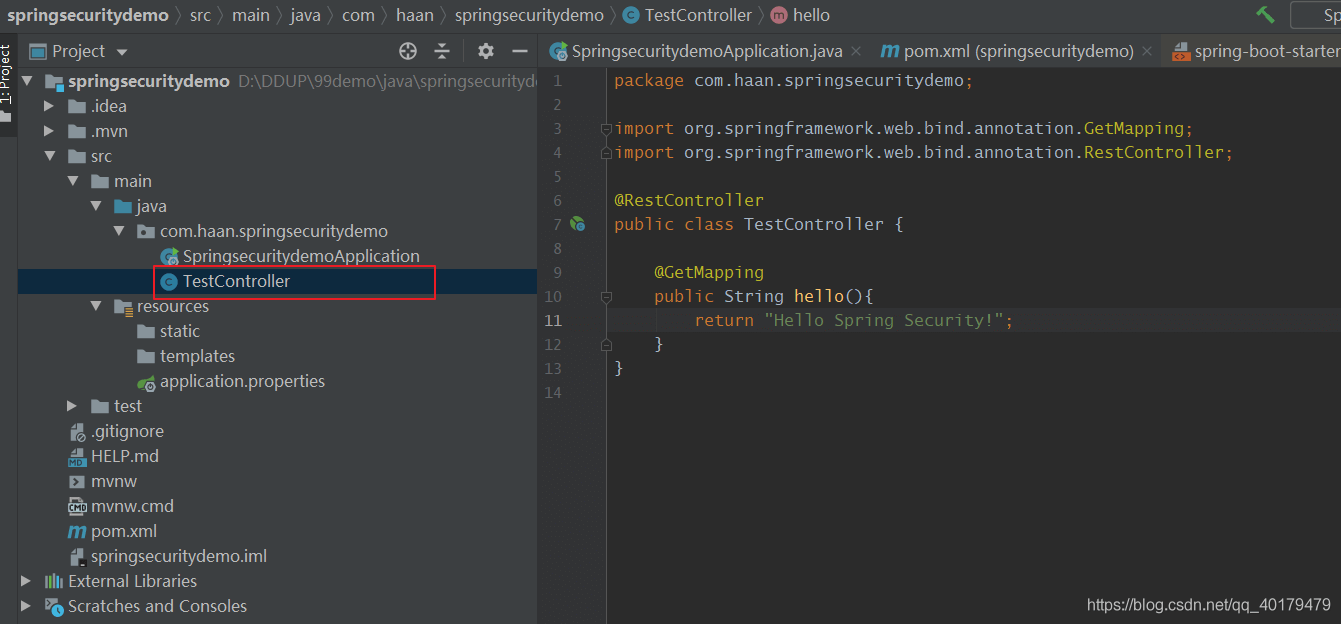
创建项目的目录结构:
maven 引用
在自动构建的 Spring Security 项目中,Spring Initializr 为我们引入了以下依赖:
<dependency><groupId>org.springframework.boot</groupId><artifactId>spring-boot-starter-security</artifactId></dependency>
我们点开spring-boot-starter-security可以看到,其包含了以下依赖:
<dependency><groupId>org.springframework.boot</groupId><artifactId>spring-boot-starter</artifactId><version>2.3.1.RELEASE</version><scope>compile</scope></dependency><dependency><groupId>org.springframework</groupId><artifactId>spring-aop</artifactId><scope>compile</scope></dependency><dependency><groupId>org.springframework.security</groupId><artifactId>spring-security-config</artifactId><scope>compile</scope></dependency><dependency><groupId>org.springframework.security</groupId><artifactId>spring-security-web</artifactId><scope>compile</scope></dependency>
其中 spring-security-web和spring-security-config两个核心模块,正是官方建议引入的 Spring Security 最小依赖。
声明 controller
在项目中声明一个测试路由TestController:
package com.haan.springsecuritydemo;import org.springframework.web.bind.annotation.GetMapping;import org.springframework.web.bind.annotation.RestController;@RestControllerpublic class TestController {@GetMappingpublic String hello(){return "Hello Spring Security!";}}
运行SpringsecuritydemoApplication
运行SpringsecuritydemoApplication, 默认启动 8080 端口,打开浏览器,访问localhost:8080, 我们发现页面跳转到了localhost:8080/login: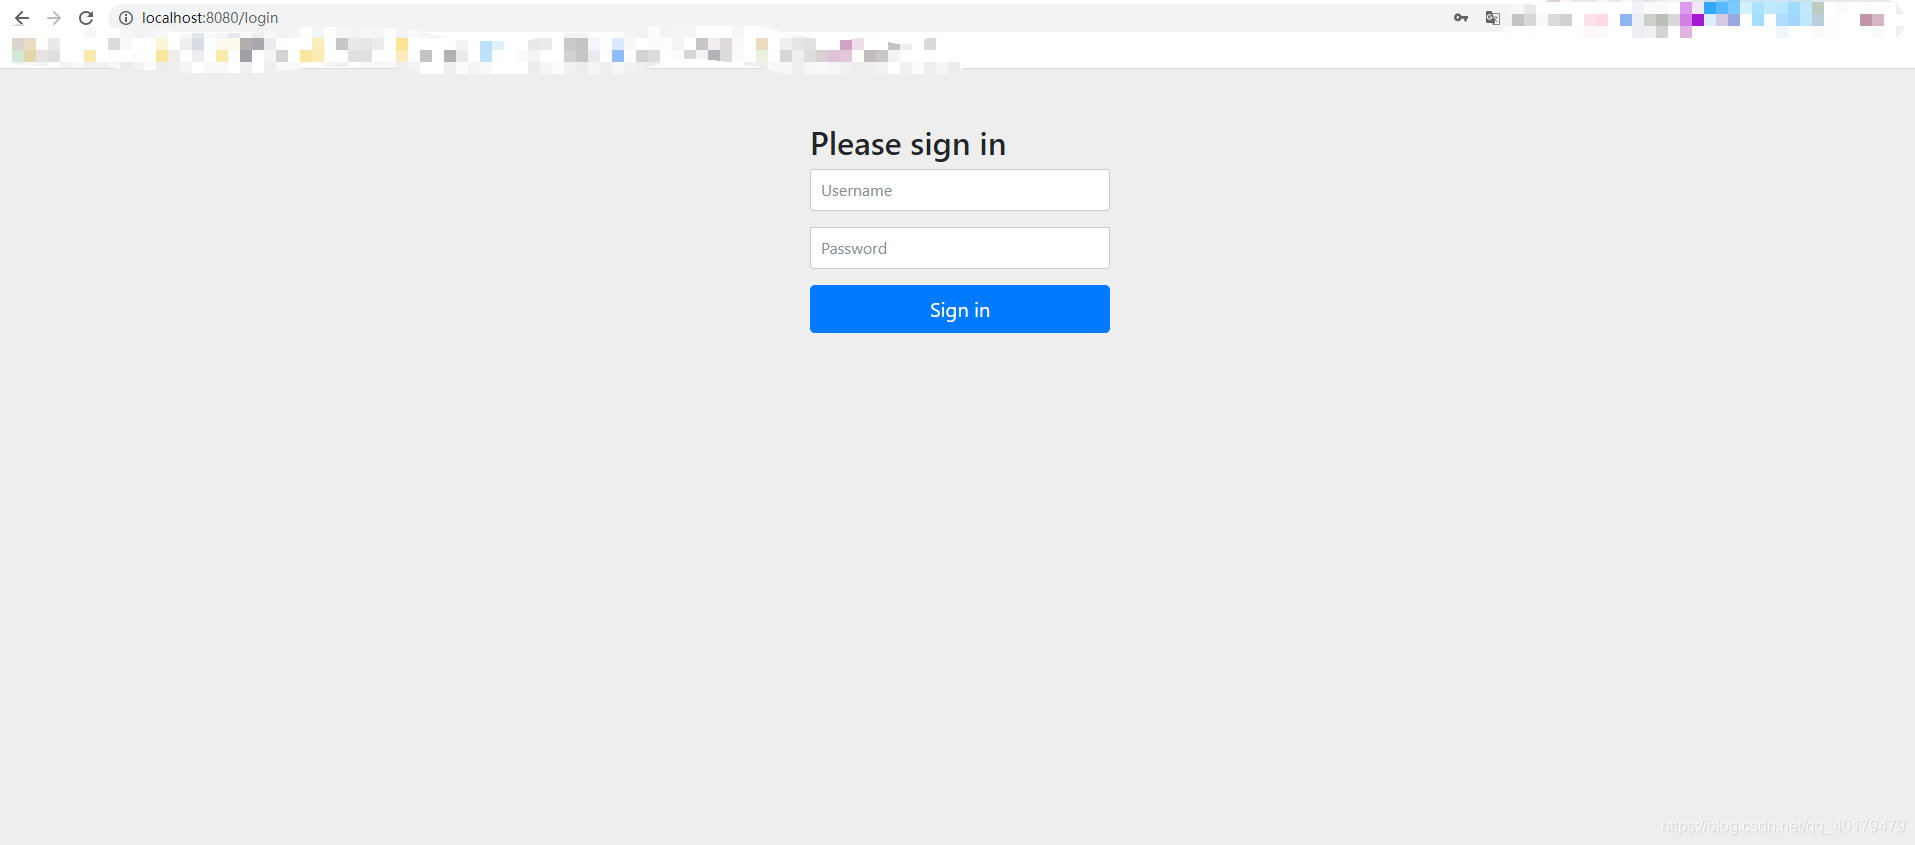
在引入 Spring Security 项目之后,虽然没有进行任何相关的配置或编码,但 Spring Security 有一个默认的运行状态,要求在经过表单基本认证后才能访问对应的 URL 资源,其默认使用的用户名为 user ,密码则是动态生成并打印到控制台的一串随机码。翻看控制台的打印信息: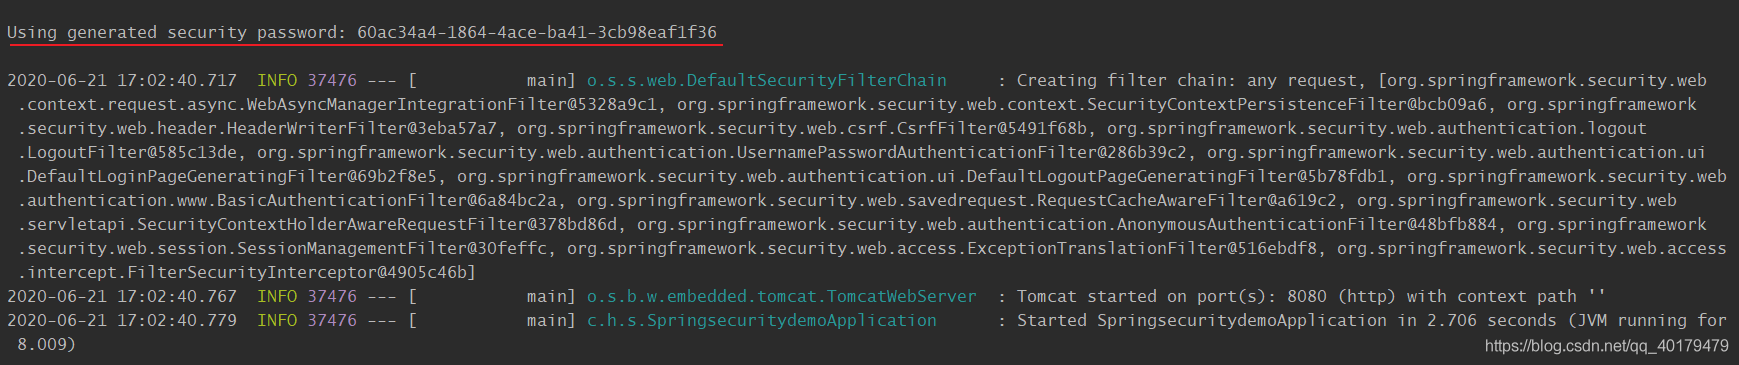
输入用户名和密码后,单击 “登录” 按钮即可成功访问: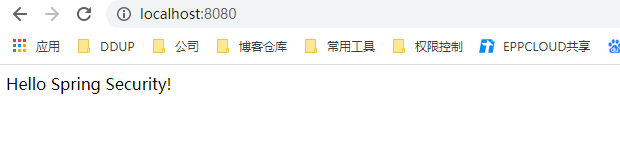
修改登录信息
基本表单认证中,用户名和密码都是可以配置的,最常见的就是在 resources 下的application配置文件中修改:
spring.security.user.name=user02spring.security.user.password=aaaaaa
重新启动程序,发现控制台不再打印默认密码串了,此时使用我们自定义的用户名和密码即可登录。
WebSecurityConfigurerAdapter
protected void configure(HttpSecurity http) throws Exception {this.logger.debug("Using default configure(HttpSecurity). If subclassed this will potentially override subclass configure(HttpSecurity).");((HttpSecurity)((HttpSecurity)((AuthorizedUrl)http.authorizeRequests().anyRequest()).authenticated().and()).formLogin().and()).httpBasic();}
可以看到 WebSecurityConfigurerAdapter 已经默认声明了一些安全特性:
- 验证所有请求。
- 允许用户使用表单登录进行身份验证(Spring Security 提供了一个简单的表单登录页面)。
- 允许用户使用 HTTP 基本认证。
spring boot 默认定义了DefaultConfigurerAdapter , 由@ConditionalOnMissingBean可知当没有其他WebSecurityConfigurerAdapter被定义时,将使用DefaultConfigurerAdapter:
@Configuration(proxyBeanMethods = false)@ConditionalOnClass({WebSecurityConfigurerAdapter.class})@ConditionalOnMissingBean({WebSecurityConfigurerAdapter.class})@ConditionalOnWebApplication(type = Type.SERVLET)public class SpringBootWebSecurityConfiguration {public SpringBootWebSecurityConfiguration() {}@Configuration(proxyBeanMethods = false)@Order(2147483642)static class DefaultConfigurerAdapter extends WebSecurityConfigurerAdapter {DefaultConfigurerAdapter() {}}}
自定义表单登录页
Spring boot 提供了WebSecurityConfigurerAdapter 的默认实现DefaultConfigurerAdapter,能够提供基本表单登录认证。
虽然自动生成的表单登录页可以方便、快速地启动,但是大多数应用程序更希望提供自己的表单登录页,此时就需要我们提供自己的WebSecurityConfigurerAdapter来代替DefaultConfigurerAdapter, 覆写WebSecurityConfigurerAdapter的configure方法:
@EnableWebSecuritypublic class MyWebSecurityConfiguration extends WebSecurityConfigurerAdapter {@Overrideprotected void configure(HttpSecurity http) throws Exception {http.authorizeRequests().anyRequest().authenticated().and().formLogin().loginPage("/myLogin.html") //指明登录页面.permitAll() //指明登录页允许所有进行访问.and().csrf().disable();}}
authorizeRequests()方法实际上返回了一个 URL 拦截注册器,我们可以调用它提供的anyRequest()、antMatchers()和regexMatchers()等方法来匹配系统的 URL,并为其指定安全策略。formLogin()方法和httpBasic()方法都声明了需要 Spring Security 提供的表单认证方式,分别返回对应的配置器。其中formLogin().loginPage("/myLogin.html")指定自定义的登录
页/myLogin.html,同时,Spring Security 会用/myLogin.html注册一个POST路由,用于接收登录请求。csrf()方法是 Spring Security 提供的跨站请求伪造防护功能,当我们继承WebSecurityConfigurer Adapter时会默认开启csrf()方法。
访问localhost:8080 , 我们发现,页面就跳转到了localhost:8080/myLogin.html, 由于我们静态文件中并没有myLogin.html 文件,所以提示了一个 404 的white page: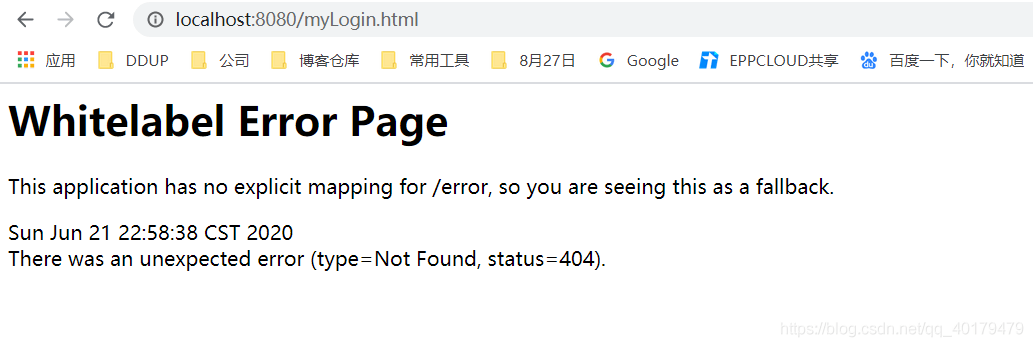
我们在resources/static 文件夹下创建页面myLogin.html:
<!DOCTYPE html><html lang="en"><head><meta charset="UTF-8"><title>Hello Security!</title></head><body><h3>登录页</h3><form action="/myLogin.html" method="post"><input type="text" > <br/><input type="text" > <br/><input type="submit" value="login"></form></body></html>
重启服务,再次访问localhost:8080: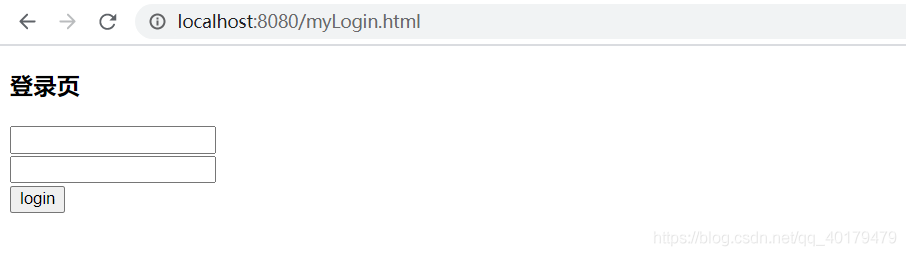
输入上面的application.properties中配置的用户登录账户和密码进行登录,登陆成功: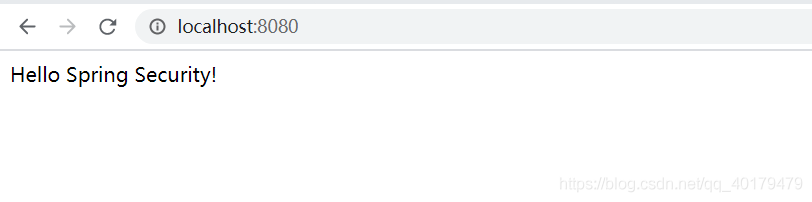
其他表单配置项
指定登录处理 URL
在自定义表单登录页之后,处理登录请求的URL也会相应改变, 默认情况下,
如果只配置loginPage而不配置loginProcessingUrl的话那么loginProcessingUrl默认就是loginPage,如果需要自定义登录请求的URL, 需要配置loginProcessingUrl:
重启登录,我们发现中间访问了localhost:8080/myLogin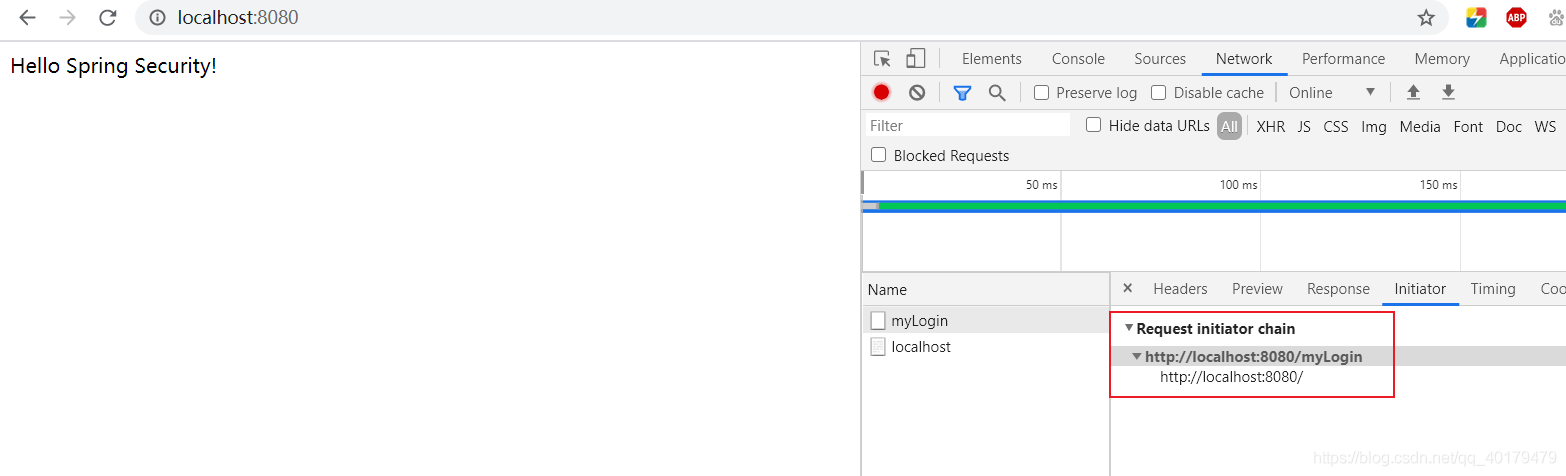
补充:
loginPage和loginProcessingUrl
- 两者都不配置:默认都是
/login- 两者都配置:按自己的来
- 只配置
loginProcessingUrl:loginPage默认/login- 只配置
loginPage:loginProcessingUrl默认就是loginPage
设置登录成功处理
此时,有些读者可能会有疑问,因为按照惯例,在发送登录请求并认证成功之后,页面会跳转回原访问页。在某些系统中的确是跳转回原访问页的,但在部分前后端完全分离、仅靠 JSON 完成所有交互的系统中,一般会在登录时返回一段 JSON 数据,告知前端成功登录成功与否,由前端决定如何处
理后续逻辑,而非由服务器主动执行页面跳转。这在 Spring Security 中同样可以实现。
表单登录配置模块提供了successHandler()和 failureHandler()两个方法,分别处理登录成功和登录失败的逻辑。
successHandler()方法带有一个Authentication参数,携带当前登录用户名及其角色等信息;failureHandler()方法携带一个AuthenticationException异常参数。具体处理方式需按照系统的情况自定义。
@EnableWebSecuritypublic class MyWebSecurityConfiguration extends WebSecurityConfigurerAdapter {@Overrideprotected void configure(HttpSecurity http) throws Exception {http.authorizeRequests().anyRequest().authenticated().and().formLogin().loginPage("/myLogin.html") //指明登录页面.loginProcessingUrl("/myLogin") //指明处理登陆的URL路径,即登陆表单提交请求.successHandler(new AuthenticationSuccessHandler() { // 设置登录成功的处理器@Overridepublic void onAuthenticationSuccess(HttpServletRequest httpServletRequest, HttpServletResponse httpServletResponse, Authentication authentication) throws IOException, ServletException {PrintWriter responseWriter = httpServletResponse.getWriter();String name = authentication.getName();responseWriter.write(name+" login success!");}}).failureHandler(new AuthenticationFailureHandler() { // 设置登录失败的处理器@Overridepublic void onAuthenticationFailure(HttpServletRequest httpServletRequest, HttpServletResponse httpServletResponse, AuthenticationException e) throws IOException, ServletException {PrintWriter responseWriter = httpServletResponse.getWriter();responseWriter.write("login error!");}}).permitAll() //指明登录页允许所有进行访问.and().csrf().disable();}}
正确的账号密码: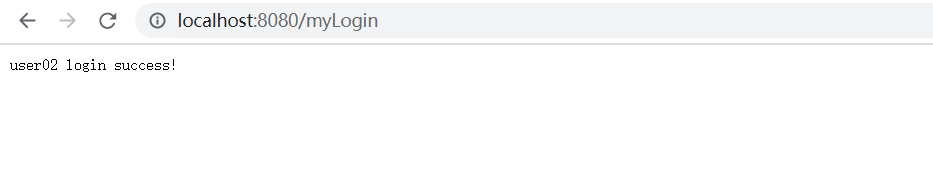
错误的账号密码: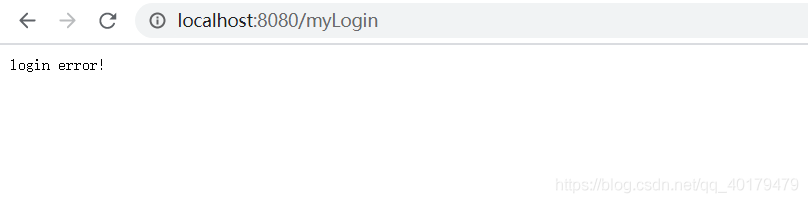

若有收获,就点个赞吧
0 人点赞
