- scripts: cz
- scripts: test
- scripts: gen
- scripts: bootstrap
- scripts: gen:version
- scripts: build
- scripts: clean:lib
- scripts: build:lib
- scripts: build:lib-full
- scripts: build:esm-bundle
- scripts: build:type
- scripts: build:esm
- scripts: build:utils
- scripts: build:locale
- scripts: build:locale-umd
- scripts: build:theme
- scripts: lint
- scripts: lint-fix
- scripts: website-build
- scripts: website-dev
- scripts: website-dev:play
- scripts: upgrad:vue
- scripts: fast-build
所有可执行的命令如下
别着急,一个一个来,看源码重在总结和学习,一个屌丝不可能一下看懂这么复杂的库(说给自己听😂)
scripts: cz
执行命令: npx git-cz
依赖:无
作用:用于规范化git提交,具体内容在这里 , git add后运行,按步骤都给你归拢的齐刷的
流程:npx git-cz
总结:规范化git代码提交
scripts: test
执行命令: yarn run test
依赖:jest、@types/jest、vue-jest
作用:
- jest:测试组件库
- @tpyes/jest: typescript语法测试映射库
- vue-jest: vue组件的jest测试库
流程:yarn run test => jest.config.js => testing
总结:此命令用来运行所有的测试,通过修改入口的方式,达到全部/局部组件测试的目的
附:Jest配置
jest.config.js中的配置,关于jest的所有配置,请参考这里,jest会默认安装babel-jest,我们需要用他来做.jsx|.tsx文件的转译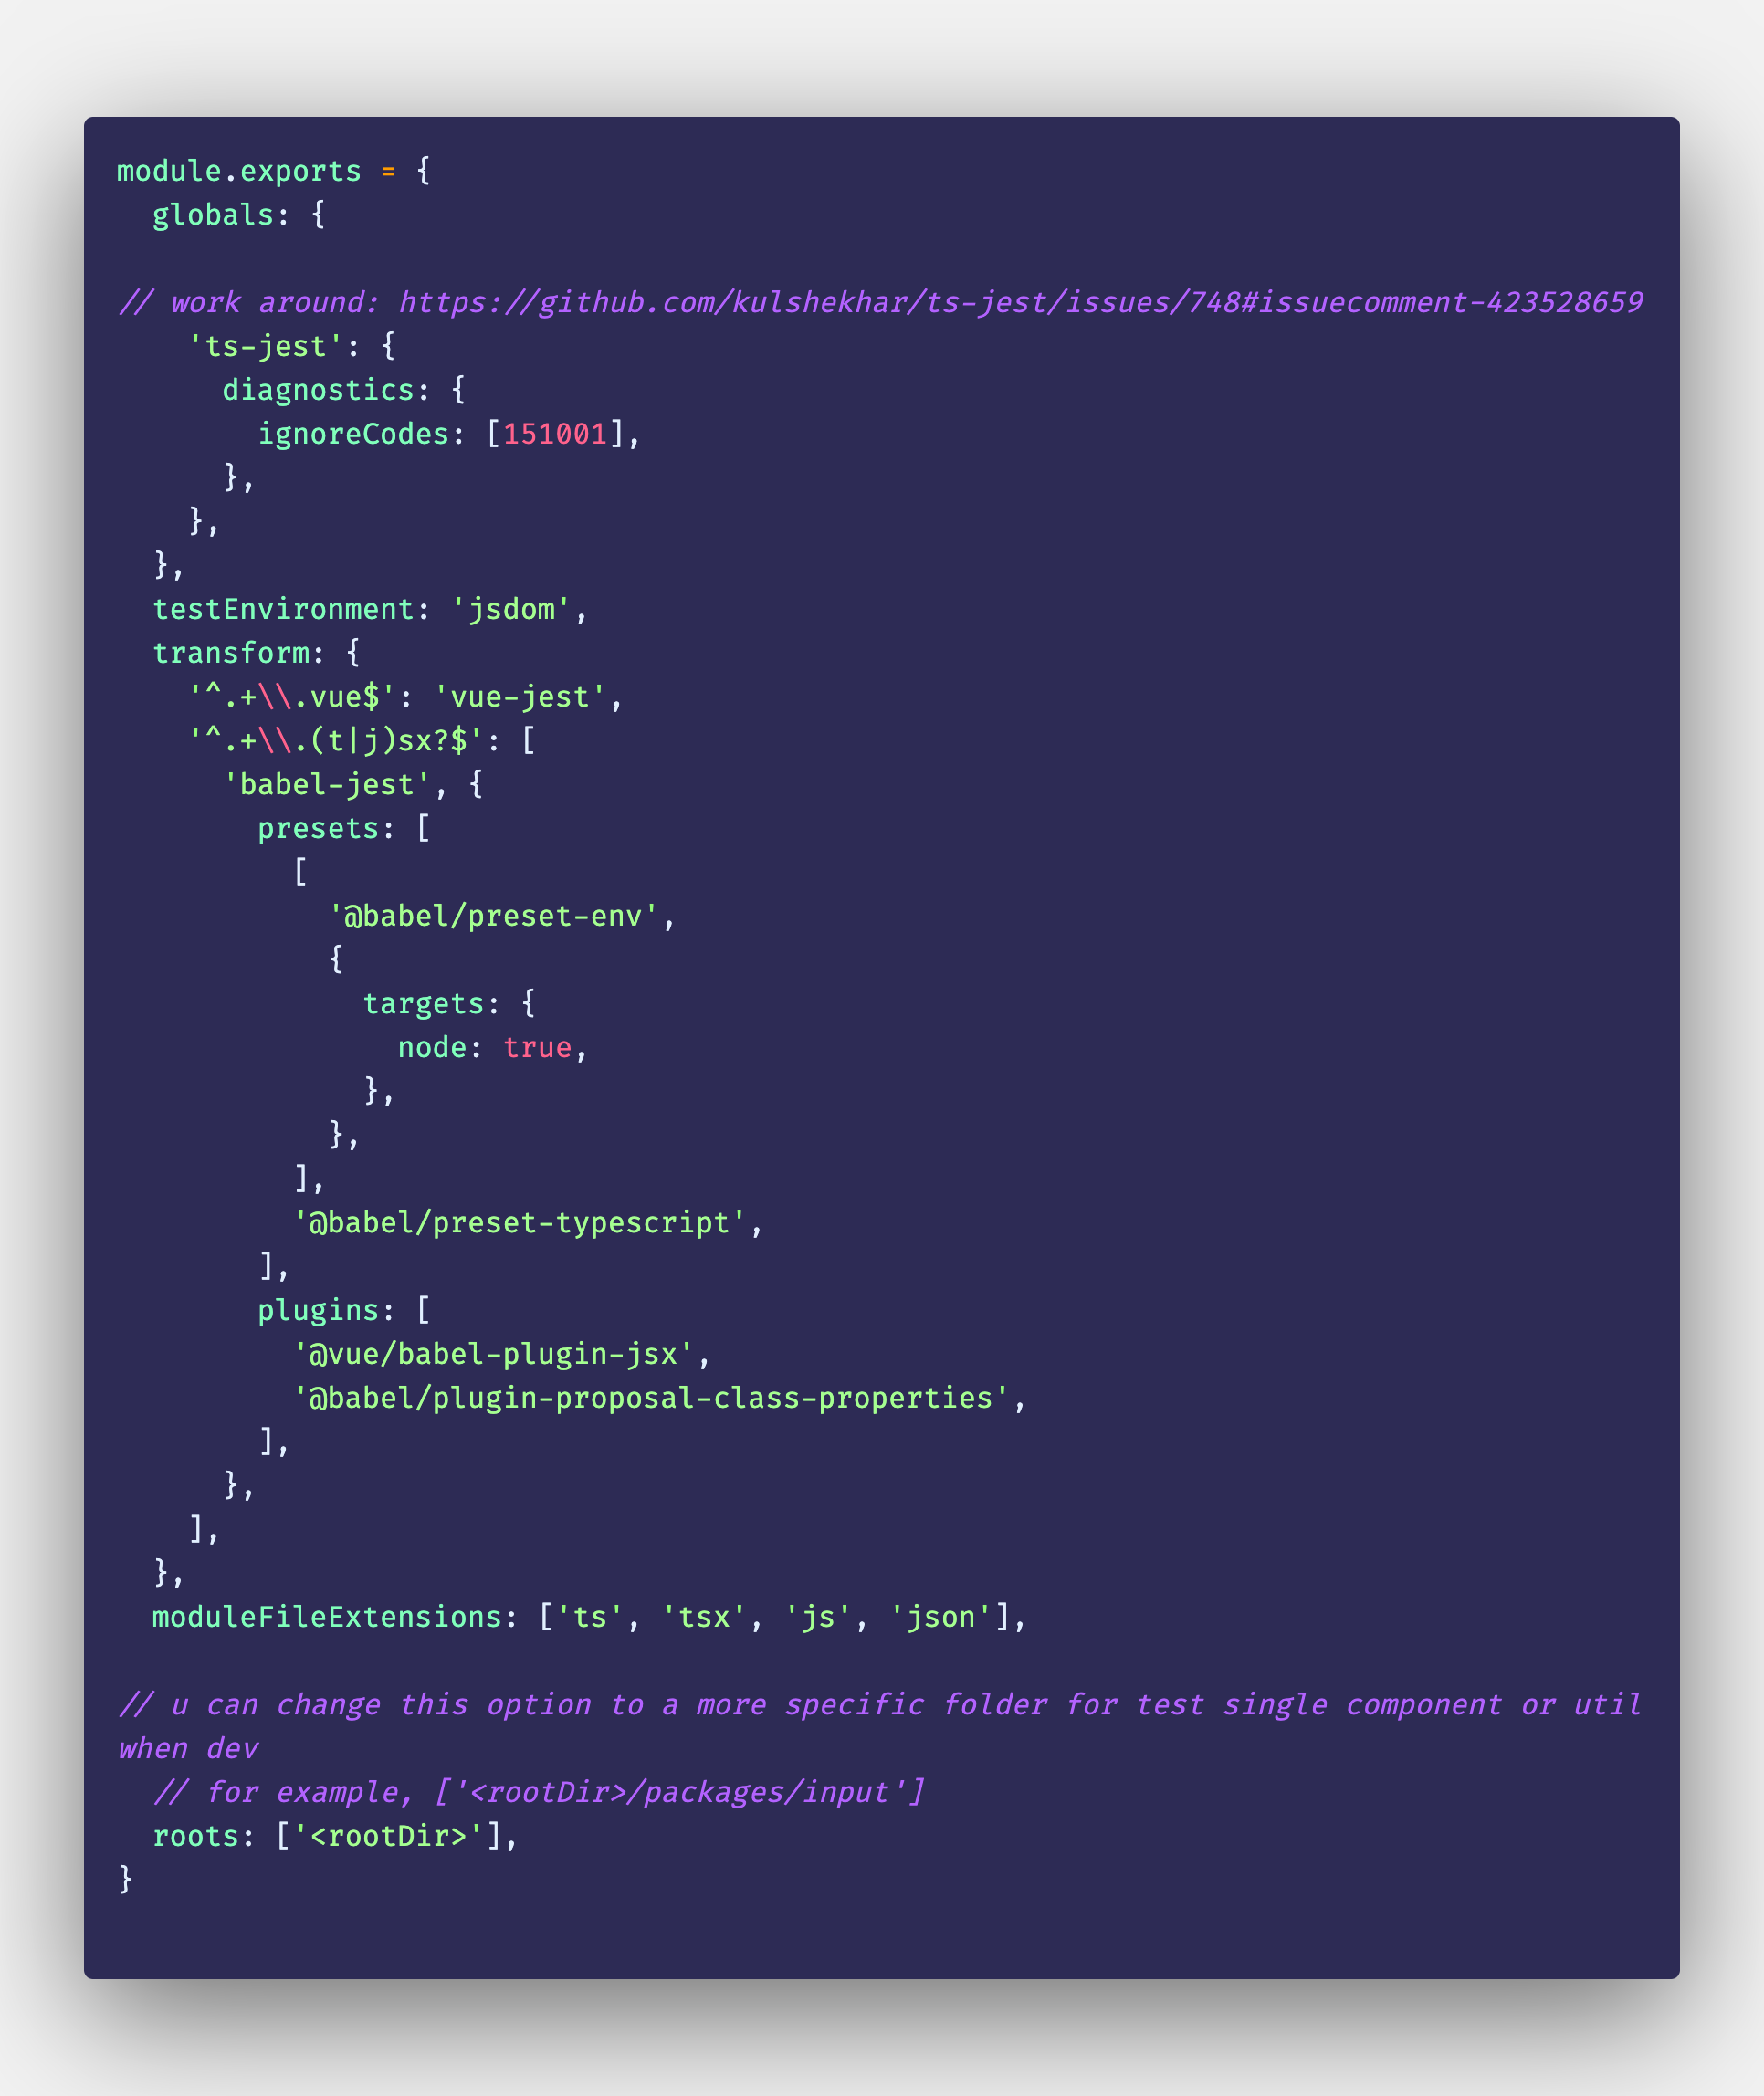
逐项分析
globals
用@type/jest库来做ts到js的映射,需要在这里加入配置ts-jest:object,具体配置在这里。这里添加配置的作用是修复ts转译报错的bug
testEnvironment
如语意所示,这里用的是'jsdom'的环境,通过JSdom在node端仿真一个浏览器形式的环境,如果是进行node测试,这里可以修改成node
transform
通过正则来匹配文件,应用不同的处理器进行转译成jest可以执行的JS代码。在element-plus中我们需要转化的是.vue和.jsx | .tsx的文件。
.vue文件使用的是[vue-jest](https://github.com/vuejs/vue-jest),其作用是通过编译template、style、script和各自的lang属性,使其编译成jest可以运行的javascript代码。.jsx|.tsx使用的是babel-jest来进行转译moduleFileExtensions
jest需要查看的文件,顺序是从左到右,如果你通篇使用了.ts或者.tsx为扩展名的文件,请放到前面,官网推荐的
We recommend placing the extensions most commonly used in your project on the left, so if you are using TypeScript, you may want to consider moving “ts” and/or “tsx” to the beginning of the array.
roots
jest查看文件的入口,默认是根目录,如果你想单独测试组件,则指定这个入口,如roots:["<rootDir>/src/package","<rootDir>/src/lib"],我们在写完组件运行yarn run test的时候,一般会修改这个入口,作为单个组件的测试
testRegex
这里额外说一下这个配置,是默认Jest会搜索的目录,默认值为__tests__下的.spec.js|test.js结尾的文件,同时这个属性和testMatch二选一,不可同时使用
scripts: gen
执行命令: yarn run gen name name为要生成的组件的名字
依赖:scripts/gc.sh
作用:自动生成组件代码,牛逼 🐂🍺
流程:自动生成一个组件所有所需的代码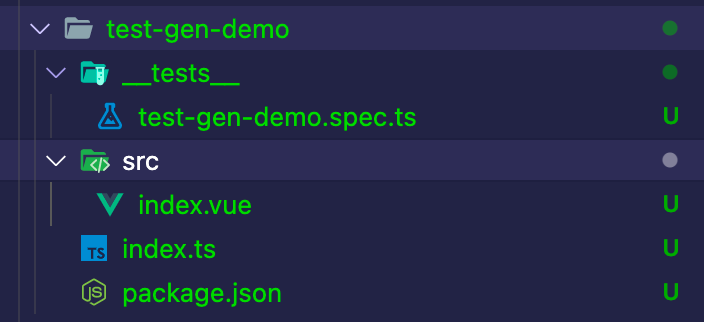
说明:bash命令在windows环境中,这个尝试自己用node写吧,也不难
总结:一键生成代码🐂🍺
scripts: bootstrap
执行命令: yarn --forzen-lockfile && npx lerna bootstrap && yarn gen:version
依赖:yarn、lerna
作用:初始化项目
流程:锁定依赖版本 => 安装依赖 => 生成版本
说明:
yarn —frozen-lockfile
yarn.lock的生成和更新策略:
- 若yarn.lock不存在,安装依赖并生成yarn.lock。
- 若yarn.lock存在且与package.json中的版本范围匹配,yarn.lock保持不变,yarn不会检查是否有新版本。
- 若yarn.lock不满足package.json中的所有依赖项,yarn将查找最新的满足package.json中约束的可用版本,并更新yarn.lock。
yarn --frozen-lockfile是yarn install --frozen-lockfile的简写,保证yarn.lock不会更新。保证package.json中的版本和yarn.lock一致If you want to ensure
yarn.lockis not updated, use--frozen-lockfile
scripts: gen:version
scripts: build
scripts: clean:lib
scripts: build:lib
scripts: build:lib-full
scripts: build:esm-bundle
scripts: build:type
scripts: build:esm
scripts: build:utils
scripts: build:locale
scripts: build:locale-umd
scripts: build:theme
scripts: lint
scripts: lint-fix
scripts: website-build
scripts: website-dev
scripts: website-dev:play
scripts: upgrad:vue
scripts: fast-build

若有收获,就点个赞吧
0 人点赞
