在实践过程中,树莓派对 USB 摄像头的支持不如 CSI 摄像头完美。偶尔会出现无法使用 USB 摄像头的情况,自带的摄像头操作命令 raspistill、raspivid 也无法使用。
而 fswebcam 这是一款小型摄像头程序(官网),则可以很好地支持 USB 摄像头。使用方法也很简便。
使用fswebcam拍摄照片
安装 fswebcam
安装 fswebcam,用于访问摄像头、进行拍照。
sudo apt-get install fswebcam
fswebcam 的用法
fswebcam --helpUsage: fswebcam [<options>] <filename> [[<options>] <filename> ... ]Options:-?, --help Display this help page and exit.-c, --config <filename> Load configuration from file.-q, --quiet Hides all messages except for errors.-v, --verbose Displays extra messages while capturing--version Displays the version and exits.-l, --loop <seconds> Run in loop mode.-b, --background Run in the background.-o, --output <filename> Output the log to a file.-d, --device <name> Sets the source to use.-i, --input <number/name> Selects the input to use.-t, --tuner <number> Selects the tuner to use.-f, --frequency <number> Selects the frequency use.-p, --palette <name> Selects the palette format to use.-D, --delay <number> Sets the pre-capture delay time. (seconds)-r, --resolution <size> Sets the capture resolution.--fps <framerate> Sets the capture frame rate.-F, --frames <number> Sets the number of frames to capture.-S, --skip <number> Sets the number of frames to skip.--dumpframe <filename> Dump a raw frame to file.-s, --set <name>=<value> Sets a control value.--revert Restores original captured image.--flip <direction> Flips the image. (h, v)--crop <size>[,<offset>] Crop a part of the image.--scale <size> Scales the image.--rotate <angle> Rotates the image in right angles.--deinterlace Reduces interlace artifacts.--invert Inverts the images colours.--greyscale Removes colour from the image.--swapchannels <c1c2> Swap channels c1 and c2.--no-banner Hides the banner.--top-banner Puts the banner at the top.--bottom-banner Puts the banner at the bottom. (Default)--banner-colour <colour> Sets the banner colour. (#AARRGGBB)--line-colour <colour> Sets the banner line colour.--text-colour <colour> Sets the text colour.--font <[name][:size]> Sets the font and/or size.--no-shadow Disables the text shadow.--shadow Enables the text shadow.--title <text> Sets the main title. (top left)--no-title Clears the main title.--subtitle <text> Sets the sub-title. (bottom left)--no-subtitle Clears the sub-title.--timestamp <format> Sets the timestamp format. (top right)--no-timestamp Clears the timestamp.--gmt Use GMT instead of local timezone.--info <text> Sets the info text. (bottom right)--no-info Clears the info text.--underlay <PNG image> Sets the underlay image.--no-underlay Clears the underlay.--overlay <PNG image> Sets the overlay image.--no-overlay Clears the overlay.--jpeg <factor> Outputs a JPEG image. (-1, 0 - 95)--png <factor> Outputs a PNG image. (-1, 0 - 10)--save <filename> Save image to file.--exec <command> Execute a command and wait for it to complete.
使用 fswebcam
命令行下查看 /dev/下有video0 的设备。
lsusb
在终端中运行下面的命令来抓去一张来自摄像头的照片。
fswebcam --no-banner -r 640x480 image.jpg
或者你可以直接用:
fswebcam image.jpg
可以直接拍照,-d 用于指定使用哪个摄像头设备。-r 指定图片的分辨率,最后的是照片保存的路径。
如果拍摄出来的照片是一片漆黑,可能和摄像头启动延迟有关,可以通过加 -S 参数来跳过前面几帧解决。例如使用命令:
fswebcam -S 10 image.jpg
也可以使用下面的命令:
fswebcam --no-banner -r 640x480 /home/pi/test.jpg
我们在树莓派终端敲入这条指令,回车,它就会抓拍一张照片,并且把照片保存在/home/pi这个目录下。
—no-banner代表的是拍出来的照片不需要时间戳,不加这个也可以,不加的话拍出来的照片就会有日期时间。
-r 640x480是设置分辨率,这个得看你的摄像头支持拍多高分辨率的照片。
/home/pi/test.jpg最后这条代表的是拍一张照片并且命名为test,照片的格式是.jpg,然后存储在/home/pi这个目录下。
如果大家执行这条指令后拍出的照片是黑色的,那就说明摄像头还没准备好,这时我们把指令改成:
fswebcam --no-banner -r 640x480 -S 10 /home/pi/test.jpg
尝试延时摄影
创建.sh执行文件
现在这条指令需要我们手动敲进去,很长,不方便,我们可以打开nano编辑器: 
跟着我敲下这三行代码:
#!/bin/bashDATE=$(date +”%Y-%m-%H-%M”)fswebcam --no-banner -r 640x480 -S 60 -D 2 -F 2 /home/pi/webcampics/$DATE.jpg
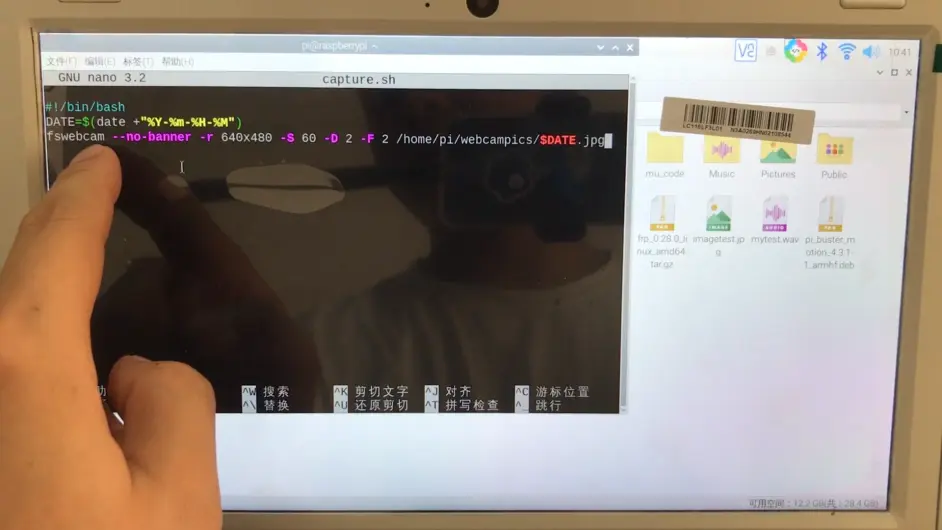
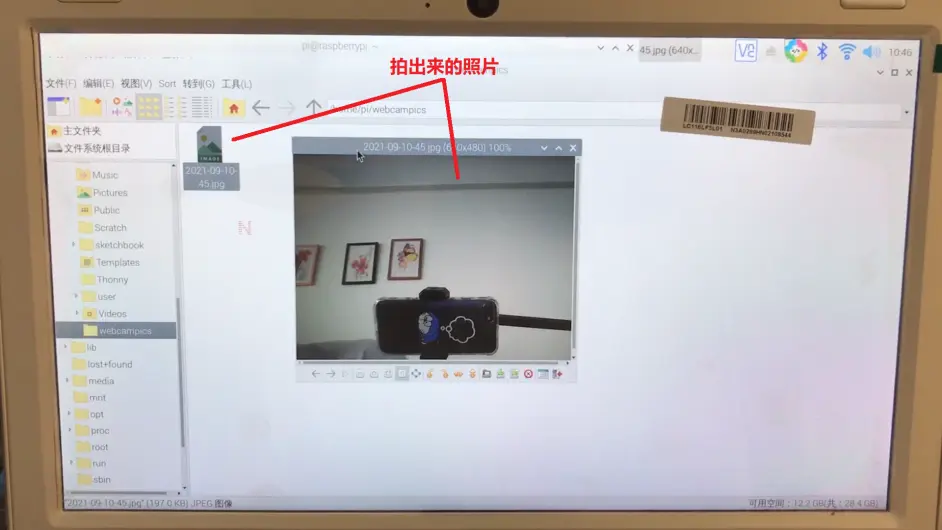
这三行的意思是拍一张照片,分辨率是640x480,不需要时间戳,跳过前面60帧,设置2秒的预捕获延迟时间,设置要捕获的帧数,2就代表是2帧,然后拍出来的照片以年月日时分来命名,格式是.jpg,存储在/home/pi/webcampics这个文件夹下。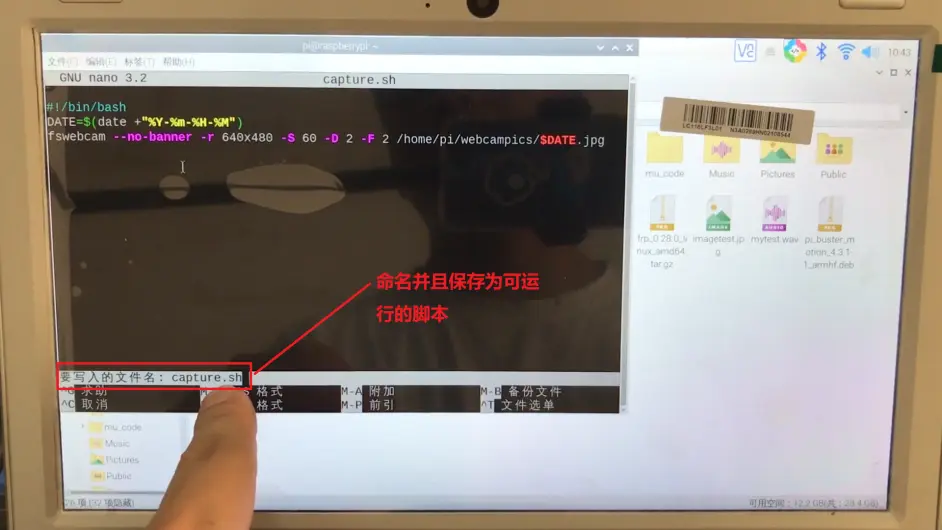
我们将这个脚本命名为capture.sh,保存,退出。
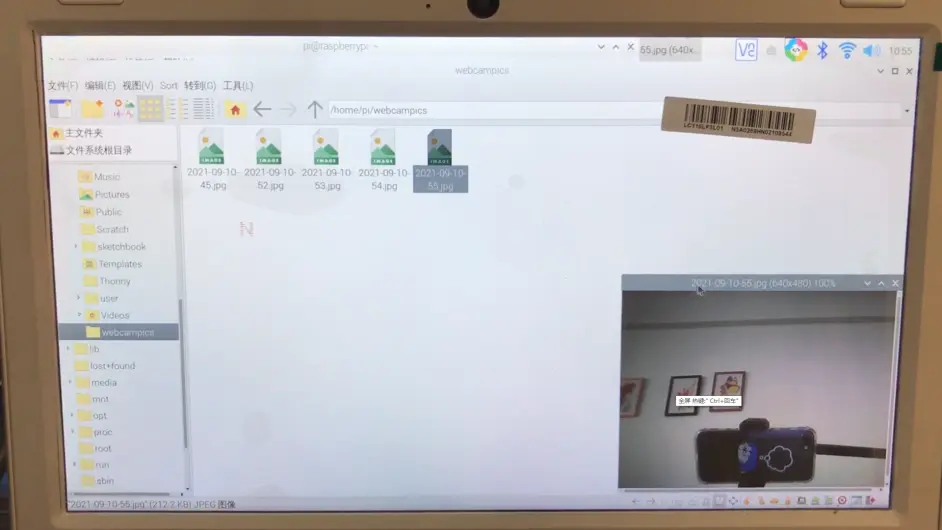
接下来新建一个文件夹webcampics,用来存在拍好的照片,指令是mkdir webcampics,输好后敲回车: 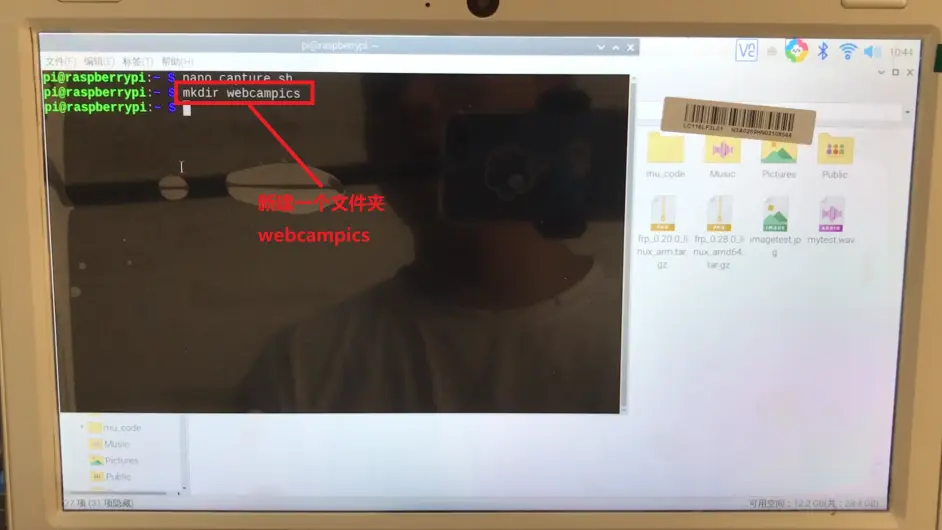
给这个脚本赋予运行权限
chmod +x capture.sh
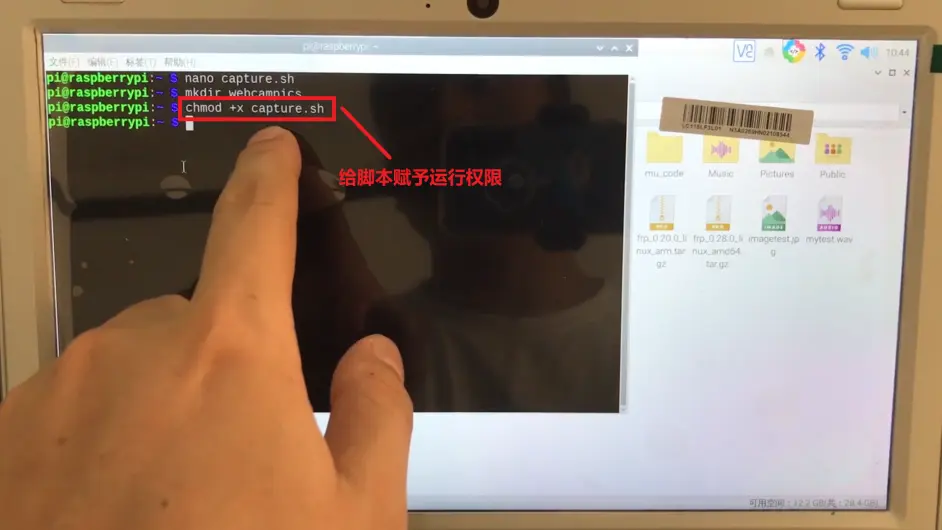
这样我们只要在终端敲./capture.sh就可以运行拍照的指令了,就简单了很多,是吧? 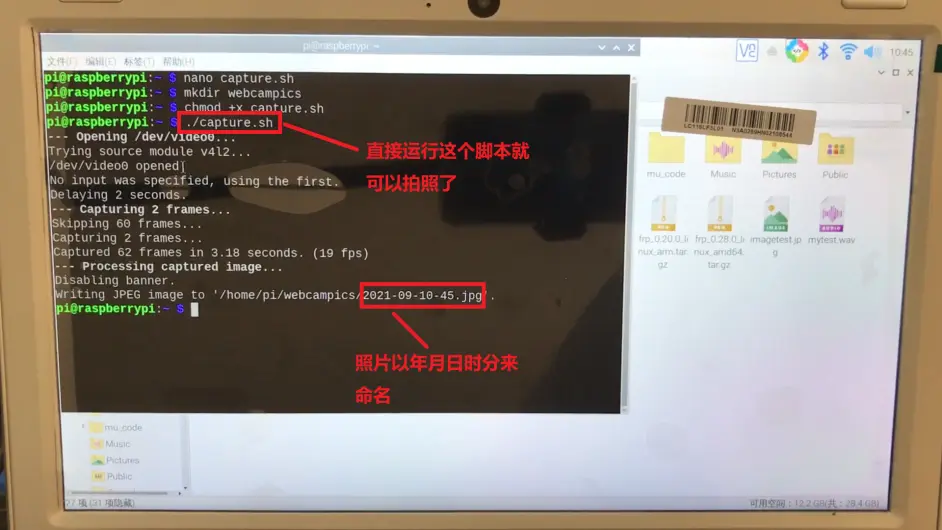
使用crontab实现定时执行
最后设置一下定时拍照,我们现在编写好这个拍照的脚本了,接下来需要树莓派帮我们定时拍照,在终端输入
crontab -e
crontab是用来定期执行程序的命令。当安装完成操作系统之后,默认便会启动此任务调度命令。
此时可能会出现no crontab for pi警告,此时选择vim basic编辑器即可。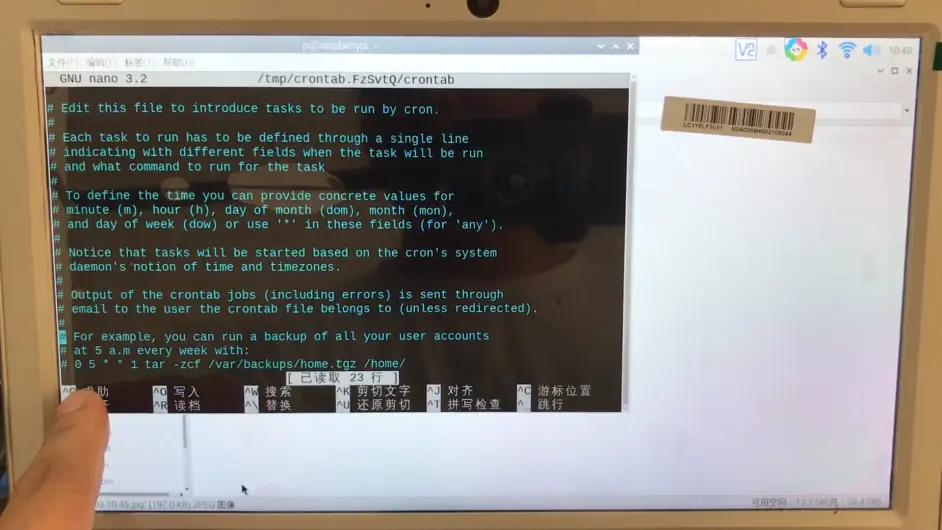
输入如下指令:
* * * * * /home/pi/capture.sh >/dev/null 2>&1
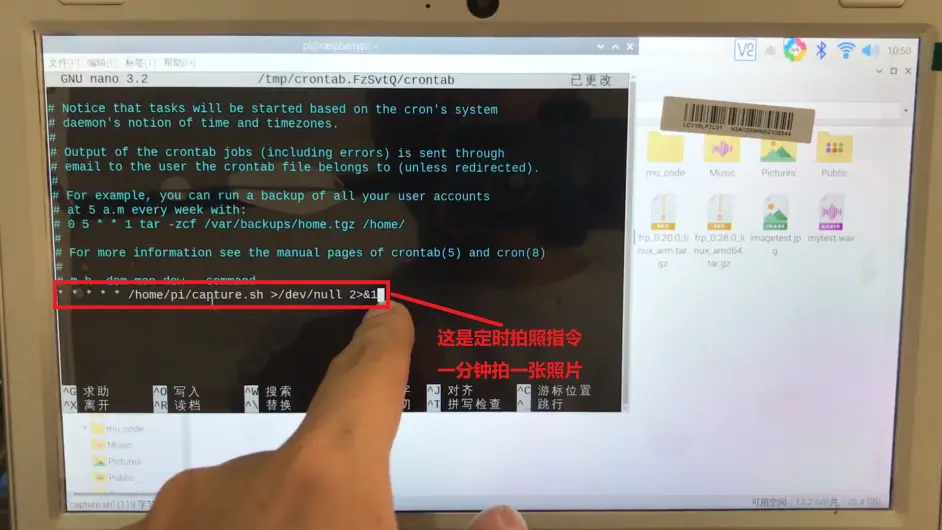
这就创建了一个定时任务,这个是编辑定时任务的指令,每一分钟执行一次/home/pi/目录下的capture.sh这个脚本。这样子树莓派就会帮我们1分钟拍一张照片,拍到天荒地老,除非你断电,就算你断电,关机,下次只要你开机,它又继续运行,1分钟给你拍一张。
最后来总结一下,明确一下操作的思路:首先下载fswebcam这个软件,懂得用指令来拍照;然后编写一个拍照的脚本;再然后启用树莓派的定时任务,一分钟帮我们拍一张照片。
参考原文链接:
[1] 树莓派实验室 https://shumeipai.nxez.com/2020/08/23/raspberry-pi-fswebcam.html
[2] 创客e工坊 https://www.bilibili.com/read/cv15189613
动态视频
安装luvcview
sudo apt-get install luvcview
运行luvcview
luvcview
视频交互
安装motion
motion 是一款开源的支持多种摄像头的监控软件,官方的定义中,motion 是一款“运动检测”软件,因为它支持当图像中一部分发生变化时拍照,或者触发脚本。不过这些功能不在这次文章讨论的范围内。
sudo apt-get updatesudo apt-get upgradesudo apt-get install motion
配置motion
motion 有着超多的配置,我们先配置一些必须的,打开 motion 的配置文件 /etc/motion/motion.conf
vim /etc/motion/motion.conf
vim 通过按下 / 来进行搜索,n 跳转到下一匹配
- daemon 的值修改为 on,让 motion 后台运行
- rotate 旋转画面,如果需要90°、180°旋转,可以在这里配置
- width 和 height 修改画面分辨率(默认为 320*240 像素),我修改成了 1024 和 768
- framerate 捕获的帧率,我修改为了 30
- stream_maxrate 修改流的帧率,因为我们需要实时查看,这个默认值是 1,会导致画面非常卡顿,我这里修改成了 30
- stream_localhost 的值修改为 off,允许通过非 localhost 来查看视频
上面配置中需要注意:
- 画面分辨率越高越消耗资源
- 如果画面非常卡,可以调整 stream_maxrate 和 framerate 找到一个合适你的值
配置完成后保存并退出。
**当 motion 运行以后,可以通过 SIGHUP 信号来重新加载配置文件
sudo killall -SIGHUP motion
也可以直接杀掉然后重新启动
sudo killall -w motionsudo motion
测试motion
sudo motion
启动 motion 后,打开另一台电脑或手机上的浏览器,访问 http://树莓派地址:8081/ 即可查看到画面。
参考资料:https://bun.plus/posts/monitoring-with-raspberry-pi-and-motion

若有收获,就点个赞吧
0 人点赞
