一、实验环境
| 主机名 | IP地址 | 备注 |
|---|---|---|
| nginx01 | 192.168.10.3 | nginx-server (nginx版本:nginx-1.8.0) |
| client01 | 192.168.10.4 | client |
二、nginx安装包下载
2.1 通过命令下载到本地
cd /opt/wget -c http://nginx.org/download/nginx-1.18.0.tar.gz
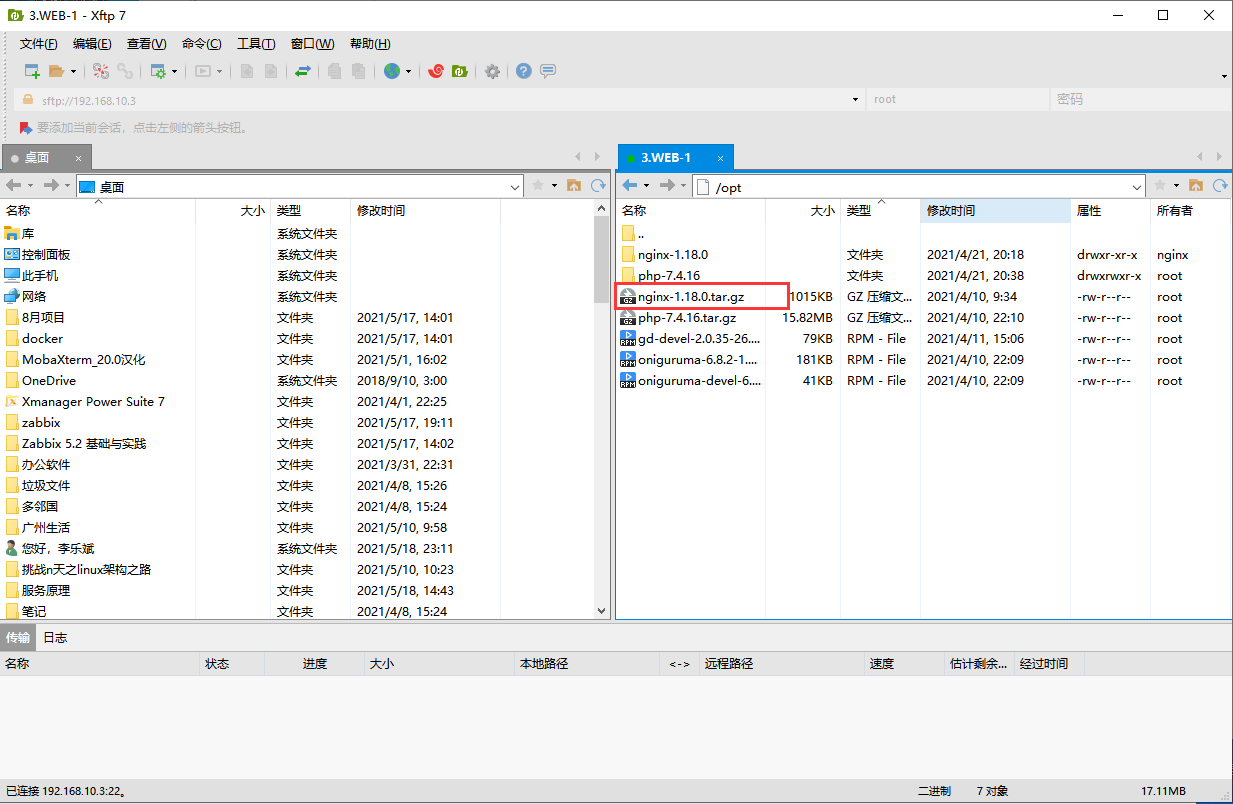
2.2 下载到win上,上传到linux上
三、nginx安装
3.1 nginx依赖包安装
yum -y install gcc gcc-c++ autoconf automake libtool make cmakeyum -y install zlib zlib-devel openssl openssl-devel pcre-devel gd-devel
3.2 解压安装包
cd /opttar -zxvf nginx-1.18.0.tar.gz
3.3 新建nginx用户及用户组
groupadd nginxuseradd -M -g nginx -s /sbin/nologin nginx# -M 表示没有home目录; -g 指定组; -s /sbin/nologin 指定shell为/sbin/nologin不能登入
3.4 编译配置、编译、安装
# 进入解压好的目录cd /opt/nginx-1.8.0# 编译配置# 解释:--prefix=路径 --user=进程用户 --group=进程组# --with-http_ssl_module 可以构建一个将HTTPS协议支持添加到HTTP服务器的模块# --with-http_realip_module 禁用构建一个允许HTTP服务器重定向请求并更改请求URI的模块./configure --prefix=/usr/local/nginx \--user=nginx --group=nginx \--with-debug --with-http_ssl_module \--with-http_realip_module \--with-http_image_filter_module \--with-http_gunzip_module \--with-http_gzip_static_module \--with-http_stub_status_module \--http-log-path=/var/log/nginx/access.log \--error-log-path=/var/log/nginx/error.log# 编译make#安装make install
3.5 nginx路径优化,及systemctl管理
# 1. 命令路径优化ln -s /usr/local/nginx/sbin/* /usr/local/sbin/# 2. systemctl管理cat >> /etc/init.d/nginx < OFF#!/bin/bash# chkconfig: - 99 20# description: nginx serverPROG="/usr/local/nginx/sbin/nginx"PID="/usr/local/nginx/logs/nginx.pid"case "$1" instart) $PROG ;;stop) kill -s QUIT $(cat $PID) ;;restart)$0 stop$0 start;;reload) $PROG -s reload ;;*)echo "usage: $0 {start|stop|restart|reload}"exit 1;;esacexit 0chmod +x /etc/init.d/nginxchkconfig --add nginx
四、管理nginx
4.1 查看nginx版本号
nginx -v
4.2 启动|关闭|重启|平滑重启 nginx
systemctl start|stop|restart|reload nginx
4.3 查看nginx进程
netstat -antlp |grep 80
4.4 nginx配置文件
vim /usr/local/nginx/conf/nginx.conf
五、测试nginx服务
# 通过在192.168.10.4上使用curl命令测试
curl 192.168.10.3

若有收获,就点个赞吧
0 人点赞
