如果你忘记把钥匙放在了哪里,就得自己去找;如果你忘记了文件中的内容,grep命令可以帮助你查找。这则攻略将教你如何定位包含特定文本模式的文件。
4.3.1 实战演练
grep命令作为Unix中用于文本搜索的神奇工具,能够接受正则表达式,生成各种格式的输出。
在stdin中搜索匹配特定模式的文本行
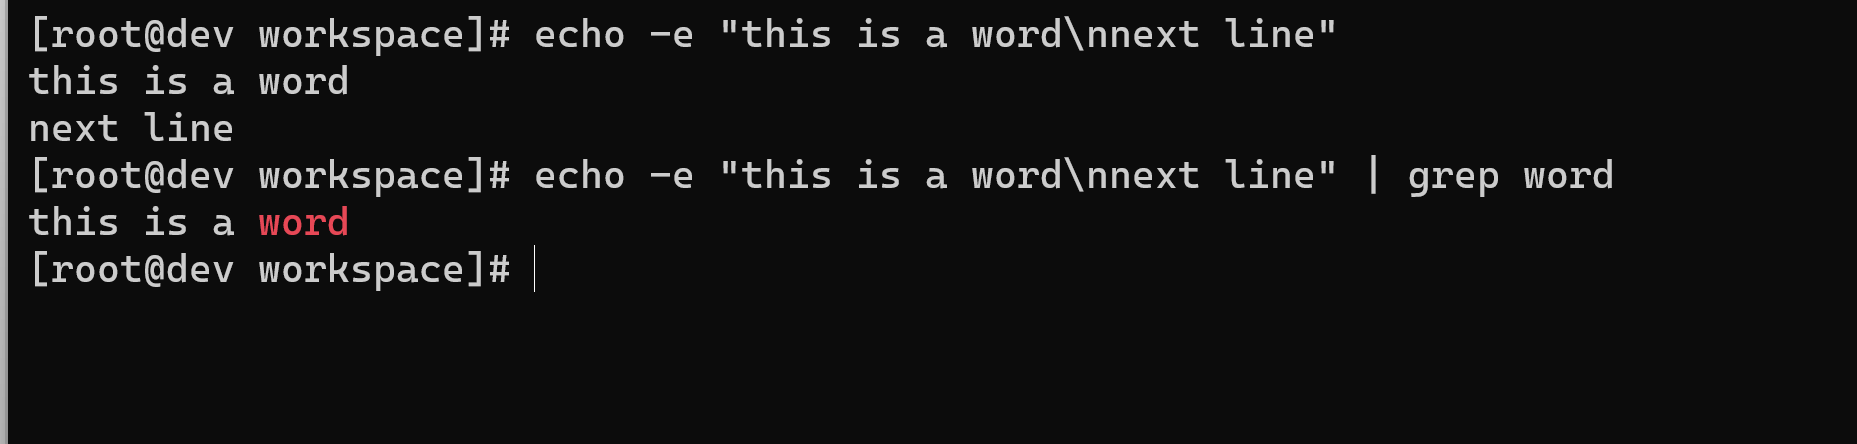
$ echo -e "this is a word\nnext line" | grep wordthis is a word
[root@dev workspace]# echo -e "this is a word\nnext line"this is a wordnext line[root@dev workspace]# echo -e "this is a word\nnext line" | grep wordthis is a word[root@dev workspace]#
在文件中搜索匹配特定模式的文本行
$ grep pattern filenamethis is the line containing pattern
或者
$ grep "pattern" filenamethis is the line containing pattern
在多个文件中搜索匹配特定模式的文本行
$ grep "match_text" file1 file2 file3 ...
重标记出匹配到的模式
选项--color可以在输出行中着重标记出匹配到的模式。尽管该选项在命令行中的放置位置没有强制要求,不过惯常作为第一个选项出现:
$ grep --color=auto word filenamethis is the line containing word
扩展正则表达式
grep命令默认使用基础正则表达式。这是先前描述的正则表达式的一个子集。选项-E可以使grep使用扩展正则表达式。也可以使用默认启用扩展正则表达式的egrep命令:
$ grep -E "[a-z]+" filename
或者
$ egrep "[a-z]+" filename
[root@dev workspace]# cat output.txtnewline[root@dev workspace]# grep -e '[a-z]+' output.txt[root@dev workspace]# grep -e '[a-z]' output.txtnewline[root@dev workspace]#
只显示匹配到的文本
选项-o可以只输出匹配到的文本:
$ echo this is a line. | egrep -o "[a-z]+\."line
[root@dev workspace]# echo this is a line. | egrep -o "[a-z]+\."line.[root@dev workspace]#
输出不匹配 match_pattern 的所有行
$ grep -v match_pattern file
选项-v能够反转(invert)匹配结果。
echo this is a line. | grep -v "[a-z]+\."
[root@dev workspace]# echo this is a line. | grep -v "[a-z]+\."this is a line.[root@dev workspace]# echo this is a line. | grep -v "[a-z]\."[root@dev workspace]# echo this is a line. | grep -v "[a-z]+\."this is a line.[root@dev workspace]#
统计出匹配模式的文本行数
选项-c能够统计出匹配模式的文本行数:
$ grep -c "text" filename65
[root@dev workspace]# grep -c "text" out.html65[root@dev workspace]#
需要注意的是-c只是统计匹配行的数量,并不是匹配的次数。例如:
$ echo -e "1 2 3 4\nhello\n5 6" | egrep -c "[0-9]"2
[root@dev workspace]# echo -e "1 2 3 4\nhello\n5 6" | egrep -c "[0-9]"2[root@dev workspace]#
尽管有 6 个匹配项,但egrep命令只输出 2 ,这是因为只有两个匹配行。在单行中出现的多次匹配只被计为一次。
统计文件中匹配项的数量
要统计文件中匹配项的数量,可以使用下面的技巧:
$ echo -e "1 2 3 4\nhello\n5 6" | egrep -o "[0-9]" | wc -l6
[root@dev workspace]# echo -e "1 2 3 4\nhello\n5 6" | egrep -o "[0-9]" | wc -l6[root@dev workspace]#
输出出匹配字符串所在行的行号
选项-n可以打印出匹配字符串所在行的行号:
$ cat sample1.txtgnu is not unixlinux is funbash is art$ cat sample2.txtplanetlinux$ grep linux -n sample1.txt2:linux is fun
或者
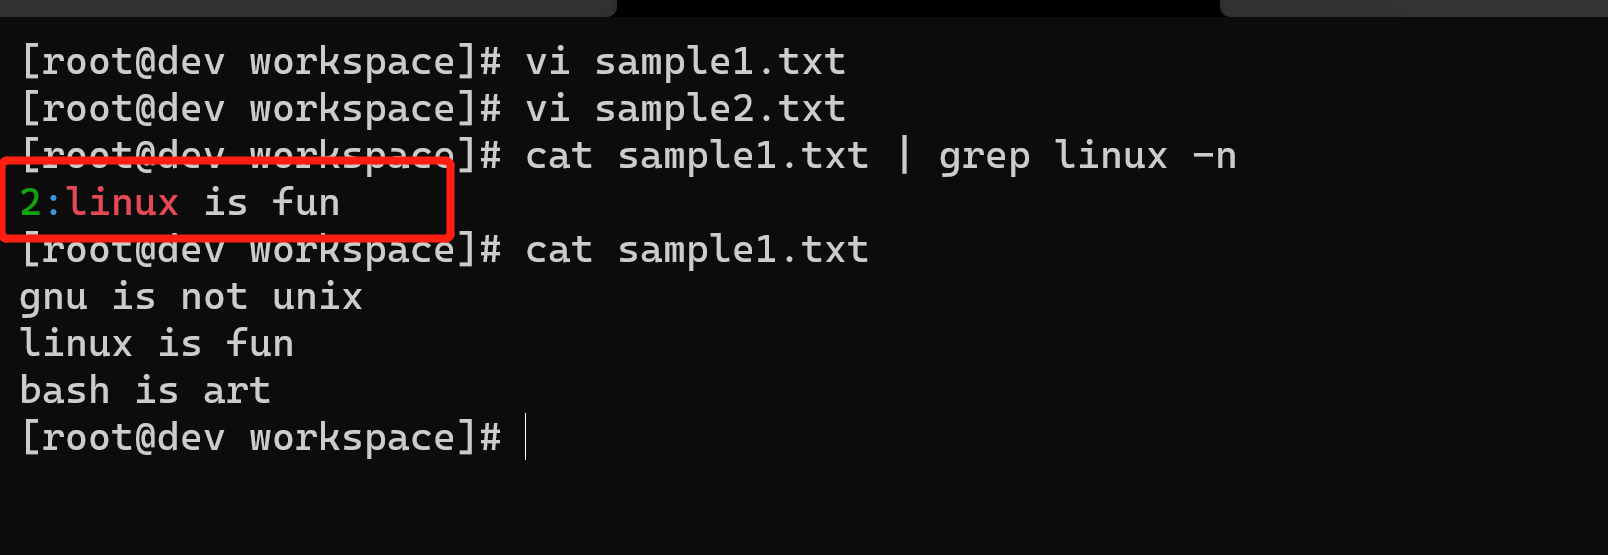
$ cat sample1.txt | grep linux -n
[root@dev workspace]# vi sample1.txt[root@dev workspace]# vi sample2.txt[root@dev workspace]# cat sample1.txt | grep linux -n2:linux is fun[root@dev workspace]# cat sample1.txtgnu is not unixlinux is funbash is art[root@dev workspace]#
如果涉及多个文件,该选项也会随输出结果打印出文件名:
$ grep linux -n sample1.txt sample2.txtsample1.txt:2:linux is funsample2.txt:2:planetlinux
[root@dev workspace]# vi sample1.txt[root@dev workspace]# vi sample2.txt[root@dev workspace]# cat sample1.txt | grep linux -n2:linux is fun[root@dev workspace]# cat sample1.txtgnu is not unixlinux is funbash is art[root@dev workspace]# grep linux -n sample1.txt sample2.txtsample1.txt:2:linux is funsample2.txt:1:planetlinux[root@dev workspace]#
输出匹配出现在行中的偏移
选项-b可以打印出匹配出现在行中的偏移。配合选项-o可以打印出匹配所在的字符或字节偏移:
$ echo gnu is not unix | grep -b -o "not"
[root@dev workspace]# echo gnu is not unix | grep -b -o "not"7:not[root@dev workspace]#
字符在行中的偏移是从0开始计数,不是1。
列出匹配模式所在的文件
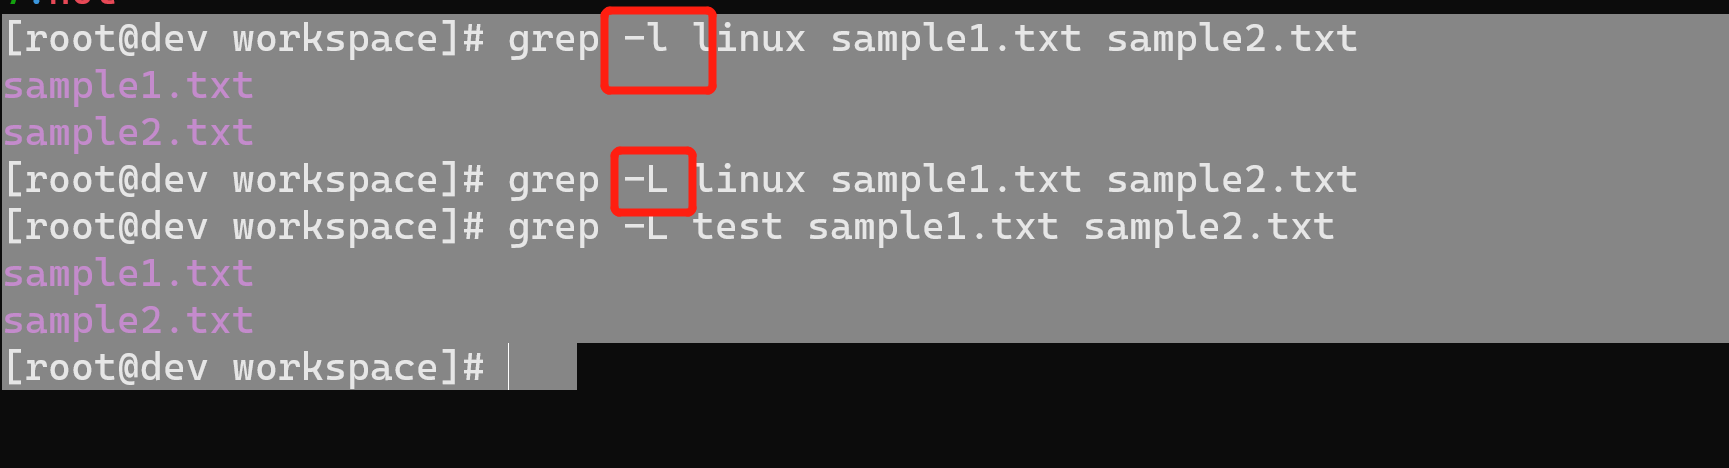
选项-l可以列出匹配模式所在的文件:
$ grep -l linux sample1.txt sample2.txtsample1.txtsample2.txt
[root@dev workspace]# grep -l linux sample1.txt sample2.txtsample1.txtsample2.txt[root@dev workspace]#
4.3.2 补充内容
grep命令是Linux/Unix系统中最为全能的命令之一。它还包括其他一些选项,可用于搜索目录、选择待搜索的文件等。
递归搜索多个文件
如果需要在多级目录中对文本进行递归搜索,可以使用下列命令:
$ grep "text" . -R -n
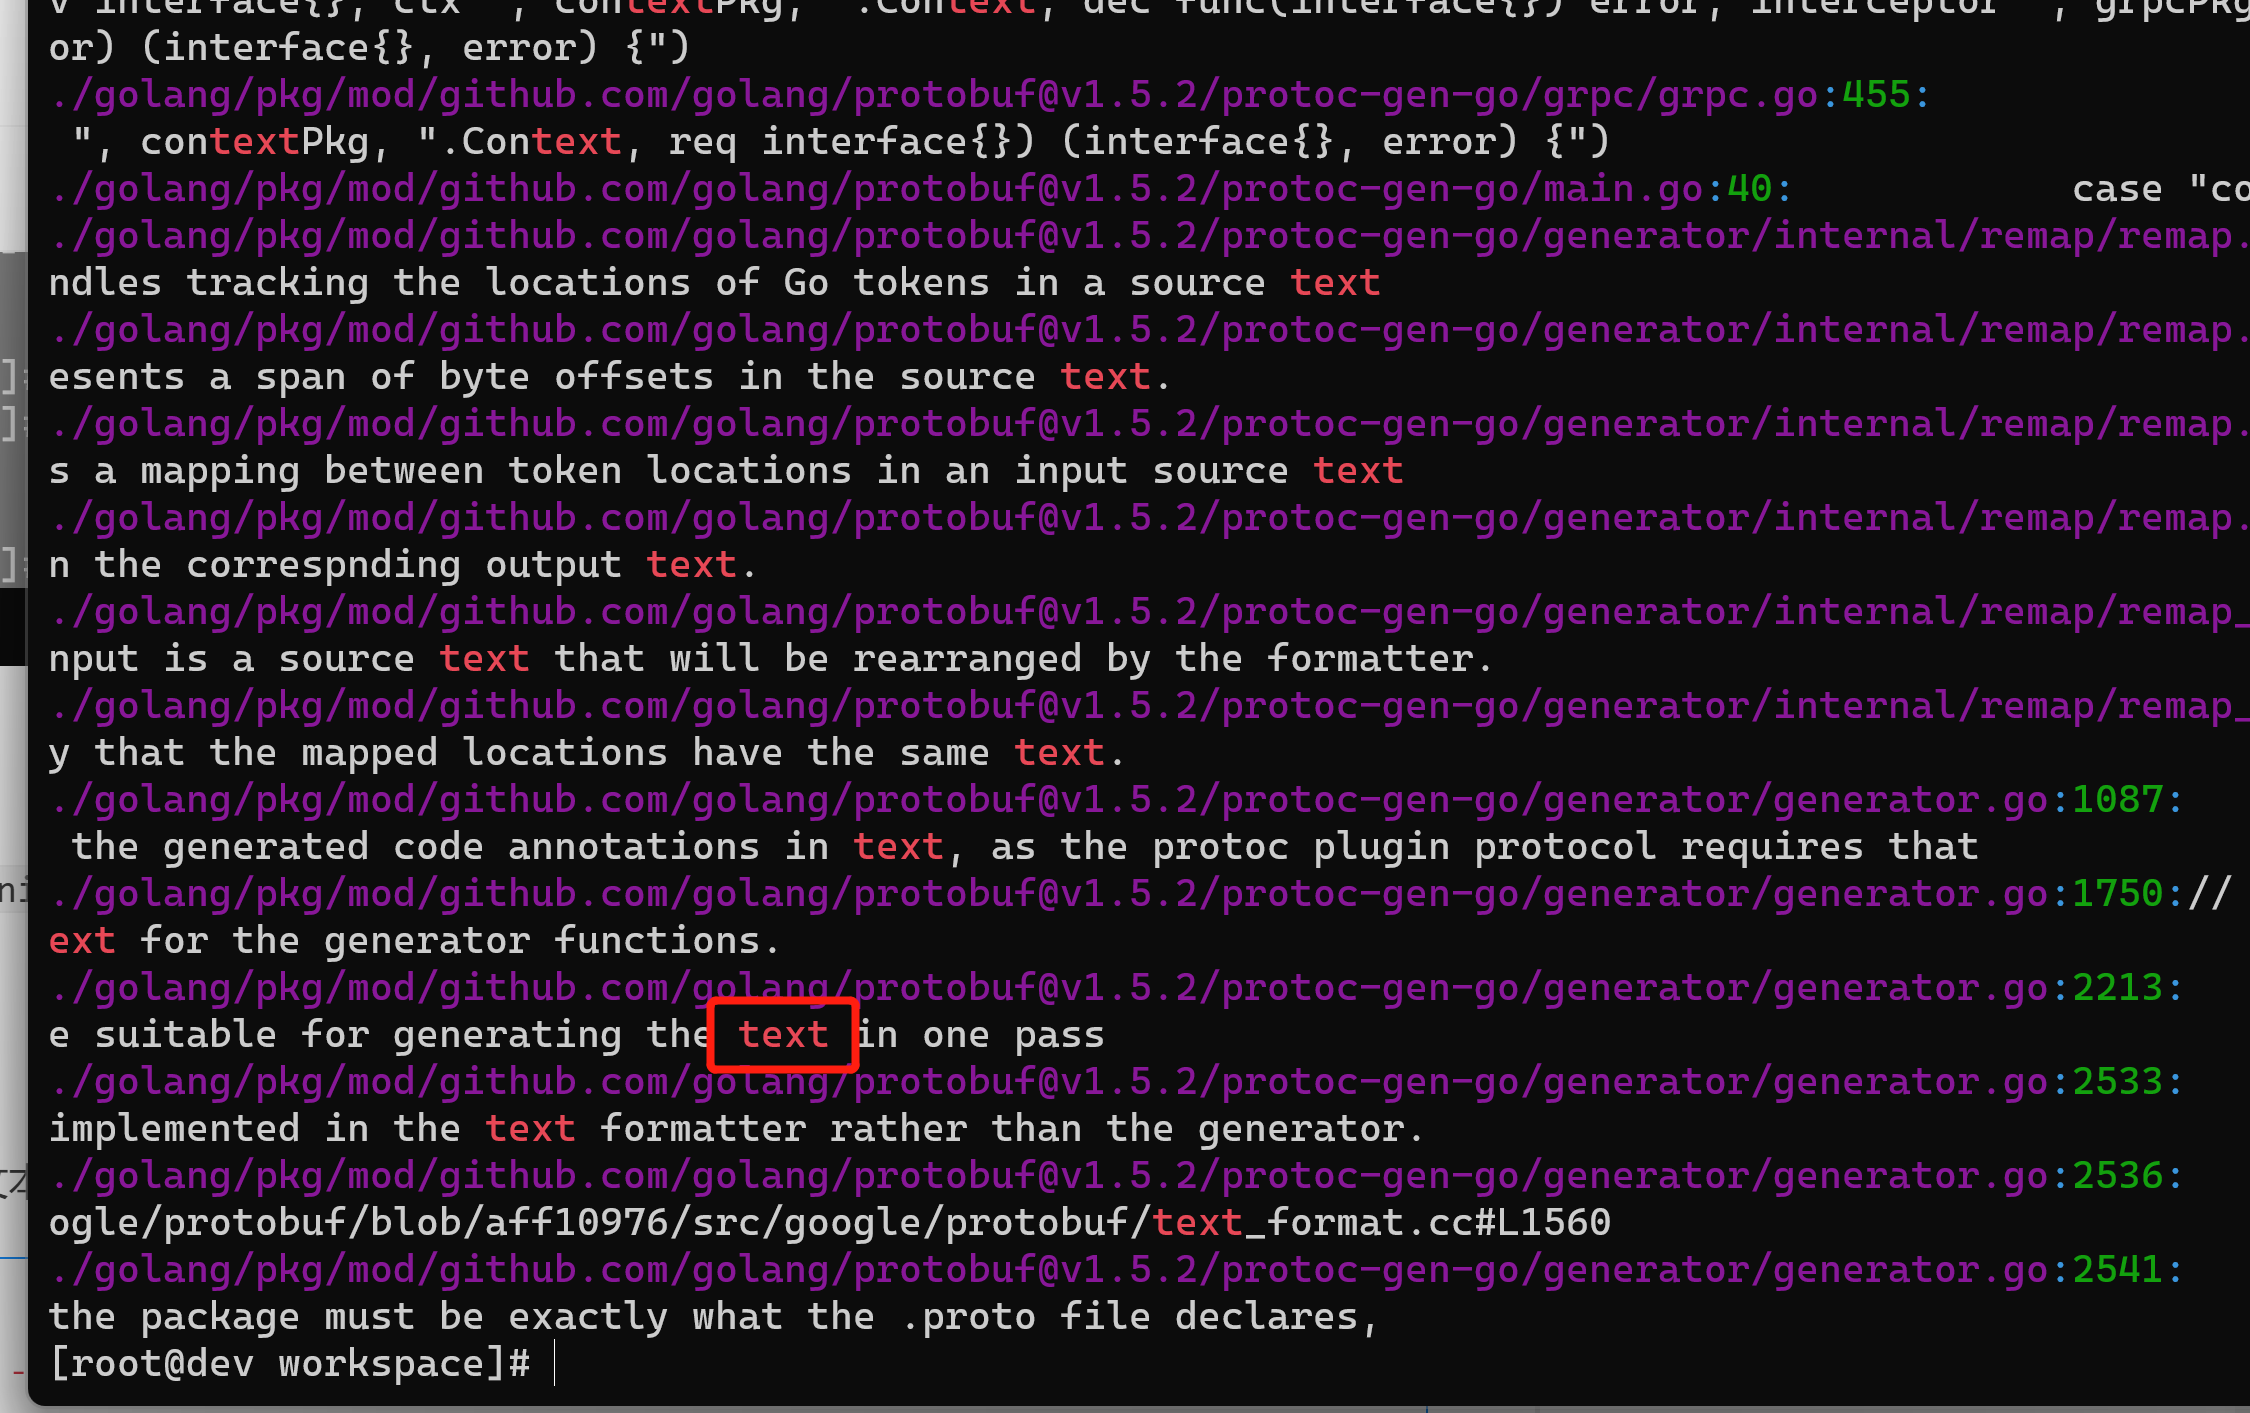
命令中的.指定了当前目录。例如:
$ cd src_dir$ grep "test_function()" . -R -n./miscutils/test.c:16:test_function();
grep的选项-R和-r功能一样。
test_function()位于miscutils/test.c的第16行。如果你要在网站或源代码树中展开搜索,选项-R尤其有用。它等价于下列命令:
$ find . -type f | xargs grep "test_function()"
忽略模式中的大小写
选项-i可以在匹配模式时不考虑字符的大小写:
$ echo hello world | grep -i "HELLO"hello
使用grep匹配多个模式
选项-e可以指定多个匹配模式:
$ grep -e "pattern1" -e "pattern2"
上述命令会打印出匹配任意一种模式的行,每个匹配对应一行输出。例如:
$ echo this is a line of text | grep -o -e "this" -e "line"thisline

可以将多个模式定义在文件中。选项-f可以读取文件并使用其中的模式(一个模式一行):
$ grep -f pattern_filesource_filename
例如:
$ cat pat_filehellocool
$ echo hello this is cool | grep -f pat_filehello this is cool
在grep搜索中指定或排除文件
grep可以在搜索过程中使用通配符指定(include)或排除(exclude)某些文件。
使用--include选项在目录中递归搜索所有的 .c和 .cpp文件:
$ grep "main()" . -r --include *.{c,cpp}
注意,some{string1,string2,string3}会被扩展成somestring1somestring2somestring3。
使用选项--exclude在搜索过程中排除所有的README文件:
$ grep "main()" . -r --exclude "README"
选项--exclude-dir可以排除目录:
$ grep main . -r -exclude-dir CVS
如果需要从文件中读取排除文件列表,使用--exclude-from FILE。
使用 0 值字节后缀的 xargs 与 grep
xargs命令可以为其他命令提供命令行参数列表。当文件名作为命令行参数时,建议用0值字节作为文件名终结符,而非空格。因为一些文件名中会包含空格字符,一旦它被误解为终结符,那么单个文件名就会被视为两个(例如,New file.txt被解析成New和file.txt两个文件名)。这个问题可以利用0值字节后缀来避免。我们使用xargs从命令(如grep和find)中接收stdin文本。这些命令可以生成带有0值字节后缀的输出。为了指明输入中的文件名是以0值字节作为终结,需要在xargs中使用选项-0。
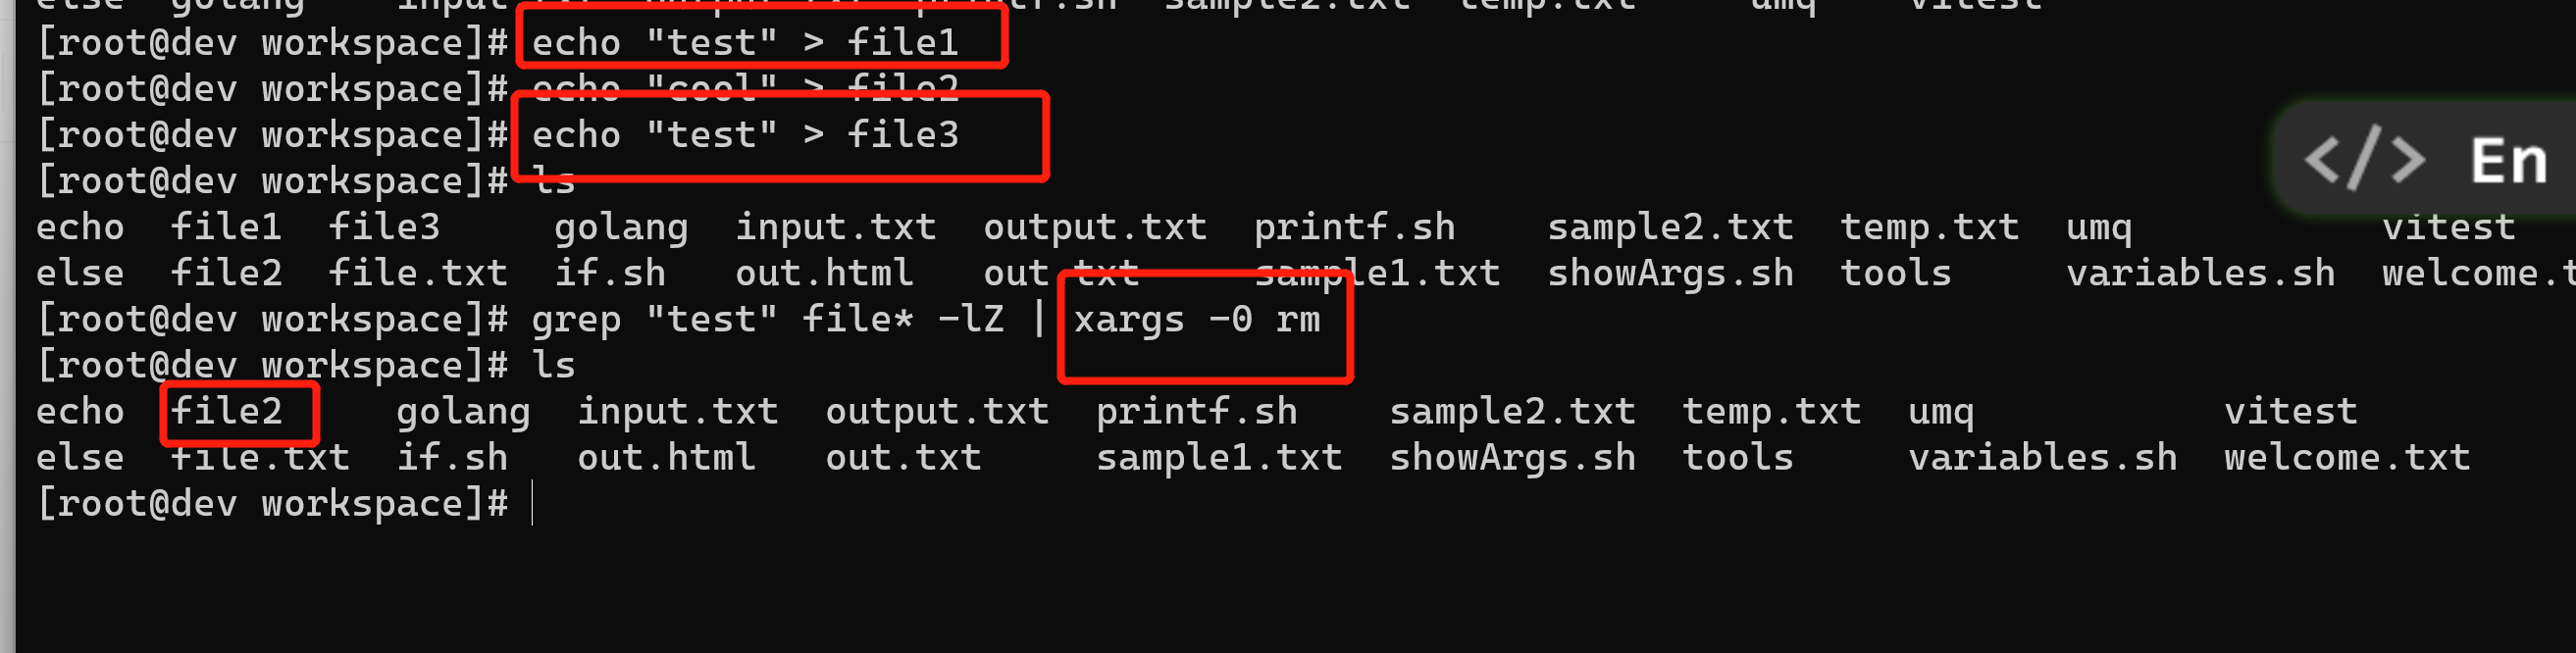
创建测试文件:
$ echo "test" > file1$ echo "cool" > file2$ echo "test" > file3
选项-l告诉grep只输出有匹配出现的文件名。选项-Z使得grep使用0值字节(\0)作为文件名的终结符。这两个选项通常都是配合使用的。xargs的-0选项会使用0值字节作为输入的分
隔符:
$ grep "test" file* -lZ | xargs -0 rm
grep 的静默输出
有时候,我们并不打算查看匹配的字符串,而只是想知道是否能够成功匹配。这可以通过设置grep的静默选项(-q)来实现。在静默模式中,grep命令不会输出任何内容。它仅是运行命令,然后根据命令执行成功与否返回退出状态。0表示匹配成功,非0表示匹配失败。
下面这个脚本利用grep的静默模式来测试文件中是否有匹配文本:
#!/bin/bash#文件名: silent_grep.sh#用途:测试文件是否包含特定的文本内容
if [ $# -ne 2 ]; thenecho "Usage: $0 match_text filename"exit 1fimatch_text=$1filename=$2grep -q "$match_text" $filenameif [ $? -eq 0 ]; thenecho "The text exists in the file"2elseecho "Text does not exist in the file"fi
这个silent_grep.sh脚本接受两个命令行参数:一个是需要匹配的单词(Student),另一个是文件名(student_data.txt):
$ ./silent_grep.sh Student student_data.txtThe text exists in the file
打印出匹配文本之前或之后的行
基于上下文的打印是grep的一个挺不错的特性。当grep找到了匹配模式的行时,它只会打印出这一行。但我们也许需要匹配行之前或之后的n行。这可以通过控制选项-B和-A来实现。
选项-A可以打印匹配结果之后的行:
$ seq 10 | grep 5 -A 35678

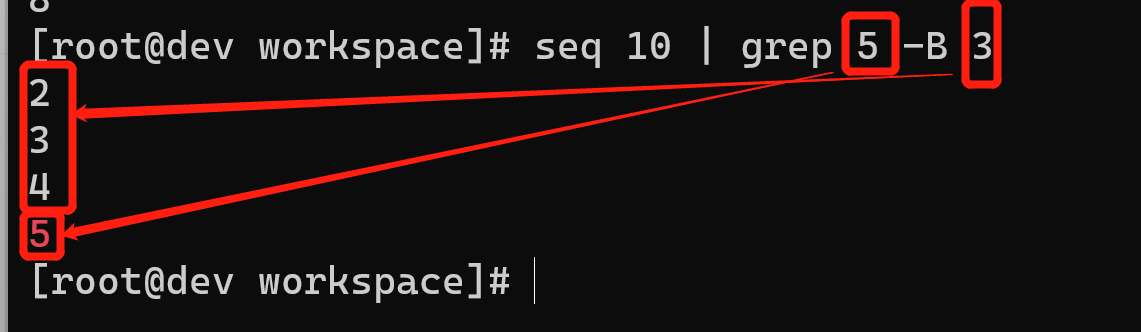
选项-B可以打印匹配结果之前的行:
$ seq 10 | grep 5 -B 32345
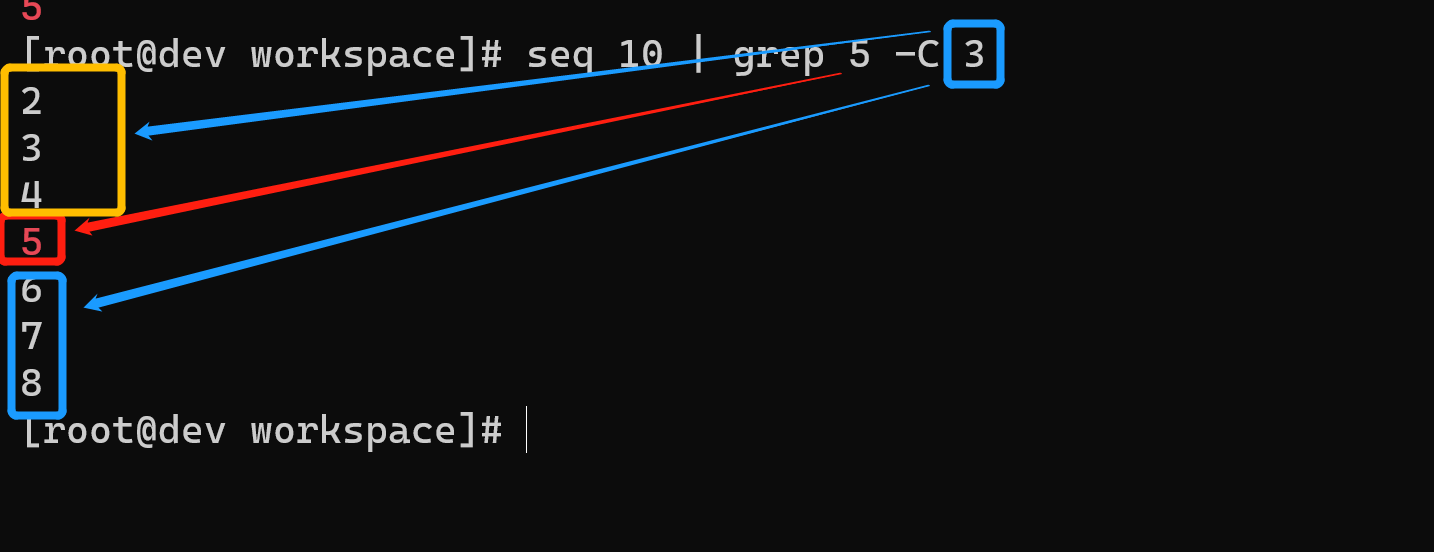
选项-A和-B可以结合使用,或者也可以使用选项-C,它可以分别打印出匹配结果之前及之后的n行:
$ seq 10 | grep 5 -C 32345678
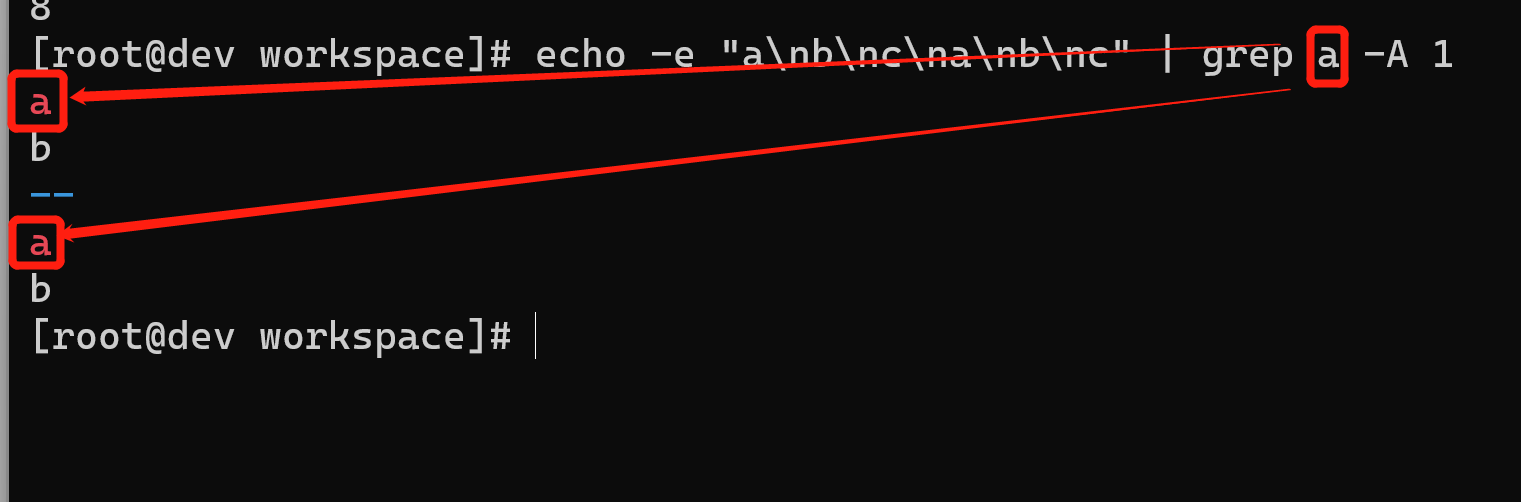
如果有多个匹配,那么使用--作为各部分之间的分隔:
$ echo -e "a\nb\nc\na\nb\nc" | grep a -A 1ab--ab

若有收获,就点个赞吧
0 人点赞
