Oh My Zsh 是基于zsh命令行的一个扩展工具集,提供了丰富的扩展功能。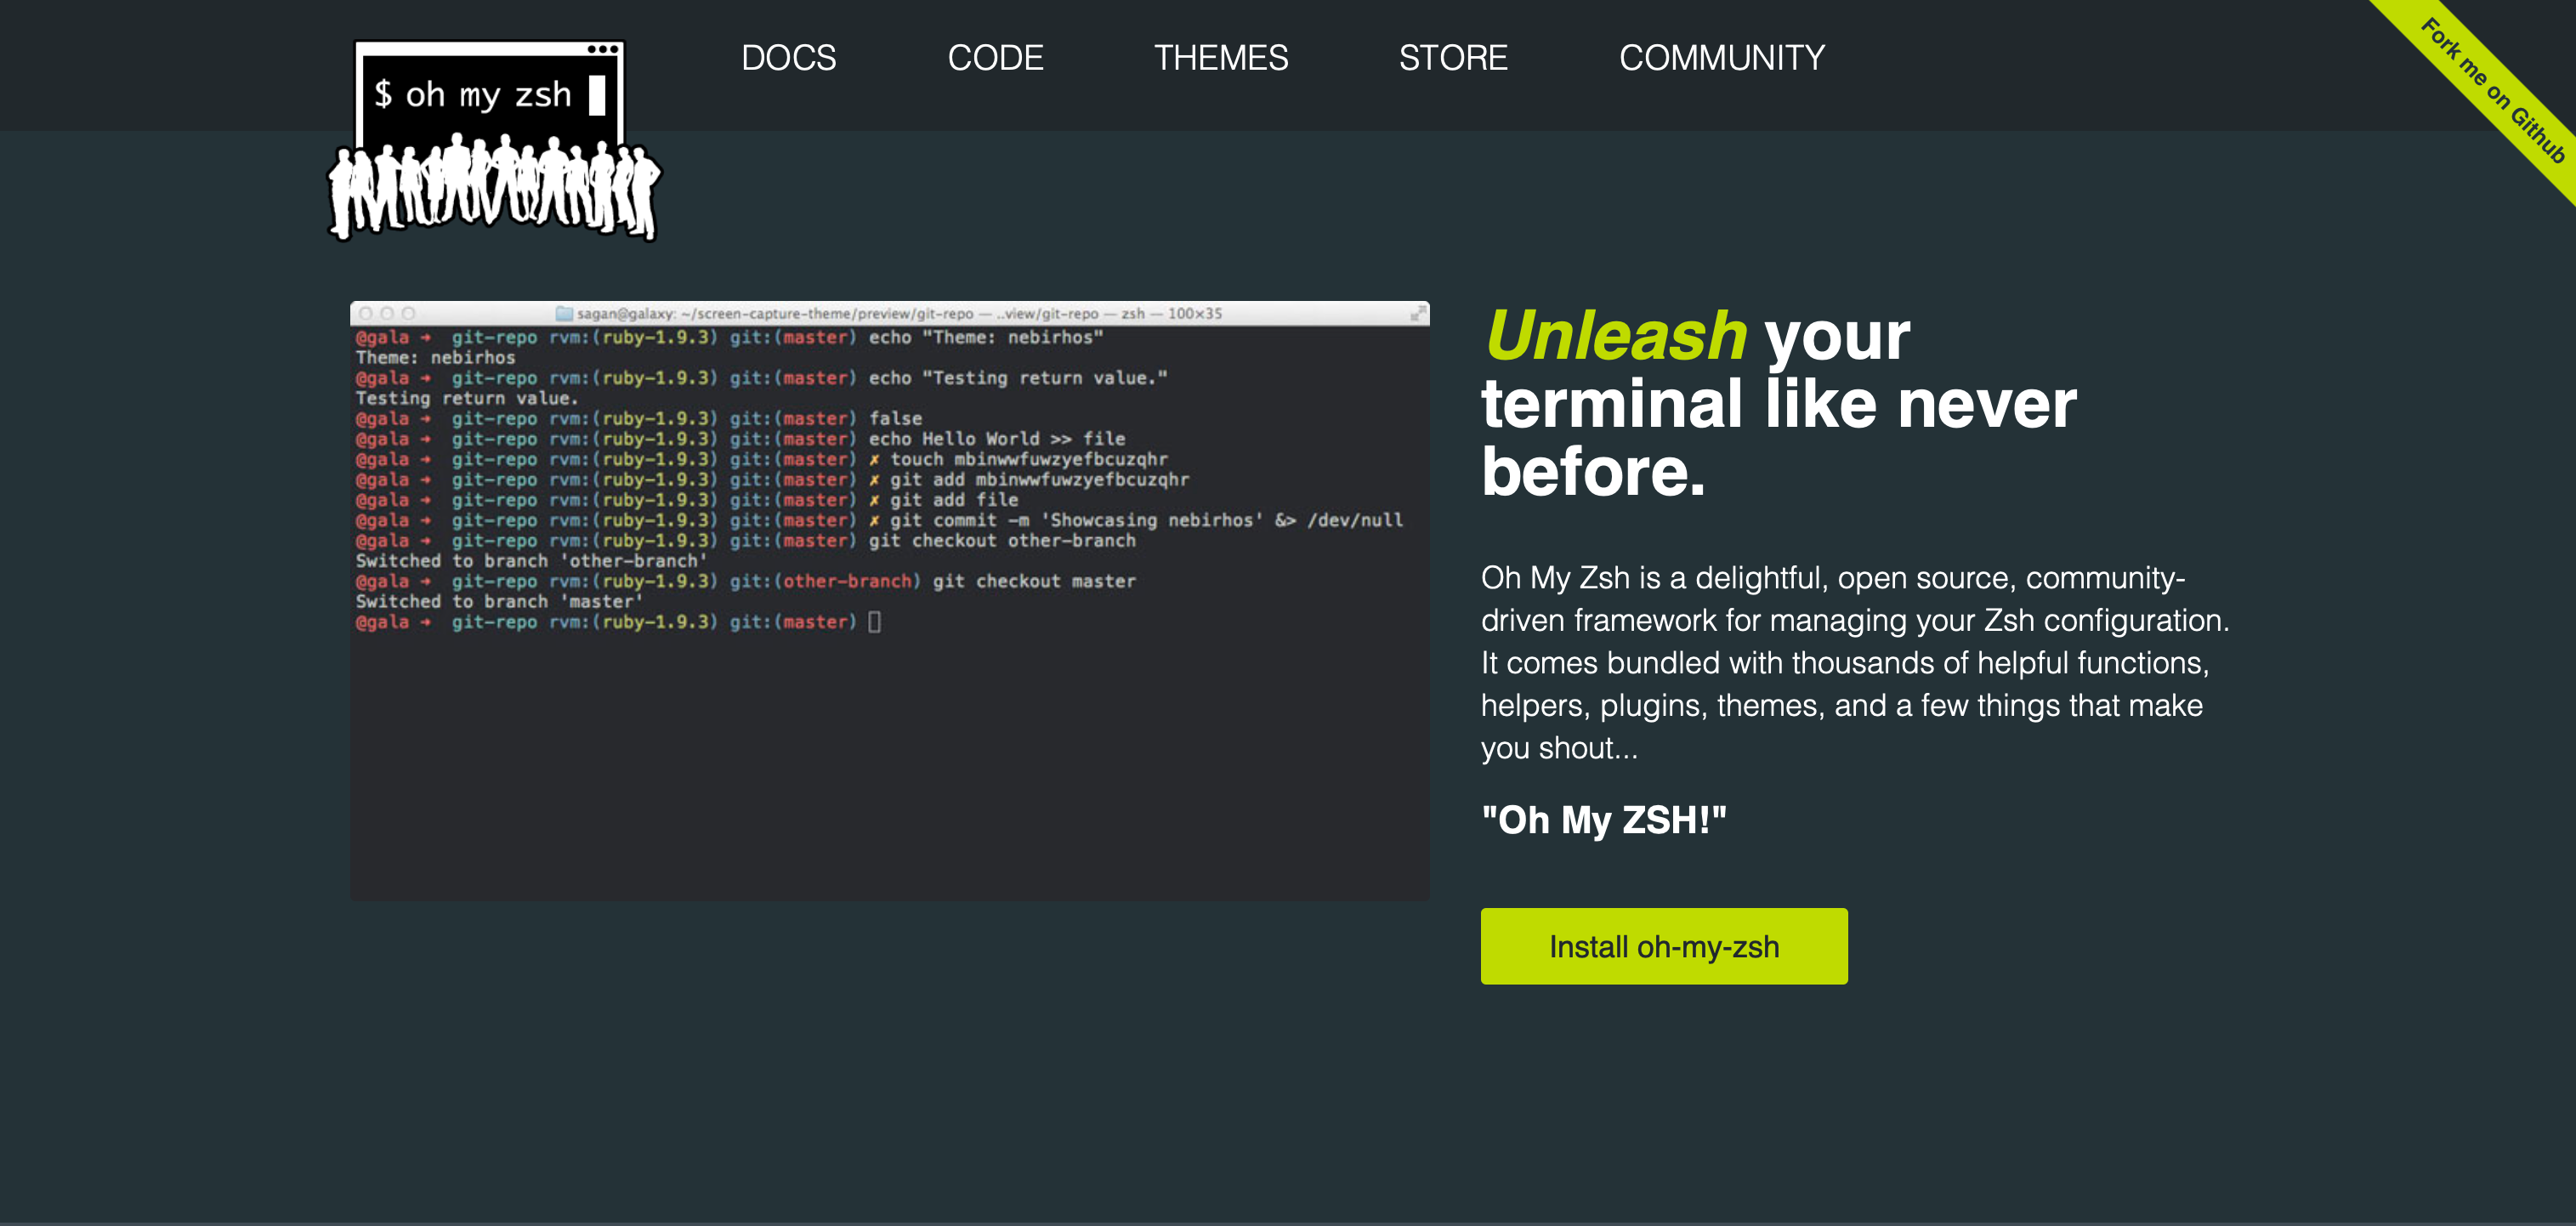
安装
zsh的配置文件是zshrc,存在于~/.zshrc。oh my zsh 会在安装的时候将用
~/.oh-my-zsh/templates/zshrc.zsh-template覆盖~/.zshrc文件中的内容。因此如果你曾经配置过 zsh,那么建议你做好备份。
通过 curl 安装
sh -c "$(curl -fsSL https://raw.github.com/ohmyzsh/ohmyzsh/master/tools/install.sh)"
通过 wget 安装
sh -c "$(wget https://raw.github.com/ohmyzsh/ohmyzsh/master/tools/install.sh -O -)"
通过 fetch 安装
sh -c "$(fetch -o - https://raw.githubusercontent.com/ohmyzsh/ohmyzsh/master/tools/install.sh)"
手动安装
一般是遇到了网络问题才手动安装。
在终端中输入下面命令,将仓库下载到本地的默认文件夹(
~/.oh-my-zsh)git clone https://github.com/ohmyzsh/ohmyzsh.git ~/.oh-my-zsh
(可选)备份
~/.zshrc文件cp ~/.zshrc ~/.zshrc.orig
创造一个新的 zsh 配置文件
(推荐直接用下面的命令)你可以通过复制我们内置给你的配置文件作为你的 zsh 配置
cp ~/.oh-my-zsh/templates/zshrc.zsh-template ~/.zshrc
使用
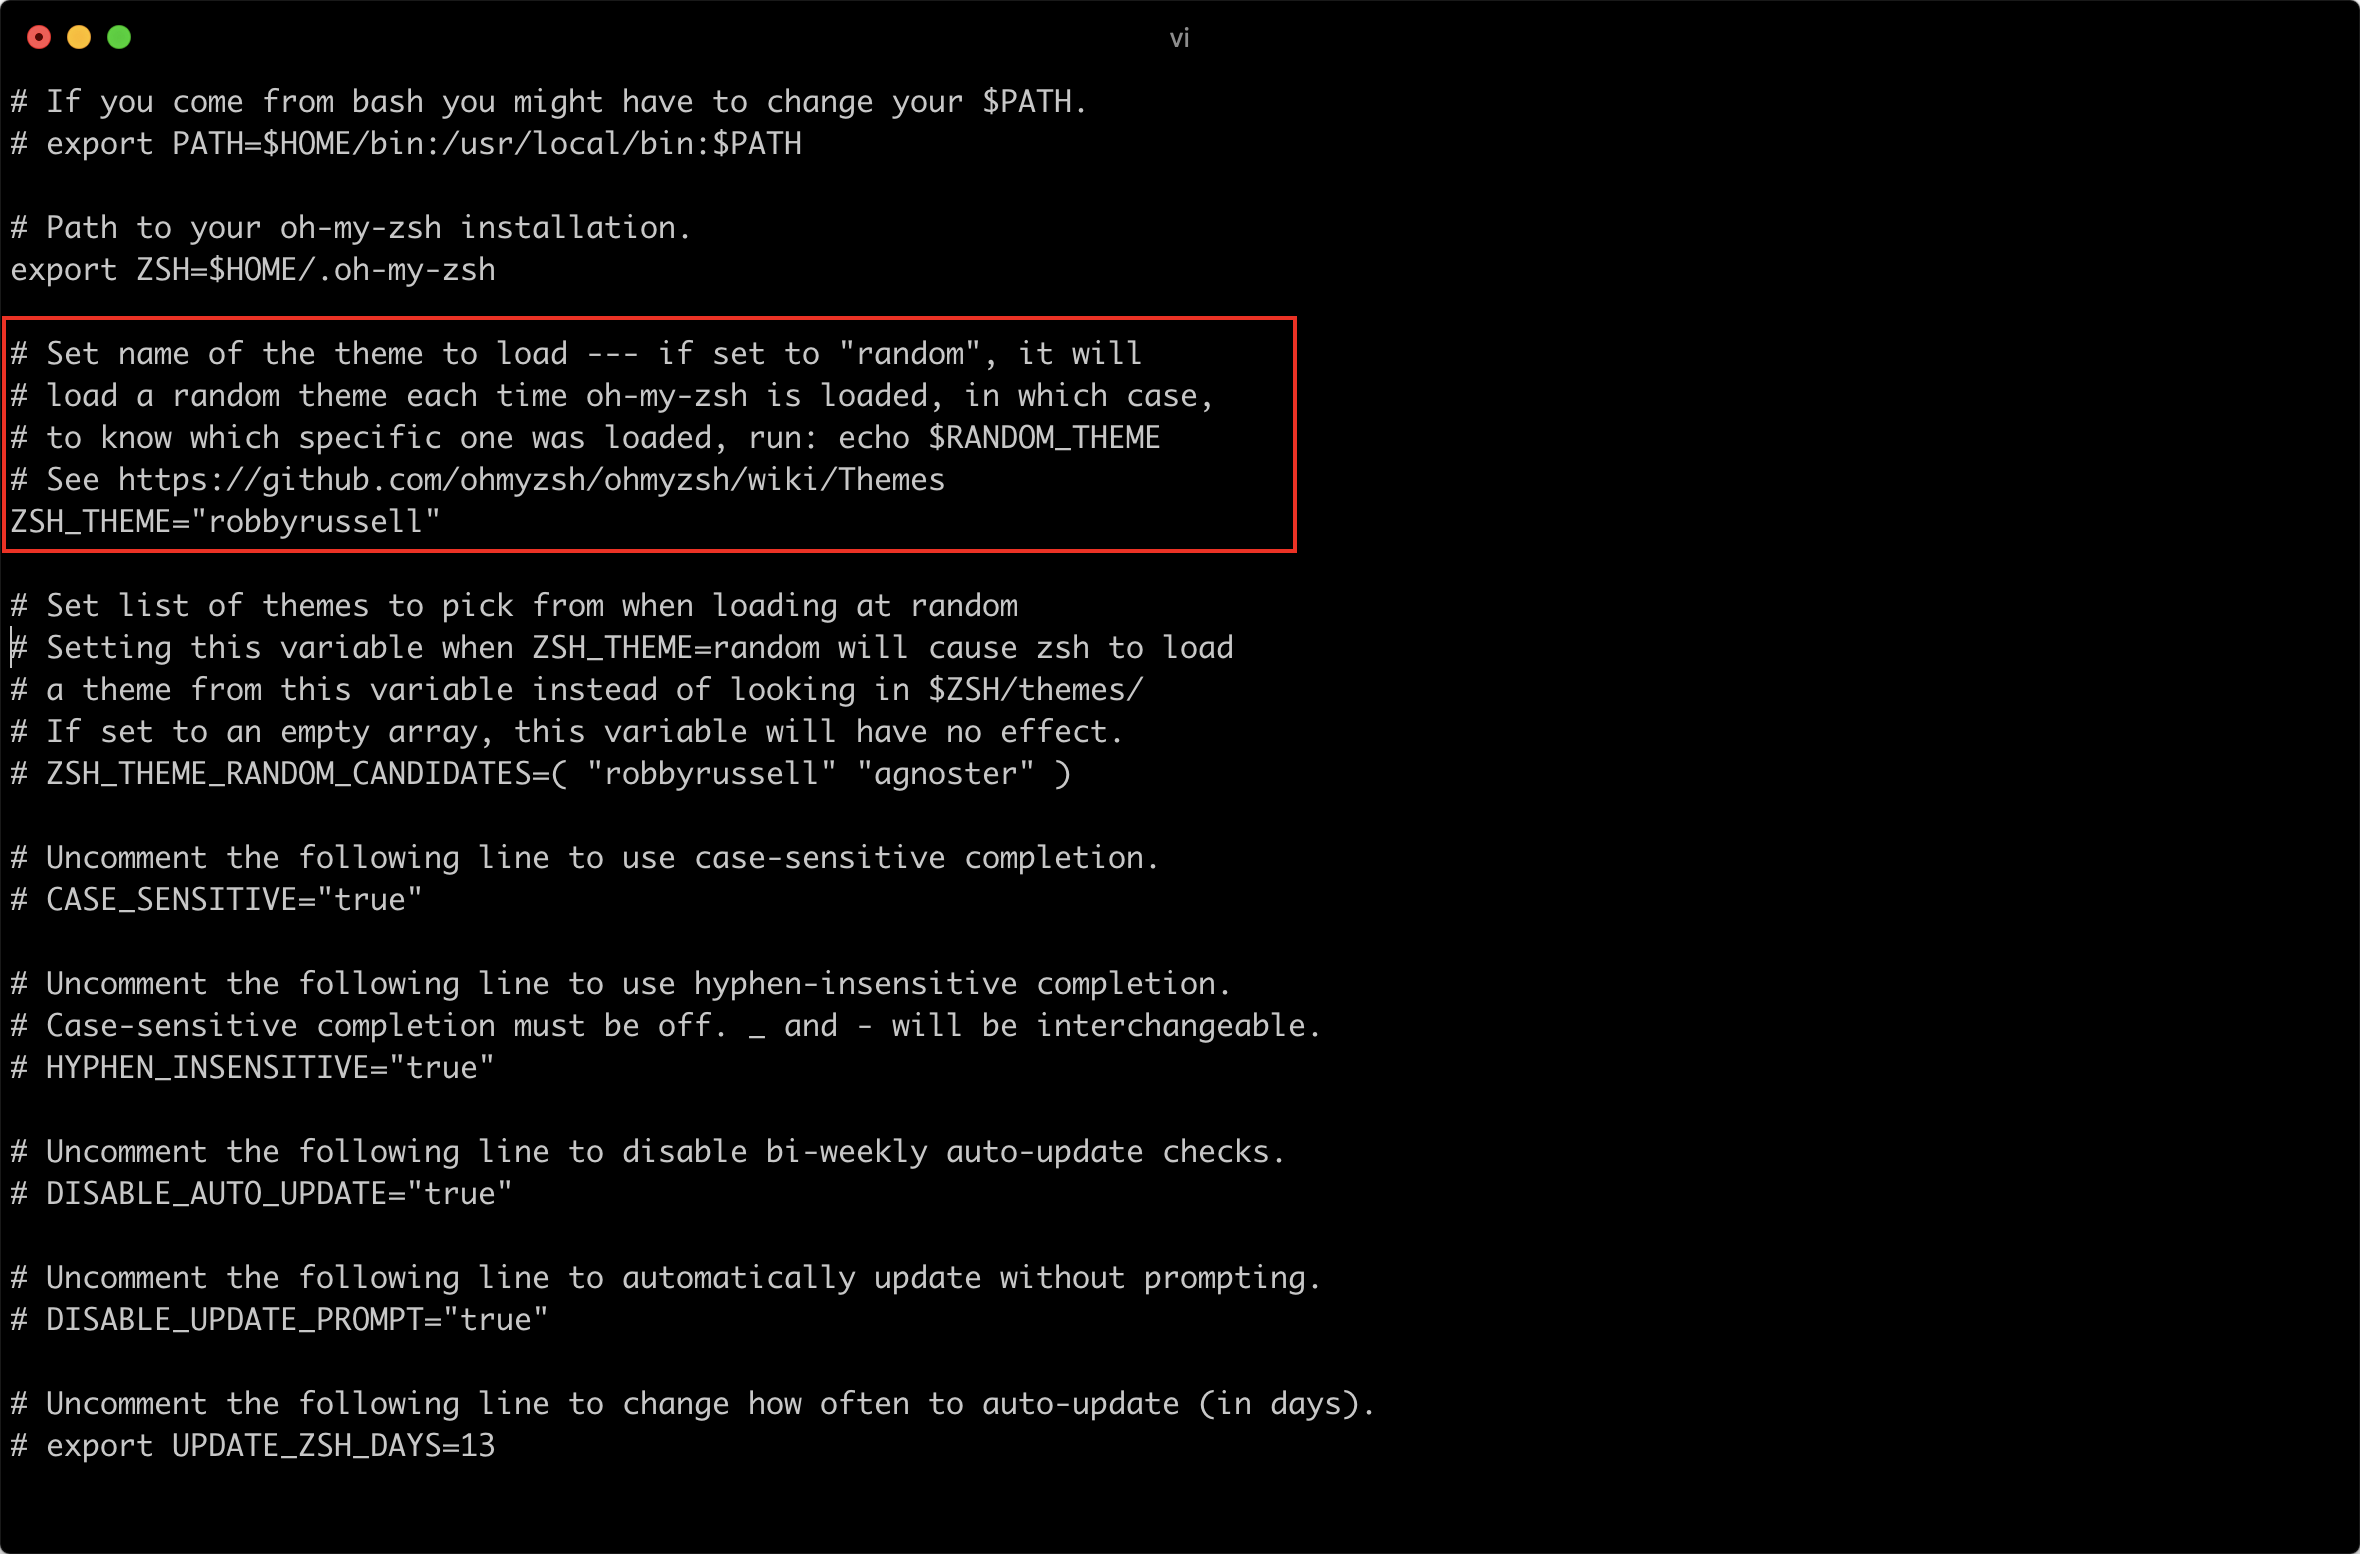
在官方推荐的安装方式中会使用 oh my zsh 提供的配置模板作为 zsh 的默认配置。下面我们来看看这个配置模板。
在终端中打开:
vi .oh-my-zsh/templates/zshrc.zsh-template

我们可以看到,每一个配置项都有对应的注释,你可以自行阅读了解大概的配置项。
上面我们看到的是模板,如果我们要配置 zsh,我们可以输入下面的指令去编辑 zsh 配置文件。
vi ~/.zshrc
配置主题
oh my zsh 内置了很多的主题,我们可以在 ~/.zshrc 中去修改主题。
- 找到你喜欢的主题:官方主题
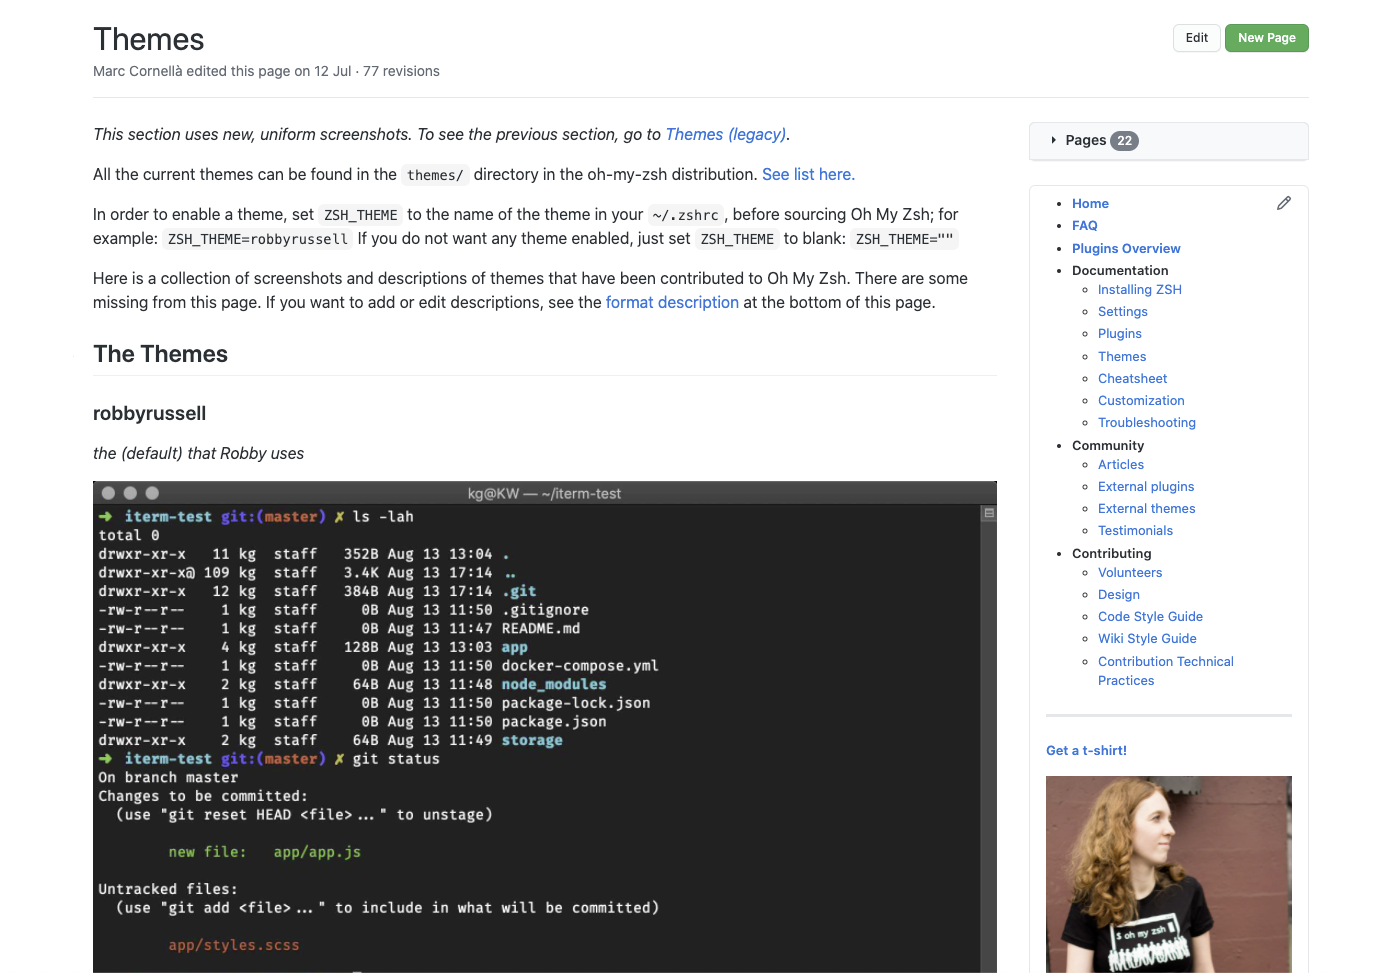
- 打开 zsh 配置文件,配置 ZSH_THEME 字段
ZSH_THEME = "你喜欢主题的名字"
配置插件
什么是插件
除了配置主题,我们还可以配置插件。这些插件能够提升你使用终端的体验。
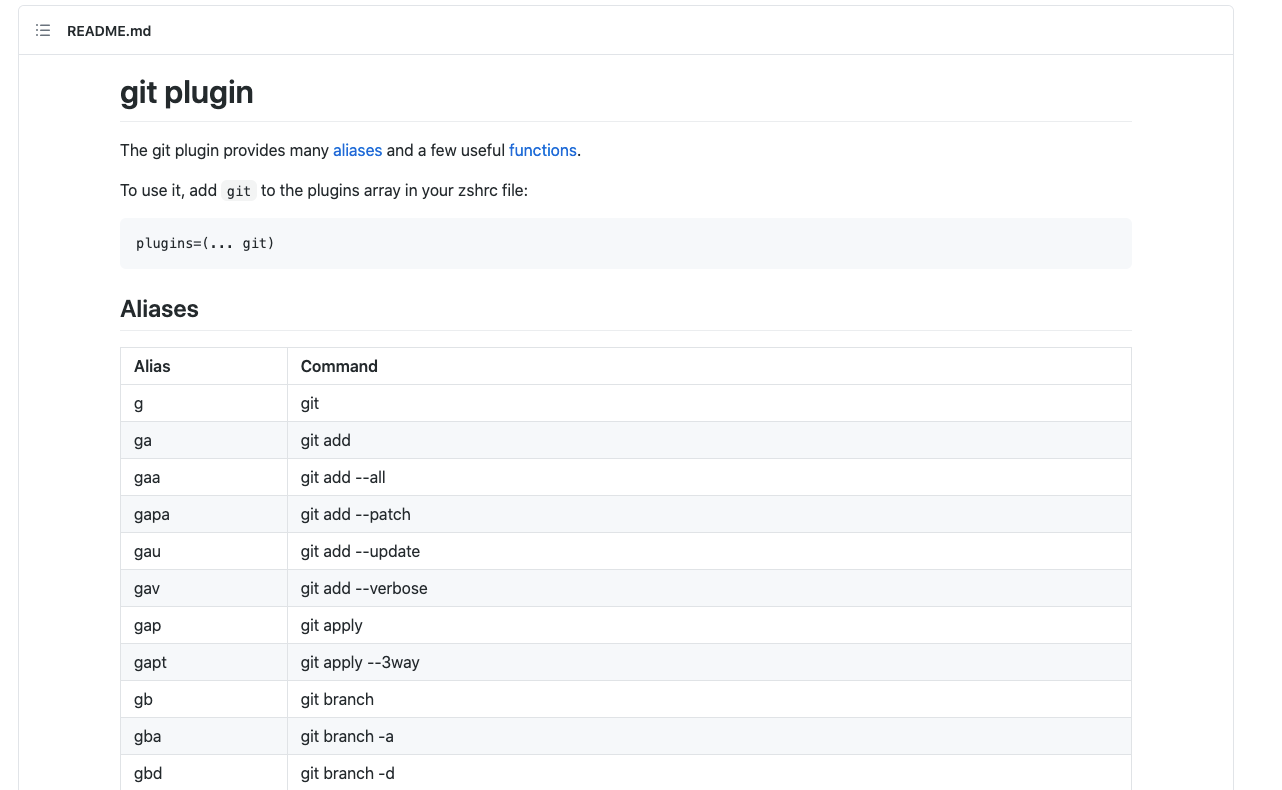
举一个例子,我们在使用 git 的时候,输入 git add 或者 git branch 的时候,我们其实可以将命令简化,将 git add 简化成 ga,将 git branch 简化成 gb。
在终端中,我们可以通过别名(alias)的方式去实现。不过我们可以偷个懒,使用别人给我们写好的插件。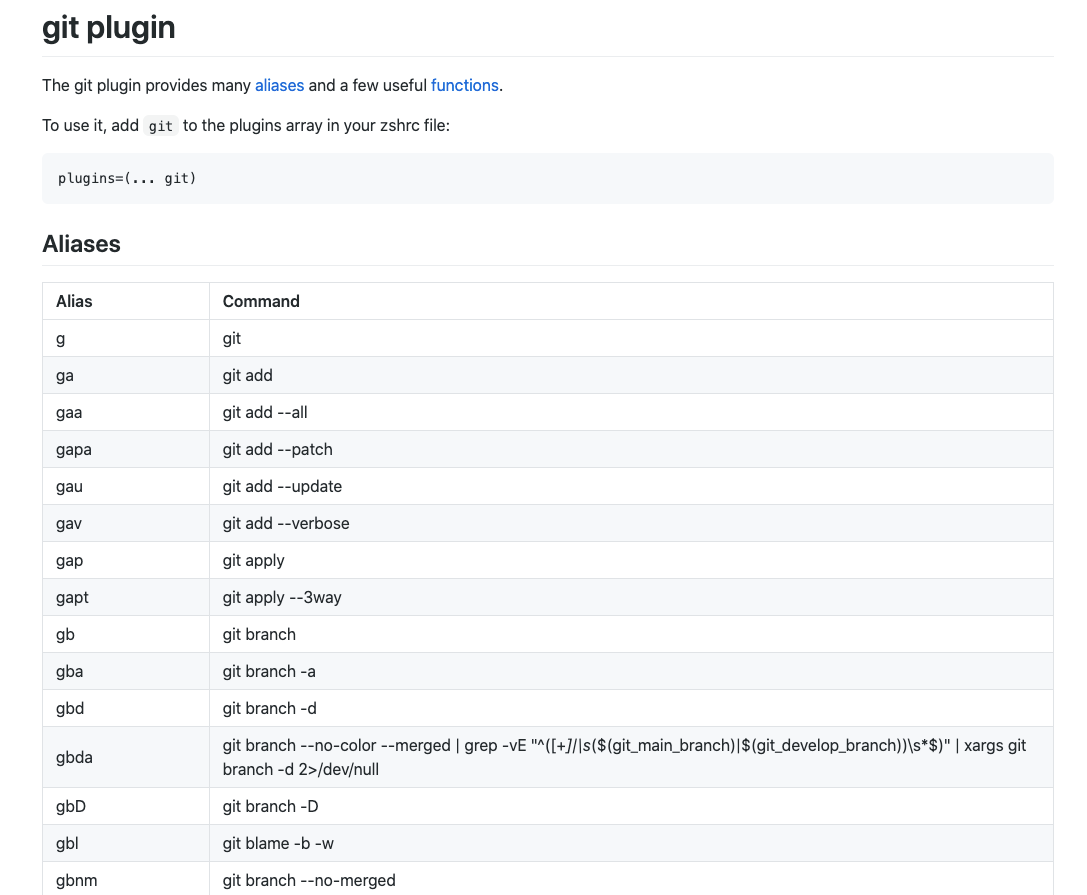
上图就是 git 的插件,当你开启了 git 的插件,你就可以直接使用 ga 这种方式去使用 git。
如何配置
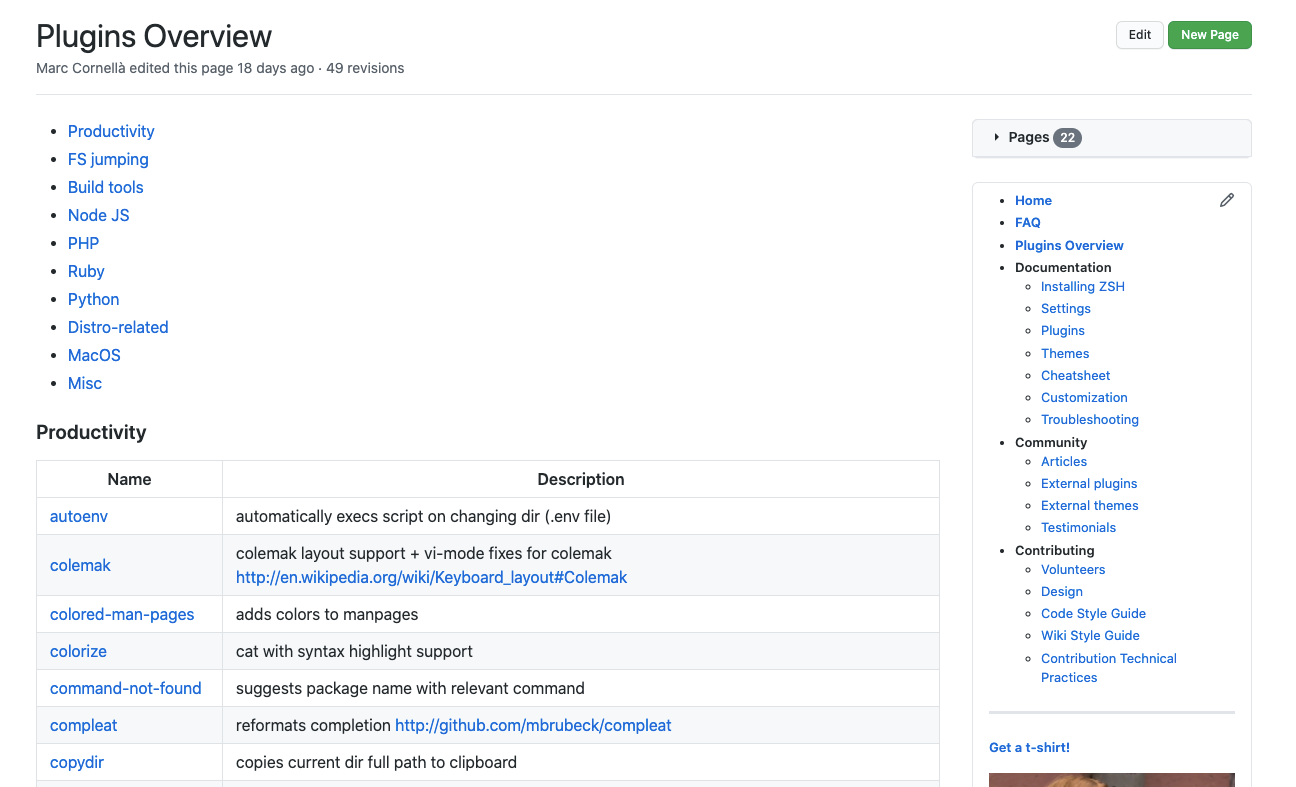
- 访问 oh-my-zsh plugins Overview 找到你喜欢的插件。
- 进入你想要使用的插件介绍页面(这里以 git 为例),了解用法
- 打开 zsh 配置文件,配置 plugins 字段
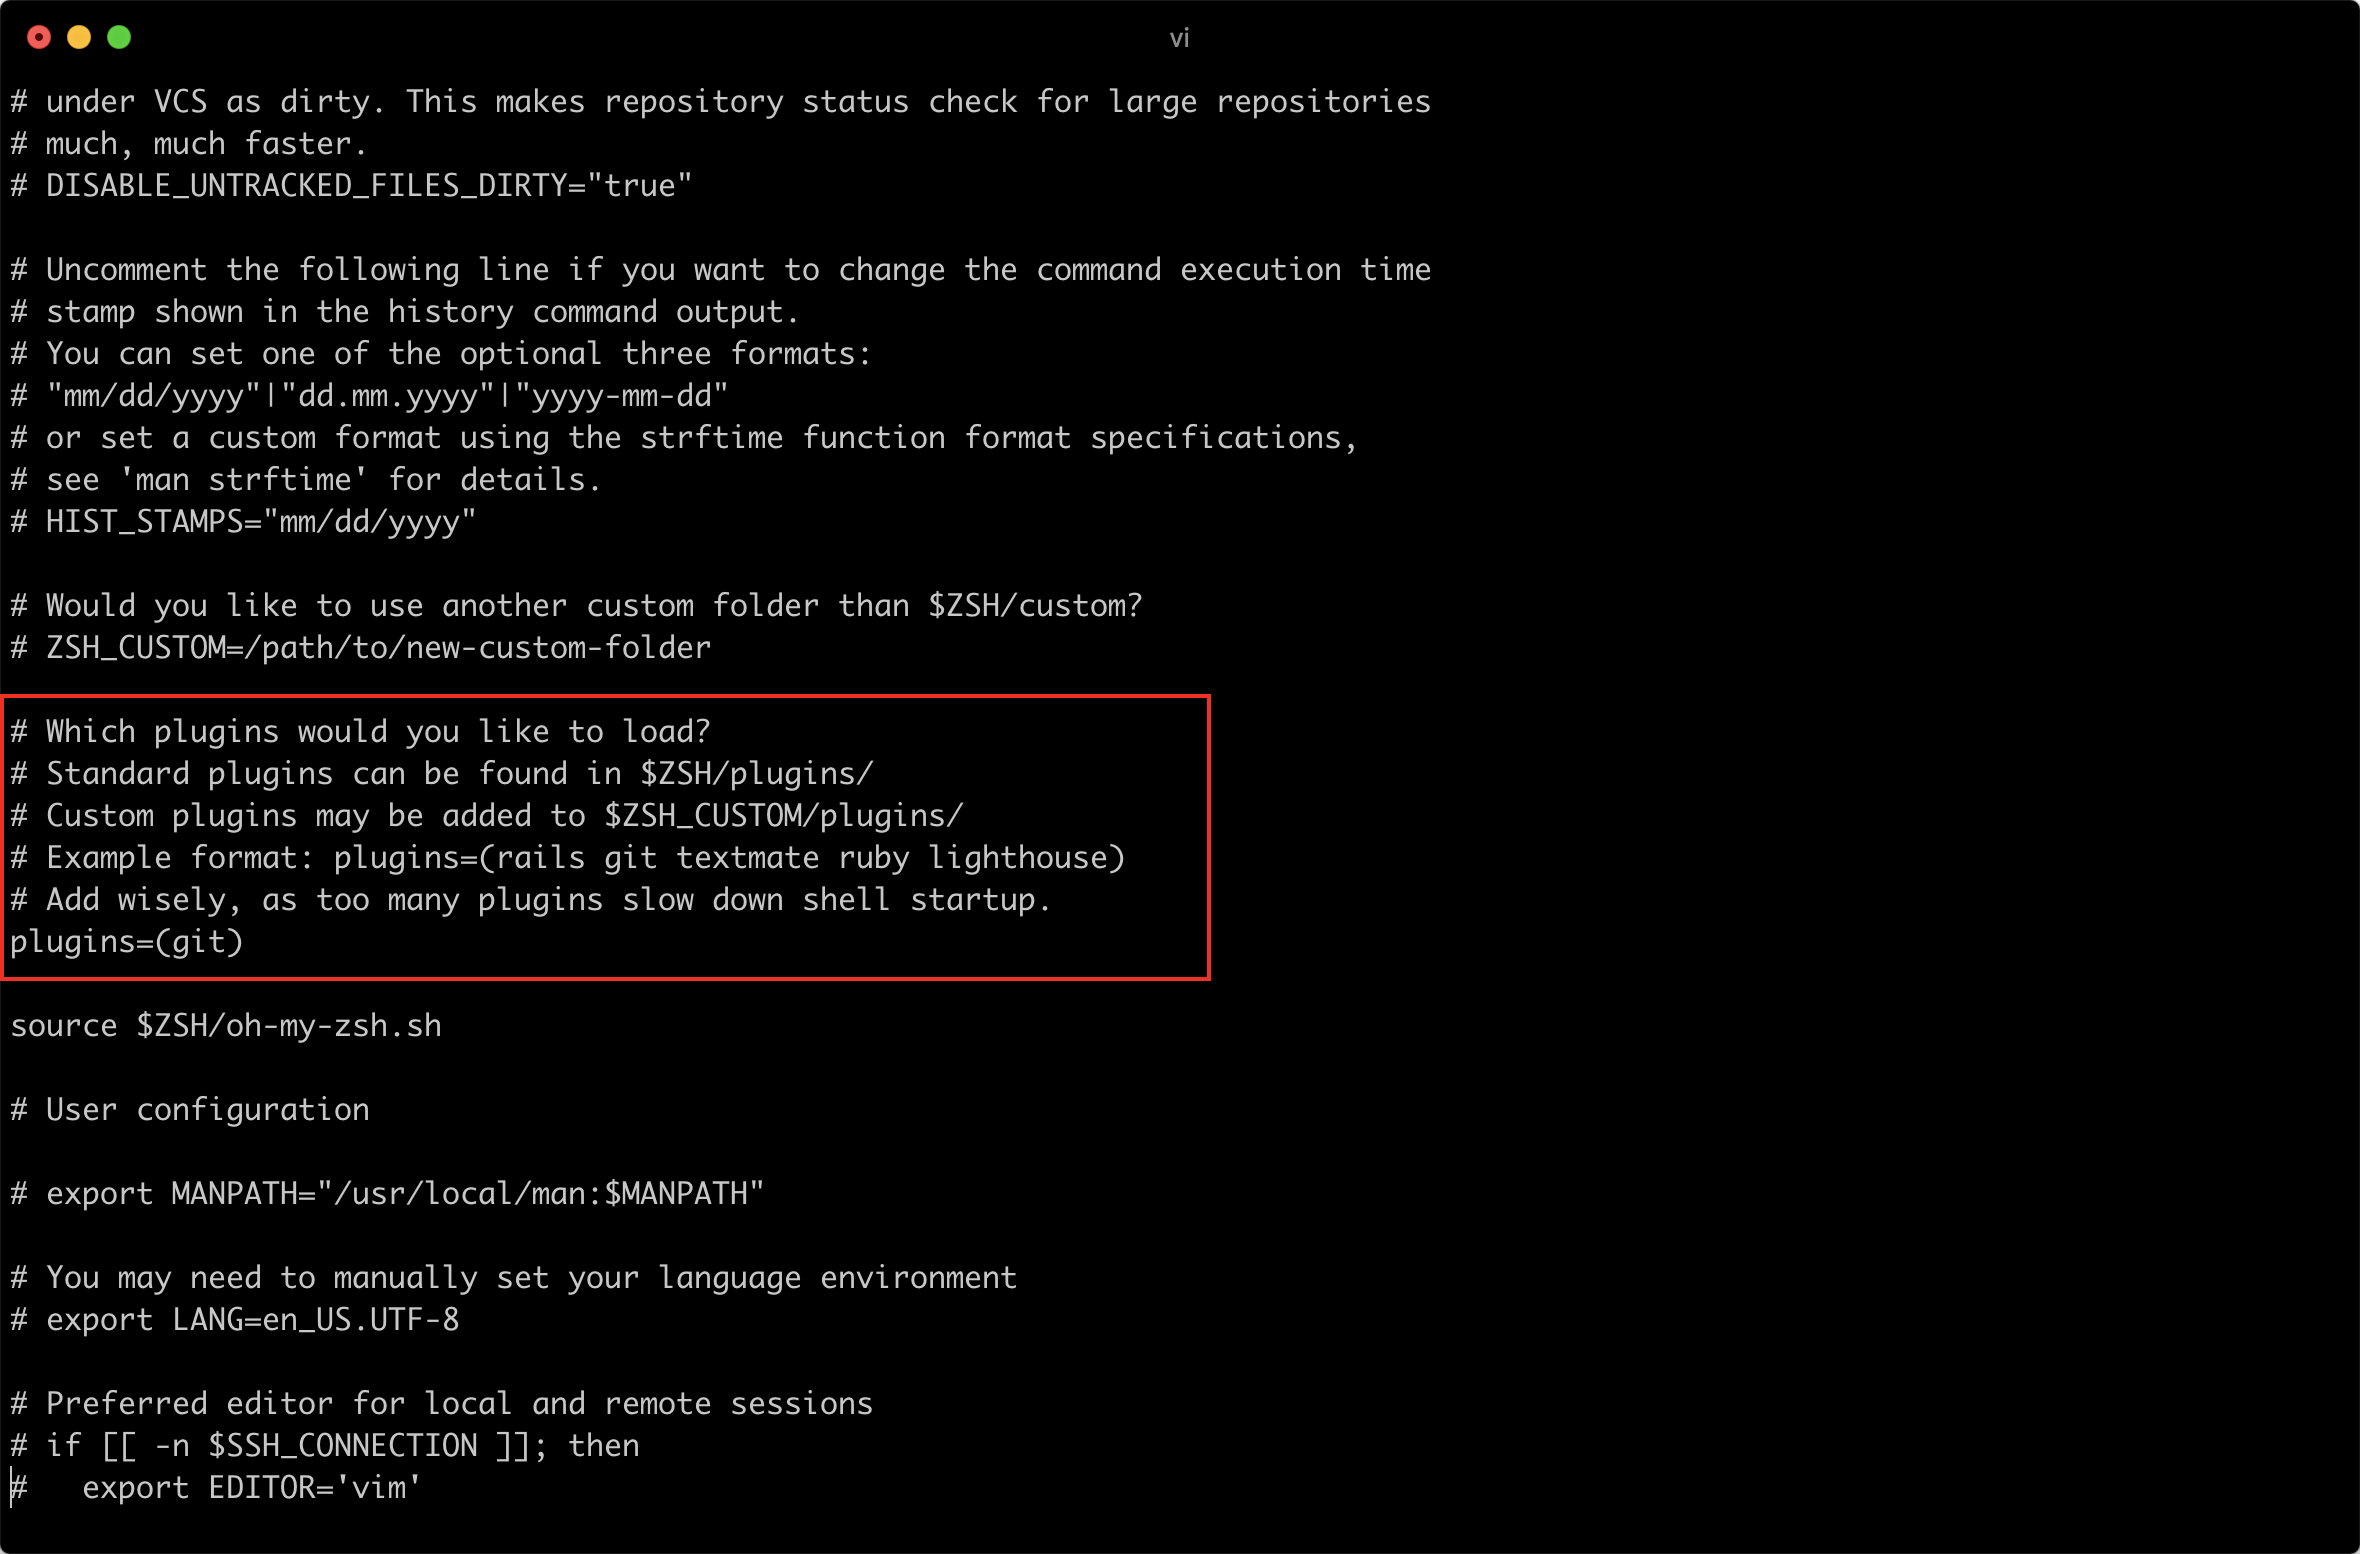
注意: 如果存在多个插件,我们可以用空格,或者换行的形式做分隔。
plugins=(gitvscode)
当然插件的功能并不止我所举的例子,更多的功能你可以自己探索。
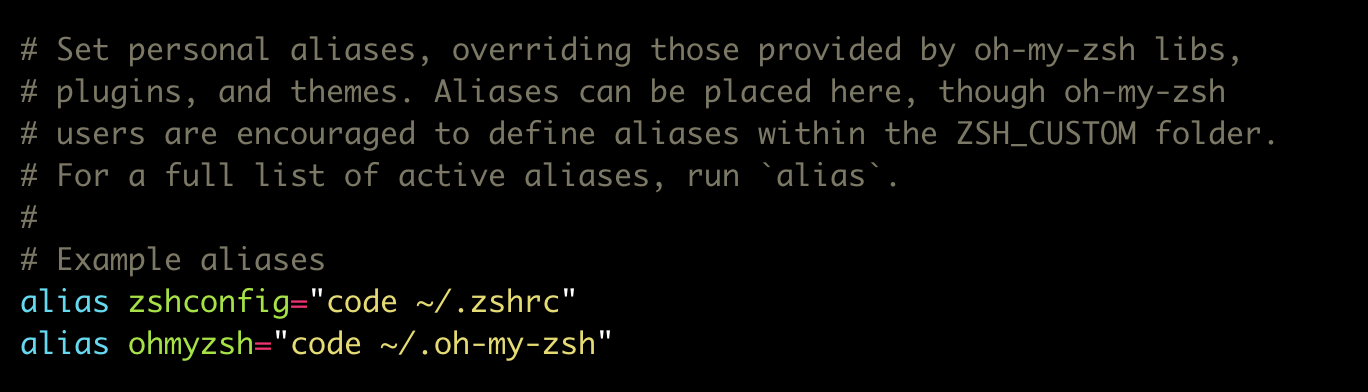
别名
我们可以将一些常用的操作用别名来代替,下一次使用会更加方便。
权限问题
当你安装完成之后,终端可能会提示你权限问题,这个提示在你每一次打开终端的时候都会出现。
[oh-my-zsh] Insecure completion-dependent directories detected:drwxrwxrwx 7 hans admin 238 2 9 10:13 /usr/local/share/zshdrwxrwxrwx 6 hans admin 204 10 1 2017 /usr/local/share/zsh/site-functions[oh-my-zsh] For safety, we will not load completions from these directories until[oh-my-zsh] you fix their permissions and ownership and restart zsh.[oh-my-zsh] See the above list for directories with group or other writability.[oh-my-zsh] To fix your permissions you can do so by disabling[oh-my-zsh] the write permission of "group" and "others" and making sure that the[oh-my-zsh] owner of these directories is either root or your current user.[oh-my-zsh] The following command may help:[oh-my-zsh] compaudit | xargs chmod g-w,o-w[oh-my-zsh] If the above didn't help or you want to skip the verification of[oh-my-zsh] insecure directories you can set the variable ZSH_DISABLE_COMPFIX to[oh-my-zsh] "true" before oh-my-zsh is sourced in your zshrc file.
解决方法:
chmod 755 /usr/local/share/zshchmod 755 /usr/local/share/zsh/site-functions
下面是个人的设置,给读者一个参考,给自己的设置留一个备份。
外观配置
Bullet Train for oh-my-zsh
Bullet Train 是一个基于 Powerline Vim plugin 的 oh-my-zsh shell 的主题。
前置操作
- 安装 Powerline compatible fonts
- 安装了 ZSH 的框架(这里就是oh-my-zsh)
- 在
~./zshrc中添加export TERM="xterm-256color"确保终端使用256-colors mode - 对于 iTerm2 的用户,请进入设置,将普通字体和非ASCII字体都设置为 powerline 兼容字体(我没弄)
安装 Powerline compatible fonts
安装 Powerline 兼容字体。如果你不安装 Powerline 就无法正确的显示出来。
输入如下命令:
# clonegit clone https://github.com/powerline/fonts.git --depth=1# installcd fonts./install.sh# clean-up a bitcd ..rm -rf fonts
修改 iTerm2 字体
这个时候你只是下载了字体,iTerm2 还没有使用兼容 Powerline 的字体,需要你手动设置。
- 打开 iTerm2 偏好设置 -> 选项卡:Profiles -> 选项卡:Text
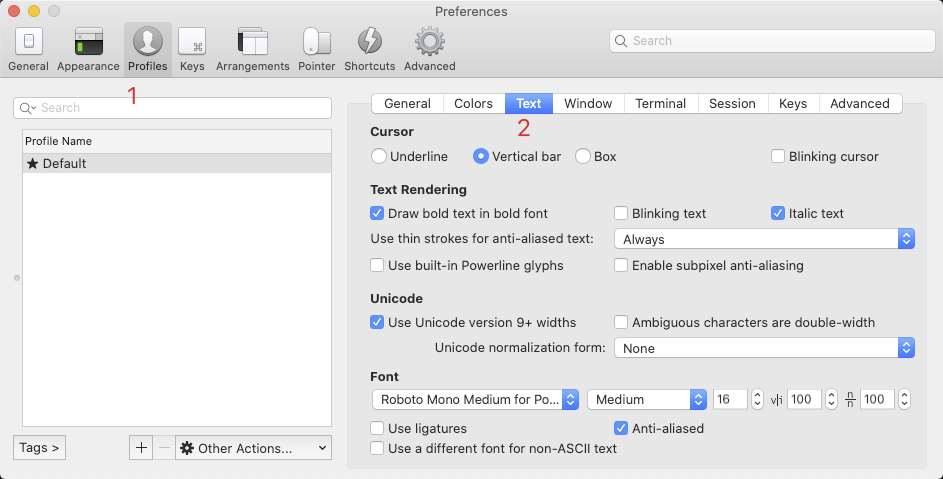
- 在 Font 中选择带有 Powerline 的字体
我选择的字体是:Roboto Mono Medium for powerline
修改 VSCode 终端字体
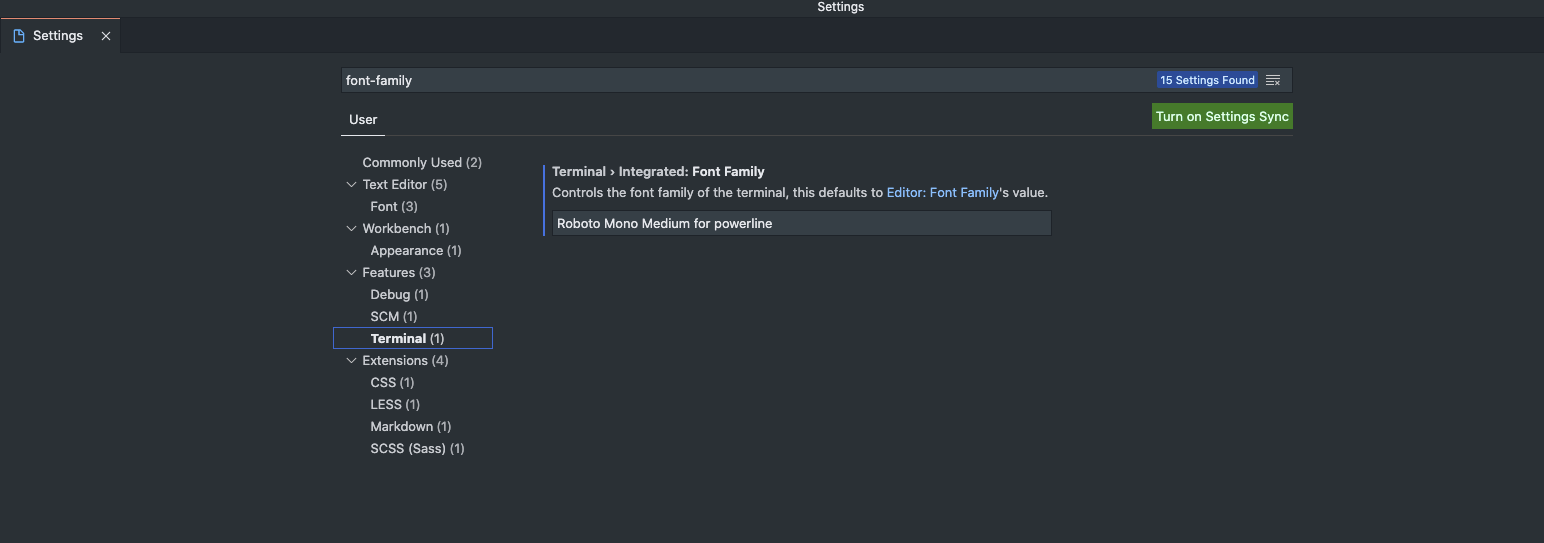
和上面一样,VSCode 的终端我们并没有设置字体,因此我们去 VSCode 中设置一下字体。
- 打开 VSCode 系统偏好设置
- 找到 Terminal 的设置,并进行修改
正式开始
下载 bullet-train.zsh-theme
git clone https://github.com/caiogondim/bullet-train.zsh.git
将克隆下来的仓库中的主题文件移动到 oh-my-zsh 配置主题的文件中
# 进入克隆下的仓库cd bullet-train.zsh# 移动文件 $ZSH_CUSTOM是需要配置的mv bullet-train.zsh-theme $ZSH_CUSTOM/themes/
如果你没有配置 $ZSH_CUSTOM,默认情况下 themes 所在的路径为:
~/.oh-my-zsh/custom/themes修改
~/.zshrcZSH_THEME="bullet-train"
oh-my-zsh-powerline-cute-theme
oh-my-zsh-powerline-cute-theme 是基于 Bullet Train 来的,该主题相对于 Bullet Train 做了一些调整。配置选项是差不多的。
iTerm2 配色方案
在这个仓库中有非常多的配色可以选择。如何使用后期补充,文档上面写的很清楚
我选择的主题是 GitHub-Dark,不过把字体颜色改成白色了
插件配置
语法高亮
https://github.com/zsh-users/zsh-syntax-highlighting

若有收获,就点个赞吧
0 人点赞
