1、宏({% macro %} {% endmacro %})
注意点:宏只能写在模板中,也就是html文件中,并且宏没有返回值(不能嵌套)
宏与python中函数相类似,能够传递参数,但是没有返回值。可以将一些常用的代码块放在宏中,将一些需要改变的值抽取出来作为参数
1、定义一个input标签的宏
代码部分:
from flask import Flask, render_template# 这里可以设置相关的文件名,模板的修改为template_folder,静态文件修改static_folderapp = Flask(__name__)@app.route("/")def home():return "首页"@app.route("/macro/")def myself():return render_template("macro.html")if __name__ == "__main__":app.run(debug=True)
模板部分:
<!DOCTYPE html><html lang="en"><head><meta charset="UTF-8"><title>macro</title></head><body><!--定义宏-->{% macro input(name, value="", type="text") %}<input name="{{ name }}", value="{{ value }}", type="{{ type }}">{% endmacro %}<!--使用宏,不要忘记{{ xxx }}--><table><tr><td>用户名:</td><td>{{ input('username') }}</td></tr><tr><td>密码:</td><td>{{ input('password', type='password') }}</td></tr><tr><td>确定:</td><td>{{ input(value='提交', type='submit') }}</td></tr></table></body></html>
网页显示: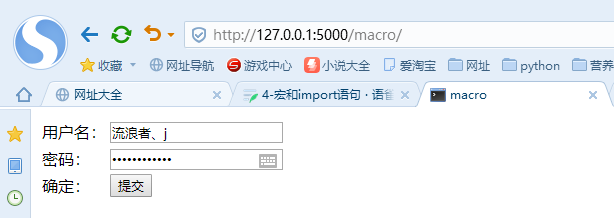
第二个例子:
模板代码:
<!DOCTYPE html><html lang="en"><head><meta charset="UTF-8"><title>macro</title></head><body>{% macro tab(txt, name, value="", type="text") %}<tr><td>{{ txt }}</td><td><input name="{{ name }}", value="{{ value}}", type="{{ type }}"></td></tr>{% endmacro %}<table>{{ tab("用户名称:", name="username") }}{{ tab("密码:", name="username", type="password") }}{{ tab("确认:", value="提交", type="submit") }}</table></body></html>
2、import导入宏
在正式的开发中,会将宏单独放在一个html文件中,在需要使用时,在从这个文件中进行导入。导入语法与python相似有:
- import…as…
- from…import…
- from…import…as…
定义一个专门存放宏的html文件forms.html:
<!--定义一个input标签-->{% macro input(name, value="", type="text") %}<input name="{{ name }}", value="{{ value }}", type="{{ type }}">{% endmacro %}<!--定义一个textarea标签-->{% macro textarea(name, value="", rows=10, cols=40) %}<textarea name="{{ name }}", value="{{ value }}", rows="{{ rows }}", cols="{{ cols }}">{{ value|e }}</textarea>>{% endmacro %}
在其他的模板中进行导入
{# {% from "forms.html" import input %} #}{# {% from "forms.html" import input as ipt %} #}<!--不要忘记as,因为导入的forms带有html标签所以在使用时会出现问题,因此需要重命名-->{% import "forms.html" as forms %}<!DOCTYPE html><html lang="en"><head><meta charset="UTF-8"><title>macro</title></head><body><table><tr><td>用户名:</td><td>{{ forms.input("username") }}</td></tr><tr><td>密码:</td><td>{{ forms.input("password", type="password") }}</td></tr></table></body></html>
网页显示: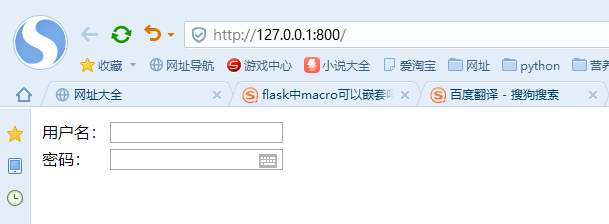
注意点:
- 只要当前文件中有定义宏,那么在其他文件中就可以对其进行导入,当然一般将宏单独放在一个文件中
- {% import “macro.html” as macro %}在import html文件时不要忘了通过as进行重命名
-
3、给模板中传参(with context)
由于导入模板并不会将上下文中的变量(如set定义的变量或者从py文件中传入的变量)一起导入到当前的模板中来。因此如果需要上下文变量有两种导入方式:
显示的传入请求或者请求对象的属性作为宏的参数
- 通过上下文传参(with context)导入的方式
模块代码: ```python from flask import Flask, render_template<!--with context--><!--其他两种导入方式也适用-->{% import "macro.html" as macro with context %}
app = Flask(name) app.config[“TEMPLATES_AUTO_RELOAD”] = True
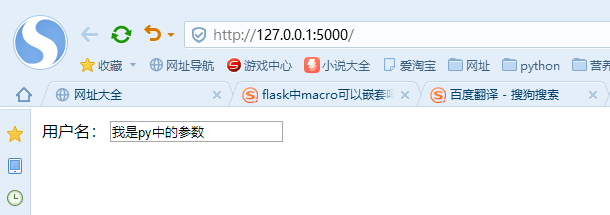
dic = { “value_py”: “我是py中的参数”, “type_py”: “text” } }
@app.route(“/“) def home(): return render_template(“context.html”, **dic)
if name == “main“:
# app.config.from_pyfile('settings.py',silent=True)app.run(debug=True)
**模板代码1:forms1.html**```html{% macro input(name) %}<!--传入context.py中的value_py与type_py参数--><input name="{{ name }}", value="{{ value_py }}", type="{{ type_py }}">{% endmacro %}
模板代码2:context.html
{% from "forms1.html" import input with context %}<!DOCTYPE html><html lang="en"><head><meta charset="UTF-8"><title>context</title></head><body><table><tr><td>用户名:</td><td>{{ input("username") }}</td></tr></table></body></html>
4、补充说明,模板传参
如果现在在macro.html文件、index.html文件,app.py文件中分别定义了同一个变量,那么在使用with context的情况下宏文件如何调用呢?
1、首先如果在macro.html中存在该变量,则先从macro.html中进行寻找。如果没有就从app.py文件中寻找
2、同名变量的搜索优先度为:macro.html > app.py,就与定义函数优先局部变量在找全局变量是一个道理
3、即使在index.html文件中定义了变量,也不会被引用
**

若有收获,就点个赞吧
0 人点赞
