简介
一、什么是Sentinel?
雪崩效应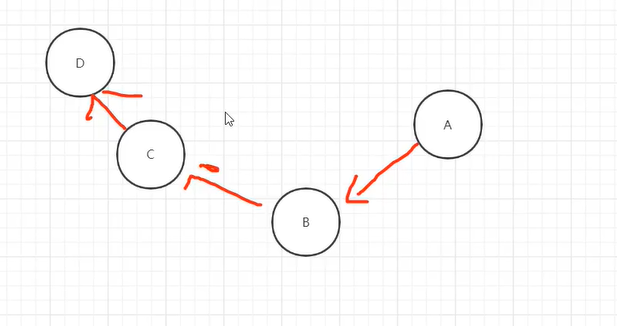
解决方式:
1.线程超时:设置一个范围,超过时间后释放线程
2.设置限流
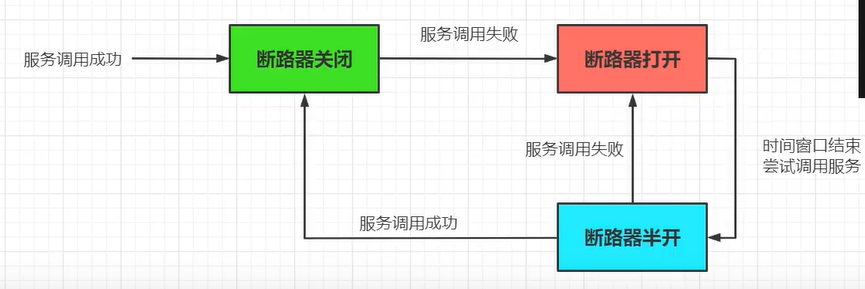
3.熔断器Sentinel、Hystrix
- 降级
- 限流
- 熔断
使用Sentinel
安装启动Sentinel
下载sentinel包,可以去github上拉取,也可直接使用吉力整理的资源
sentinel-dashboard.rar
解压后直接用java -jar命令启动,端口默认的为8080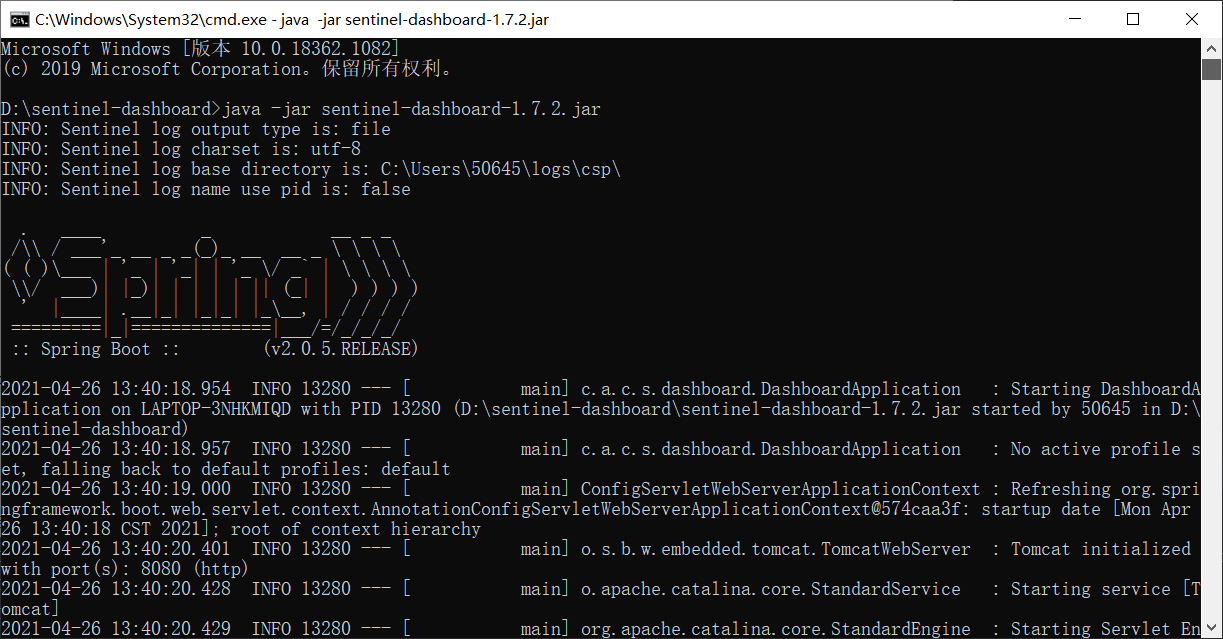
访问http://localhost:8080,出现页面表示启动成功,默认的账号密码都为sentinel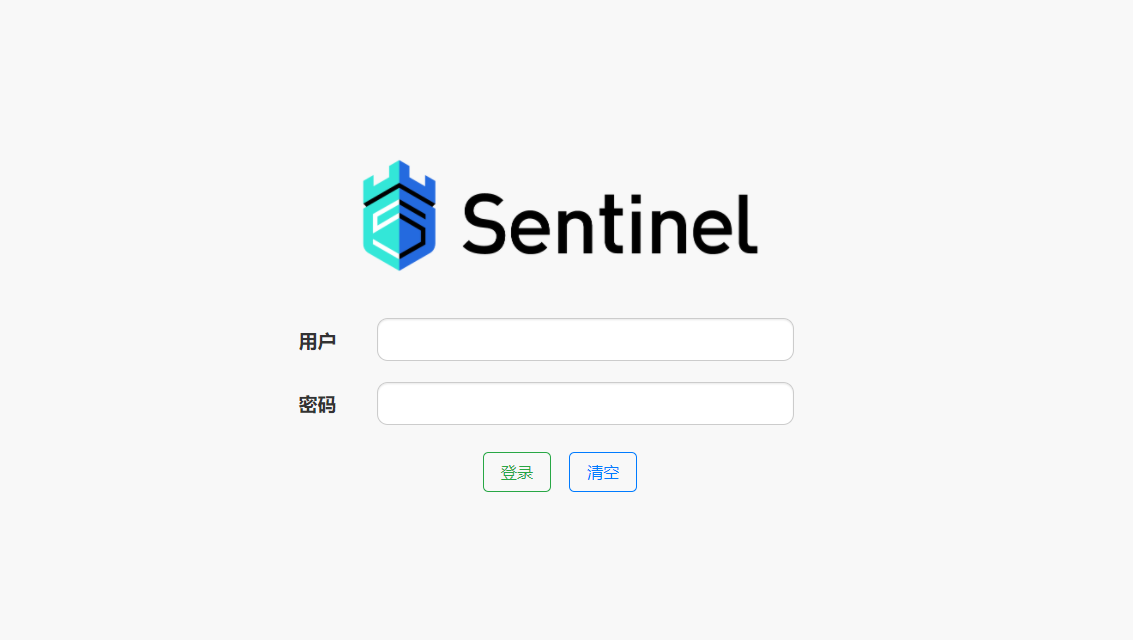
配置Sentinel
在pom.xml中添加
<dependency><groupId>com.alibaba.cloud</groupId><artifactId>spring-cloud-starter-alibaba-sentinel</artifactId><version>2.2.1.RELEASE</version></dependency><dependency><groupId>org.springframework.boot</groupId><artifactId>spring-boot-starter-actuator</artifactId></dependency>
在application.yaml添加
spring:cloud:nacos:discovery:server-addr: localhost:8848sentinel:transport:dashboard: localhost:8080application:name: providerserver:port: 8081#开放服务接口management:endpoints:web:exposure:include: '*'
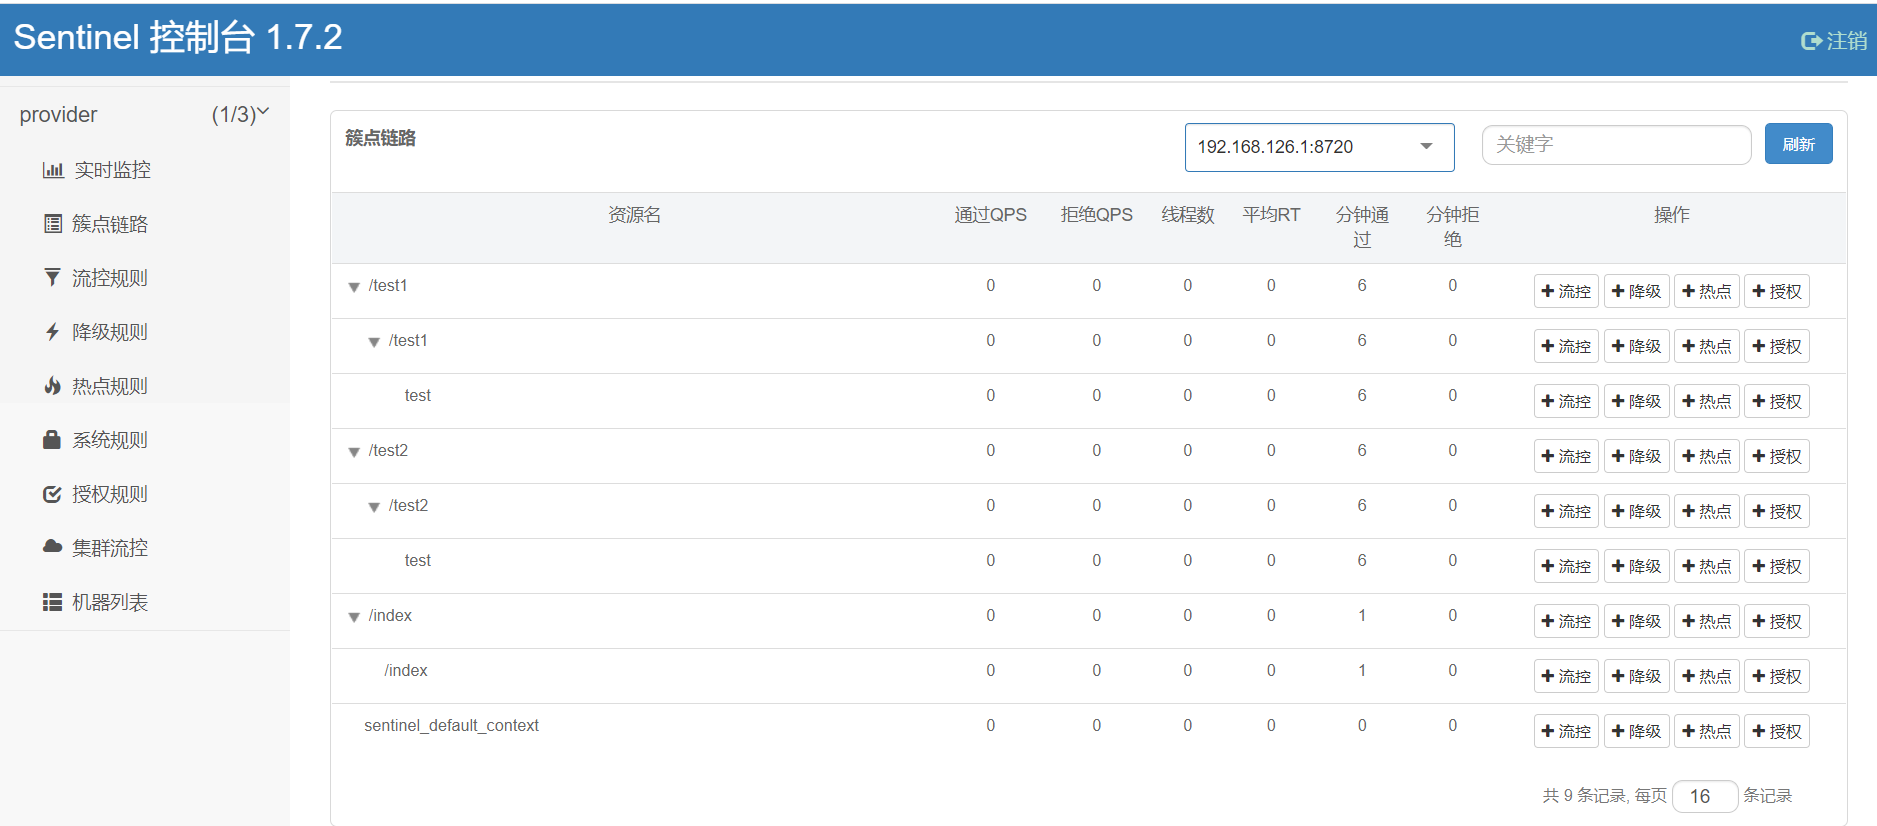
运行provider服务,并访问provider服务的/index接口,sentinel便可以捕获到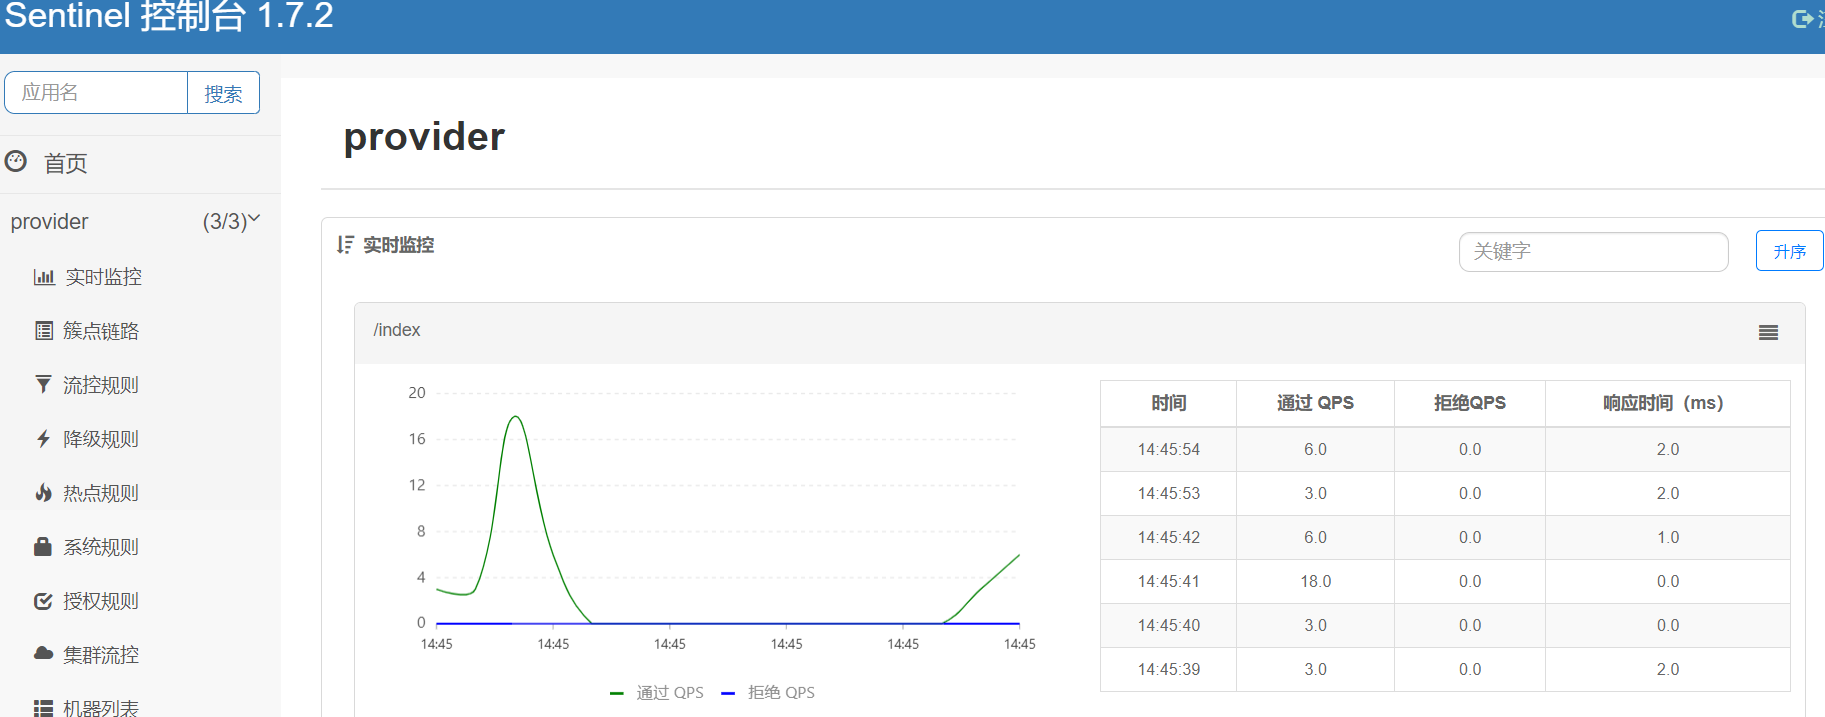
- 资源名:请求的资源名称
- QPS:每秒请求数量
- 线程数:并发处理的线程数量
- 单机阈值:限制的请求数量或者线程数量
限流规则
直接限流
流控模式-直接-QPS
点击 “簇点链路”==>”流控”
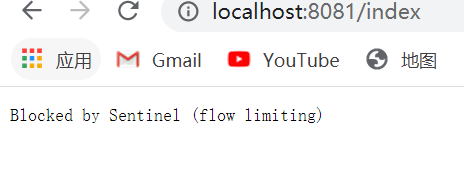
设置QPS为1,表示每秒通过请求数为1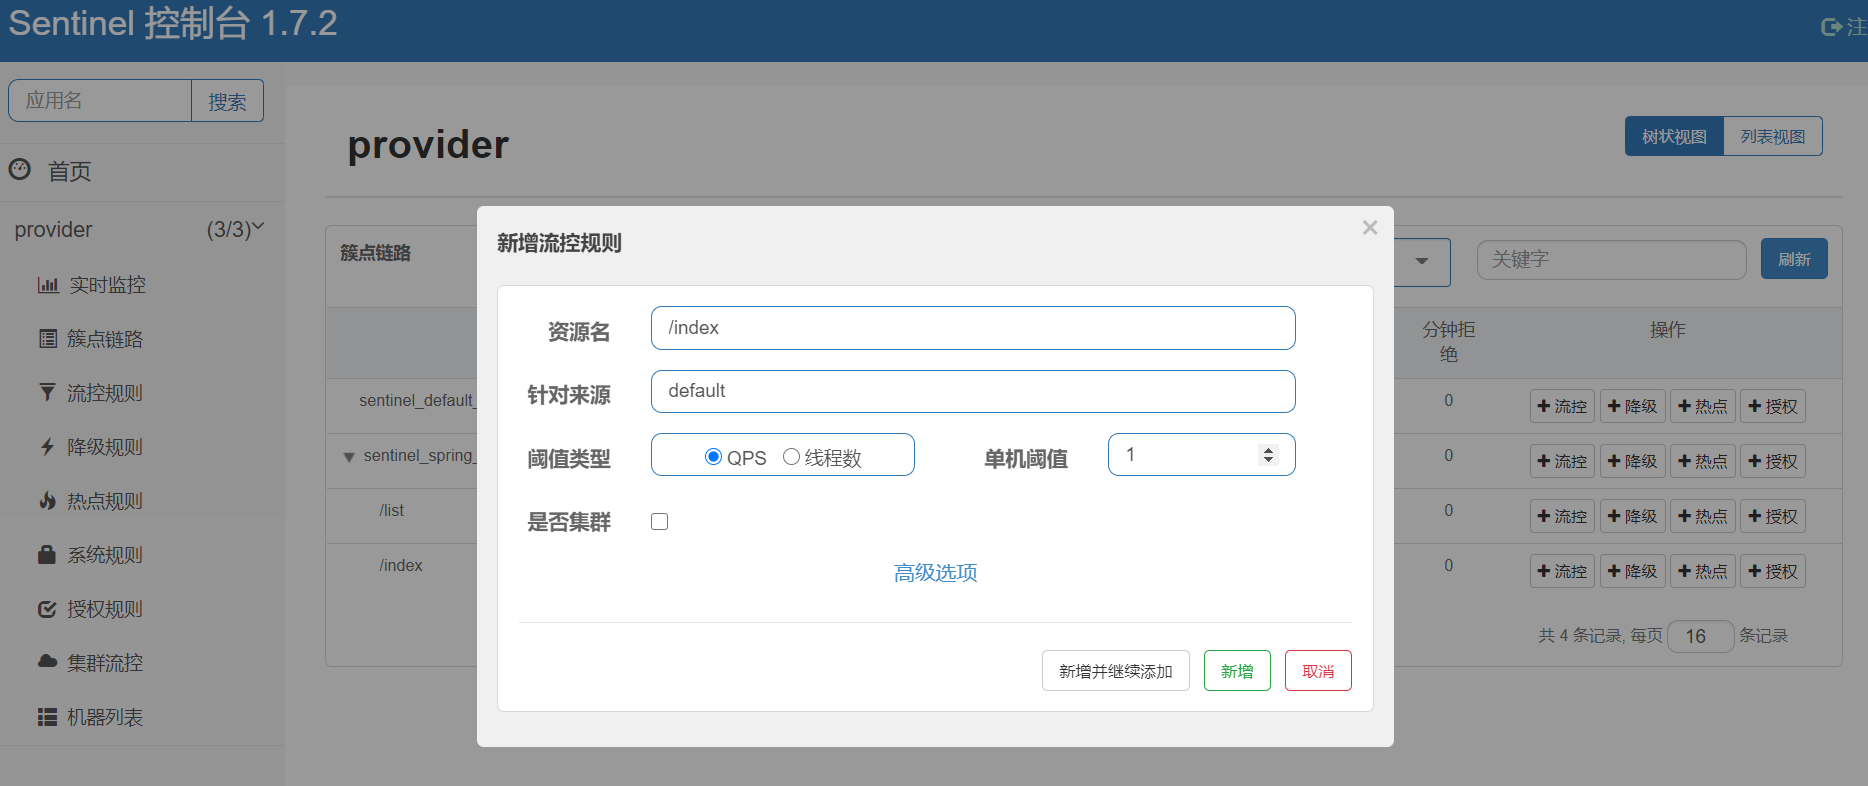
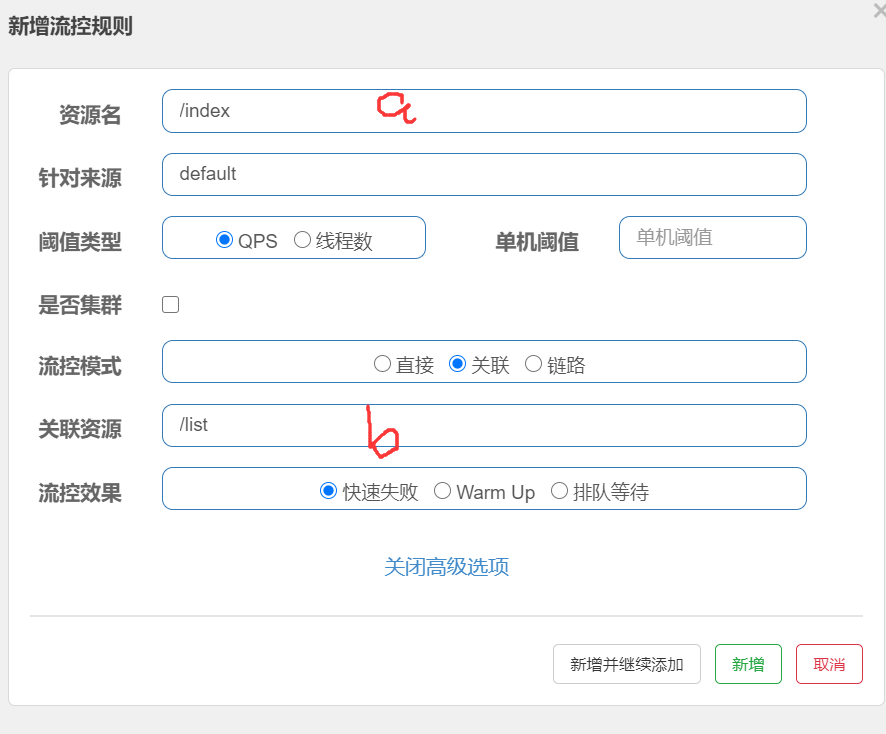
关联限流
流控模式-关联-QPS
- 关联模式:假设有两个接口/index、/list,阈值为1,当请求/list接口的QPS超过1时便对/index接口进行限流处理
、
新增接口/list
@GetMapping("/list")public String list(){return this.port+"list";}
新增测试类test作为模拟请求/list以便观看/index接口效果
package com.jili.test;import org.springframework.web.client.RestTemplate;public class test {public static void main(String[] args) throws Exception {RestTemplate restTemplate =new RestTemplate();for(int i =0;i<1000 ;i++){restTemplate.getForObject("http://localhost:8081/list",String.class);Thread.sleep(200);}}}
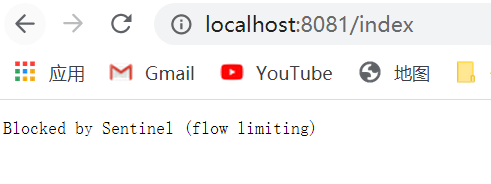
每200ms启动一次,相当于1s启动5次超过了阈值1,/index接口会被限流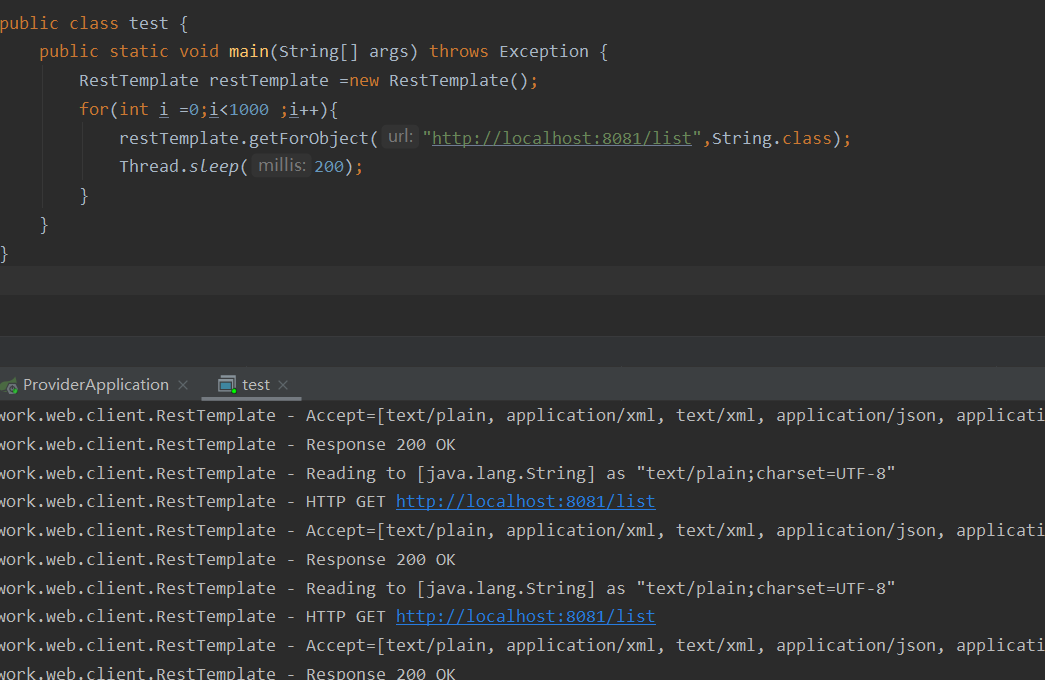
链路限流
一般来说只能捕获controller层的服务,链路限流则可以控制service层
由于版本过高,我们需要手动关闭全部敛收的功能
在pom.xml引入
<dependency><groupId>com.alibaba.csp</groupId><artifactId>sentinel-core</artifactId><version>1.7.1</version></dependency><dependency><groupId>com.alibaba.csp</groupId><artifactId>sentinel-web-servlet</artifactId><version>1.7.1</version></dependency>
在yaml里配置
spring.cloud.sentinel.filter.enabled = false
spring:cloud:nacos:discovery:server-addr: localhost:8848sentinel:transport:dashboard: localhost:8080filter:enabled: false
新建配置类FilterConfiguration来开放链路
FilterConfiguration.java
package com.jili.controller;import com.alibaba.csp.sentinel.adapter.servlet.CommonFilter;import org.springframework.boot.web.servlet.FilterRegistrationBean;import org.springframework.context.annotation.Bean;import org.springframework.context.annotation.Configuration;@Configurationpublic class FilterConfiguration {@Beanpublic FilterRegistrationBean registrationBean(){FilterRegistrationBean registrationBean = new FilterRegistrationBean();registrationBean.setFilter(new CommonFilter());registrationBean.addUrlPatterns("/*");registrationBean.addInitParameter(CommonFilter.WEB_CONTEXT_UNIFY,"false");registrationBean.setName("sentinelFilter");return registrationBean;}}
创建service层ProviderService
package com.jili.service;import com.alibaba.csp.sentinel.annotation.SentinelResource;import org.springframework.stereotype.Service;@Servicepublic class ProviderService {//Sentinel里捕获的名称@SentinelResource("test")public void test(){System.out.println("test");}}
在ProviderController.java加入两个测试接口
@Autowiredprivate ProviderService providerService;@GetMapping("/test1")public String test1(){this.providerService.test();return "test1";}@GetMapping("/test2")public String test2(){this.providerService.test();return "test2";}
此时/test1 与 /test2 都调用同一个service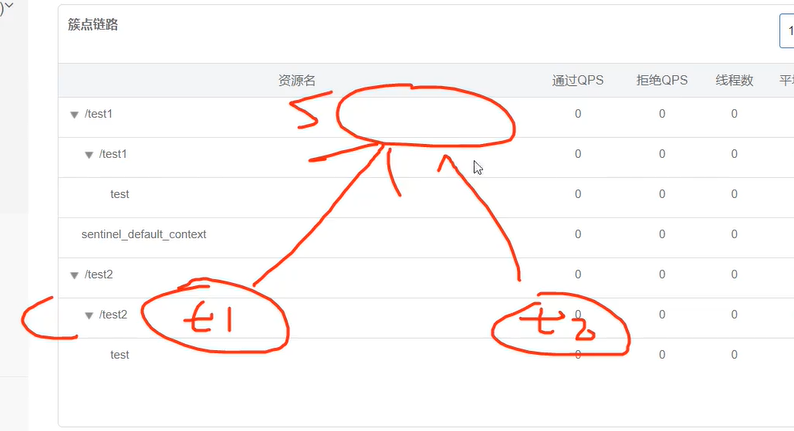
访问http://localhost:8081/tes1与http://localhost:8081/tes2
此时sentinel系统显示