Vite,一种新型前端构建工具,显著提升前端开发体验
主要功能:
开发服务器,基于原生 ES 模块提供了 丰富的内建功能,实现快速模板热更新
构建指令,使用 Rollup 打包代码,预配置、可输出用于生产环境的高度优化过的静态资源
全局安装Vite
npm install vite-create-app -g
Vite快速搭建Vue3项目
npm init vite-app <project-name>cd <project-name>npm installnpm run dev
搭建第一个Vite项目
# npm 安装npm create vite@latest# yarn 安装yarn create vite# pnpm 安装pnpm create vite
# npm 6.xnpm create vite@latest my-vue-app --template vue# npm 7+ 需要额外两个破折号npm create vite@latest my-vue-app -- --template vue# yarnyarn create vite my-vue-app --template vue# pnpmpnpm create vite my-vue-app -- --template vue
功能
CSS
CSS Modules
任何以.module.css为后缀的 css 文件都被认为是一个 CSS modules 文件。导入这样的文件会返回一个相应的模块对象:
.red {color: red;}
import classes from './example.module.css'document.getElementById('foo').className = classes.red
若 `css.modules.localsConvention` 设置开启了 camelCase 格式变量名转换(例:`localsConvetion: 'camelCaseOnly')`)
// .apply-color -> applyColorimport { applyCOlor } from './example.module.css'document.getElementById('foo').className = applyColor
CSS 预处理器
vite 提供了对 .scss、.sass、.less、.styl和.stylus文件的内置支持,无需安装特定的 Vite 插件,但需安装相应的预处理器依赖:
# .scss and .sassnpm add -D sass# .lessnpm add -D less# .styl and .stylusnpm add -D stylus
项目配置
创建 vite.config.js 文件
// vite.config.js 配置const path = require('path')module.exports = {alias: {// 路径映射必须以 / 开头和结尾"/comps": path.resolve(__dirname, "src/components")}}// 使用import CourseAdd from '/comps/CourseAdd.vue'import Comp from '/comps/Comp.vue'
// vite.config.js 配置export default {proxy: {'/api': {target: 'http://jsonplaceholder.typicode.com',changeOrigin: true,rewrite: path => path.replace(/^\/api/, '')}}}// 使用fetch("/api/users").then(response => response.json()).then(json => console.log(json))
// 安装npm i mockjs -Snpm i vite-plugin-mock cross-env -D// vite.config.js 引入插件plugins: [createMockServer({// 关闭支持 .ts 文件supportTs: false})]// package.json 设置环境变量"dev": "cross-env NODE_ENV=development vite"// 创建 mock 文件, mock/test.jsexport default [{url: "/api/users",method: "get",response: req => {return {code: 0,data: [{name: "tom",},{name: "jerry",},],};},},{url: "/api/post",method: "post",timeout: 2000,response: {code: 0,data: {name: "vben",},},},];
// 使用模式做多环境配置,vite serve 时模式默认是 development,vite build 时时 production// 创建配置文件 .env.developmentVITE_TOKEN = this is token// 代码中读取import.meta.env.VITE_TOKEN
打包和部署
打包
npm run build
部署
- 配置
workflow,在项目根目录下创建.github/workflows/publish.yml```yaml name: 打包应用并上传阿里云
on: push: branches:
- master
jobs: build:
# runs-on 指定 job 任务运行所需要的虚拟机环境(必填字段)runs-on: ubuntu-lateststeps:# 获取源码- name: 迁出代码# 使用 action 库 action/checkout 获取源码uses: actions/checkout@master# 安装 Node10- name: 安装 node.js# 使用 action 库 actions/setup-node 安装 nodeuses: actions/setup-node@v1with:node-version: 14.0.0# 安装依赖- name: 安装依赖run: npm install# 打包- name: 打包run: npm run build# 上传阿里云- name: 发布到阿里云uses: easingthemes/ssh-deploy@2.1.1env:# 私钥SSH_PRIVATE_KEY: ${{ secrets.PRIVATE_KEY }}# scp 参数ARGS: "-avzr --delete"# 源目录SOURCE: "dist"# 服务器ip:换成你的服务器IPREMOTE_HOST: "47.98.252.43"# 用户REMOTE_USER: "root"# 目标地址TARGET: "/root/vue-in-action"
2. 在 `github`当前项目下设置私钥选项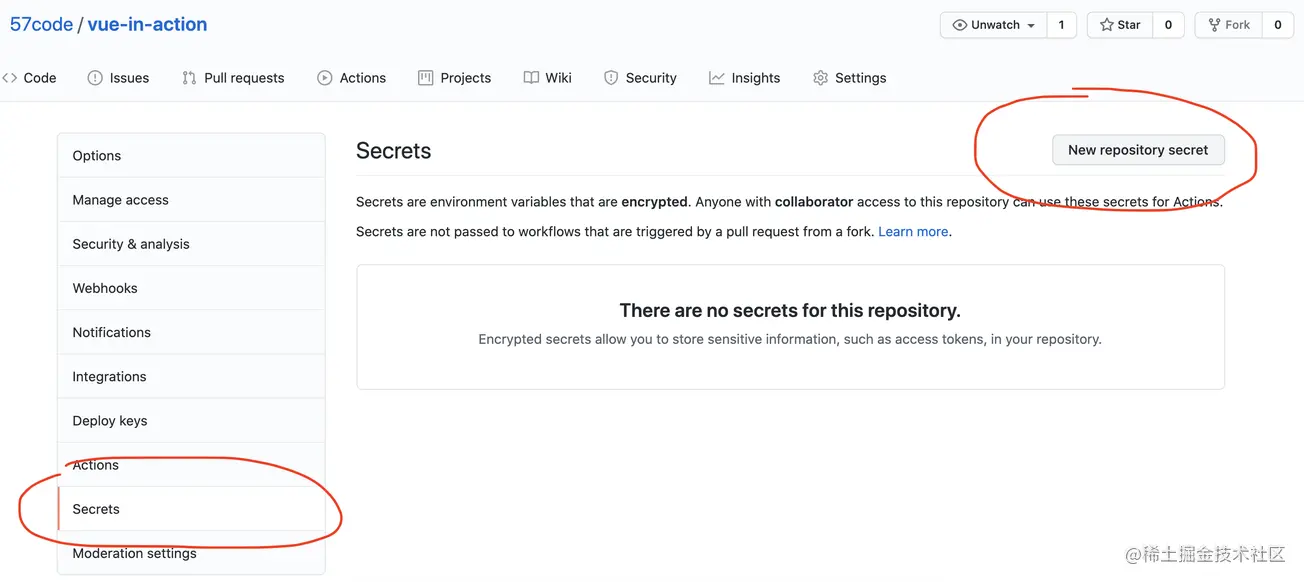```bash# ssh 密钥生成过程自行百度cd .ssh/cat id_rsa# 复制并填写到 github-secretes
配置 nginx
cd /etc/nginx/sites-enabled/ vi vue-inaction
添加如下配置
server { listen 8080; server_name 47.98.252.43; location / { root /root/vue-in-action/dist; index index.html index.htm; } } ```
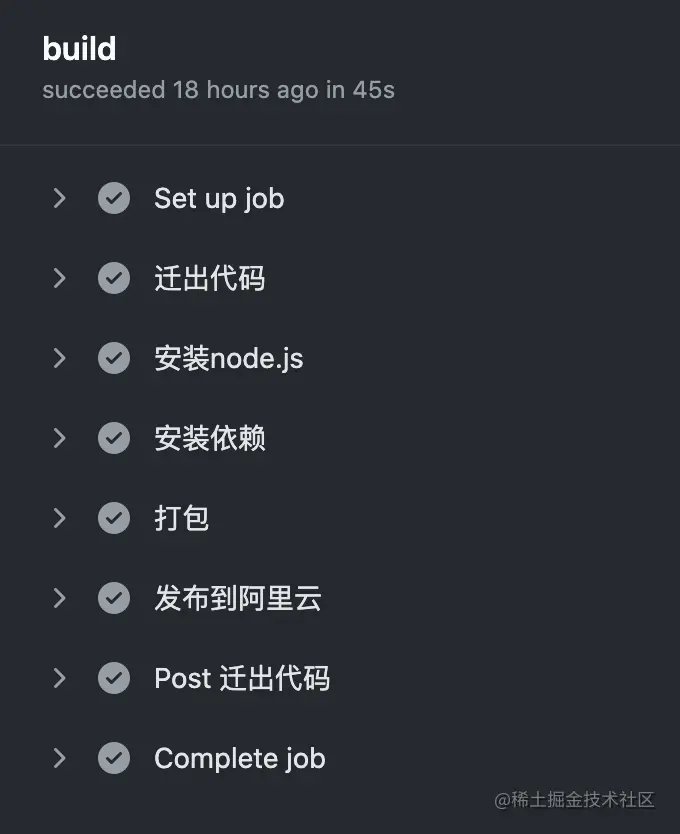
push代码,触发workflow

若有收获,就点个赞吧
0 人点赞
