参考: https://appium.io/docs/en/about-appium/intro/
uiselector 元素定位:https://developer.android.google.cn/reference/androidx/test/uiautomator/UiSelector?hl=en
添加conftest.py
import pytestfrom appium import webdriverfrom appium.webdriver.common.touch_action import TouchAction@pytest.fixture(scope="session",autouse=True)def driver():print("在所有的测试用例执行之前创建driver")desired_caps = {'platformName': 'Android', # 测试Android系统'platformVersion': '7.1.2', # Android版本 可以在手机的设置中关于手机查看'deviceName': '127.0.0.1:62001', # adb devices 命令查看 设置为自己的设备'automationName': 'UiAutomator2', # 自动化引擎'noReset': True, # 不要重置app的状态'fullReset': False, # 不要清理app的缓存数据'appPackage': "org.cnodejs.android.md", # 应用的包名'appActivity': ".ui.activity.MainActivity" # 应用的活动页名称}driver = webdriver.Remote('http://127.0.0.1:4723/wd/hub', desired_capabilities=desired_caps)driver.implicitly_wait(5) # 全局的隐式等待时间yield driver # 将driver 传递出来print("执行所有的用例执行之后的操作")
滑动操作

比如 刚下载的客户端,首页加载页面,需要右滑进入app中。
上下滑动,找到滑动的区域。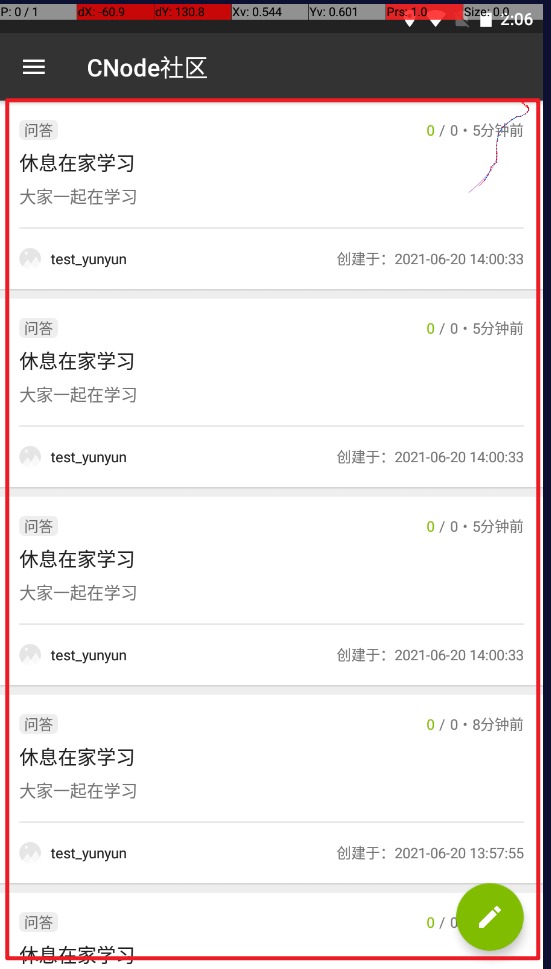
通过一个实例 演示向上滑动之后 获取页面中的数据
testcases/test_actions/test_appium.py
from appium.webdriver.webdriver import WebDriverimport timedef test_swipe(driver:WebDriver):viewgroup = driver.find_element_by_android_uiautomator('new UiSelector().className("android.view.ViewGroup").index(2)')# 获取元素控件的坐标位置print('location', viewgroup.location)print('rect', viewgroup.rect) # {'height': 1440, 'width': 900, 'x': 0, 'y': 160}while True:# 向上滑动driver.swipe(start_x=1,start_y=viewgroup.rect['height']+viewgroup.rect['y']-1,end_x=1,end_y=viewgroup.rect['y']-1,duration=1200)time.sleep(1.5)eles = driver.find_elements_by_id('org.cnodejs.android.md:id/tv_title')for ele in eles:print(ele.text)
大家思考 如何实现 向右,向左,向下滑动。
滑动定位元素
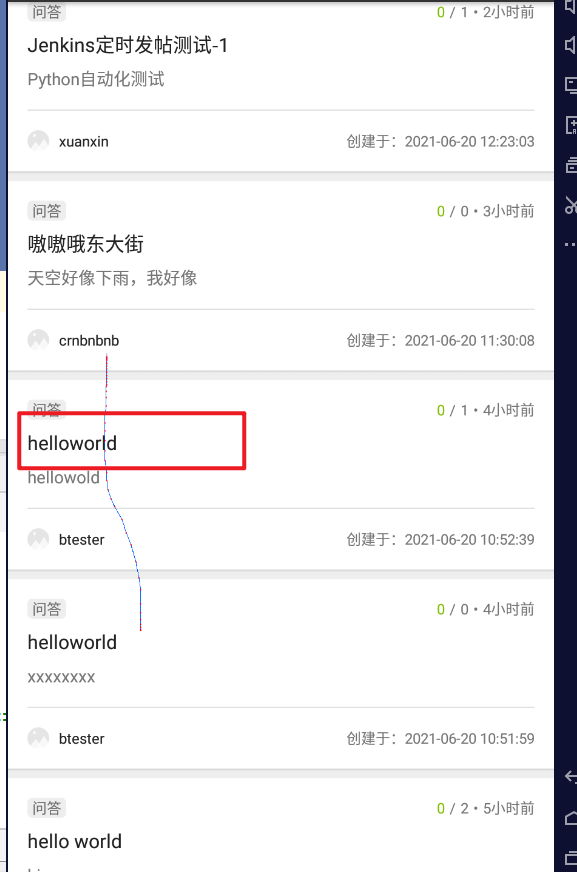
要从滑动列表中定位 helloworld,但是不知道要滑动多少次才能找到。
使用下面的方法:
# testcases/test_actions/test_appium.pyfrom appium.webdriver.webdriver import WebDriverimport timedef test_swipe(driver:WebDriver):viewgroup = driver.find_element_by_android_uiautomator('new UiSelector().className("android.view.ViewGroup").index(2)')# 获取元素控件的坐标位置print('location', viewgroup.location)print('rect', viewgroup.rect) # {'height': 1440, 'width': 900, 'x': 0, 'y': 160}flag = Falsewhile True:# 向上滑动driver.swipe(start_x=1,start_y=viewgroup.rect['height']+viewgroup.rect['y']-1,end_x=1,end_y=viewgroup.rect['y']-1,duration=1200)time.sleep(1.5)eles = driver.find_elements_by_id('org.cnodejs.android.md:id/tv_title')for ele in eles:print(ele.text)if ele.text == "helloworld":ele.click()flag = Truebreakif flag == True:break #中断while 循环
使用这种方法必须要精准的控制滑动速度,否则滑动过快,可能会错过目标元素。
https://appium.io/docs/en/writing-running-appium/android/uiautomator-uiselector/
# testcases\test_actions\test_appium.pyfrom appium.webdriver.webdriver import WebDriverimport timedef test_swipe(driver:WebDriver):viewgroup = driver.find_element_by_android_uiautomator('new UiSelector().className("android.view.ViewGroup").index(2)')# 获取元素控件的坐标位置print('location', viewgroup.location)print('rect', viewgroup.rect) # {'height': 1440, 'width': 900, 'x': 0, 'y': 160}flag = Falsewhile True:# 向上滑动driver.swipe(start_x=1,start_y=viewgroup.rect['height']+viewgroup.rect['y']-1,end_x=1,end_y=viewgroup.rect['y']-1,duration=1200)time.sleep(1.5)eles = driver.find_elements_by_id('org.cnodejs.android.md:id/tv_title')for ele in eles:print(ele.text)if ele.text == "helloworld":ele.click()flag = Truebreakif flag == True:break #中断while 循环def test_swipe_by_text(driver:WebDriver):ele = driver.find_element_by_android_uiautomator('new UiScrollable(new UiSelector().scrollable(true).instance(0)).scrollIntoView(new UiSelector().text("Jenkins持续集成测试-2").instance(0));')ele.click()
运行
(venv) C:\Users\zengy\PycharmProjects\apptesting>pytest testcases\test_actions\test_appium.py::test_swipe_by_text -s -v
::test_swipe_by_text 指定运行测试函数
webview 元素定位选取
混合app中会使用到原生组件以及webview 视图。webview 中嵌套网页。
准备环境
- Edge 浏览器 或 Chrome浏览器(需要翻墙)
- 在浏览器的地址栏中输入
edge://inspect/#devices - 在模拟器的 浏览器中打开网址
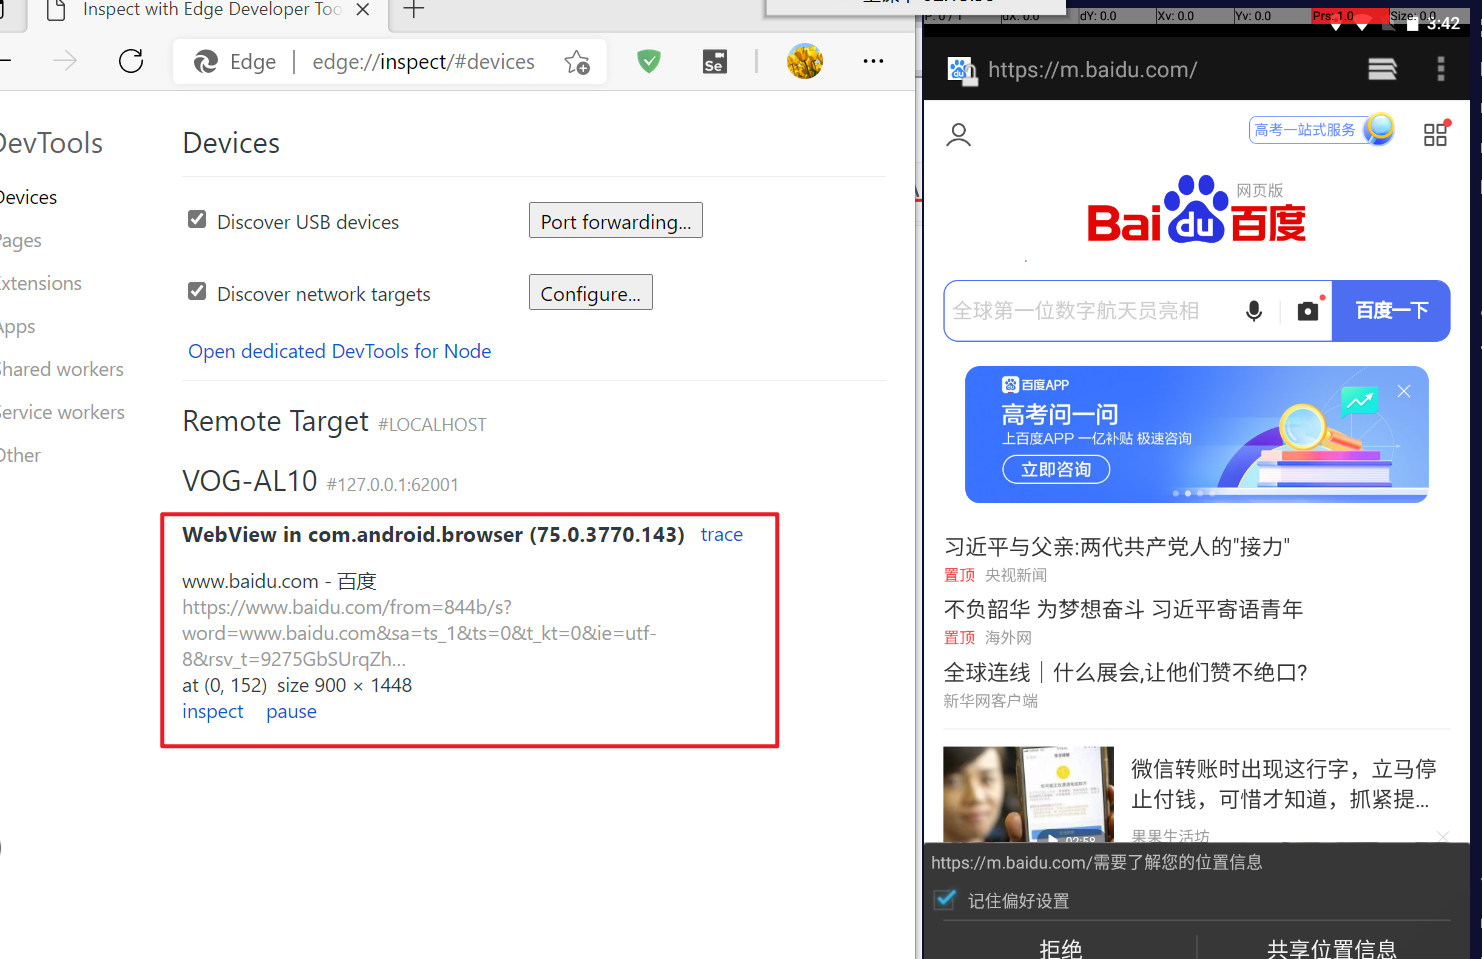
点击 【inspect】可以打开界面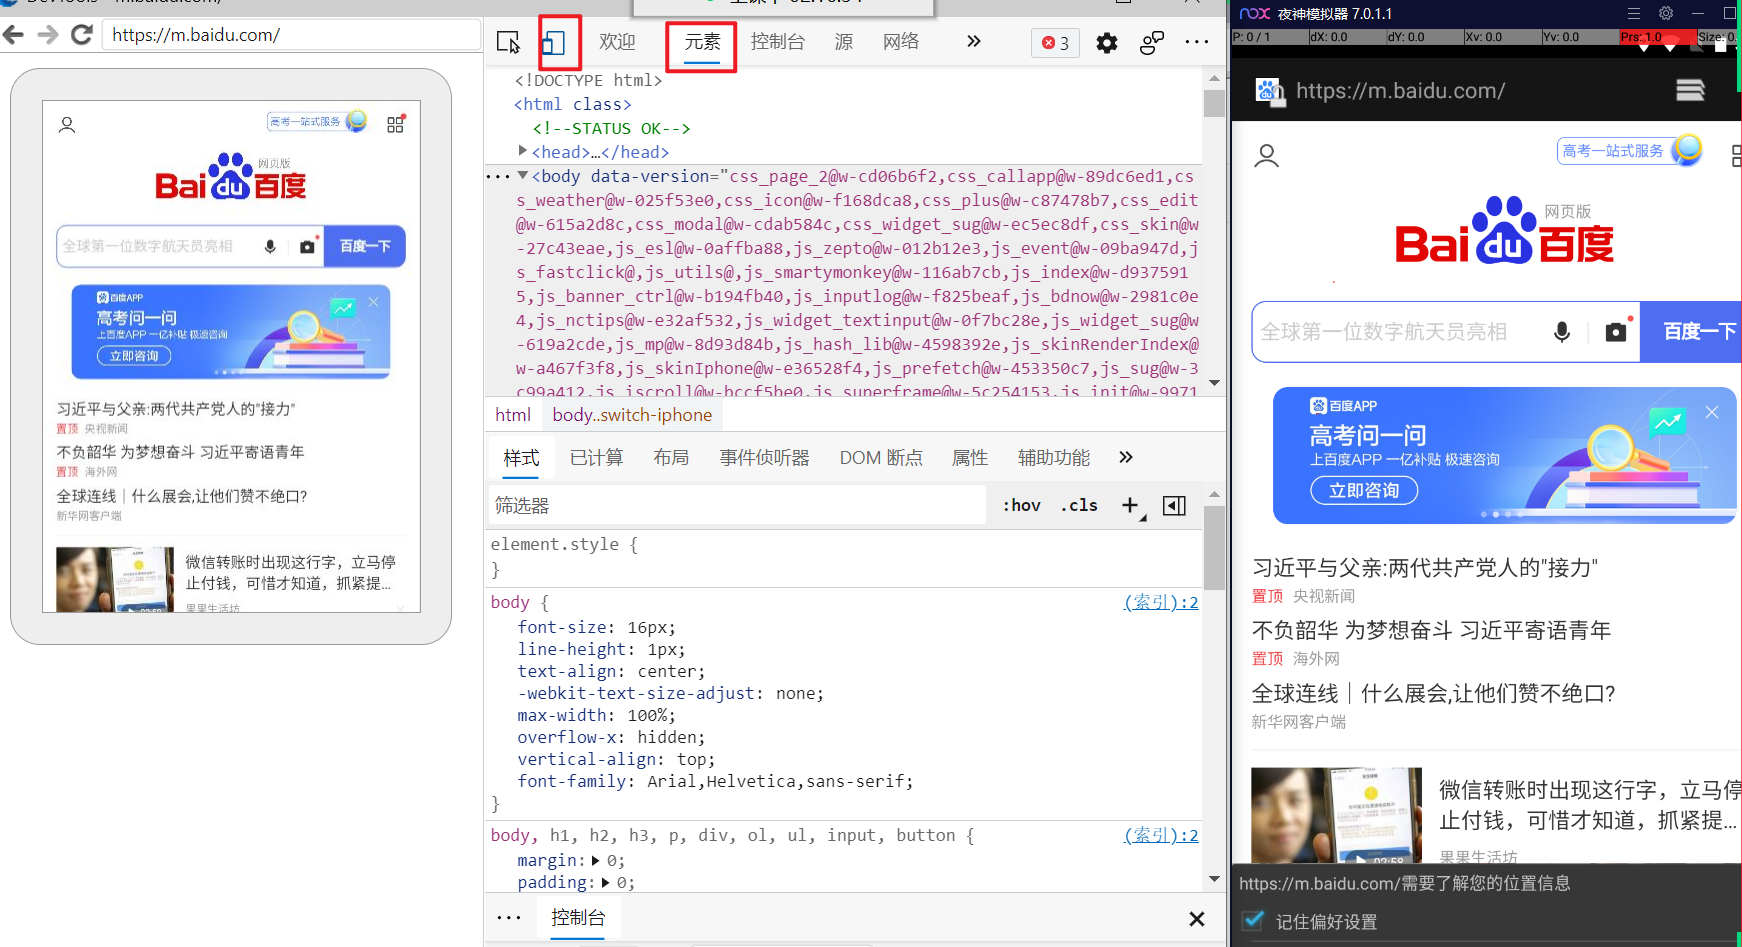
app中如果需要 调试 webview 页面,需要开发在测试版本中的app 进行配置
https://developer.chrome.com/docs/devtools/remote-debugging/webviews/
需要在 app 中添加配置
if (Build.VERSION.SDK_INT >= Build.VERSION_CODES.KITKAT) {WebView.setWebContentsDebuggingEnabled(true);}
打包后的apk文件
app-release.zip
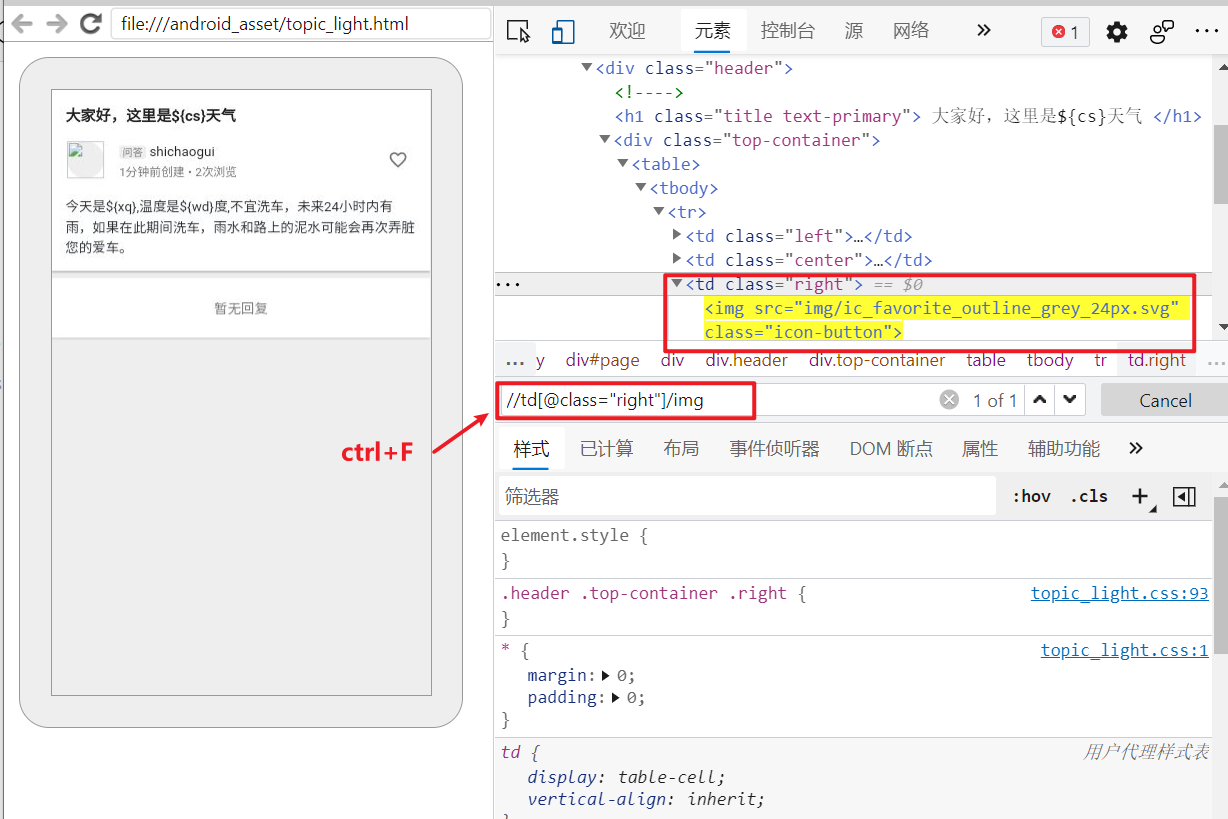
webview 调试
打开话题详情页面
在浏览器中可以识别到整个页面 (如果识别不到,重启下 模拟器试试)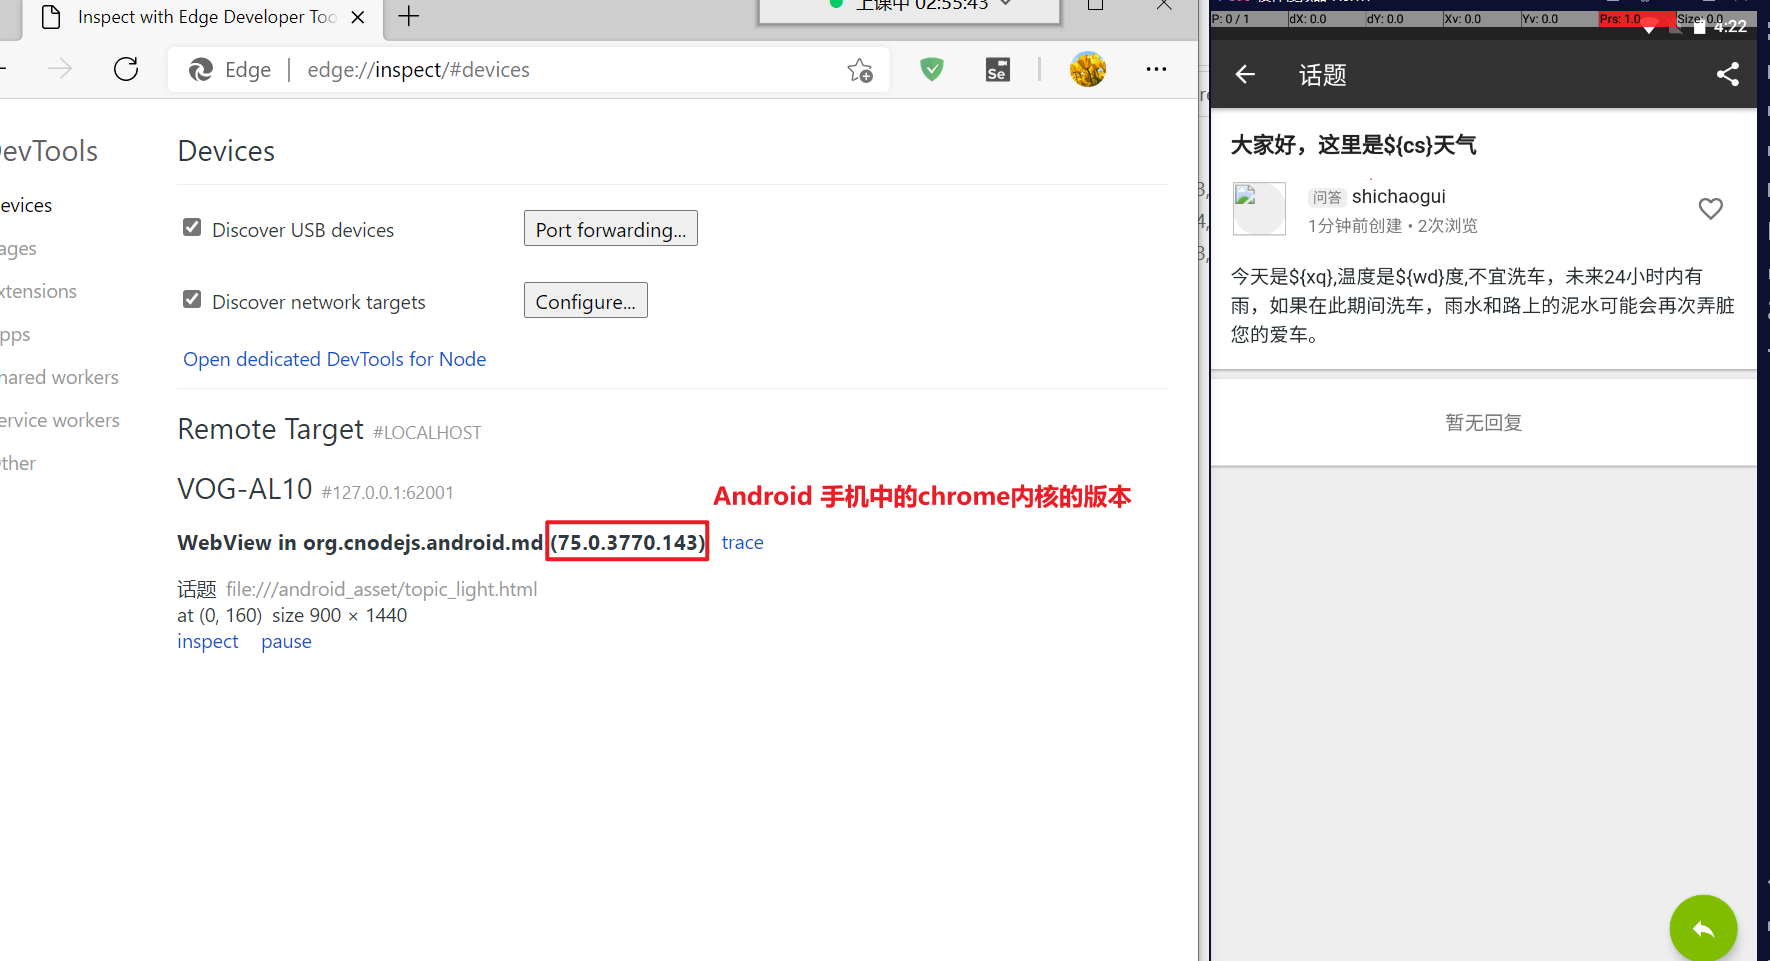
- 75.0.3770.143 手机渲染webview 视图的Chrome内核版本。
下载chromedriver
根据在浏览器中看到 手机端使用的Chrome版本下载对应的驱动。
下载 https://npm.taobao.org/mirrors/chromedriver/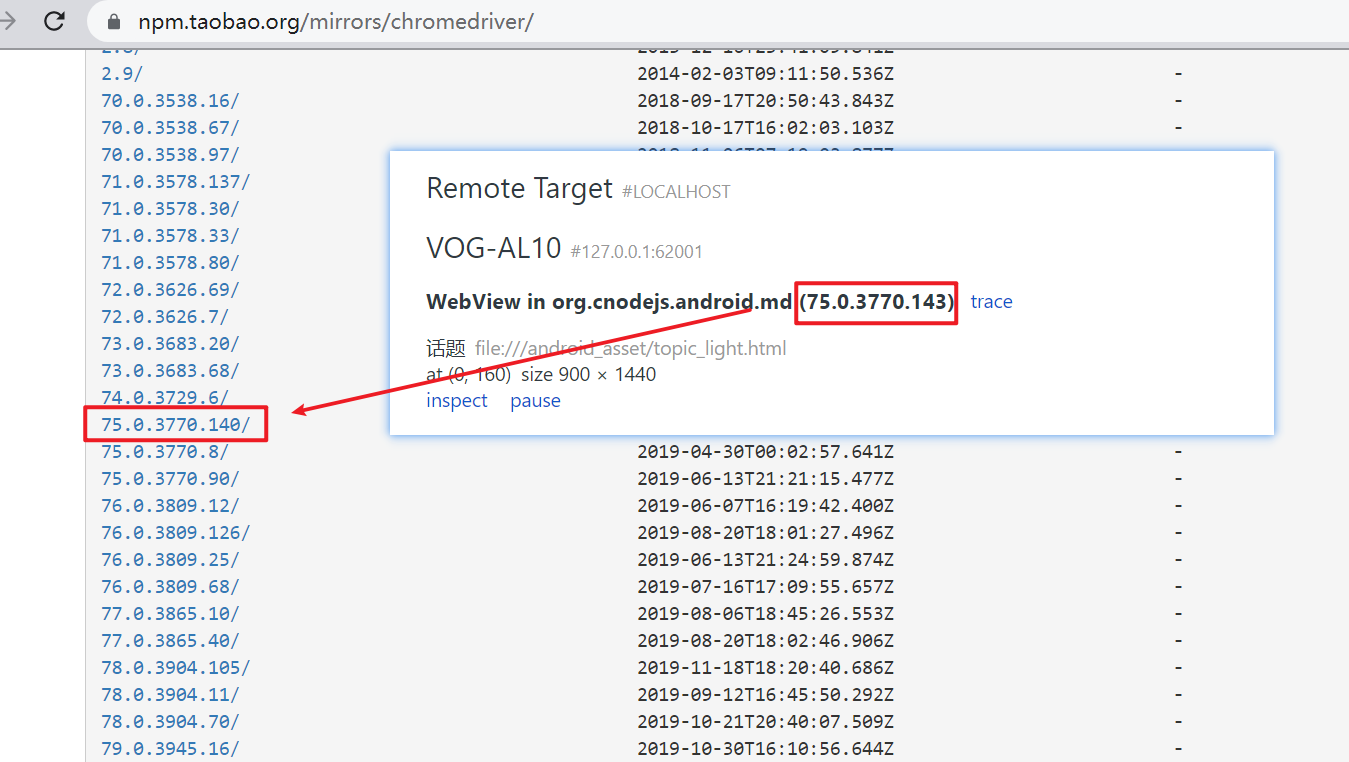
配置代码
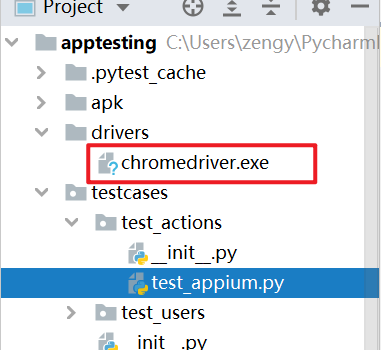
因为要使用到webview 进行切换。需要指定 chromedirver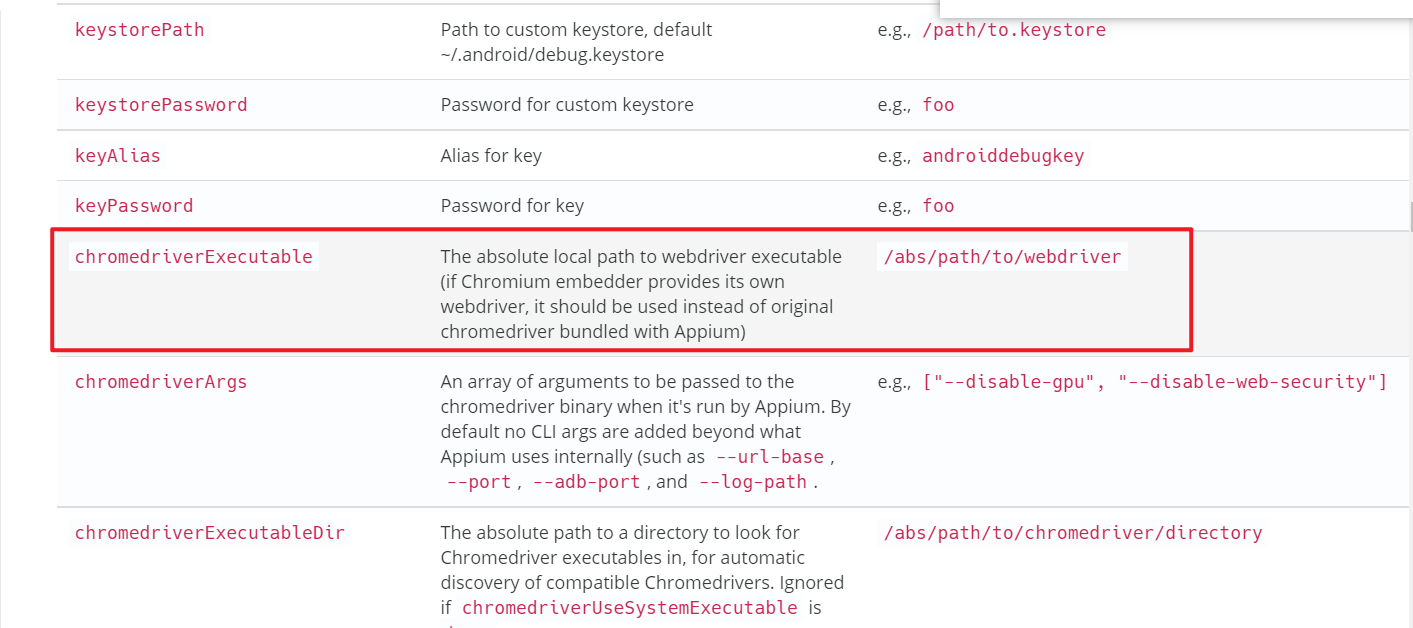
conftest.py 文件中添加 ChromeDriver的配置
import pytestfrom appium import webdriverfrom appium.webdriver.common.touch_action import TouchActionimport oschromedriver= os.path.join(os.path.dirname(os.path.abspath(__file__)),'drivers/chromedriver.exe')@pytest.fixture(scope="session",autouse=True)def driver():print("在所有的测试用例执行之前创建driver")desired_caps = {'platformName': 'Android', # 测试Android系统'platformVersion': '7.1.2', # Android版本 可以在手机的设置中关于手机查看'deviceName': '127.0.0.1:62001', # adb devices 命令查看 设置为自己的设备'automationName': 'UiAutomator2', # 自动化引擎'noReset': True, # 不要重置app的状态'fullReset': False, # 不要清理app的缓存数据'chromedriverExecutable': chromedriver, # chromedriver 对应的绝对路径'appPackage': "org.cnodejs.android.md", # 应用的包名'appActivity': ".ui.activity.MainActivity" # 应用的活动页名称}driver = webdriver.Remote('http://127.0.0.1:4723/wd/hub', desired_capabilities=desired_caps)driver.implicitly_wait(5) # 全局的隐式等待时间yield driver # 将driver 传递出来print("执行所有的用例执行之后的操作")
编写自动化代码
# testcases/test_actions/test_appium.pyfrom appium.webdriver.webdriver import WebDriverimport timefrom selenium.webdriver.support.wait import WebDriverWaitimport selenium.webdriver.support.expected_conditions as ECfrom selenium.webdriver.common.by import Bydef test_swipe(driver:WebDriver):viewgroup = driver.find_element_by_android_uiautomator('new UiSelector().className("android.view.ViewGroup").index(2)')# 获取元素控件的坐标位置print('location', viewgroup.location)print('rect', viewgroup.rect) # {'height': 1440, 'width': 900, 'x': 0, 'y': 160}flag = Falsewhile True:# 向上滑动driver.swipe(start_x=1,start_y=viewgroup.rect['height']+viewgroup.rect['y']-1,end_x=1,end_y=viewgroup.rect['y']-1,duration=1200)time.sleep(1.5)eles = driver.find_elements_by_id('org.cnodejs.android.md:id/tv_title')for ele in eles:print(ele.text)if ele.text == "helloworld":ele.click()flag = Truebreakif flag == True:break #中断while 循环def test_swipe_by_text(driver:WebDriver):ele = driver.find_element_by_android_uiautomator('new UiScrollable(new UiSelector().scrollable(true).instance(0)).scrollIntoView(new UiSelector().text("Jenkins持续集成测试-2").instance(0));')ele.click()def test_webview(driver:WebDriver):driver.find_element_by_id('org.cnodejs.android.md:id/tv_title').click()# 等待webview 加载出来wait = WebDriverWait(driver,5)wait.until(EC.presence_of_element_located((By.CLASS_NAME,'android.webkit.WebView')))# 切换视图# 获取所有的视图contexts = driver.contextsprint(contexts) # ['NATIVE_APP', 'WEBVIEW_org.cnodejs.android.md']# 切换到浏览器视图中driver.switch_to.context(contexts[-1])# 可以使用浏览器的元素定位driver.find_element_by_xpath('//td[@class="right"]/img').click()# 再次从webview中切换回原生控件中driver.switch_to.context(contexts[0])driver.find_element_by_android_uiautomator('new UiSelector().className("android.widget.Button").text("登录")').click()
运行
(venv) C:\Users\zengy\PycharmProjects\apptesting>pytest testcases\test_actions\test_appium.py::test_webview -s -v

若有收获,就点个赞吧
0 人点赞
