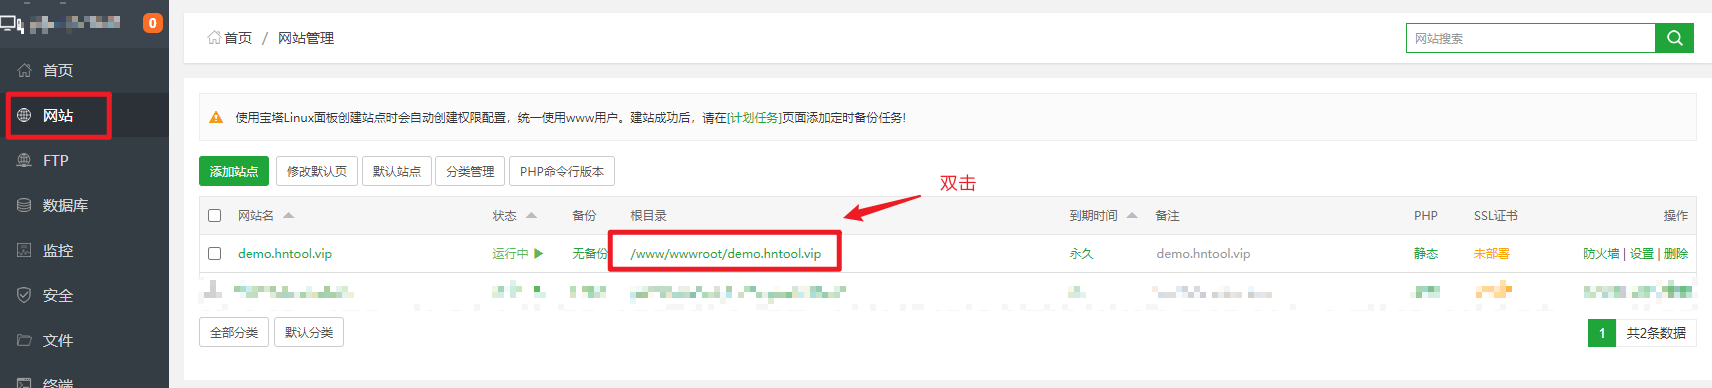
网站-添加站点

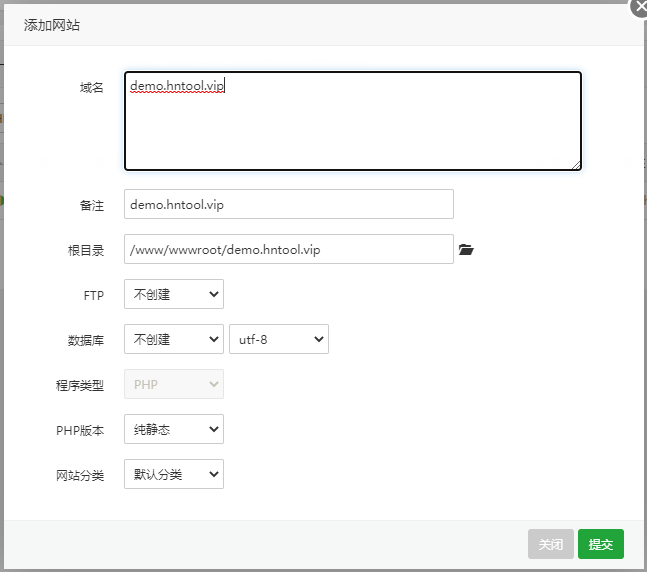
配置文件修改
处理 404 问题
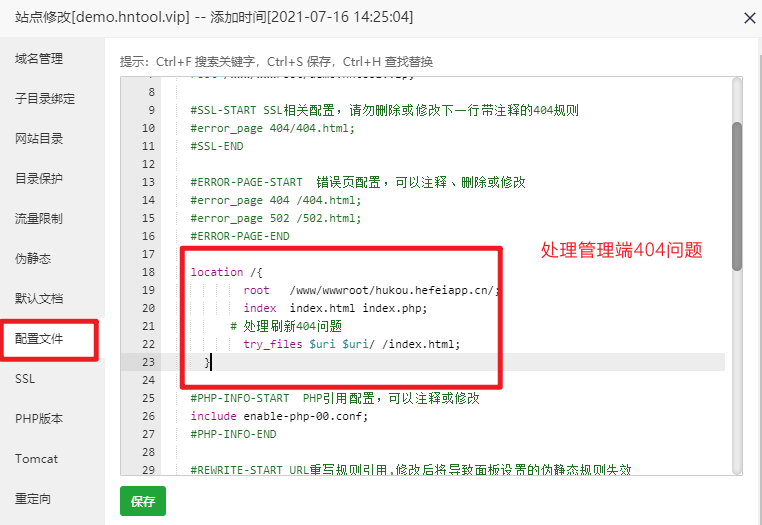
# web 页面location /{# 注意: root目录是你管理管页面放的目录root /usr/local/echo/echo-web/;index index.html index.php;# 处理刷新404问题try_files $uri $uri/ /index.html;}
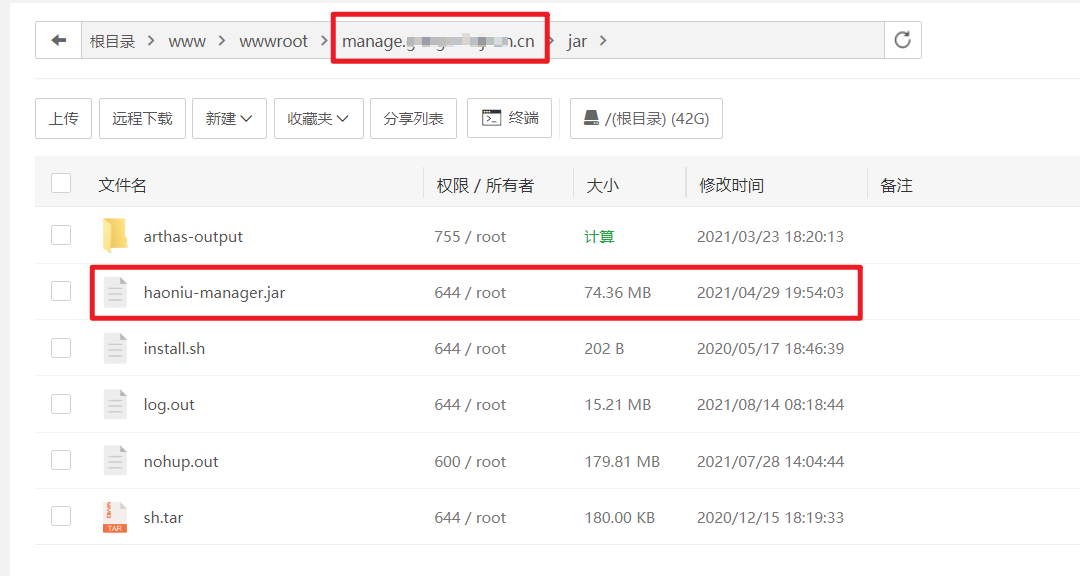
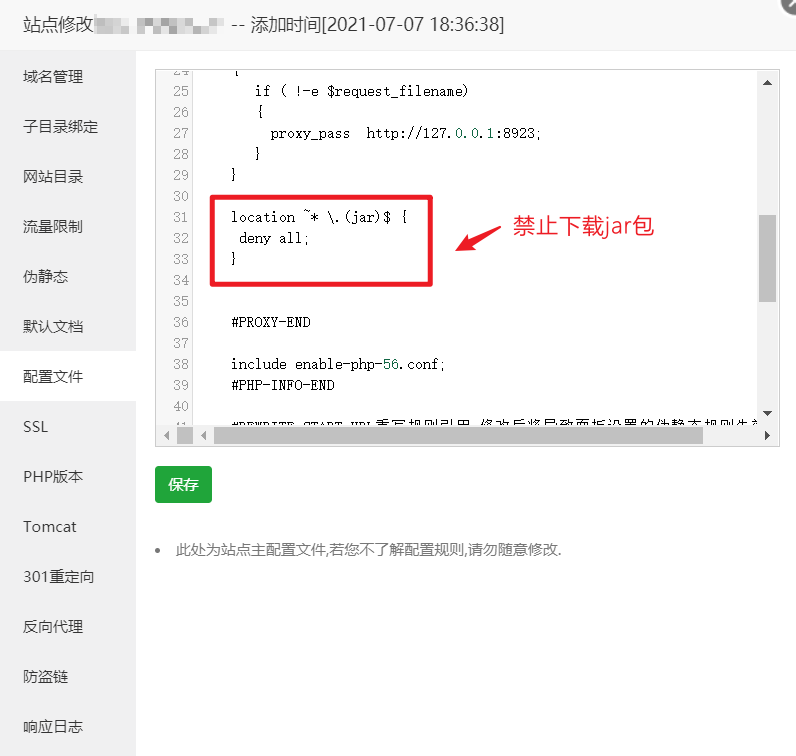
如果jar包放在网站根目录的话,需要配置禁止下载 jar 包
location ~* \.(jar)$ {deny all;}
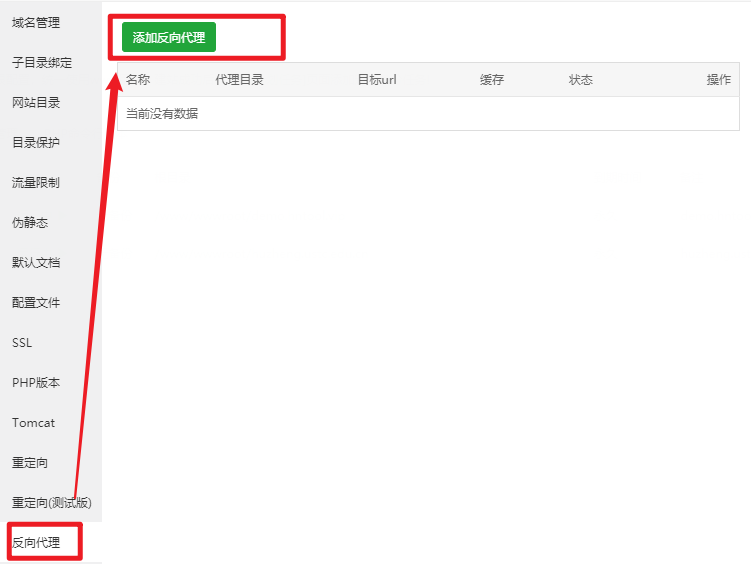
添加反向代理
添加前端APP接口
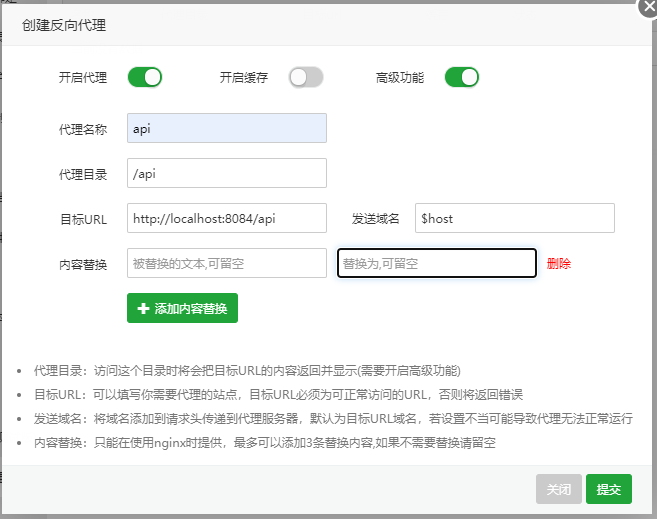
注意 目标URL是本地接口访问地址
添加管理端接口
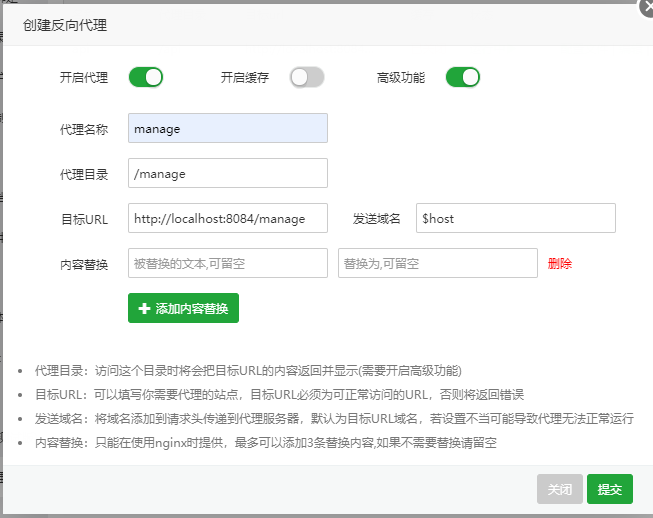
注意 目标URL是本地接口访问地址
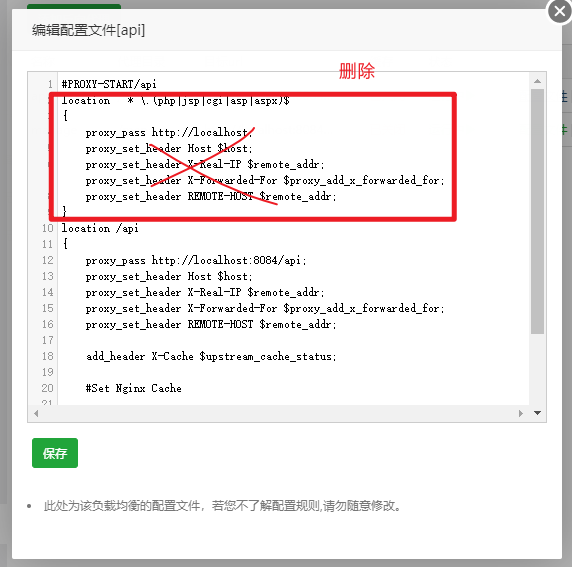
修改配置文件

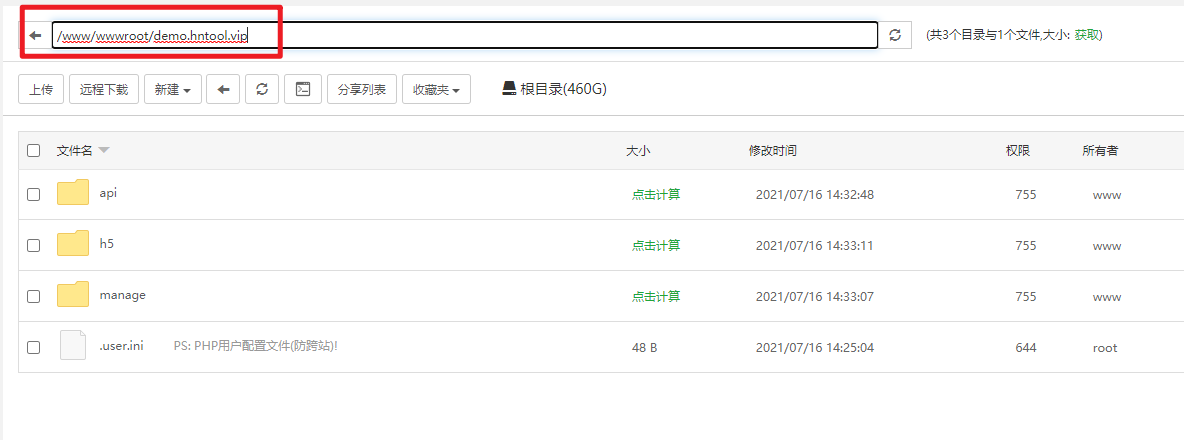
新建项目目录
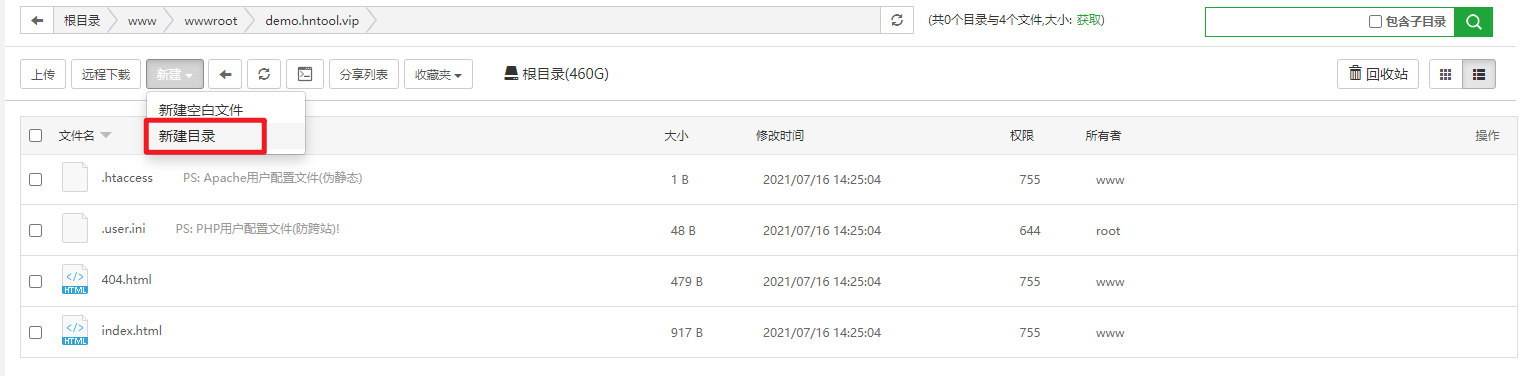
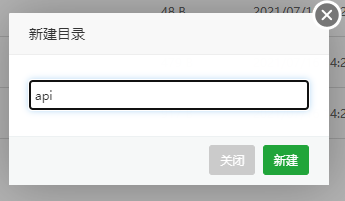
创建三个目录,分别是 api 、 manage 、 h5
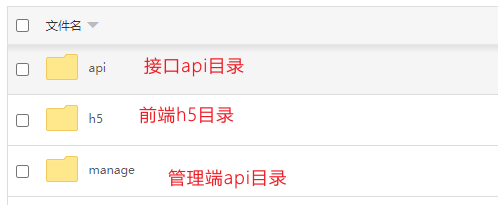
管理端页面就放在根目录
部署在同一个域名下面
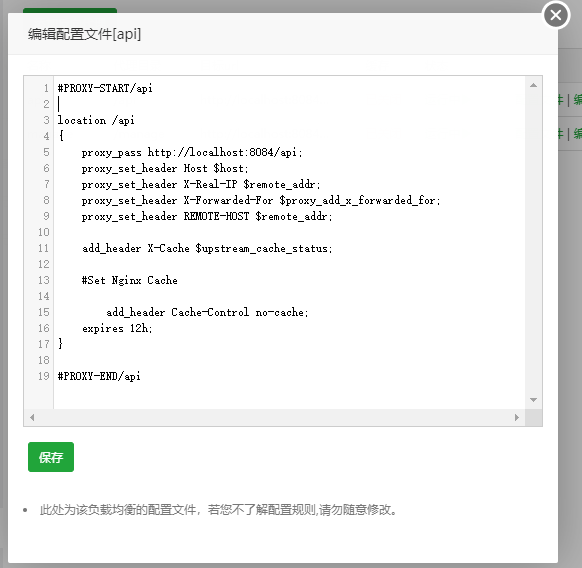
反向代理配置: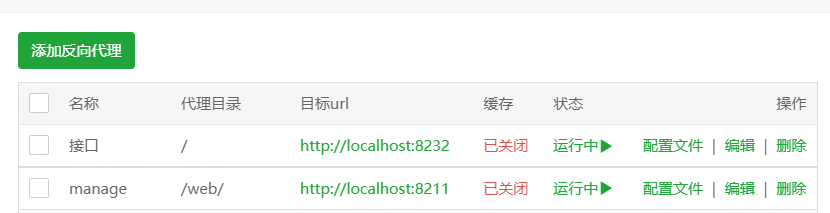
接口api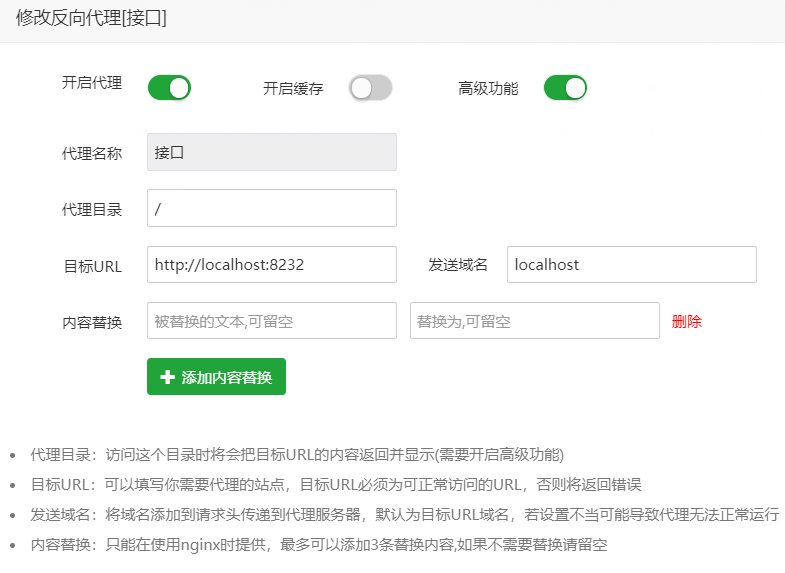
配置文件如下所示
#PROXY-START/location /api/{proxy_pass http://localhost:8232/;proxy_set_header Host $host;proxy_set_header X-Real-IP $remote_addr;proxy_set_header X-Forwarded-For $proxy_add_x_forwarded_for;proxy_set_header REMOTE-HOST $remote_addr;add_header X-Cache $upstream_cache_status;#Set Nginx Cacheadd_header Cache-Control no-cache;expires 12h;}#PROXY-END/
管理端api
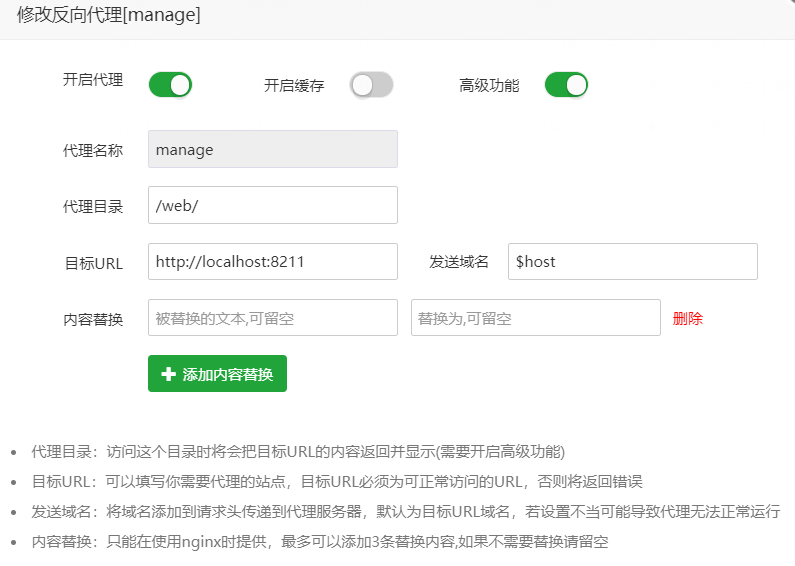
配置文件如下所示
#PROXY-START/managelocation /web/{proxy_pass http://localhost:8211/;proxy_set_header Host $host;proxy_set_header X-Real-IP $remote_addr;proxy_set_header X-Forwarded-For $proxy_add_x_forwarded_for;proxy_set_header REMOTE-HOST $remote_addr;add_header X-Cache $upstream_cache_status;#Set Nginx Cacheadd_header Cache-Control no-cache;expires 12h;}#PROXY-END/manage
java代码图片路径配置
# 项目相关配置ruoyi:# 文件路径 填写网站目录profile: /www/wwwroot/xxx.demo.com/profile


若有收获,就点个赞吧
0 人点赞
