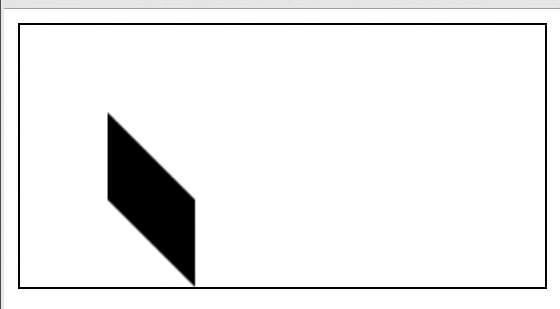
一:矩形相关:
1、获取canvas执行上下文()
首先先给canvas画布定义一个大小;然后利用2d接口的方法进行绘制
cosnt ctx = canvas.getContext(‘2d’) 获取2d接口实现绘制
ctx.fillStyle = green; 需要在画布上填充的颜色类型
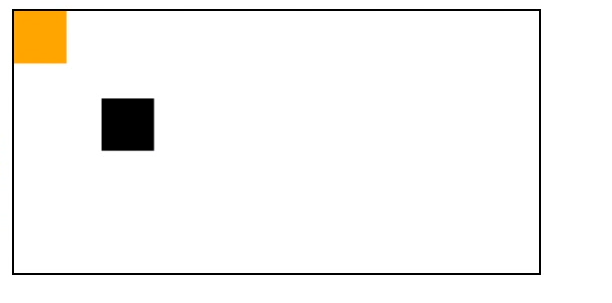
ctx.fillRect(x, y, width, height) x: 相对于canvas画布的x轴坐标;
width: 画出矩形的大小
ctx.clearRect(x, y, width, height) 清除哪个位置的矩形;实现透明效果
<canvas id="canvas"></canvas><script>const canvas = document.getElementById('canvas');const ctx = canvas.getContext('2d');ctx.fillStyle = 'green';ctx.fillRect(10, 10, 150, 100); // 参数 x y width heightctx.clearRect(15, 15, 50, 50) ;ctx.stroke(50, 50, 100, 100) // 绘制出一个轮廓矩形</script>
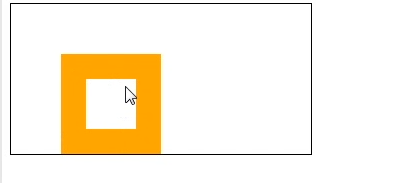
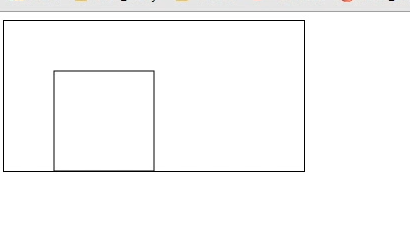
ctx.strokeRect(50, 50, 100, 100) 画出下图的矩形
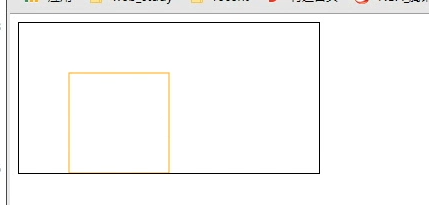
<canvas id="canvas"></canvas><script>const canvas = document.getElementById('canvas');const ctx = canvas.getContext('2d');// 参数 x y width height// 和fillStyle的区别ctx.strokeStyle = 'orange' // 轮廓的颜色ctx.stroke(50, 50, 100, 100) // 绘制出一个轮廓矩形</script>
二:画直线(line)
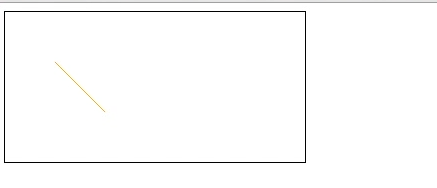
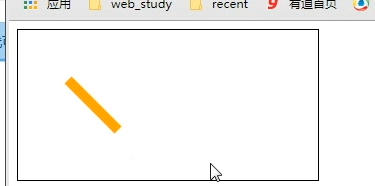
<canvas id="canvas"></canvas><script>const canvas = document.getElementById('canvas');const ctx = canvas.getContext('2d');// 参数 x y width heightctx.beginPath(); // 路径ctx.strokeStyle = 'orange'; // 画笔的颜色// 两点确定一条直线ctx.moveTo(50, 50) // 从哪个位置开始画(起始点)ctx.lineTo(100, 100) // 画到哪一个位置// 控制线的宽度ctx.lineWith = 10;ctx.stroke(); // 调用这个方法执行画笔</script>
2、闭合路径画三角形:(line)
ctx.begainPath(); 画路径;
ctx.clostPath(); 闭合路径 最后一个点和起始点直接连接
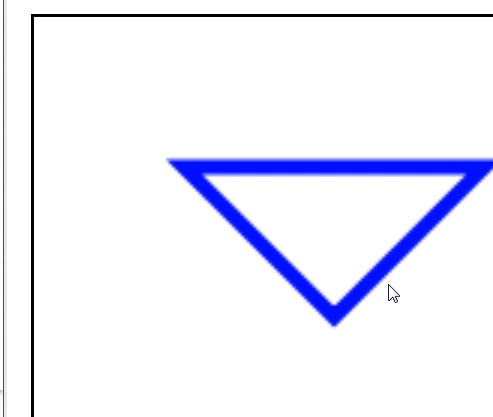
<canvas id="canvas"></canvas><script>const canvas = document.getElementById('canvas');const ctx = canvas.getContext('2d');// 参数 x y width heightctx.beginPath(); // 路径ctx.strokeStyle = 'orange'; // 画笔的颜色// 两点确定一条直线ctx.moveTo(50, 50) // 从哪个位置开始画(起始点)ctx.lineTo(150, 50) // 画到哪一个位置ctx.lineTo(100, 100) // x, yctx.clostPath(); // 闭合路径; 最后一个点和起始点直接连接// 控制线的宽度ctx.lineWith = 10;ctx.stroke(); // 调用这个方法执行画笔</script>
3、画圆(arc)
1、arc(x , y, radius, startAngle, endAngle, anticlockwise )
x, y : 表示圆心的坐标;
radius: 半径
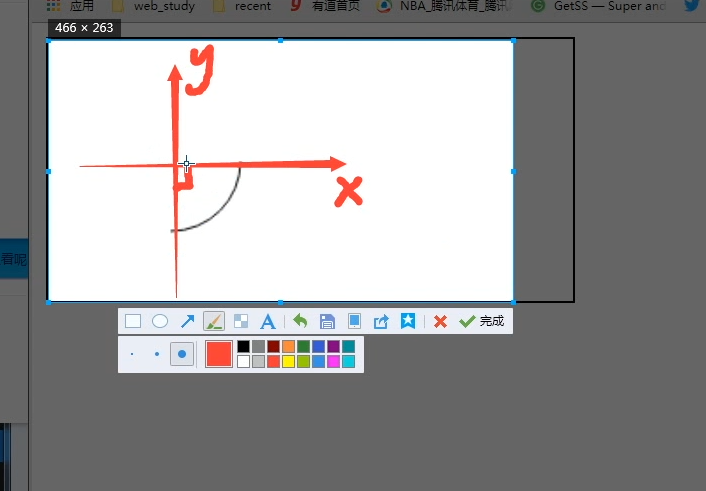
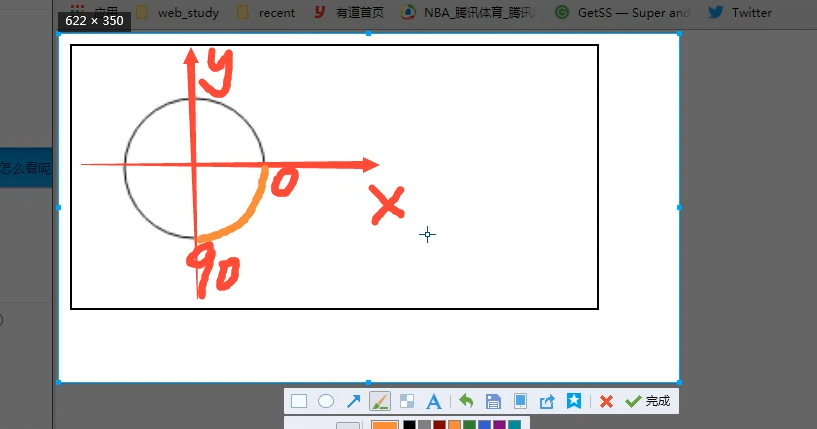
startAngle, endAngle; 表示起始角度和终止角度(pai 180度;顺时针)
anticlockwise :false 方向(默认顺时针如图) false顺时针 true:逆时针
<canvas id="canvas"></canvas><script>const canvas = document.getElementById('canvas');const ctx = canvas.getContext('2d');// 参数 x y width heightctx.beginPath(); // 路径// ctx.strokeStyle = 'orange'; // 画笔的颜色ctx.arc(70, 70, 40, 0, (Math.PI / 180) * 90, false) // 图一ctx.stroke(); // 调用这个方法执行画笔</script>
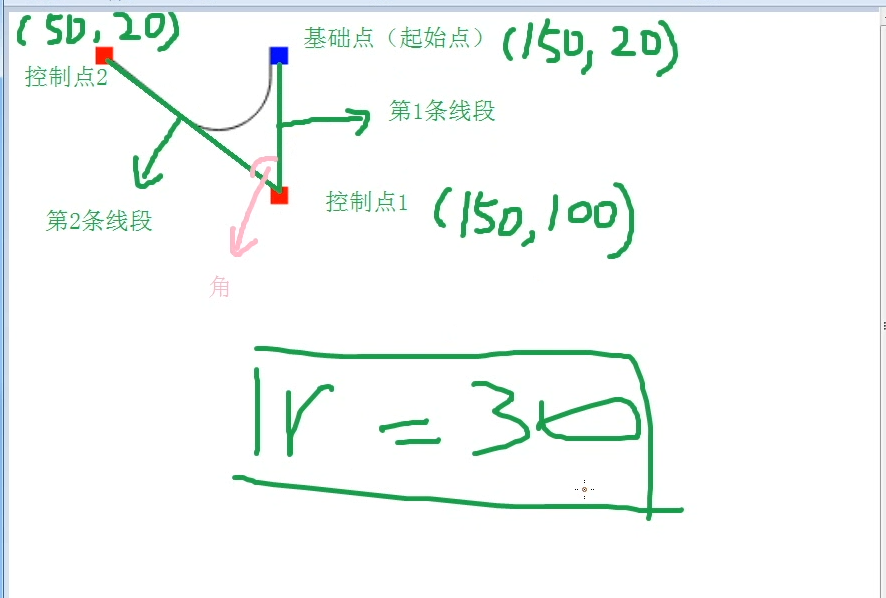
画圆弧的路径(arcTo(x1, y1, x2, y2, radius))
(x1, y1); (x2, y2) 控制点
基础点和控制点控制画圆弧
<canvas id="canvas"></canvas><script>const canvas = document.getElementById('canvas');const ctx = canvas.getContext('2d');// 参数 x y width heightctx.beginPath(); // 路径// ctx.strokeStyle = 'orange'; // 画笔的颜色ctx.moveTo(150, 20) // 起始点(基础点)ctx.arcTo(150, 100, 50, 20, 30) // 设置控制点ctx.lineTo(50, 20) // 设置第二个控制点ctx.stroke(); // 调用这个方法执行画笔</script>
4、贝塞尔曲线
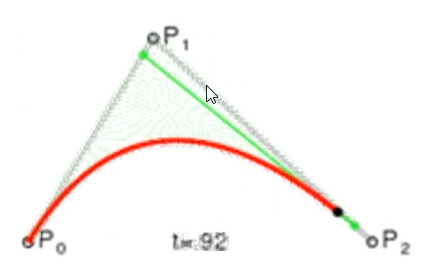
方法:ctx.quadraticCurveTo(cpx, cpy, x, y) ;
cp (control pointer) 控制点 (x, y) 终点
<canvas id="canvas"></canvas><script>// 曲线的突起点朝向控制点const canvas = document.getElementById('canvas');const ctx = canvas.getContext('2d');// 参数 x y width heightctx.beginPath(); // 路径// ctx.strokeStyle = 'orange'; // 画笔的颜色ctx.moveTo(50, 20) // 起始点(基础点)ctx.quadraticCurveTo(230, 30, 50, 100); // (230, 30) 控制点 (50, 100) 终点ctx.stroke(); // 调用这个方法执行画笔</script>
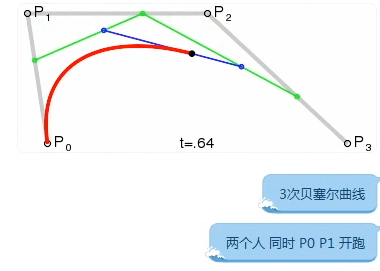
b:3次贝塞尔曲线
方法: ctx.bezierCurveTo( cpx1, cpy1, cpx2, cpy2, x, y )
ctx.bezierCurveTo(cpx1, cpy1, cpx2, cpy2, x, y) ( x, y ) 表示结束点
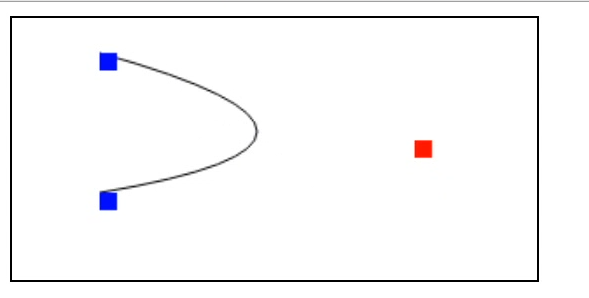
<canvas id="canvas" width="400" height="200"></canvas><script>var cav = document.getElementById('canvas');let ctx = cav.getContext('2d');console.log(ctx);// ctx.stockRect(x, y, width, height)// ctx.fillStyle = color; ctx.fillRect(x, y, width, height)// ctx.clearRect(x, y, width, height)ctx.beginPath();ctx.moveTo(50, 20);ctx.bezierCurveTo(200, 30, 150, 100, 50, 100);ctx.stroke();// begin pointerctx.fillStyle = 'blue';ctx.fillRect(50, 20, 10, 10);ctx.fillRect(50, 100, 10,10)// control pointerctx.fillStyle = 'red'ctx.fillRect(200, 30, 10, 10)ctx.fillRect(150, 100, 10, 10);</script>
5、移动translate和保存之前状态
a:ctx.translate(x, y) 可以移动坐标点,再进行绘制
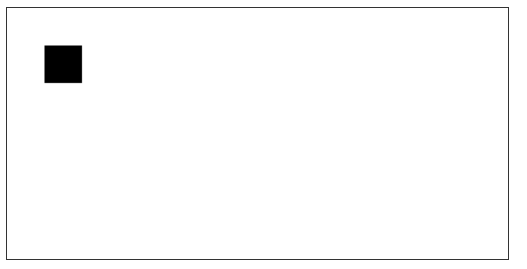
<canvas id="canvas" width="400" height="200"></canvas><script>var cav = document.getElementById('canvas');let ctx = cav.getContext('2d');console.log(ctx);ctx.translate(30, 30); // 移动了点ctx.fillRect(0, 0, 30, 30)</script>
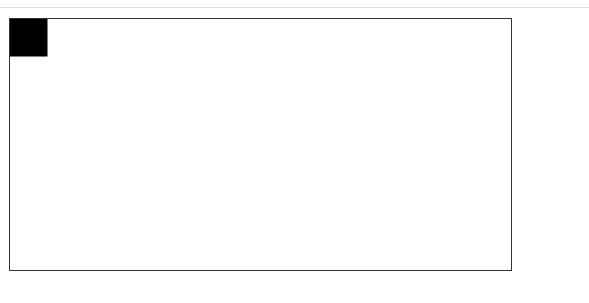
<canvas id="canvas" width="400" height="200"></canvas><script>var cav = document.getElementById('canvas');let ctx = cav.getContext('2d');console.log(ctx);ctx.fillRect(0, 0, 30, 30)ctx.translate(30, 30);/// 改变下面代码的起始点// ctx.fillRect(0,0, 30, 30)</script>
c:ctx.scale(x, y) x轴y轴上的缩放
d:ctx.rotate(Math.PI / 180 * 度数)
e:ctx.transform(水平缩放,垂直倾斜,水平倾斜,垂直缩放,水平移动,垂直移动)
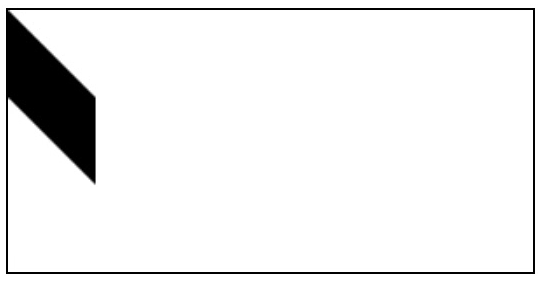
<canvas id="canvas" width="400" height="200"></canvas><script>var cav = document.getElementById('canvas');let ctx = cav.getContext('2d');console.log(ctx);ctx.transform(1, 1, 0, 1, 0, 0)ctx.fillRect(0, 0, 50, 50);/// 改变下面代码的起始点// ctx.fillRect(0,0, 30, 30)</script>
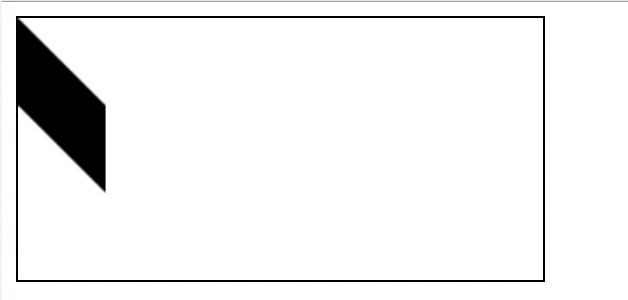
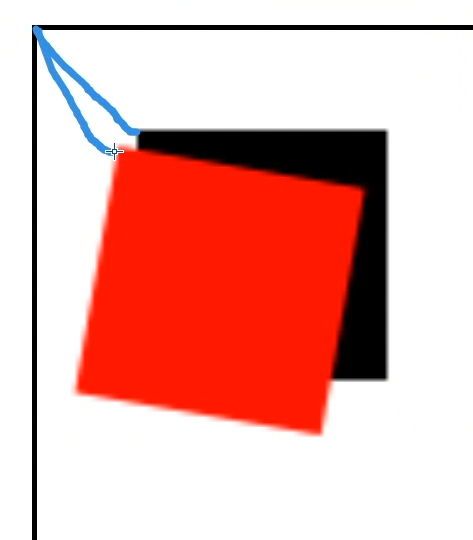
<canvas id="canvas" width="400" height="200"></canvas><script>var cav = document.getElementById('canvas');let ctx = cav.getContext('2d');console.log(ctx);ctx.translate(50, 50);// ctx.transform(1, 1, 0, 1, 0, 0) 如图二;继承// 不继承上面,重新设置ctx.setTransform(1, 1, 0, 1, 0, 0)ctx.fillRect(0, 0, 50, 50);/// 改变下面代码的起始点// ctx.fillRect(0,0, 30, 30)</script>
ctx.save(); // 保存之前状态 ctx.restore() // 还原到上次保存的状态
<canvas id="canvas" width="400" height="200"></canvas><script>var cav = document.getElementById('canvas');let ctx = cav.getContext('2d');console.log(ctx);ctx.save() // 保存了之前的状态// 改变canvas原点的位置ctx.translate(30, 30);/// 改变下面代码的起始点ctx.fillRect(0,0, 30, 30)ctx.restore(); // 还原到上次保存的状态ctx.fillStyle = 'orange'ctx.fillRect(0, 0, 30, 30)</script>
