介绍
认证中心作为客户端实现第三方登录(gitee、cas协议第三方登录等)。
引入依赖
pom.xml引入如下依赖:
<dependency><groupId>org.apereo.cas</groupId><artifactId>cas-server-support-pac4j-webflow</artifactId><version>${cas.version}</version></dependency>

yml文件设置
cas:
  ...
  server:
    # 认证中心地址,http:ip:port 格式
    name: http://localhost:8080
    # 开发时是 server.context-path中横线转下划线,部署时以server.context-path为准
    prefix: ${cas.server.name}${server.context-path}
第三方登录
gitee(码云)
创建应用
登录gitee后,创建应用(我的-》设置-》数据管理-》第三方应用-》创建应用)。

填写应用名称、应用主页、应用回调地址,点击【创建应用】: 创建好的应用示例如下:
公开邮箱

认证中心设置
cas:
...
  authn:
...
    pac4j:
      # 默认值false,设定true后,下面的principalAttributeId=email将作为类似主键替代ID
      typedIdUsed: true
      oauth2:
        # 码云接入流程 https://gitee.com/api/v5/oauth_doc#/
        # 码云 -> 我的应用 -> 应用详情 -> Client ID
        # - id: 026655d948701f76b96b0a1cfe0874a38f34e8fb379b4be32285581d7b592f62
        - id: 2eed984f27facb79de25e6a64b96d42c0ab2e41ede9ef490585c0dfa83b1cef6
          # 码云 -> 我的应用 -> 应用详情 -> Client Secret
          # secret: 891e671f9fed0432d1e09dde86936471af251ef52558b2934115f7e04a8b56ca
          secret: 891e671f9fed0432d1e09dde86936471af251ef52558b2934115f7e04a8b56ca
          # 码云的授权地址
          authUrl: https://gitee.com/oauth/authorize
          # 码云获得token地址
          tokenUrl: https://gitee.com/oauth/token
          # 码云用户接口地址
          profileUrl: https://gitee.com/api/v5/user
          profileVerb: GET
          usePathBasedCallbackUrl: false
          principalAttributeId: email
          profileAttrs:
            username: name
          # 客户端名称,需要在 static/images 目录下添加 {clientName}.png 作为图标
          clientName: gitee
配置项解释
- typedIdUsed :是否使用principalAttributeId属性代替主键,默认值false,设定true后,下面的principalAttributeId=email将作为类似主键替代ID
- id : gitee的Client ID
- secret : gitee的Client Secret
- clientName :认证中心第三方登录的名称,此处设置为gitee
- authUrl :gitee的鉴权地址
- tokenUrl :gitee获得token的地址
- profileUrl :gitee用户接口
- principalAttributeId :用户属性的主键
- profileAttrs : 展示的用户信息属性映射关系,如username: name表示将gitee用户属性name的值赋予认证中心中username属性的值
认证中心运行
点击下方的gitee图标,输入gitee账号和密码即可登录成功。
cas协议
认证中心设置
cas:
...
  authn:
...
    pac4j:
      # 默认值false,设定true后,下面的principalAttributeId=email将作为类似主键替代ID
      typedIdUsed: true
      cas:
        # CAS 服务登录地址
        - loginUrl: http://192.168.59.117:30030/gc-starter-ac/login
          # 使用的CAS协议
          protocol: CAS30
          usePathBasedCallbackUrl: false
          principalAttributeId: username
          # 客户端名称,需要在 static/images 目录下添加 {clientName}.png 作为图标
          clientName: cas
配置项解释
- typedIdUsed :是否使用principalAttributeId属性代替主键,默认值false,设定true后,下面的principalAttributeId=username将作为类似主键替代ID
- id : 第三方应用的Client ID
- protocol: 使用的cas协议
- clientName :认证中心第三方登录的名称,此处设置为gitee
-
认证中心运行
github
创建应用
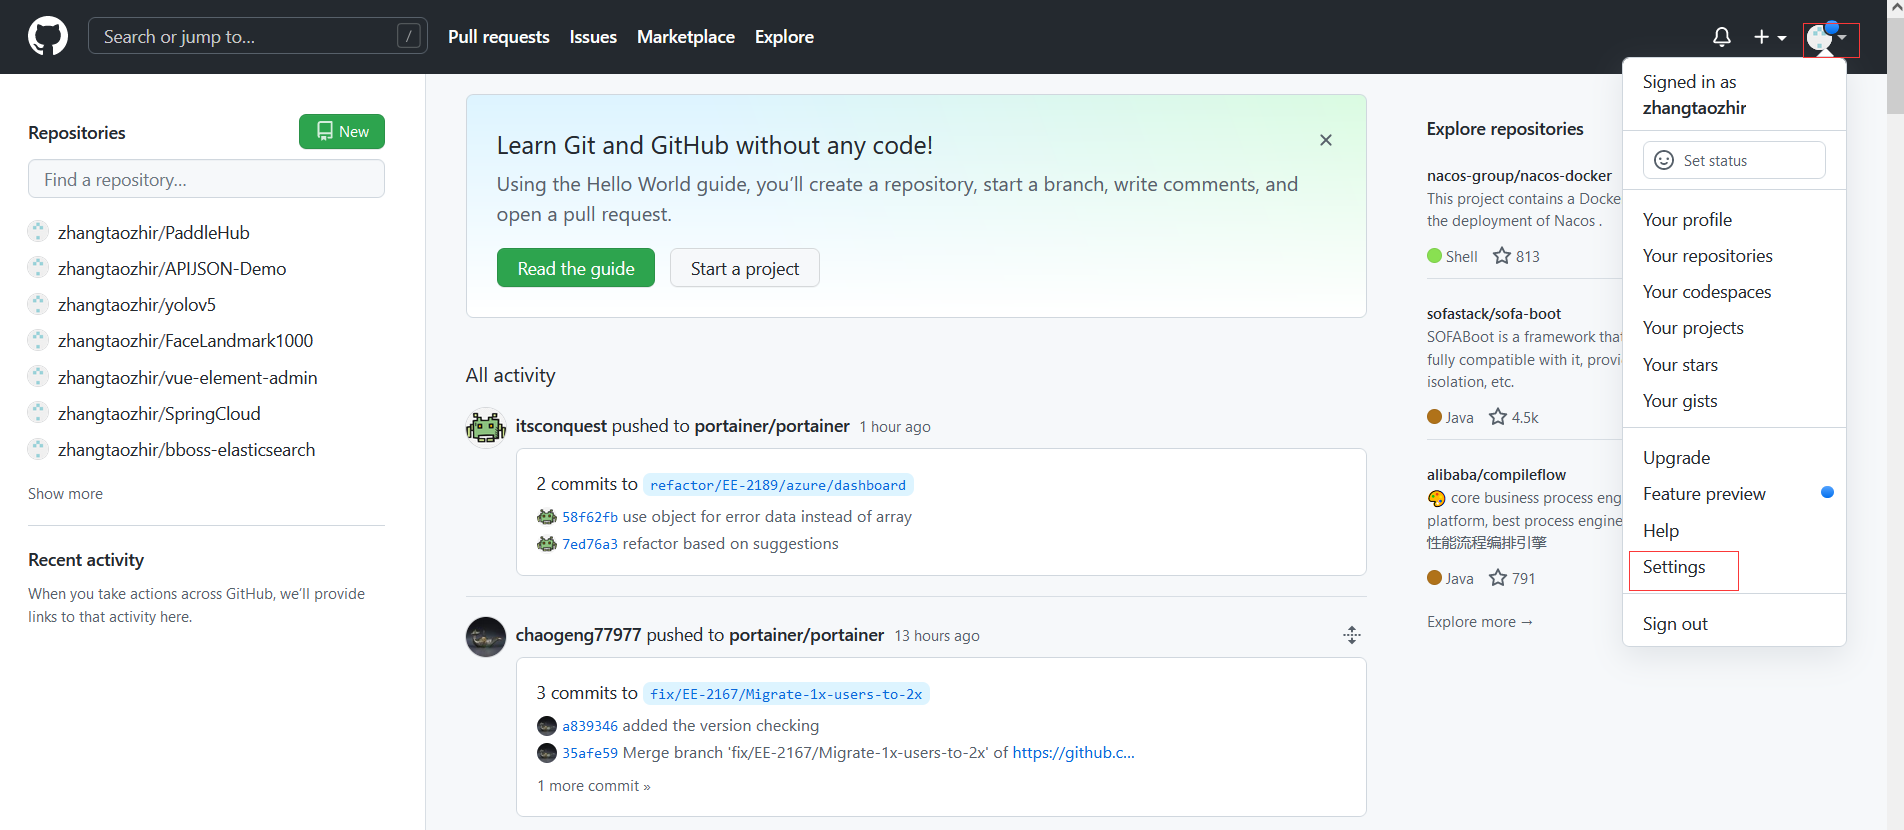
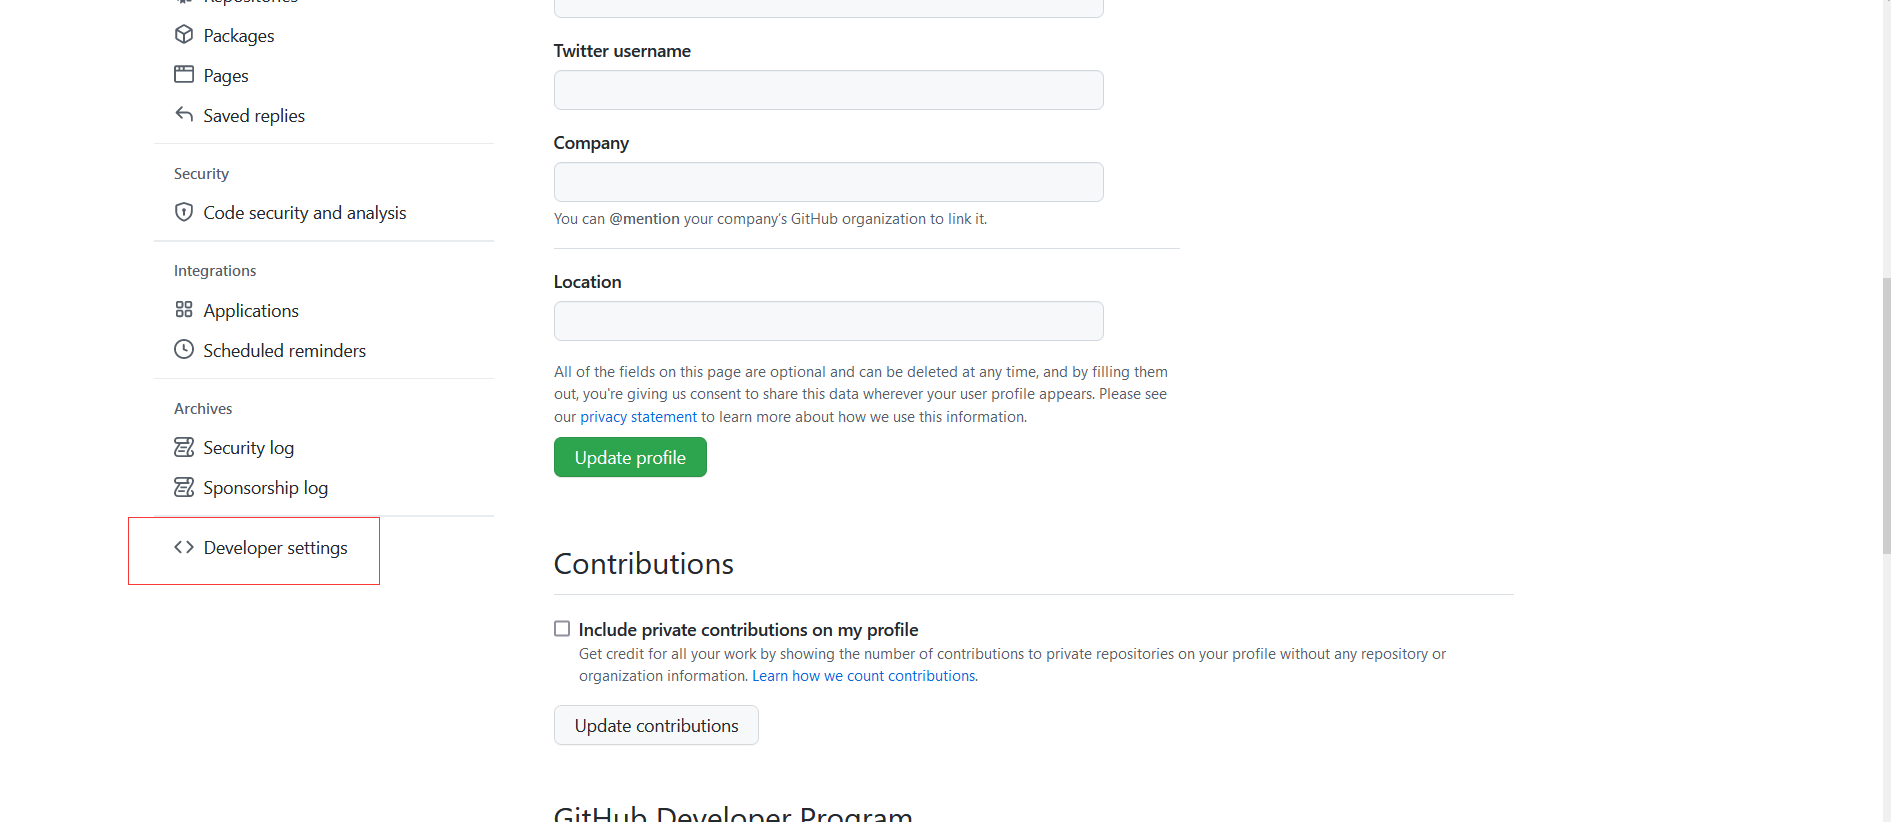
登录github后,创建应用(my-》Settings-》Developer settings-》New Github App)。


填写Github App name、Homepage URL、Callback URL,点击【Create Github App】:

创建好的应用示例如下:
注意!!!注意!!!注意!!!
创建好应用后,Client secrets要及时复制,不然再次进入应用会发现Client secrets已经做了脱敏处理
- 如果忘记了Client secrets,可以重新添加一个
认证中心设置

cas:
...
  authn:
...
    pac4j:
      github:
        # github->Settings->Developer settings->我的应用->应用详情-> Client ID
        id: a03a4bdaac35fa11c66d
        # github->Settings->Developer settings->我的应用->应用详情-> Client secrets
        secret: c086eb93feaa5b7336ae2df4a9118cf061f9c30c
        principalAttributeId: id
        clientName: github
配置项解释


若有收获,就点个赞吧
0 人点赞
