介绍
OAuth 2.0 是一个授权标准协议。如果你希望将自己应用的数据安全地授权给调用方,建议使用 OAuth 2.0。
根据 OAuth 2.0 协议规范,主要有四个主体:
- 授权服务器,负责颁发 Access Token,认证中心即是授权服务器。
- 资源所有者,你的应用的用户是资源的所有者,授权其他人访问他的资源。
- 调用方,调用方请求获取 Access Token,经过用户授权后,认证中心为其颁发 Access Token。调用方可以携带 Access Token 到资源服务器访问用户的资源。
- 资源服务器,接受 Access Token,然后验证它的被赋予的权限项目,最后返回资源。
其他重要概念:
- 一次 OAuth 2.0 授权是指用户授权调用方相关的权限。
- Code 授权码是由认证中心颁发的,用于调用方使用 Code 换取 Token。
- Access Token 由认证中心颁发,持有 Access Token 说明完成了用户授权。
- Refresh Token 是一个可选的 Token,用于在 Access Token 过期后获取一个新的 Access Token。
如果你想了解更多的 OAuth 2.0 内容,可以阅读协议规范(opens new window) 、OAuth2.0四种方式
专业术语
| 名词 | 描述 |
|---|---|
| resource owner | 资源所有者,能够允许访问受保护资源的实体。如果是个人,被称为end user |
| resource server | 资源服务器,受保护资源的服务器,即访问该服务器需要获取授权或许可 |
| client | 客户端,使用资源所有者的授权代表资源所有者发起对受保护资源的请求的应用程序 |
| authorization server | 授权服务器,能够向客户端 client 颁发令牌 |
| code | 授权码,用于获取访问令牌 |
| Access Token | 访问令牌,用于请求用户资源 |
| Refresh Token | 刷新令牌,用于访问令牌过期时,重新获取访问令牌 |
接口介绍
接口使用详情参考官网说明
| URI | 描述 |
|---|---|
| /oauth2.0/authorize | 授权接口,用于获取code或者token |
| /oauth2.0/accessToken、/oauth2.0/token | token接口,用于获取accessToken |
| /oauth2.0/profile | 用户信息接口,通过携带access_token参数请求来获取用户信息 |
错误描述
以下为接入Oauth2.0协议可能遇到的一些错误描述
| 错误码 | 描述 |
|---|---|
| empty_client_id | 参数client_id为空 |
| empty_client_secret | 参数client_secret为空 |
| empty_redirect_uri | 参数redirect_uri为空 |
| empty_response_type | 参数response_type为空 |
| empty_code | code为空 |
| app_unsupport_sso | 应用不支持sso登录 |
| app_unsupport_oauth | 应用不支持OAuth认证 |
| invalid_client_id | 非法的client_id |
| invalid_response_type | 非法的response_type |
| invalid_scope | 非法的scope |
| invalid_grant_type | 非法的grant_type |
| redirect_uri_mismatch | 非法的redirect_uri |
| unsupported_response_type | 不支持传递的response_type |
| invalid_code | 非法的code |
| unsupported_refresh_token | 不支持refresh_token的方式 |
| access_token_exprise | access_token过期 |
| invalid_access_token | 非法的access_token |
| invalid_refresh_token | 非法的refresh_token |
| refresh_token_exprise | refresh_token过期 |
流程

接入
客户端需要先注册到用户中心中,注册后通过编辑页面可以获取到接入的必要服务信息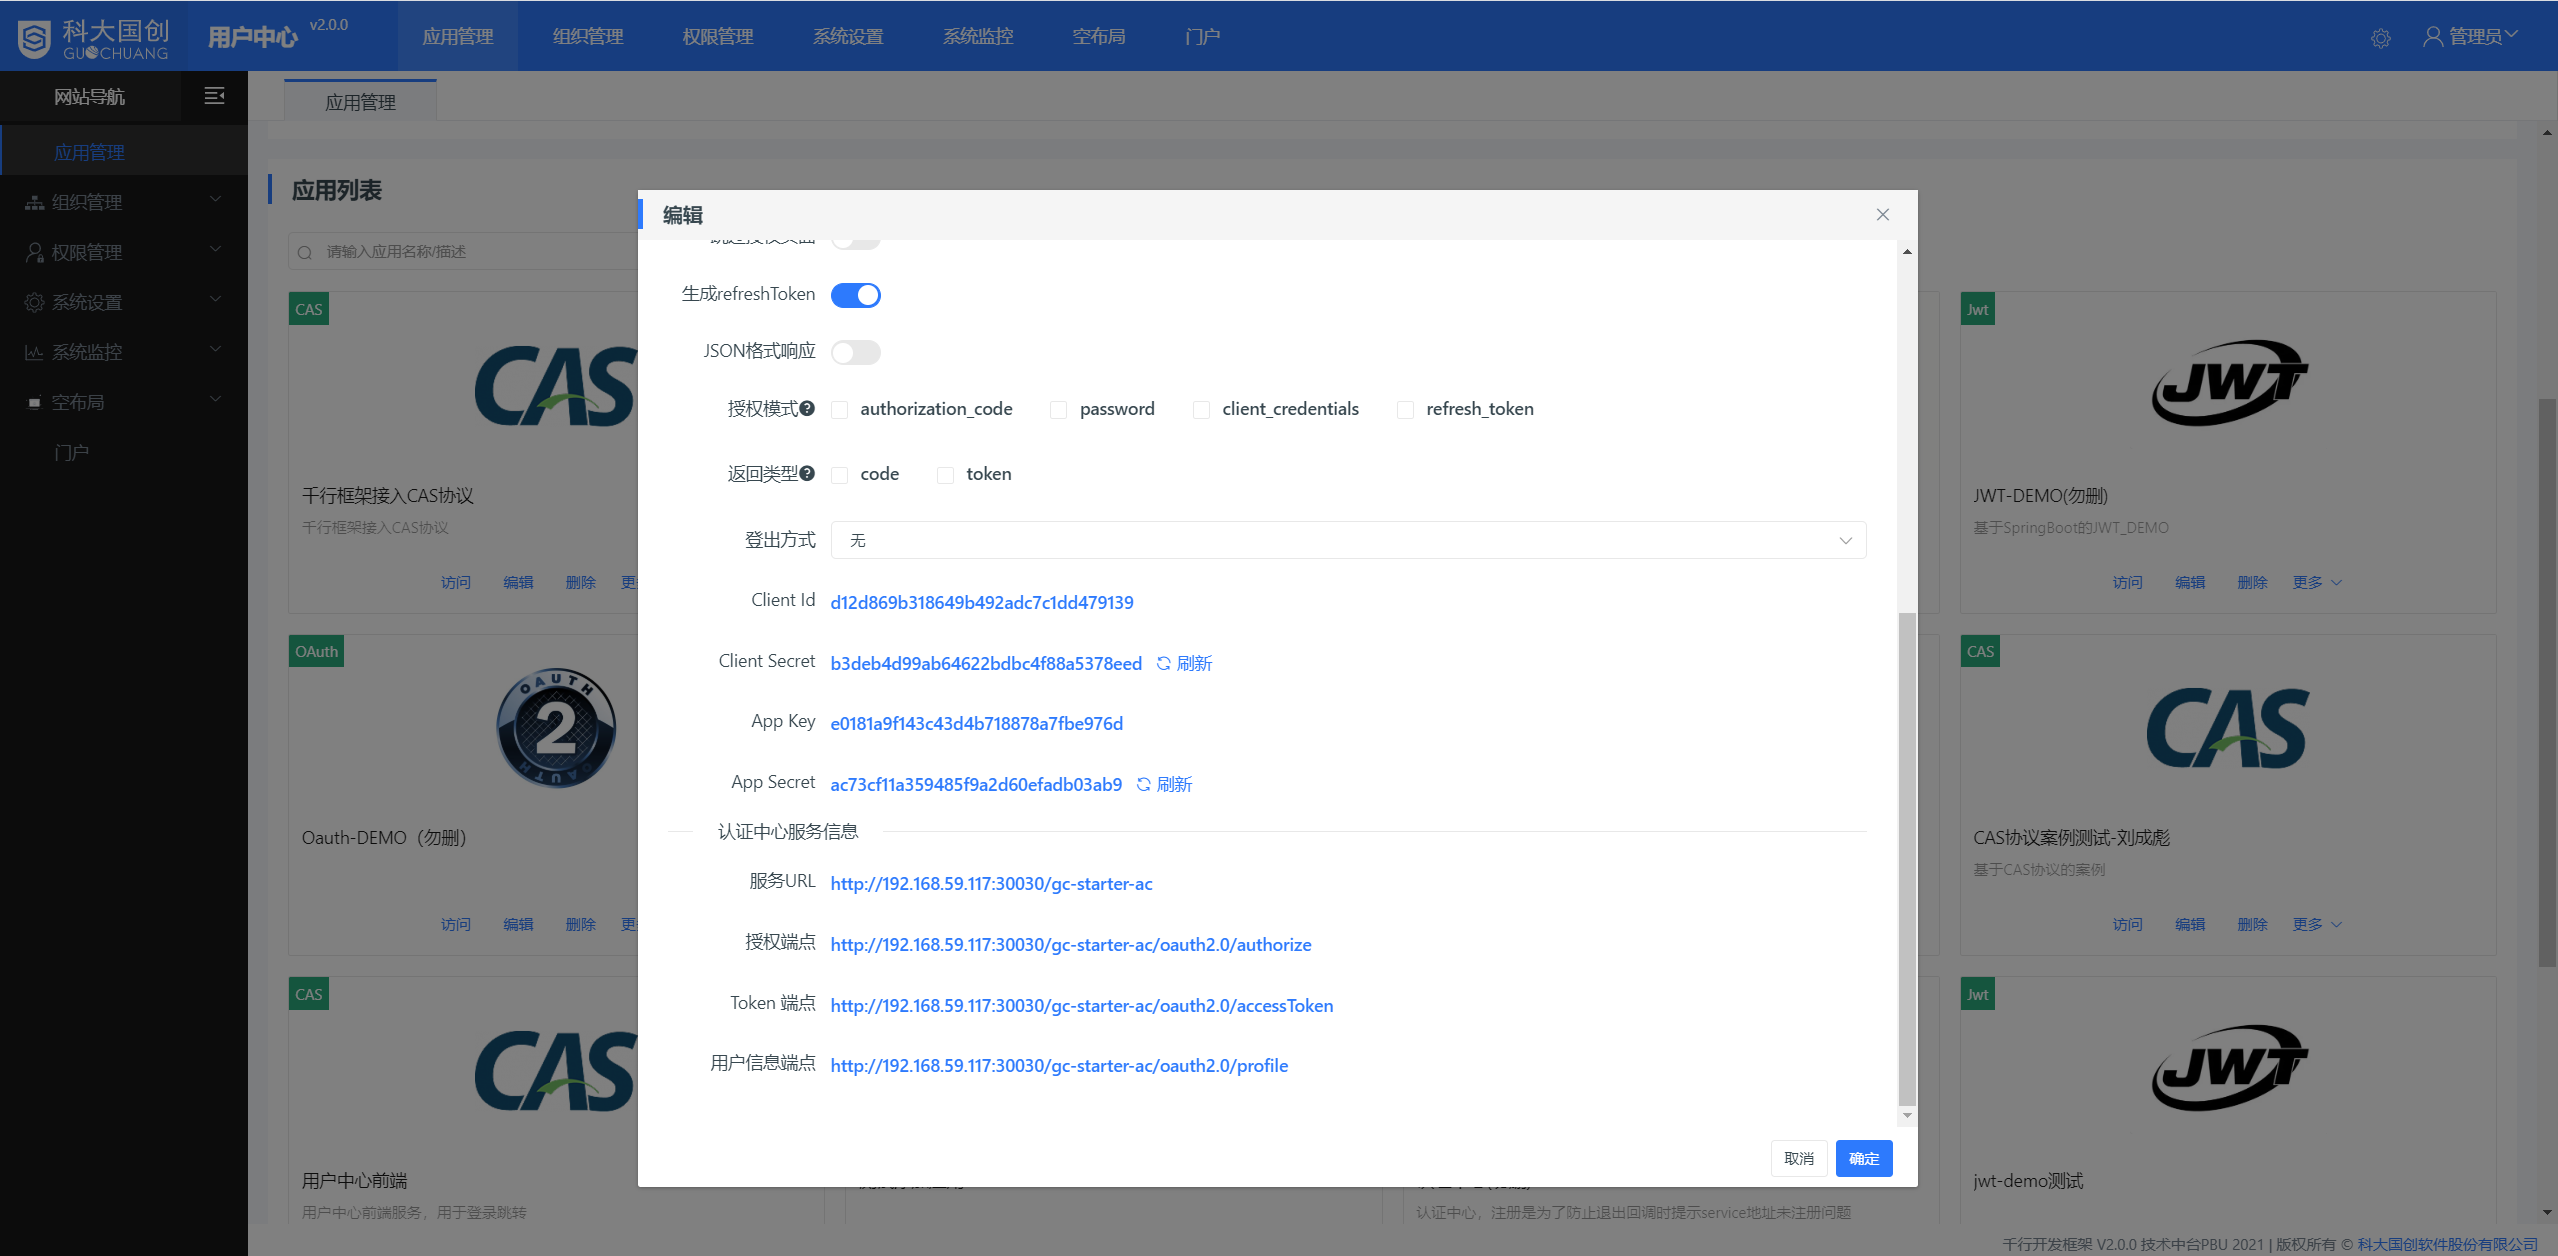
引入spring-security和spring-security-oauth2依赖
<dependency><groupId>org.springframework.boot</groupId><artifactId>spring-boot-starter-security</artifactId></dependency><dependency><groupId>org.springframework.security.oauth.boot</groupId><artifactId>spring-security-oauth2-autoconfigure</artifactId><version>2.1.1.RELEASE</version></dependency>
添加oauth2.0相关配置
security:
  oauth2:
    client:
      # 应用编辑页面->高级->clientId
      clientId: d12d869xxxxc7c1dd479139
      # 应用编辑页面->高级->clientSecret
      clientSecret: b3deb4xxxxxxbc4f88a5378eed
      # 应用编辑页面->认证中心服务信息->Token 端点
      accessTokenUri: http://192.168.0.1/gc-starter-ac/oauth2.0/accessToken
      # 应用编辑页面->认证中心服务信息->授权端点
      userAuthorizationUri: http://192.168.0.1/gc-starter-ac/oauth2.0/authorize
    resource:
      # 应用编辑页面->认证中心服务信息->用户信息端点
      userInfoUri: http://192.168.0.1/gc-starter-ac/oauth2.0/profile
添加本地安全策略
import org.springframework.boot.autoconfigure.security.oauth2.client.EnableOAuth2Sso;
import org.springframework.context.annotation.Configuration;
import org.springframework.security.config.annotation.web.builders.HttpSecurity;
import org.springframework.security.config.annotation.web.configuration.WebSecurityConfigurerAdapter;


@EnableOAuth2Sso
@Configuration
public class SecurityConfiguration extends WebSecurityConfigurerAdapter {

    @Override
    public void configure(HttpSecurity http) throws Exception {
        http.antMatcher("/**")
            .authorizeRequests()
            .antMatchers("/", "/login**")
            .permitAll()
            .anyRequest()
            .authenticated();
    }

}
说明
- 新建SecurityConfiguration继承WebSecurityConfigurerAdapter
- 添加@Configuration上下文配置spring容器
- 添加@EnableOAuth2Sso开启OAuth认证SSO
- 重写configure(HttpSecurity http)方法,配置该客户端访问安全策略
新建一个 TestController 来演示接入是否成功
import org.springframework.web.bind.annotation.GetMapping;
import org.springframework.web.bind.annotation.RequestMapping;
import org.springframework.web.bind.annotation.RestController;

import java.security.Principal;

@RequestMapping
@RestController
public class TestController {

    @GetMapping("/user")
    String home(Principal user) {
        return "Hello " + user.getName();
    }
}
访问客户端应用的 /user 接口,即会自动跳转至认证中心的登录地址,完成登录后,即可成功访问该接口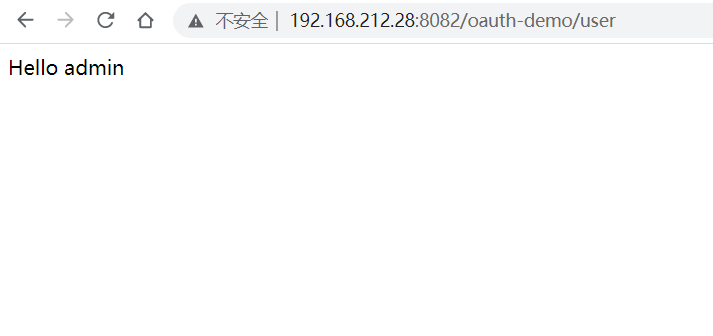
参考资料
- OAuth 2.0 解释
- OAuth 2.0 的四种方式
常见问题
接入可能会遇到的一些问题以及解决办法

若有收获,就点个赞吧
0 人点赞
