1、break与continue
1-1.break语句
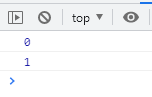
当满足某个条件时,break语句中断(跳出)循环
<script>/* break满足某个条件中断(跳出)循环 */for(var i=0;i<=4;i++){if(i==2){break;}console.log(i)}</script>
1-2.continue语句
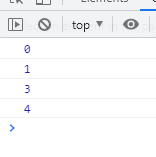
当满足条件时,跳过这次循环,继续往下
<script>/* 跳过某一个条件,继续循环 */for(var i=0;i<=4;i++){if(i==2){continue;}console.log(i)}</script>
2、input输入框相关事件
2-1.焦点事件
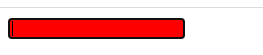
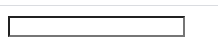
- 获取焦点 .onfocus
- 遗失焦点 .onblur
<input type="text" id="test"><script>/*获取焦点 onfocus遗失焦点 onblur*/var test = document.getElementById("test");test.onfocus = function(){this.style.backgroundColor = "red";}test.onblur = function(){this.style.backgroundColor = "#fff";}</script>
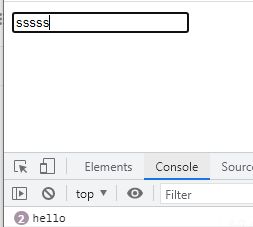
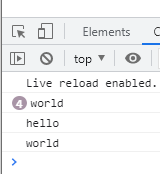
2-2.改变事件
<input type="text" id="input"><script>var input = document.getElementById("input");input.onchange = function(){console.log("hello ")}</script>
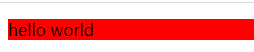
3、mouse鼠标相关事件
- .onmouseover 设置鼠标悬停
- .onmouseout 设置鼠标离开后
触碰后:<p id="p">hello world</p><script>var p = document.getElementById("p");p.onmouseover = function(){this.style.backgroundColor = "red";}p.onmouseout = function(){this.style.backgroundColor = "yellow"}</script>
离开后:
4、window窗口事件
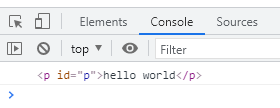
4-1.窗口onload
js引入在头文件时,需设置.onload使页面html内容加载完毕再触发js ```htmlhello world
```css/* onload是页面加载完毕之后触发 */window.onload = function(){var p = document.getElementById("p");console.log(p)}
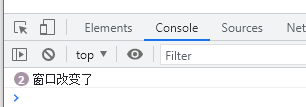
4-2.窗口onresize
当窗口大小发生改变时,onresize事件触发
<script>/* onresize 窗口大小发生改变的时候触发 */window.onresize = function(){console.log("窗口改变了")}</script>
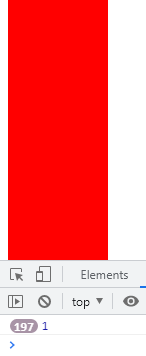
4-3.窗口onscroll
当窗口滚动时,onscroll事件触发
<style>div{height: 2000px;width: 100px;background-color: red;}</style></head><body><div></div><script>window.onscroll = function(){console.log(1)}</script>
设置当滚动条滚动到距离顶部200px时,导航条显示
获取滚动距离顶部的高度 window.scrollY(document.documentElement.scrollTop)
<style>*{margin: 0; padding: 0;}#nav{height: 50px;background: aqua;position: fixed;width: 100%;opacity: 0;}body{height: 2000px;}</style></head><body><div id="nav"></div><script>/*获取滚动距离顶部的高度 window.scrollY(document.documentElement.scrollTop)*/var nav = document.getElementById("nav")window.onscroll = function(){/* 当滚动条滚动到距离顶部200px的时候,导航条显示 */var scrollTop = window.scrollY;if(scrollTop>200){nav.style.opacity=1;}else{nav.style.opacity=0;}console.log(scrollTop)}</script>
设置导航条显示过程渐变
1.对窗口执行监听事件
2.获取滚动条距离顶部的高度
3.获得透明度
4.将透明度赋予导航栏元素
<style>*{margin: 0; padding: 0;}#nav{height: 50px;background: aqua;position: fixed;width: 100%;opacity: 0;}body{height: 2000px;}</style></head><body><div id="nav"></div><script>/*获取滚动距离顶部的高度 window.scrollY(或document.documentElement.scrollTop)*/var nav = document.getElementById("nav")// 1.对窗口执行监听事件window.onscroll = function(){// 2.获取滚动条距离顶部的高度/* 当滚动条滚动到距离顶部200px的时候,导航条显示 */var scrollTop = document.documentElement.scrollTop;// 3.获得透明度var opacity = scrollTop/200;// tips:opacity透明度不能大于1if(opacity>1){opacity = 1;}// 4.将透明度赋予导航栏元素nav.style.opacity = opacity;console.log(opacity)}</script>
5、rem及视配问题
5-1.rem
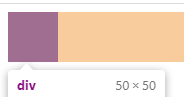
rem 相对于根元素(HTML)的字体大小而言的单位
<style>html {font-size: 10px;}div{width: 5rem;height: 5rem;background: red;}</style>
自适应div块大小固定为窗口的一半
<style>div{width: 5rem;height: 1rem;background: red;}</style></head><body><div></div><script>var html = document.getElementsByTagName("html")[0];var ww = window.innerWidth;var rem = ww/10;html.style.fontSize = rem+"px";window.onresize = function(){var ww = window.innerWidth;html.style.fontSize = ww/10+"px"}</script>

wechat视配
<!--rpx;750rpx; 微信小程序默认窗口750rpx-->
5-2.em与单位总结
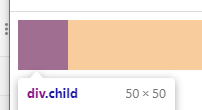
em:相对于父元素字体大小而言的单位
<style>.parent{font-size: 10px;}.child{width: 5em;height: 5em;background-color: red;}</style></head><body><div class="parent"><div class="child"></div></div>
<!--px --绝对单位 像素点rem --相对单位 相对html字体大小而言em --相对于父元素的font-size而言的vm --相对于视窗大小%-->
5-3.vw单位
vw:视窗大小单位 最大值为100
<style>*{margin: 0;padding: 0;}div{width: 100vw;height: 1vw;background: red;}</style></head><body><div></div>

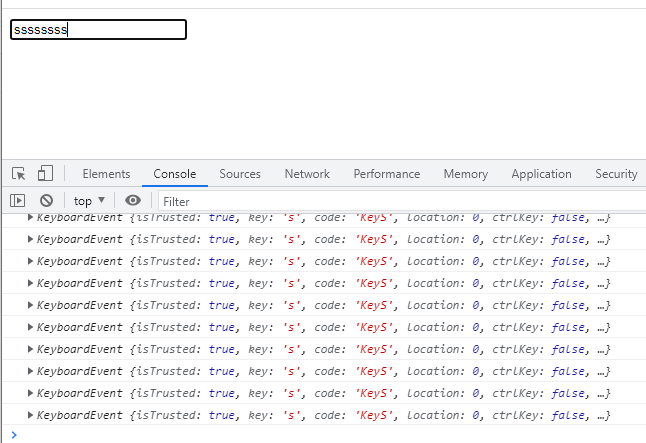
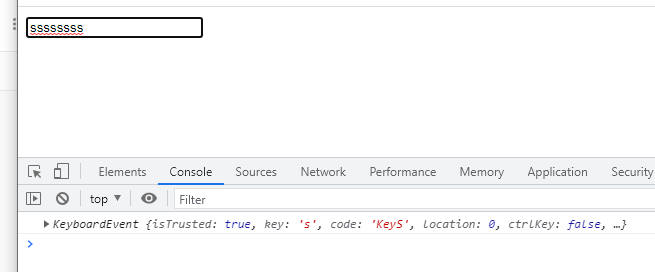
6、键盘相关事件
onkeydown 按下键盘时触发事件
onkeypress 按着键盘时触发事件
onkeyup 按下键盘后松开触发事件
<input type="text" id="app"><script>/*onkeydown --onkeypressonkeyup*/var app = document.getElementById("app")app.onkeydown =function(event){console.log(event);console.log(event.key);console.log(event.keyCode);}</script>

<input type="text" id="app"><script>var app = document.getElementById("app");app.onkeypress = function(event){console.log(event)}</script>
<input type="text" id="app"><script>var app = document.getElementById("app");app.onkeyup = function(event){console.log(event)}</script>
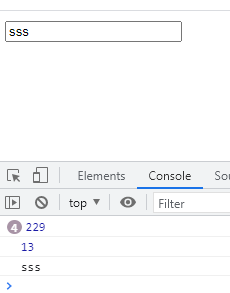
Enter回车事件
每个键盘按键都有独特的keyCode,当keyCode值==13时为Enter,触发事件
<input type="text" id="app"><script>var app = document.getElementById("app")app.onkeydown =function(event){console.log(event.keyCode);/* keyCode==13时按的是Enter */if(event.keyCode==13){console.log(this.value)}}</script>
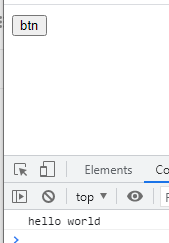
7、内联事件
将调用函数写进html样式内部
<!-- 内联事件 --><button onclick="go()">btn</button><script>function go(){console.log("hello world")}</script>
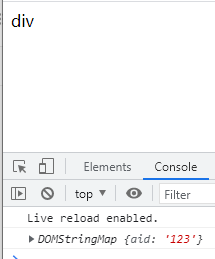
8、自定义属性
设置data-xx自定义属性名
自定义aid属性:data-aid
获取自定义属性的值用event.target.dataset
<!--aid自定义属性data-aid--><div id="test" data-aid="123">div</div><script>/* 自定义属性 */var test = document.getElementById("test")test.onclick = function(event){/* 获取自定义属性的值用event.target.dataset */console.log(event.target.dataset)/* JQuery console.log(event.currentTarget.dataset) */}</script>
9、定时器
9-1.定时器方法
window方法:
- setTimeout间隔一定的时间触发,并且只触发一次
setInterval间隔一定的时间触发,无限次数
<script>/* window的方法 *//*setTimeout间隔一定的时间触发,并且只触发一次*/setTimeout(function(){console.log("hello")},10000)/* setInterval间隔一定的时间触发,无限次数 */setInterval(function(){console.log("world")}, 2000);</script>
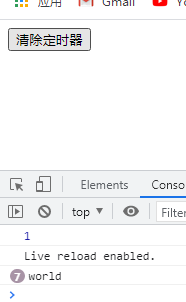
9-2.清除定时器
clearInterval clearTimeout
- setInterval setTimeout
<button id="clear">清除定时器</button><script>var timer = setInterval(function(){console.log("world")},1000)console.log(timer)var clear = document.getElementById("clear");clear.onclick = function(){clearInterval(timer)}/*clearInterval clearTimeoutsetInterval setTimeout*/</script>
9-3.3秒倒计时
通过设置number自减,再if判断num的值不小于零时每秒执行一次赋值给button,防止计时器无限循环下去<button id="btn">3</button><script>var btn = document.getElementById("btn");var num = 3;var timer = setInterval(function(){num--;console.log(num);if(num>=0){btn.innerHTML = num;}else{clearInterval(timer)//防止计时器无限循环下去}},1000)</script>


递归思路3秒倒计时
通过先写函数function把num自减赋值btn,在num大于0的情况下再次调用函数自身递减赋值<button id="btn">3</button><script>/* 递归:函数调用函数自身 */var btn = document.getElementById("btn");var num = 3;function go(){setTimeout(function(){num--;if(num>=0){btn.innerHTML = num;go();}},1000)}go();</script>


10、按钮无法点击状态
disabled设置按钮点击: —true 不能点击
—false 能够点击的状态
<button id="btn">发送验证码</button><script>var btn = document.getElementById("btn");btn.disabled = true;/*disabled --true 不能点击--false 能够点击的状态*/</script>

若有收获,就点个赞吧
0 人点赞
