安装步骤:
可以先用nginx -V来检查一下lua这个模块有没有被编译进去,默认不安装,我的环境中也是没有的

接下来我们准备一下环境,“yum -y install lua*”安装一下相关包

“wget http://luajit.org/download/LuaJIT-2.0.4.tar.gz”获取一下编译包
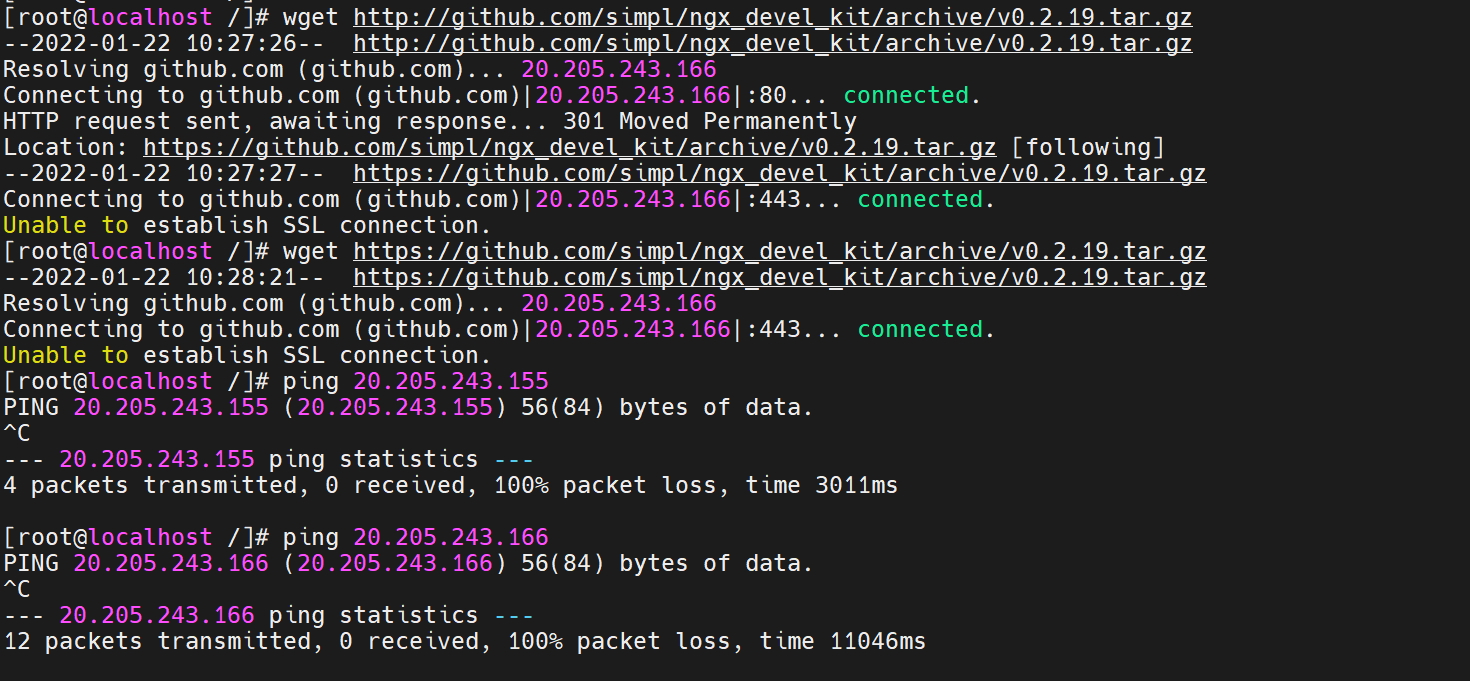
在接下来我们还要下载两个解压缩包“wget https://github.com/simpl/ngx_devel_kit/archive/v0.2.19.tar.gz”“wget https://github.com/openresty/lua-nginx-module/archive/v0.10.13.tar.gz”,但是很明显因为下载的源是github,国内无法访问,我只能翻墙下载
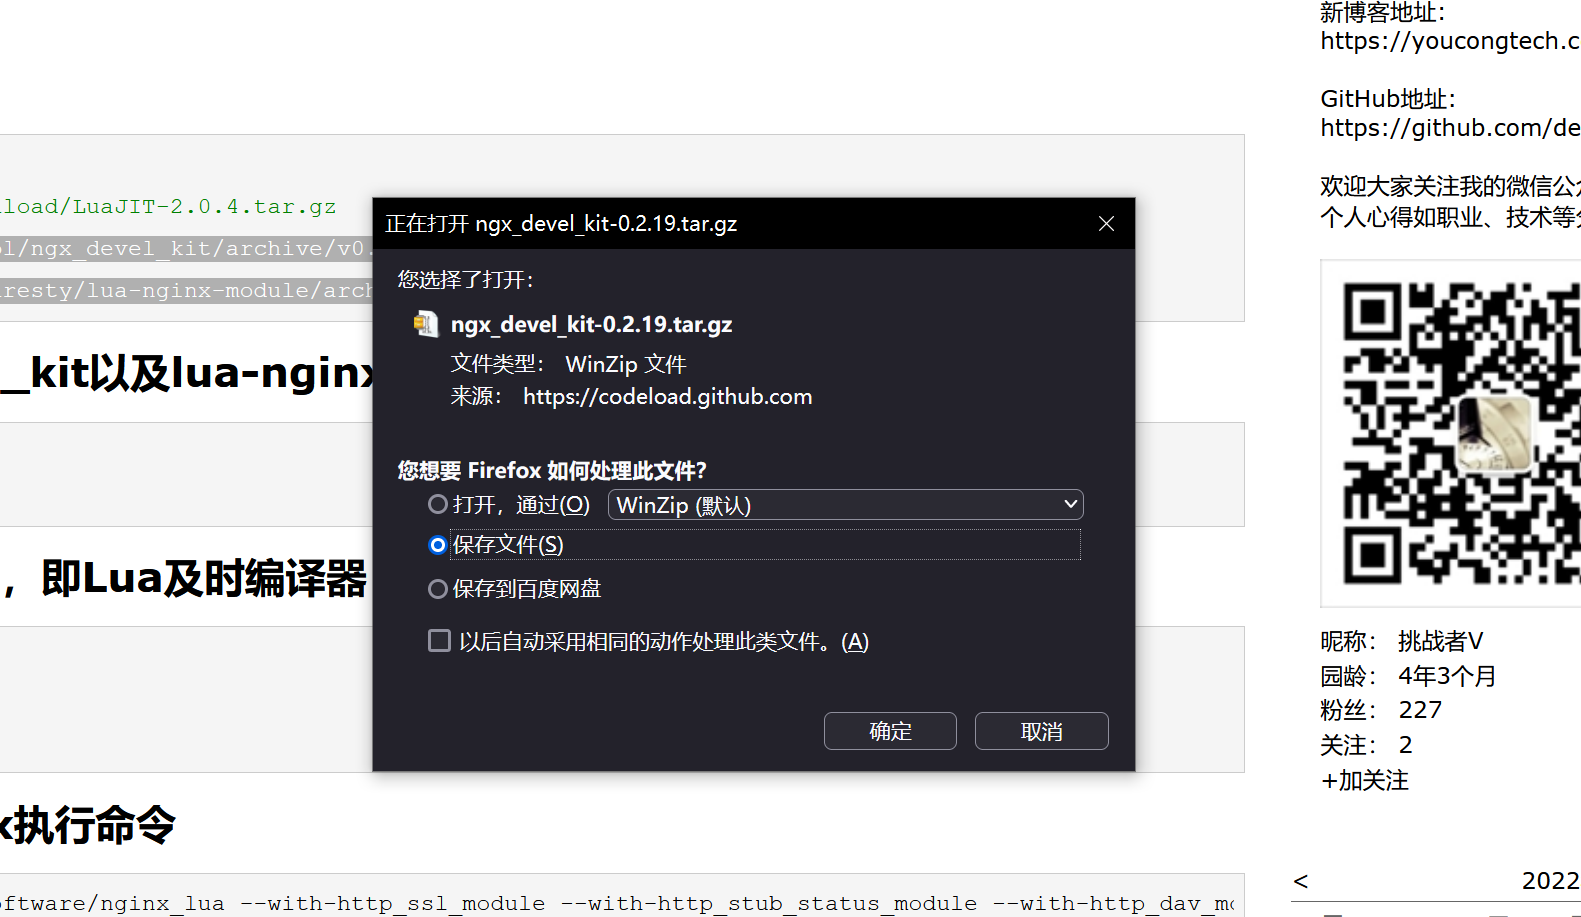
将两个压缩包下载到本地
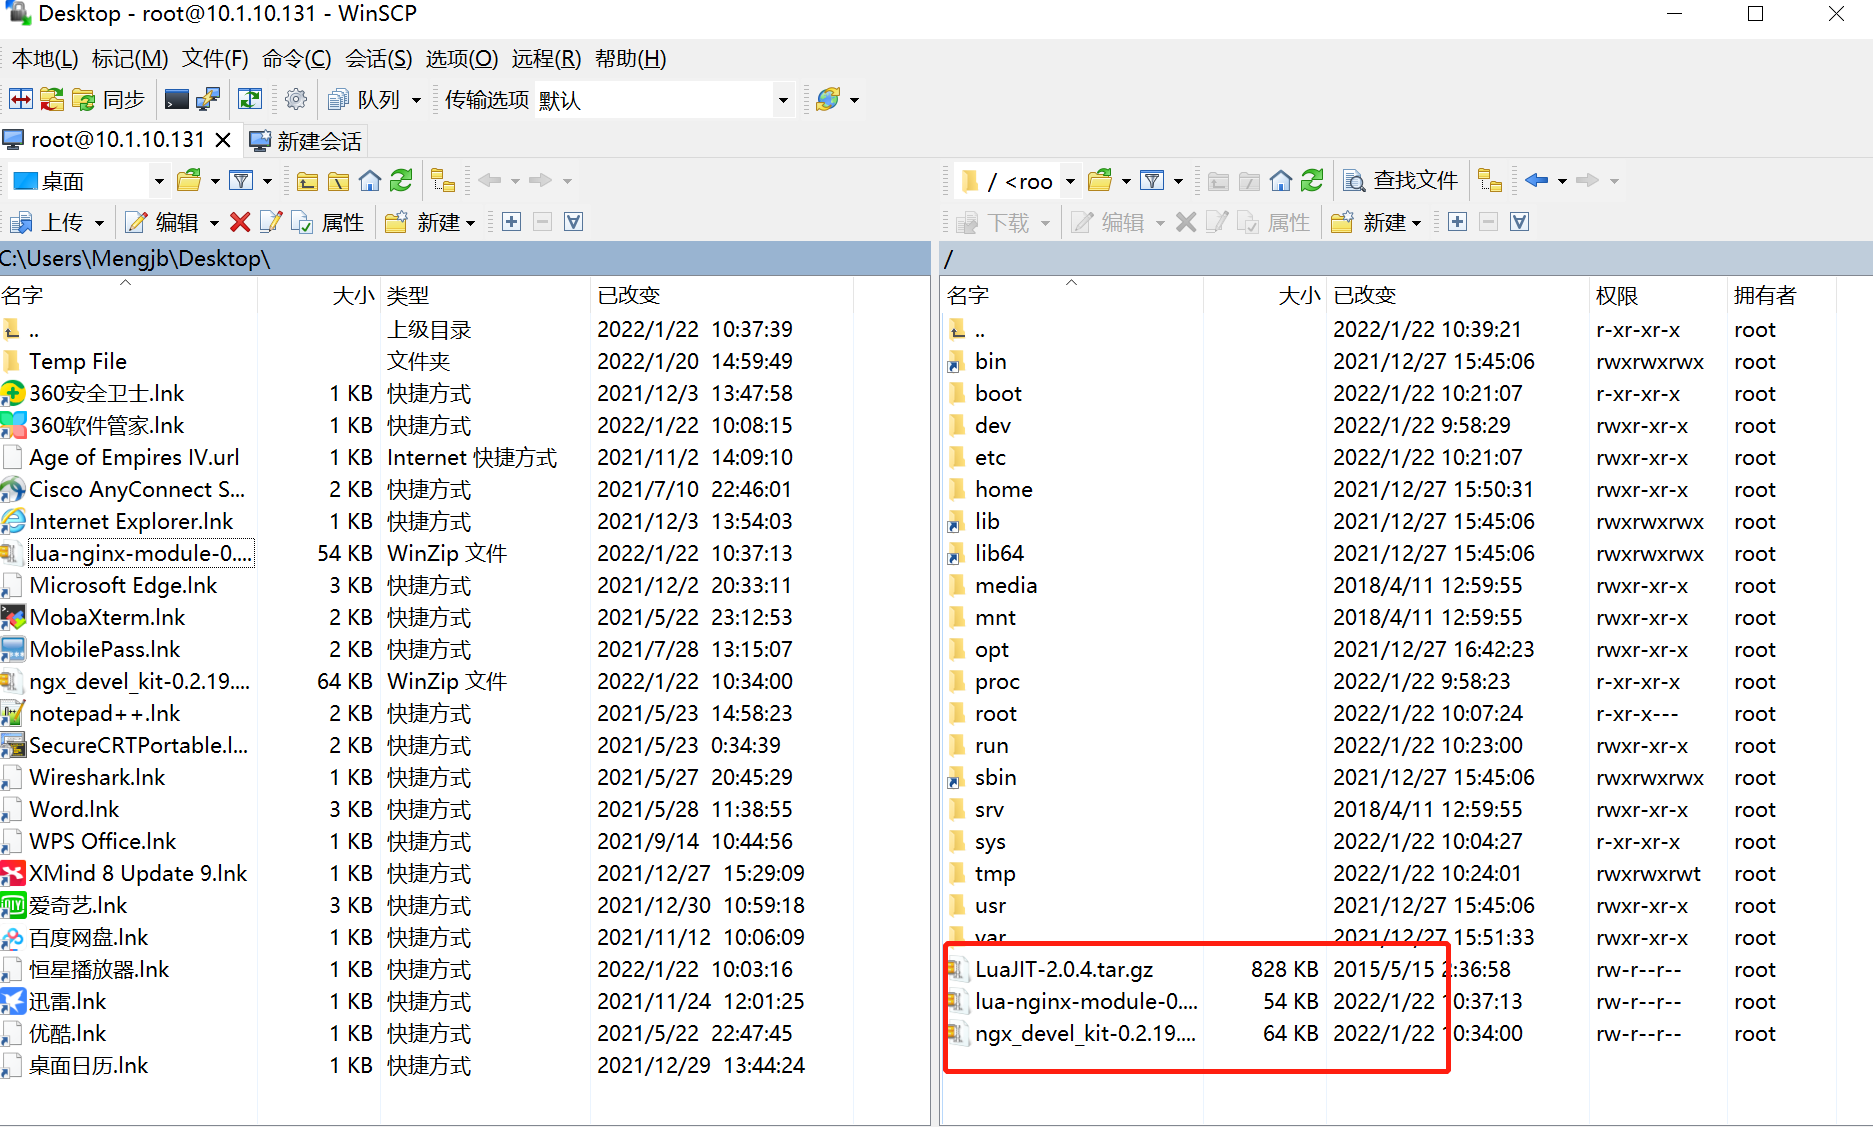
再用winscp上传即可
上传完毕
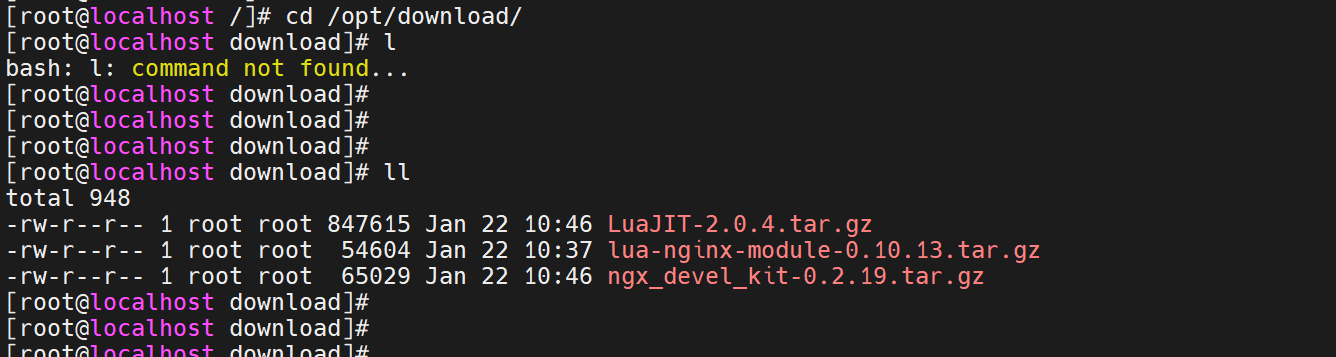
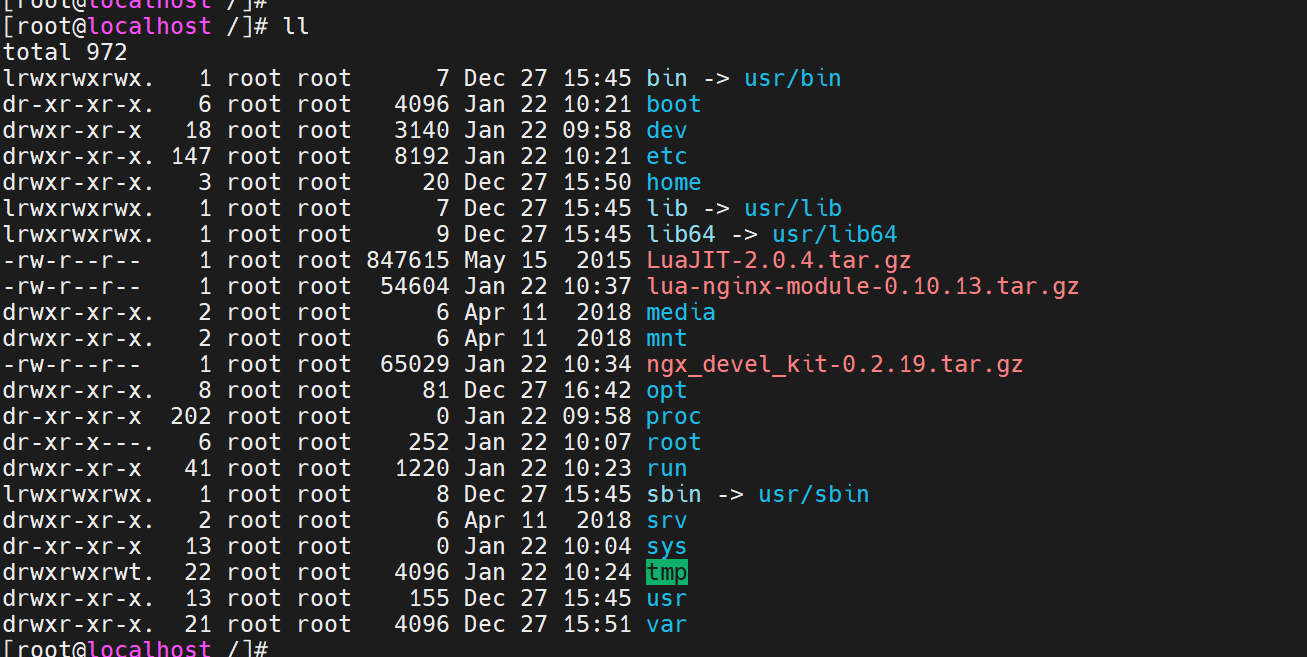
移动一下位置,方便整理,尽量不要把东西放在根目录下
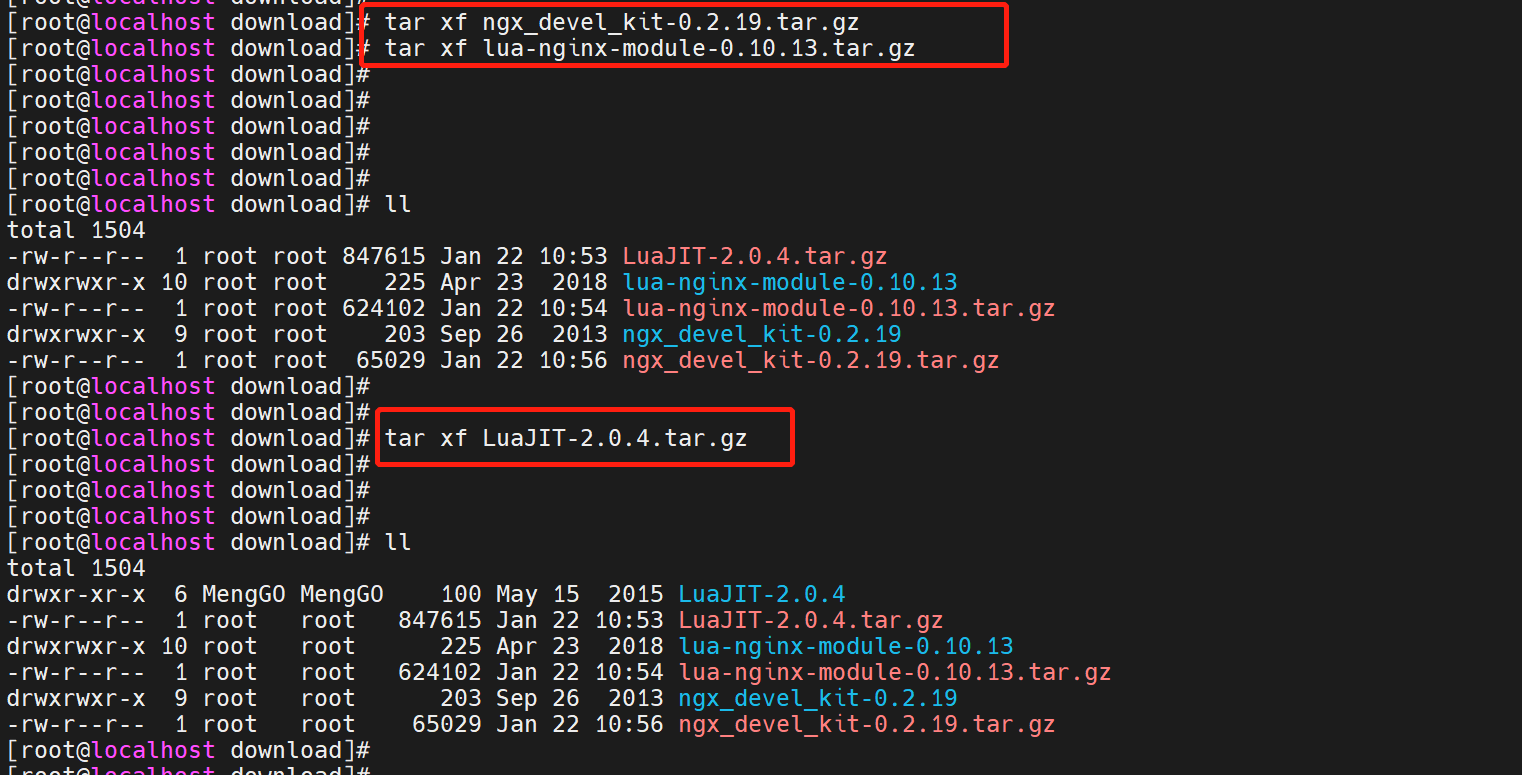
解压缩一下指定的包“tar xf v0.2.19.tar.gz ”“tar xf v0.10.13.tar.gz”,自己不全压缩包名
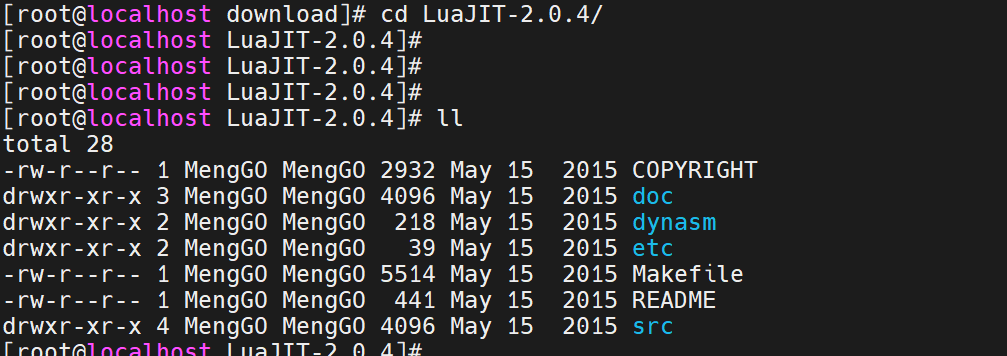
cd进入指定目录
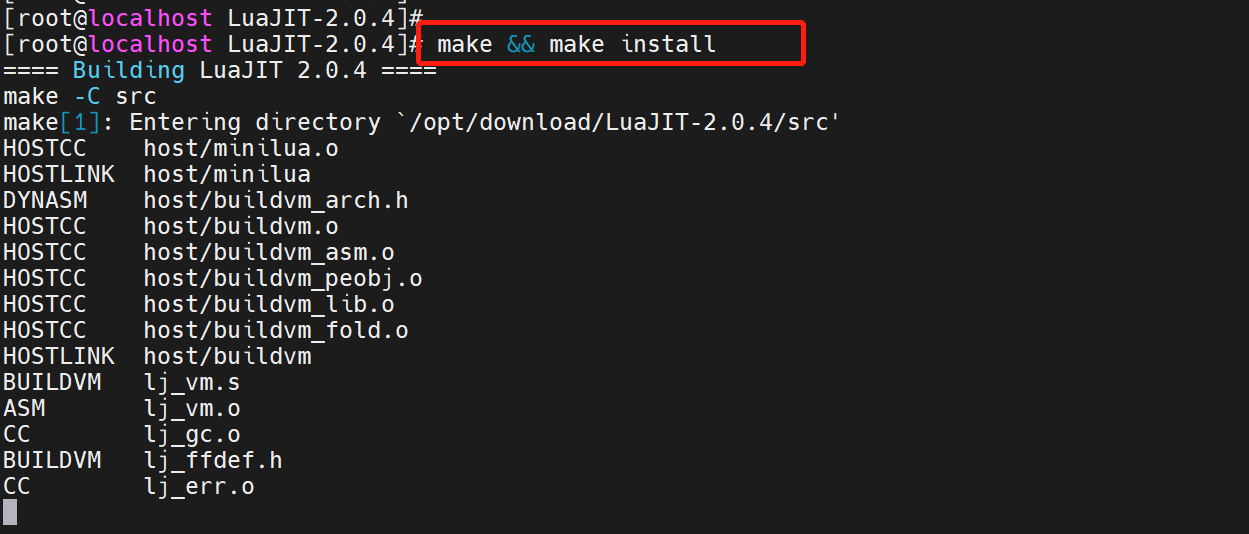
随后用“make && make install”进行相关编译
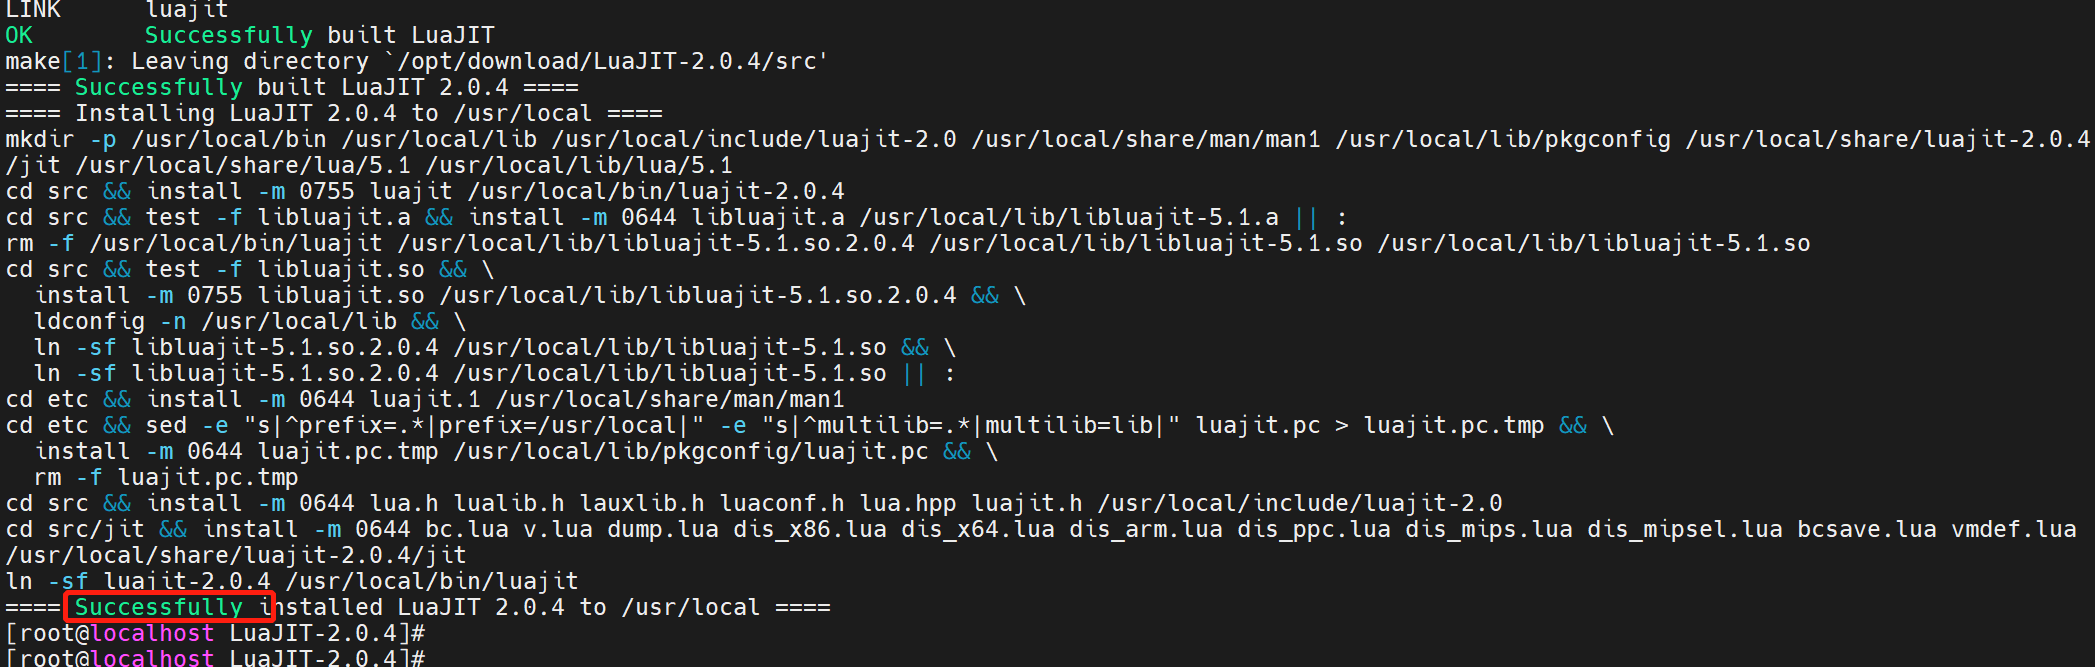
编译成功
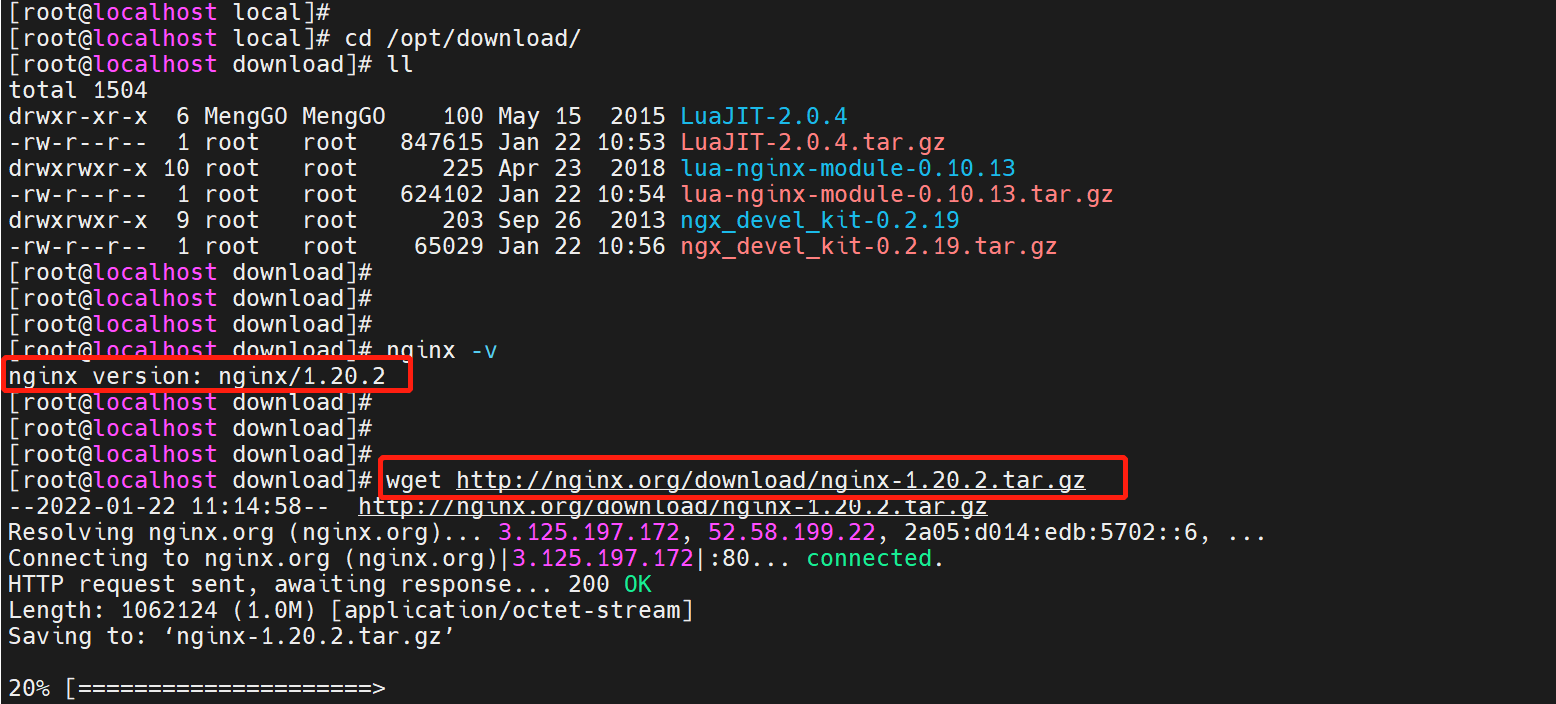
接下来我们要重新编译一下nginx,先下载你本机上对应的nginx版本,“wget http://nginx.org/download/nginx-1.20.2.tar.gz”
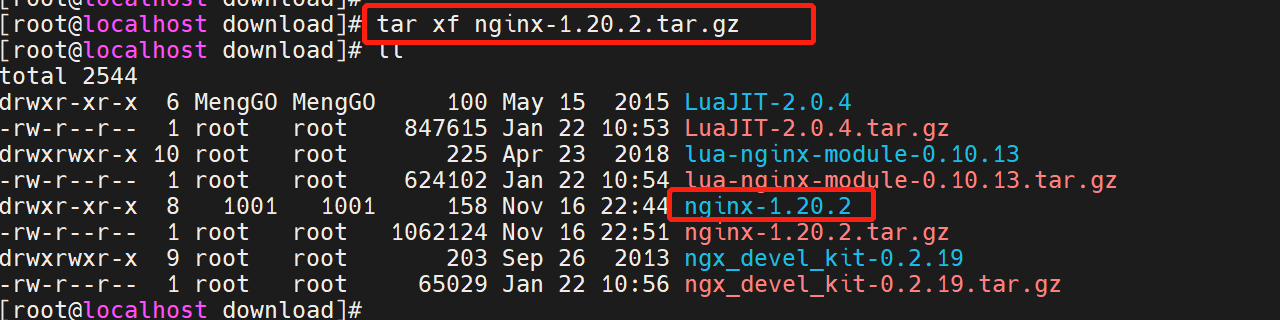
随后解压缩nginx安装包,“tar xf nginx-1.20.2.tar.gz”
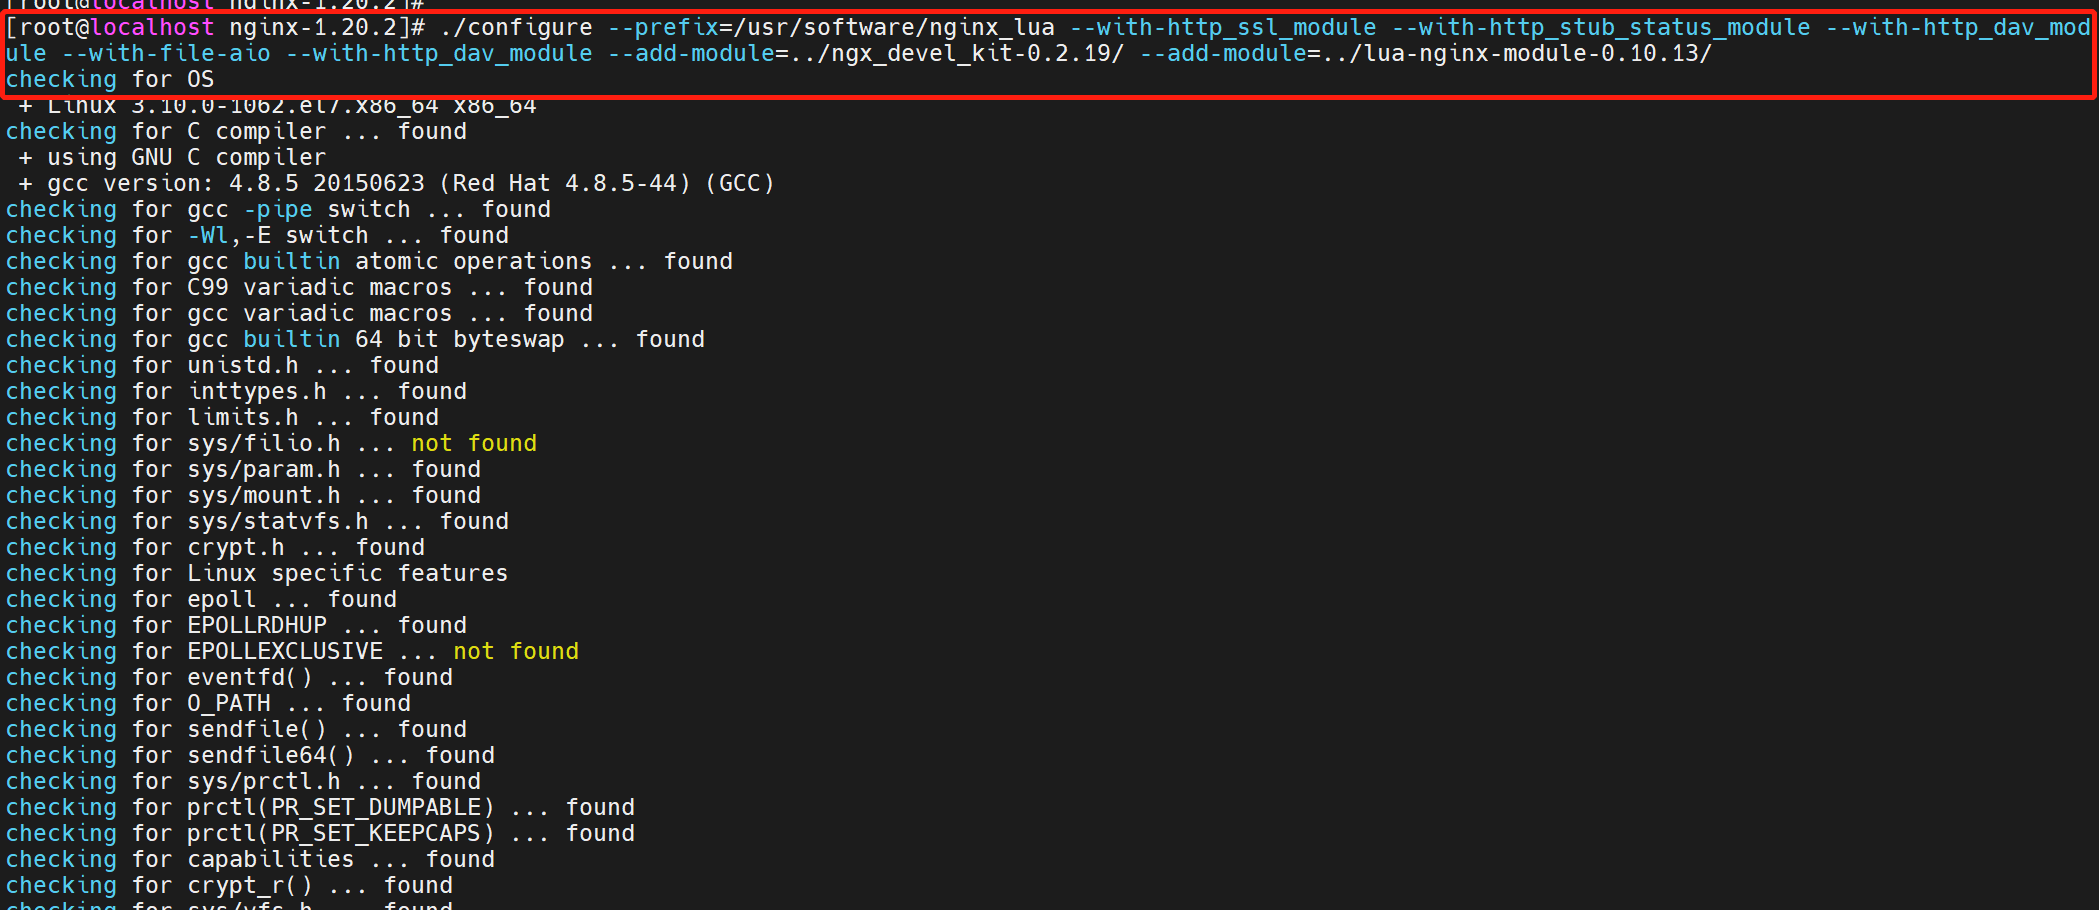
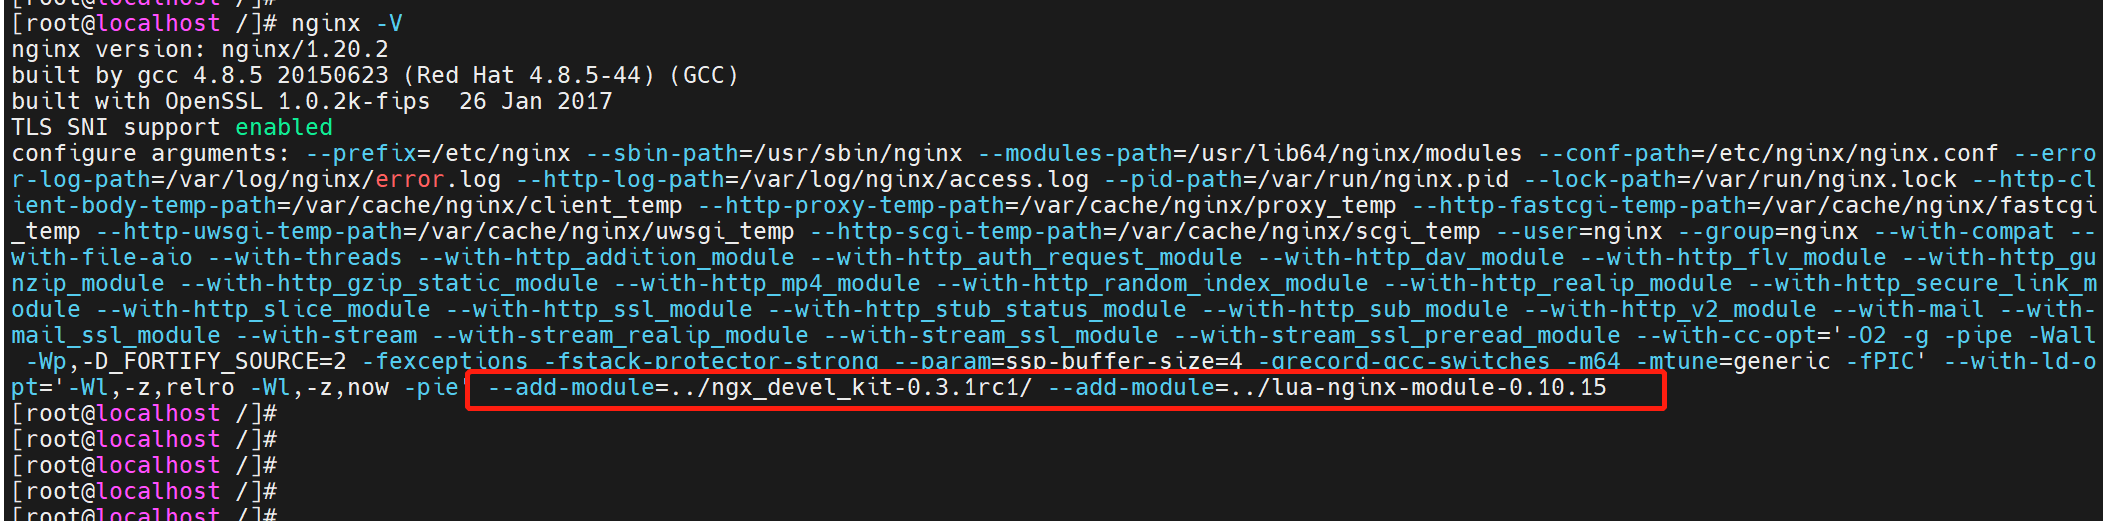
随后进行重新编译“./configure —prefix=/etc/nginx —sbin-path=/usr/sbin/nginx —modules-path=/usr/lib64/nginx/modules —conf-path=/etc/nginx/nginx.conf —error-log-path=/var/log/nginx/error.log —http-log-path=/var/log/nginx/access.log —pid-path=/var/run/nginx.pid —lock-path=/var/run/nginx.lock —http-client-body-temp-path=/var/cache/nginx/client_temp —http-proxy-temp-path=/var/cache/nginx/proxy_temp —http-fastcgi-temp-path=/var/cache/nginx/fastcgi_temp —http-uwsgi-temp-path=/var/cache/nginx/uwsgi_temp —http-scgi-temp-path=/var/cache/nginx/scgi_temp —user=nginx —group=nginx —with-compat —with-file-aio —with-threads —with-http_addition_module —with-http_auth_request_module —with-http_dav_module —with-http_flv_module —with-http_gunzip_module —with-http_gzip_static_module —with-http_mp4_module —with-http_random_index_module —with-http_realip_module —with-http_secure_link_module —with-http_slice_module —with-http_ssl_module —with-http_stub_status_module —with-http_sub_module —with-http_v2_module —with-mail —with-mail_ssl_module —with-stream —with-stream_realip_module —with-stream_ssl_module —with-stream_ssl_preread_module —with-cc-opt=’-O2 -g -pipe -Wall -Wp,-D_FORTIFY_SOURCE=2 -fexceptions -fstack-protector-strong —param=ssp-buffer-size=4 -grecord-gcc-switches -m64 -mtune=generic -fPIC’ —with-ld-opt=’-Wl,-z,relro -Wl,-z,now -pie’ —add-module=../ngx_devel_kit-0.3.1rc1/ —add-module=../lua-nginx-module-0.10.15”用此命令进行编译

如果出现这个报错,那是因为我们环境中不具备他所要求的相关工具
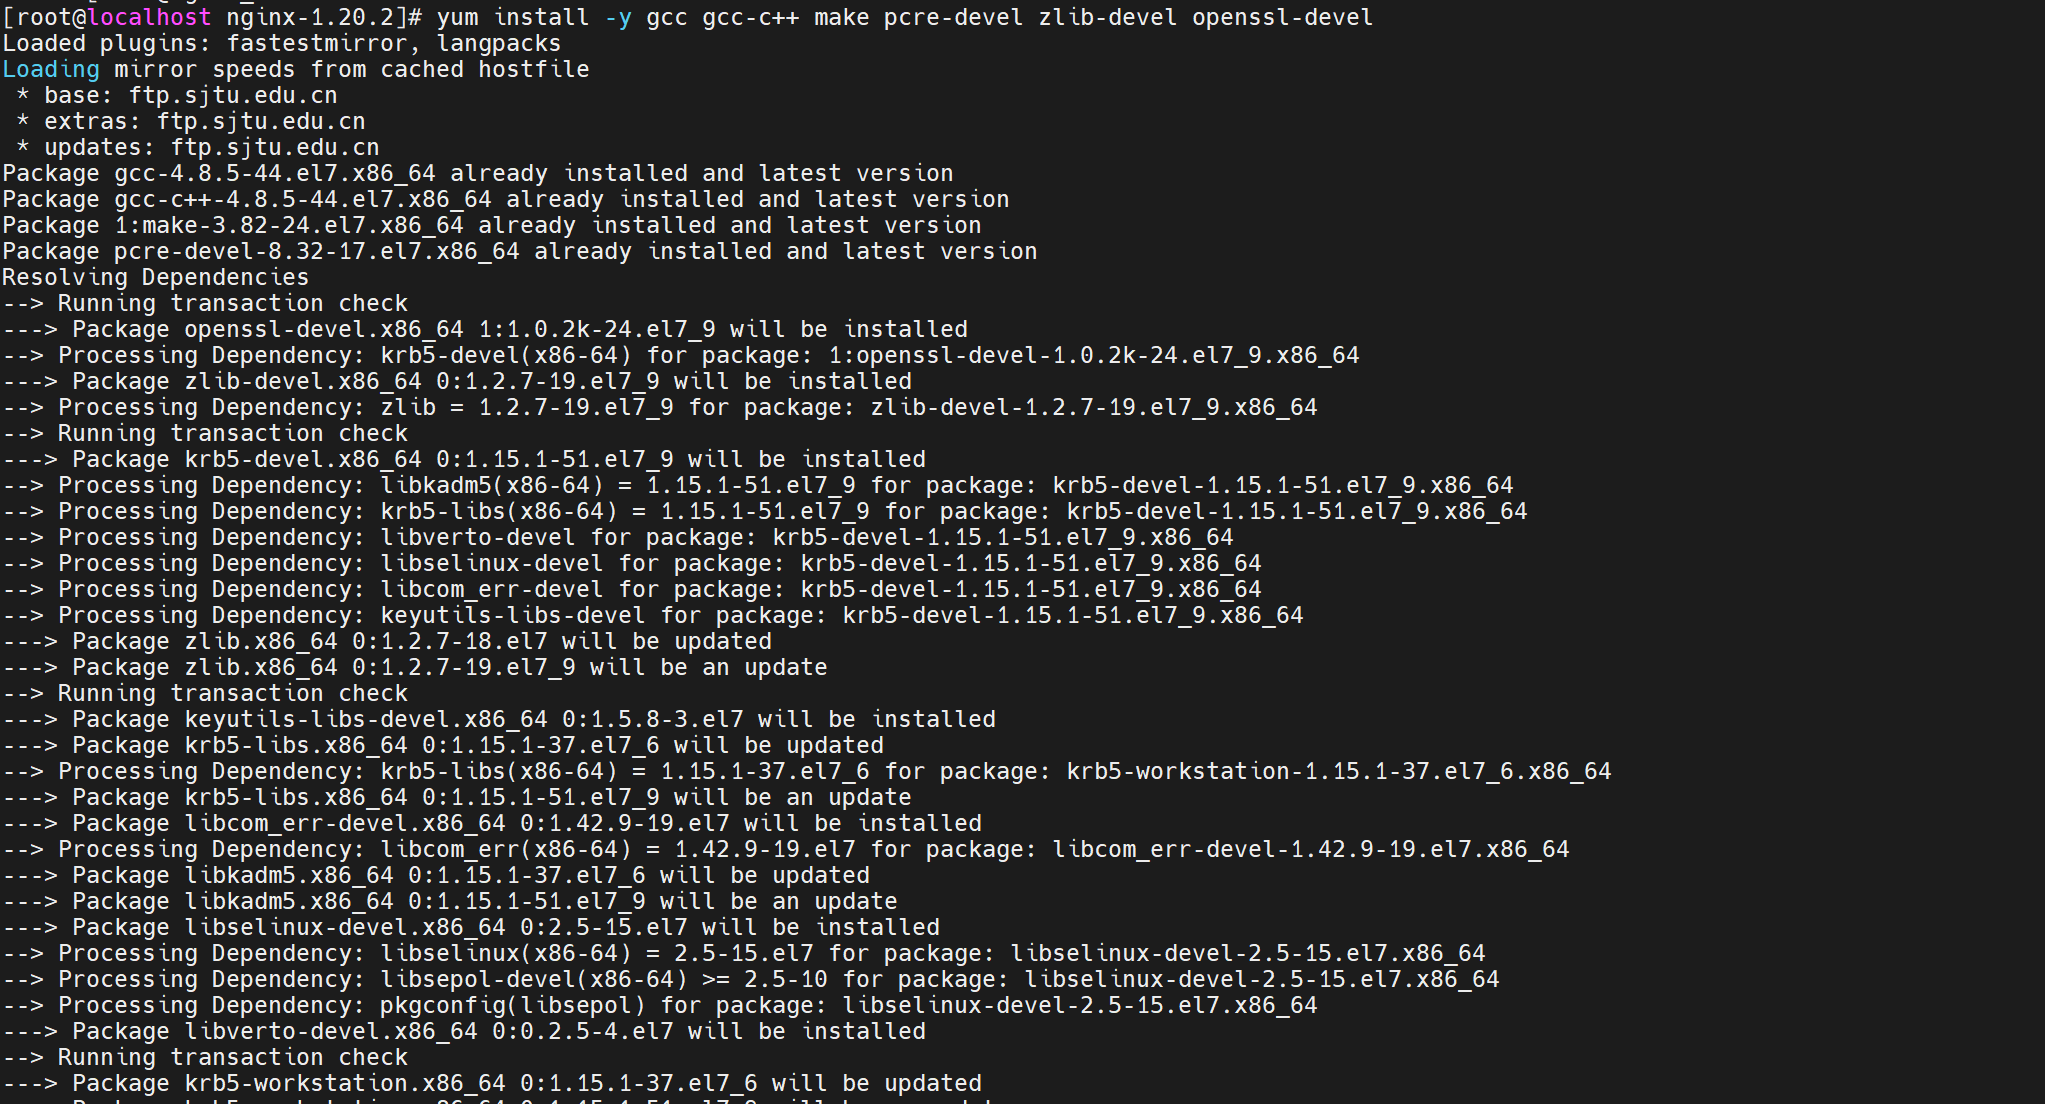
用“yum install -y gcc gcc-c++ make pcre-devel zlib-devel openssl-devel”安装一下
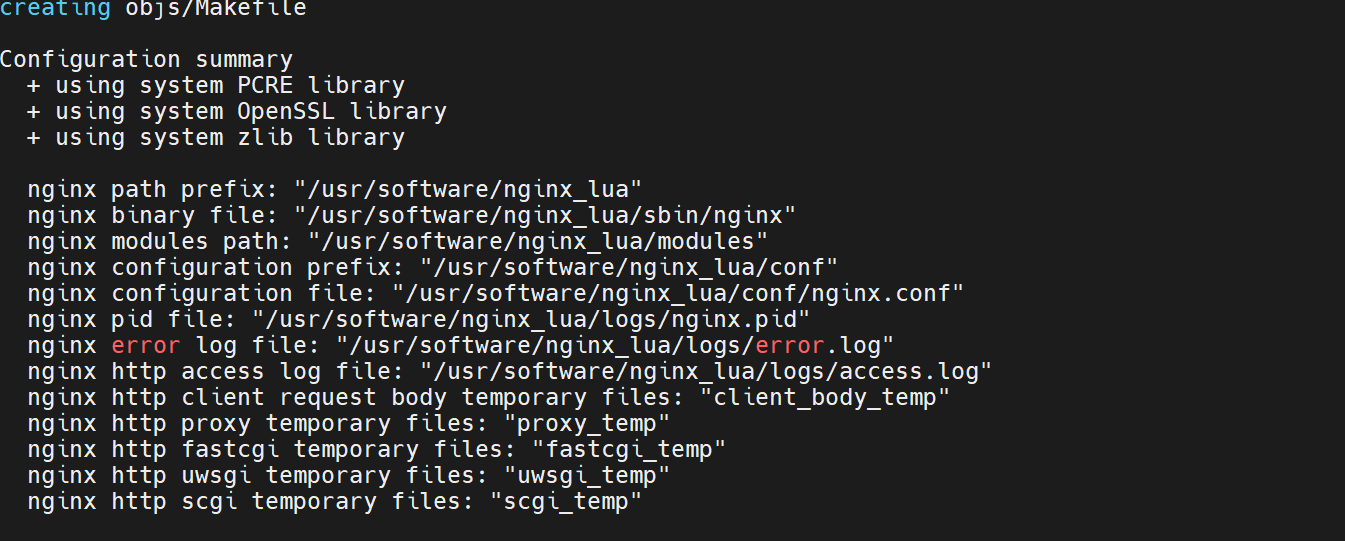
再用“./configure —prefix=/etc/nginx —sbin-path=/usr/sbin/nginx —modules-path=/usr/lib64/nginx/modules —conf-path=/etc/nginx/nginx.conf —error-log-path=/var/log/nginx/error.log —http-log-path=/var/log/nginx/access.log —pid-path=/var/run/nginx.pid —lock-path=/var/run/nginx.lock —http-client-body-temp-path=/var/cache/nginx/client_temp —http-proxy-temp-path=/var/cache/nginx/proxy_temp —http-fastcgi-temp-path=/var/cache/nginx/fastcgi_temp —http-uwsgi-temp-path=/var/cache/nginx/uwsgi_temp —http-scgi-temp-path=/var/cache/nginx/scgi_temp —user=nginx —group=nginx —with-compat —with-file-aio —with-threads —with-http_addition_module —with-http_auth_request_module —with-http_dav_module —with-http_flv_module —with-http_gunzip_module —with-http_gzip_static_module —with-http_mp4_module —with-http_random_index_module —with-http_realip_module —with-http_secure_link_module —with-http_slice_module —with-http_ssl_module —with-http_stub_status_module —with-http_sub_module —with-http_v2_module —with-mail —with-mail_ssl_module —with-stream —with-stream_realip_module —with-stream_ssl_module —with-stream_ssl_preread_module —with-cc-opt=’-O2 -g -pipe -Wall -Wp,-D_FORTIFY_SOURCE=2 -fexceptions -fstack-protector-strong —param=ssp-buffer-size=4 -grecord-gcc-switches -m64 -mtune=generic -fPIC’ —with-ld-opt=’-Wl,-z,relro -Wl,-z,now -pie’ —add-module=../ngx_devel_kit-0.3.1rc1/ —add-module=../lua-nginx-module-0.10.15”重新编译一次即可,蓝色加粗部分需要添加在“nginx -V”输出的参数之后,切记注意路径,同时图中的error是日志,不是报错
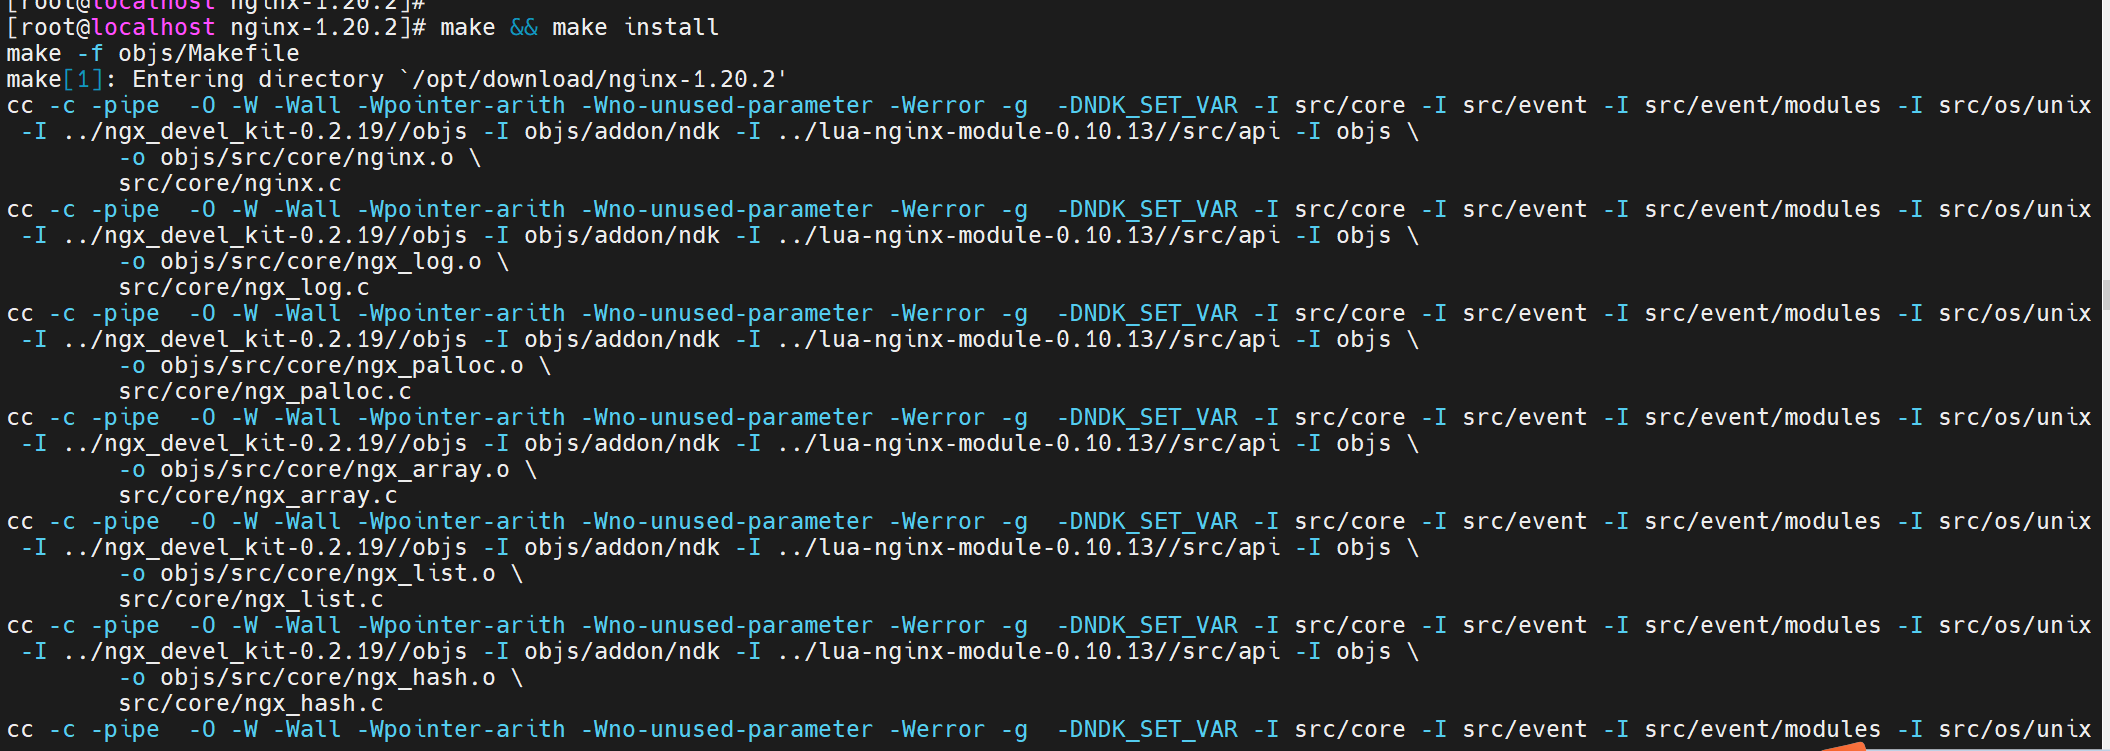
再用“make && make install”安装一次,这就是最后重新编译的过程

执行一下命名,移动至指定目录下,“ln -s /usr/local/lib/libluajit-5.1.so.2 /lib64/libluajit-5.1.so.2”并用“echo “/usr/local/LuaJIT/lib” >> /etc/ld.so.conf”将其加入lua库
 编译成功
编译成功
 随后写个脚本语言测试一下,然后直接用浏览器访问一下即可
 检查语法并重启
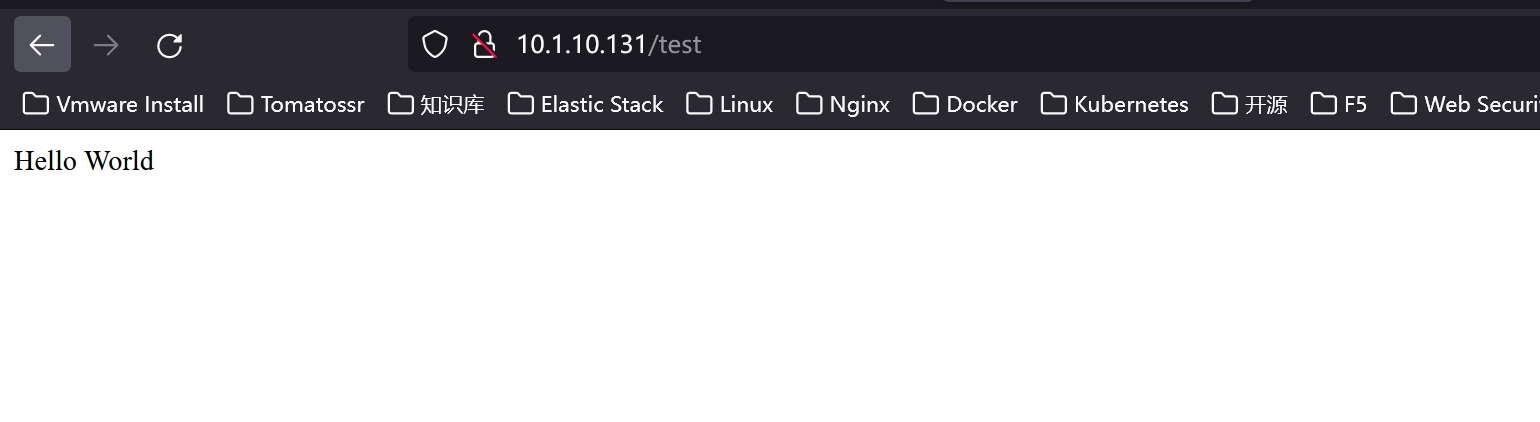 测试成功
测试成功
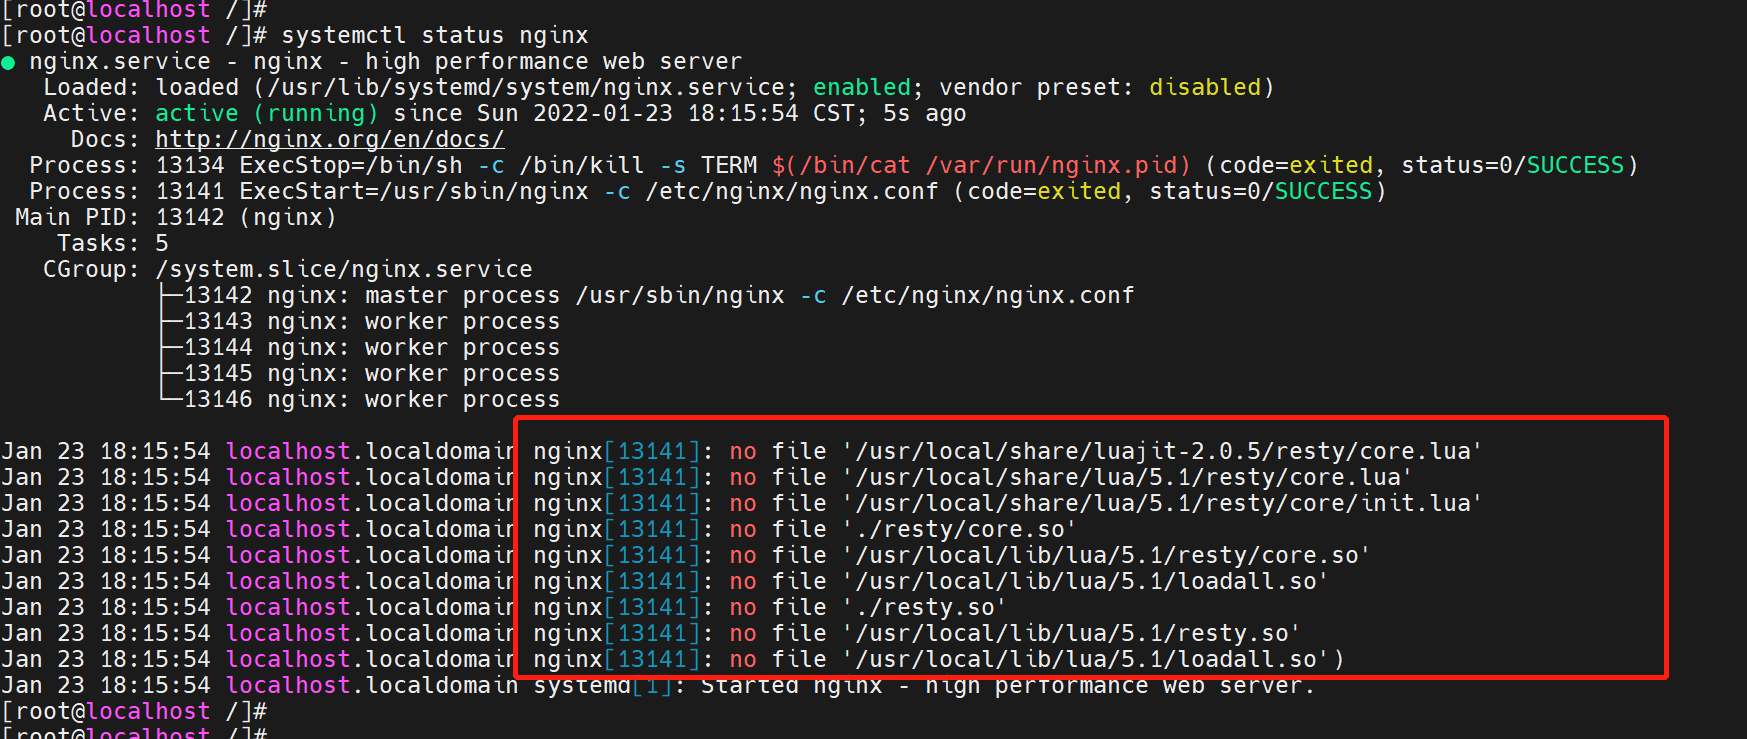 图中框出来的报错是编译的时候使用了最新版本的lua-nginx-module模块,使用了最新版就会触发该问题,官方还未修复,解决办法是使用低版本lua-nginx-module-0.10.14即可
如果觉得安装思路不是那么清晰,那么可以直接参考相关链接,照做即可:https://www.cnblogs.com/songguoyou/p/11883213.html,还需结合“https://blog.csdn.net/qq_38974634/article/details/81625075”一起看,因为在编译的时候,路径需要注意

若有收获,就点个赞吧
0 人点赞
