一、整合上传组件
参考 http://element-cn.eleme.io/#/zh-CN/component/upload 用户头像上传
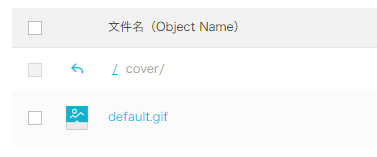
1、上传默认封面
2、定义默认封面
const defaultForm = {......,cover: process.env.OSS_PATH + '/cover/default.gif',......}
3、定义data数据
BASE_API: process.env.BASE_API // 接口API地址
4、组件模板
在info.vue中添加上传组件模板
<!-- 课程封面-->
<el-form-item label="课程封面">


  <el-upload
    :show-file-list="false"
    :on-success="handleAvatarSuccess"
    :before-upload="beforeAvatarUpload"
    :action="BASE_API+'/admin/oss/file/upload?host=cover'"
    class="avatar-uploader">
    <img :src="courseInfo.cover">
  </el-upload>


</el-form-item>
5、结果回调
handleAvatarSuccess(res, file) {
  console.log(res)// 上传响应
  console.log(URL.createObjectURL(file.raw))// base64编码
  this.courseInfo.cover = res.data.url
  },

beforeAvatarUpload(file) {
  const isJPG = file.type === 'image/jpeg'
  const isLt2M = file.size / 1024 / 1024 < 2


  if (!isJPG) {
    this.$message.error('上传头像图片只能是 JPG 格式!')
  }
  if (!isLt2M) {
    this.$message.error('上传头像图片大小不能超过 2MB!')
  }
  return isJPG && isLt2M

}
二、修改后端api
1、修改上传controller
添加host可选参数
1
/**
2
     * 文件上传
3
     *
4
     * @param file
5
     */
6
@ApiOperation(value = "文件上传")
@PostMapping("upload")
public R upload(
     @ApiParam(name = "file", value = "文件", required = true)
     @RequestParam("file") MultipartFile file,


     @ApiParam(name = "host", value = "文件上传路径", required = false)) {


     String uploadUrl = fileService.upload(file);
     //返回r对象
     return R.ok().message("文件上传成功").data("url", uploadUrl);


}


