- 一、项目结构
- 二、文件详解
- 1、allure下载及环境变量配置
- jdk,linux安装参考Linux搭建测试环境)">①下载allure(前提:电脑需安装jdk,linux安装参考Linux搭建测试环境)
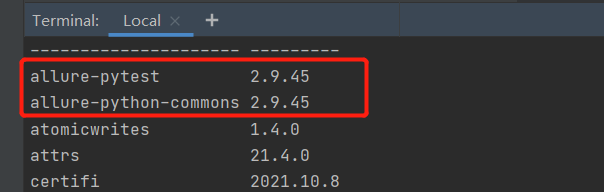
- ②安装allure(python)测试报告插件库:pip install allure-pytest
- 2、config.ini:配置分组内容
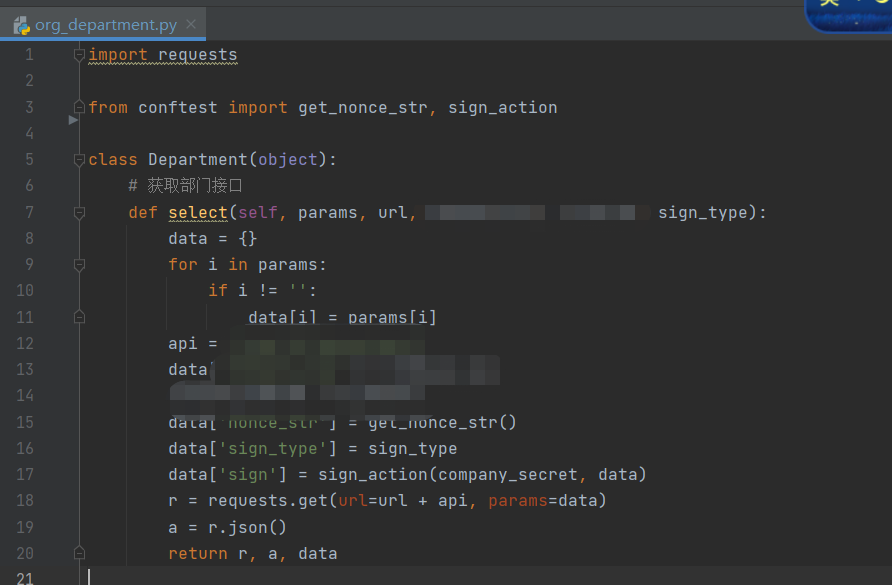
- 3、org_business:封装接口的参数
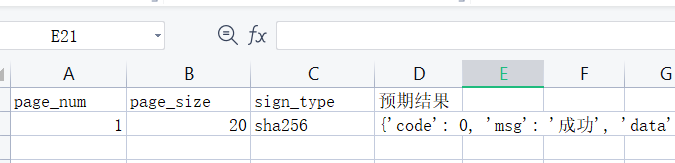
- 4、org_data:存放测试数据
- 5、org_logs:存放日志
- 6、org_report:存放测试报告
- 7、org_testcase:存放测试用例
- 8、conftest.py:存放通用方法
- 9、pytest.ini
- 10、项目依赖包:requirements.txt
- 11、主程序入口,执行测试用例
- 1、allure下载及环境变量配置
一、项目结构
基于接口api搭建了一个pytest框架,简单目录如下: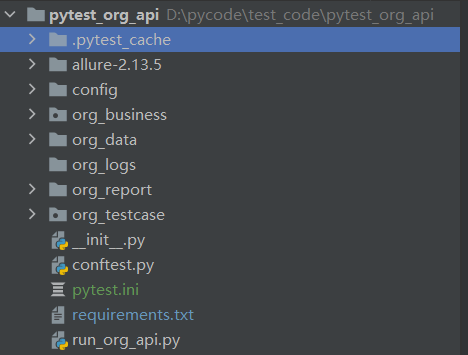
allure-2.13.5:生成allure测试报告
config:存放config.ini配置文件
orgbusiness:需要进行测试的接口及其参数
org_data:这里将测试数据放在excel中,通过read_data方法读取
org_logs:生成的日志文件
org_report:存放生成的测试报告
org_testcase:存放测试用例
conftest.py:存放了一些通用方法(读Excel数据,比较json串等_)
pytest.ini:主配置文件,可以改变pytest的默认行为
requirements.txt:项目依赖包
run_org_api:主程序入口,执行测试用例
二、文件详解
1、allure下载及环境变量配置
①下载allure(前提:电脑需安装jdk,linux安装参考Linux搭建测试环境)
1)下载allure-commandline并解压,下载地址:https://repo.maven.apache.org/maven2/io/qameta/allure/allure-commandline/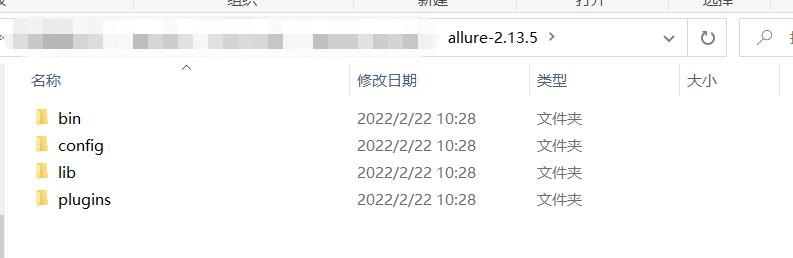
2)配置环境变量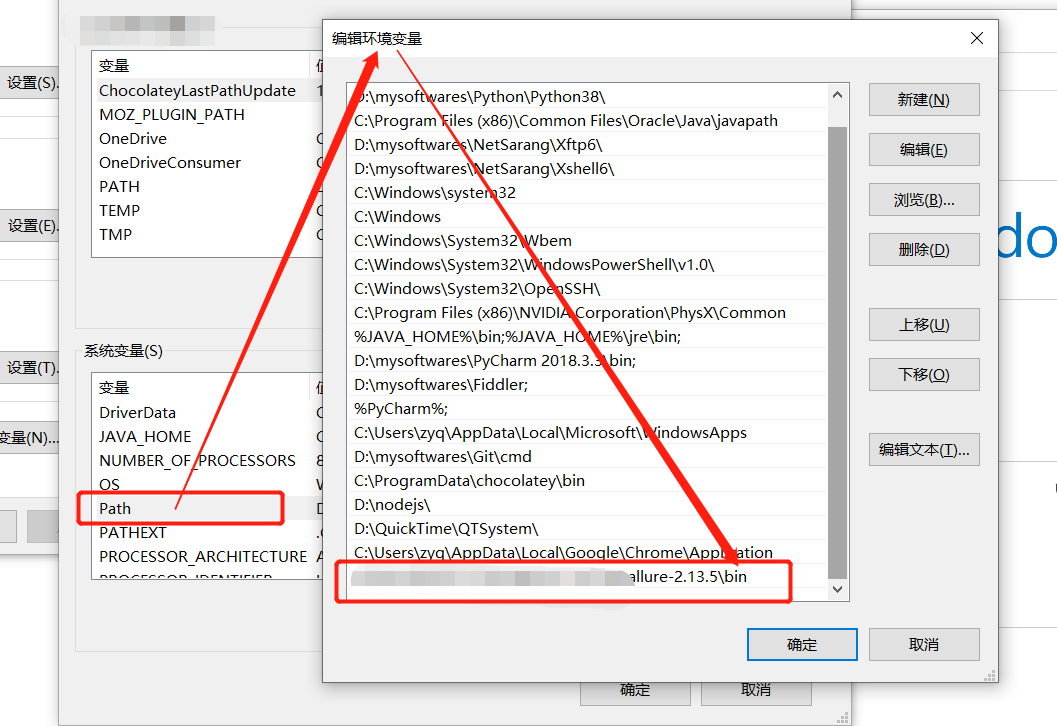
②安装allure(python)测试报告插件库:pip install allure-pytest
2、config.ini:配置分组内容
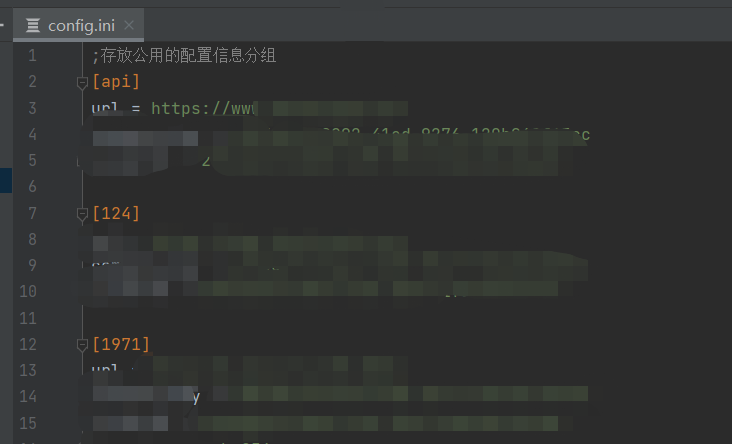
读取config.ini文件方法在测试用例py文件中:
def setup_class(self):cfg = ConfigParser()cfg.read(parent_dir + '/config/config.ini',encoding='utf-8')self.url = cfg.get('api', 'url')
3、org_business:封装接口的参数
4、org_data:存放测试数据

读取excel的方法在conftest.py中:
def read_data(filename, sheetname):'''读Excel数据:param filename:文件名:param sheetname:sheet名:return: [{},[},{}]'''data = xlrd.open_workbook(parent_dir + '\\org_data\\' +filename)list = []table = data.sheet_by_name(sheetname)#hs:sheet页中的行数hs = table.nrows# row:行;col:列# 遍历每一行的数据,存在listfor row in range(1, hs):one_row = table.row_values(0)row_data = table.row_values(row)new_list = [i for i in row_data if i != 'null']index_list = []one_list = []for i in range(len(row_data)):if row_data[i] == 'null':index_list.append(i)for i in index_list:one_list.append(one_row[i])for i in one_list:one_row.remove(i)for i in range(len(new_list)):if isinstance(new_list[i],int) or isinstance(new_list[i],float):if new_list[i]%1 == 0.0:new_list[i] = int(new_list[i])asd = dict(zip(one_row, new_list))list.append(asd)return list
5、org_logs:存放日志

6、org_report:存放测试报告
存放生成的allure报告,详见:主程序入口,执行测试用例
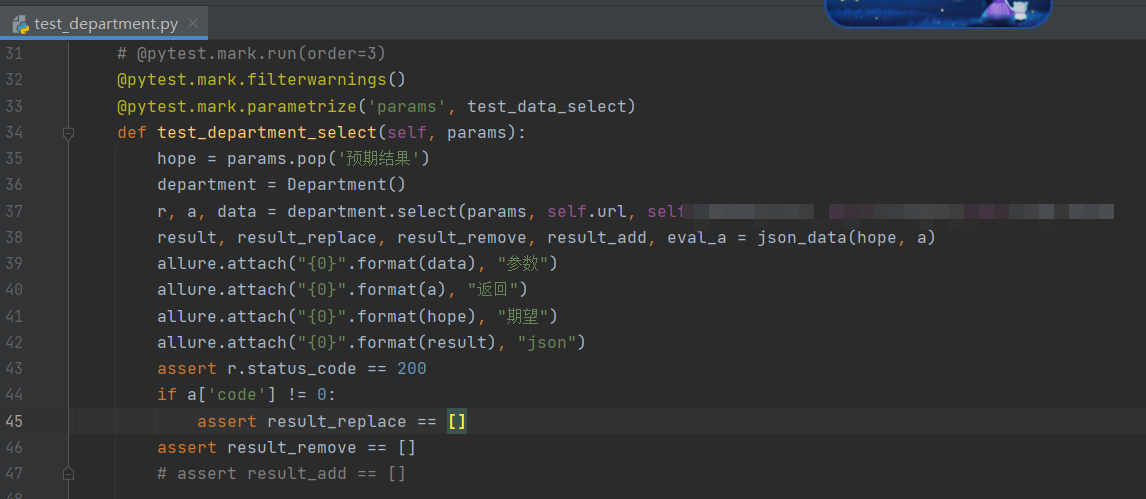
7、org_testcase:存放测试用例
8、conftest.py:存放通用方法
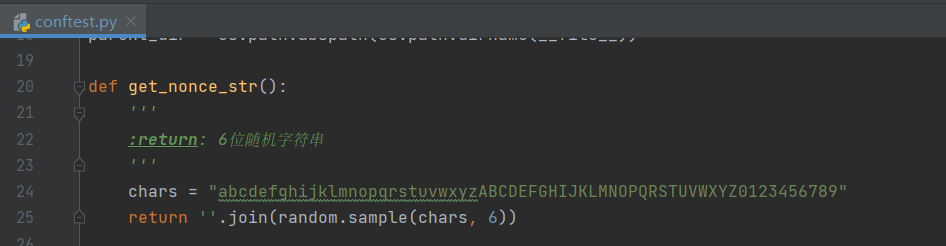
存放了一些通用方法(生成随机字符串,读Excel数据,比较json串等)
9、pytest.ini
①文件位置:就放在项目根目录下 ,不要乱放,不要乱起其他名字
②常用的配置项
1)marks
作用:测试用例中添加了 @pytest.mark.webtest 装饰器,如果不添加marks选项的话,就会报warnings
格式:list列表类型
写法:
[pytest]markers =weibo: this is weibo pagetoutiao: toutiaoxinlang: xinlang
2)xfail_strict
作用:设置xfail_strict = True可以让那些标记为@pytest.mark.xfail但实际通过显示XPASS的测试用例被报告为失败
格式:True 、False(默认),1、0
写法:
[pytest]# mark标记说明markers =weibo: this is weibo pagetoutiao: toutiaoxinlang: xinlangxfail_strict = True
3)addopts
作用:addopts参数可以更改默认命令行选项,这个当我们在cmd输入一堆指令去执行用例的时候,就可以用该参数代替了,省去重复性的敲命令工作
比如:想测试完生成报告,失败重跑两次,一共运行两次,通过分布式去测试,如果在cmd中写的话,命令会很长:pytest -v —rerun=2 —count=2 —html=report.html —self-contained-html -n=auto
每次都这样敲不太现实,addopts就可以完美解决这个问题
写法:
[pytest]xfail_strict = True# 命令行参数addopts = -v --reruns=1 --count=2 --html=reports.html --self-contained-html -n=auto
加了addopts之后,我们在cmd中只需要敲pytest就可以生效。
4)log_cli
作用:控制台实时输出日志
格式:log_cli=True 或False(默认),或者log_cli=1 或 0
5)norecursedirs
作用:pytest 收集测试用例时,会递归遍历所有子目录,包括某些你明知道没必要遍历的目录,遇到这种情况,可以使用 norecursedirs 参数简化 pytest 的搜索工作
默认设置: norecursedirs = . build dist CVS _darcs {arch} .egg
正确写法:多个路径用空格隔开
[pytest]norecursedirs = .* build dist CVS _darcs {arch} *.egg venv src resources log report util
③更改测试用例收集规则
pytest默认的测试用例收集规则
- 文件名以 test_.py 文件和 _test.py
- 以 test_ 开头的函数
- 以 Test 开头的类,不能包含 init 方法
- 以 test_ 开头的类里面的方法
可以修改或者添加这个用例收集规则的;当然是建议在原有的规则上添加的,如下配置:
[pytest]python_files = test_* *_test test*python_classes = Test* test*python_functions = test_* test*
10、项目依赖包:requirements.txt
①导出包至requirements.txt文件:
1)方法一:
> cd 项目文件
> pip freeze > requirements.txt 会在项目根目录生成requirements.txt文件(会生成环境下所有依赖包)
2)方法二:
> pip install pipreqs
进入需要生成文件的目录执行: pipreqs ./ (或者直接 pipreqs D:\test(实际路径))
在此时可能会遇见这个错误:
UnicodeDecodeError: ‘gbk’ codec can’t decode byte 0x80 in position 776: illegal multibyte sequence
解决方法:指定编码格式 pipreqs ./ —encoding=utf8
②安装依赖包(pycharm会自动识别)
cd 项目根目录
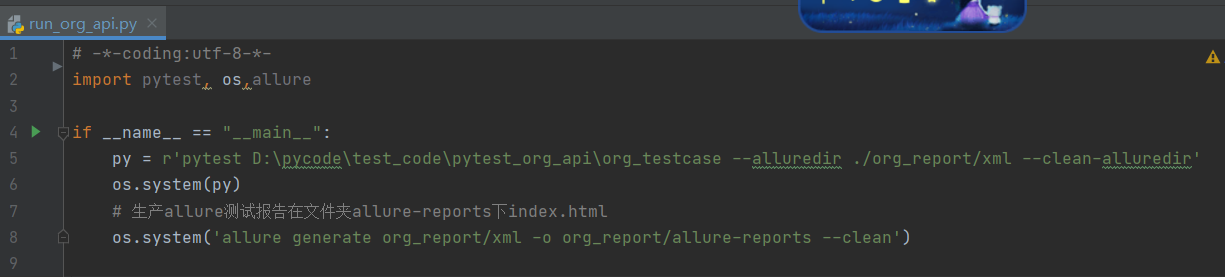
> pip install -r requirements.txt11、主程序入口,执行测试用例
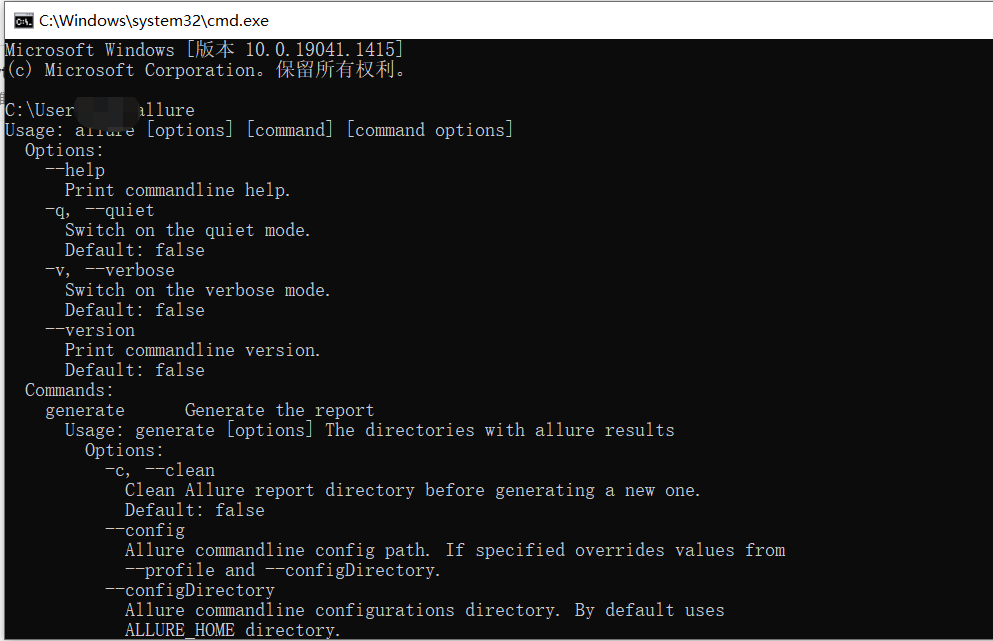
①运行生成测试结果:pytest <测试目录> —alluredir <测试结果存放目录>
例:pytest test —alluredir report/allure_origin —clean-alluredir 清除上次生成的报告数据
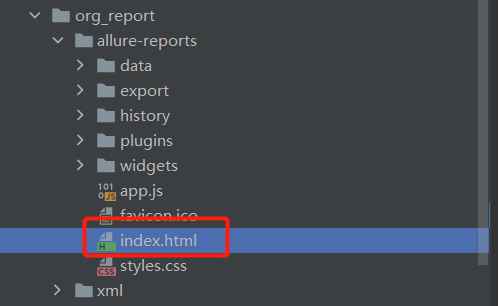
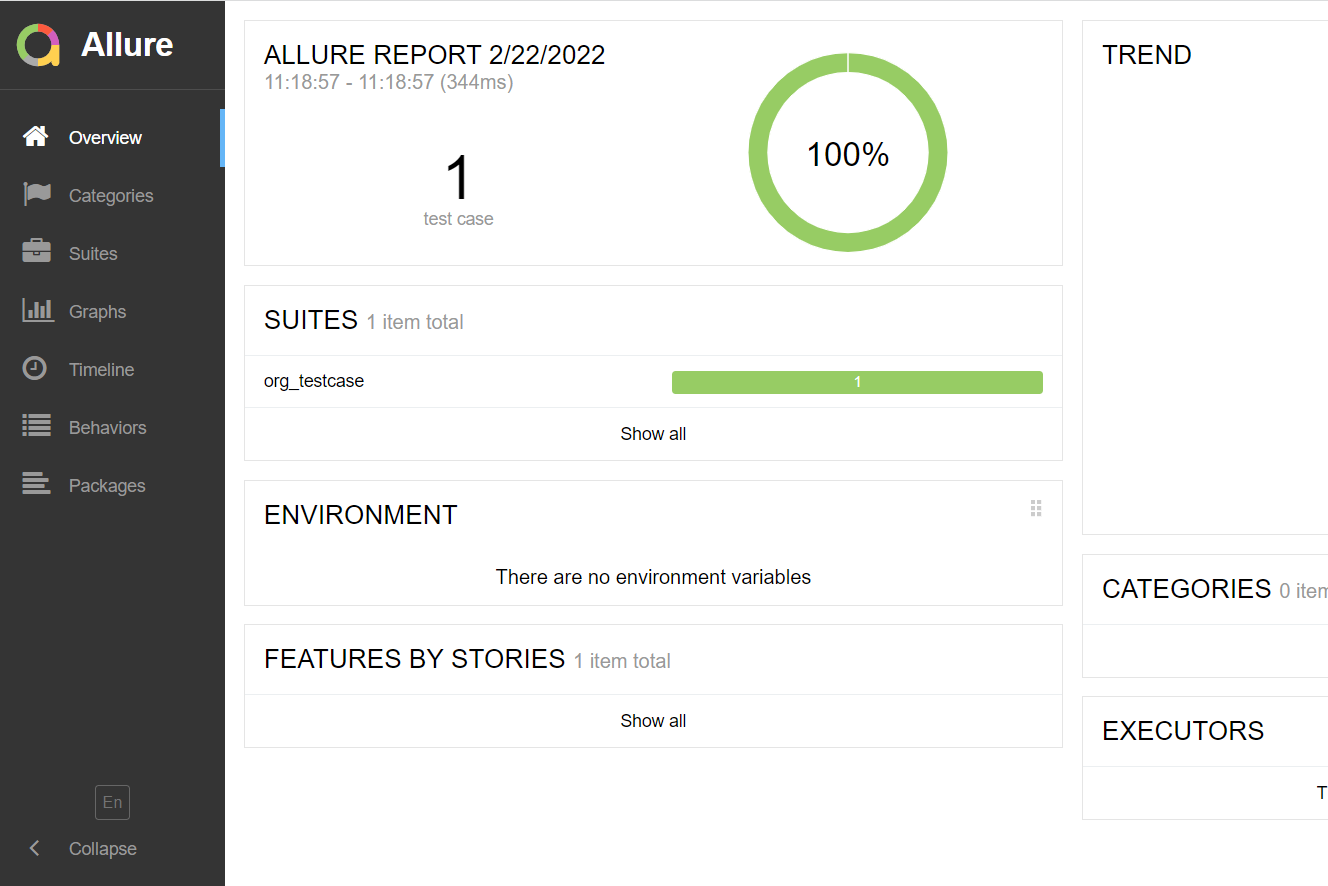
注意!这个时候allure_origin里边的数据只是测试结果(json.txt文件),还不是测试报告②生成测试报告:allure generate
-o <存放报录> —clean(清空旧数据) 例:allure generate report/allure_origin -o report/allure_report —clean
在allure_report中可以看到有个index.html的文件,用浏览器打开
或者用命令allure open /report/allure_report(运行后会启动一个web服务用语展示报告)

若有收获,就点个赞吧
0 人点赞
