title: MacbookPro上安装nmap和Metasploit
date: 2019-8-10 23:10:29
tags: 工具
这两天刚搞完牙齿,闲着也是闲着,就想着把在mac上安装一些软件的过程记录下来,话说mac还真有一点不适应。
安装nmap:
brew install nmap
homebrew是mac上的包管理器,类似于yum或apt-get。语法简称brew。
nmap很简单就这一条命令就好了。
安装metasploit:
1、先从github上克隆下来,然后进入目录,执行一下程序
git clone https://github.com/rapid7/metasploit-framework.git
cd metasploit-framework
./msfconsole
2、执行上面的命令时,一般会报如下错误,是说明需要对bundler进行更新。
[*] Bundler failed to load and returned this error:
'cannot load such file -- bundler/setup'
[*] You may need to uninstall or upgrade bundler
然后执行下面的命令安装新版bundler。
gem install bundler //需要在root用户下运行
3、别急着执行msfconsole,他依然会报错的,但是我们现在先不管他,先安装postgresql数据库。
brew install postgresql //安装postgresql
安装完之后,我们需要将其开启。
brew services start postgresql //启动postgresql 服务
然后初始化数据库
initdb /usr/local/var/postgres
在初始化时,你会看到如下报错。
initdb: directory "/usr/local/var/postgres" exists but is not empty If you want to create a new database system,
 either remove or empty the directory "/usr/local/var/postgres" or run initdb with an argument other than
"/usr/local/var/postgres".
别慌,我们只要删除一个目录就好了,执行下面的删除命令之后在执行之前的初始化命令。
rm -r /usr/local/var/postgres
initdb /usr/local/var/postgres
4、为msf创建数据库用户和密码。
createuser msf -P -h localhost  //输入完会叫你设置一个密码
createdb -O msf msf -h localhost  // 使用msf用户创建msf数据库
完了,我们在配置一下msf的数据库连接文件。
cd metasploit-framework/config  //进入配置文件目录
cp database.yml.example database.yml  //复制一份database.yml
vim database.yml  //编辑这个yml文件
//以下为文件的配置内容,密码处填你设置的密码。
development: &pgsql
adapter: postgresql
database: msf
username: msf
password: <passwd>
host: localhost
port: 5432
pool: 200
timeout: 5
5、返回msf的根目录(就是目录名字为:metasploit-framework的目录下)开始安装。
bundle install --path vendor/bundle
6、OK了,应该可以正常运行可,你们可以使用下面的命令运行了。
cd metasploit-framework
./msfconsole
7、题外话,将msfconsole等命令加入环境变量,这样我们在任意目录任意位置也可以直接输入msfconsole就可以执行程序了。
echo 'alias msfconsole="~path~/metasploit-framework && ./msfconsole && cd -"' >> ~/.zshrc
echo 'alias msfbinscan="~path~/metasploit-framework && ./msfbinscan && cd -"' >> ~/.zshrc
echo 'alias msfd="~path~/metasploit-framework && ./msfd && cd -"' >> ~/.zshrc
echo 'alias msfelfscan="~path~/metasploit-framework && ./msfelfscan && cd -"' >> ~/.zshrc
echo 'alias msfmachscan="~path~/metasploit-framework && ./msfmachscan && cd -"' >> ~/.zshrc
echo 'alias msfpescan="~path~/metasploit-framework && ./msfpescan && cd -"' >> ~/.zshrc
echo 'alias msfrop="~path~/metasploit-framework && ./msfrop && cd -"' >> ~/.zshrc
echo 'alias msfrpc="~path~/metasploit-framework && ./msfrpc && cd -"' >> ~/.zshrc
echo 'alias msfrpcd="~path~/metasploit-framework && ./msfrpcd && cd -"' >> ~/.zshrc
echo 'alias msfupdate="~path~/metasploit-framework && ./msfupdate && cd -"' >> ~/.zshrc
echo 'alias msfvenom="~path~/metasploit-framework && ./msfvenom && cd -"' >> ~/.zshrc
sudo chmod go+w /etc/profile
sudo echo export MSF_DATABASE_CONFIG=~path~/metasploit-framework/config/database.yml >> /etc/profile
记住,一定要将上面代码中的”~path~“换成你们msf对应的目录,不然就无法生效的。还有,我这里使用的是zsh而不是bash。自己分辨环境变量文件。
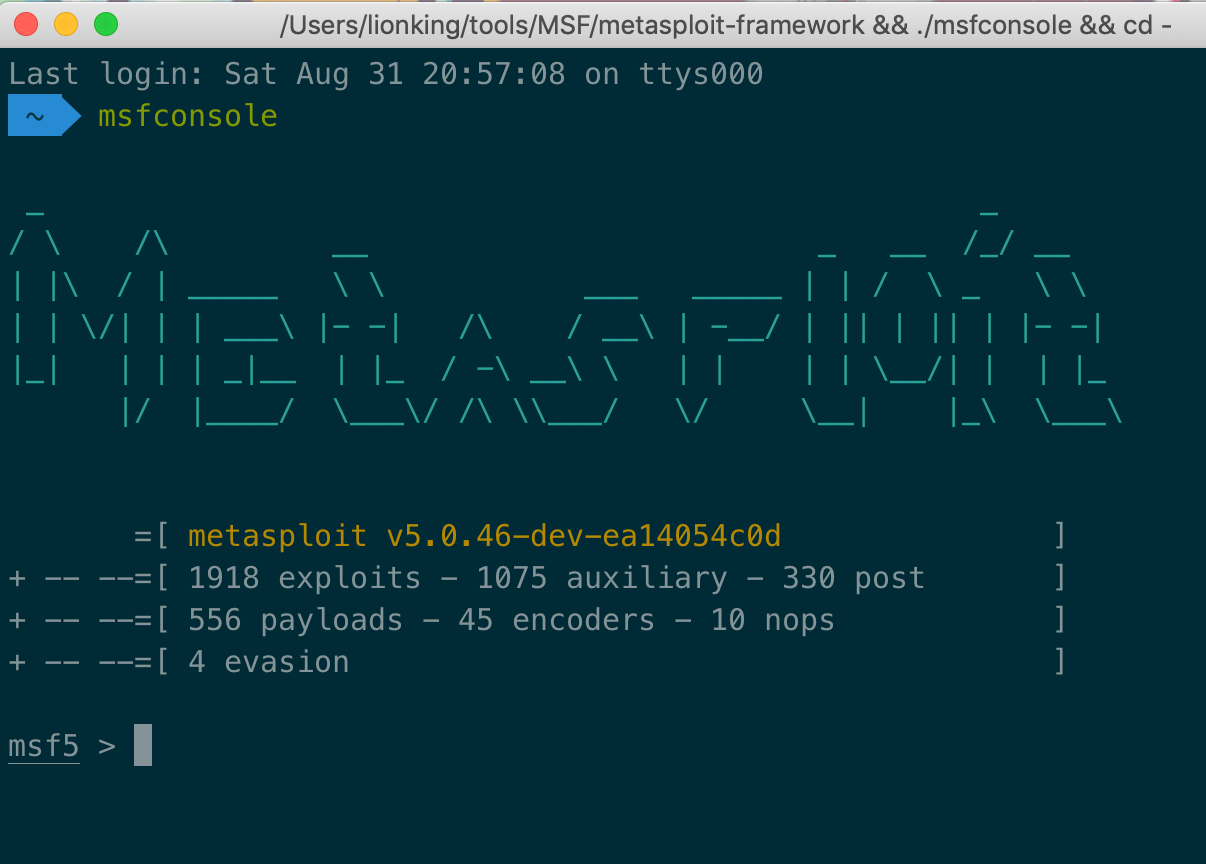
效果图:

若有收获,就点个赞吧
0 人点赞
