Abstract
今天电脑系统重装了,借此记录一下环境配置,PyTorch分为CPU版和GPU版,CPU版本安装非常简单,用官方的命令即可安装,主要是GPU版本的安装需要注意PyTorch、CUDA、cuDNN、N卡驱动他们之间的版本依赖关系,安装方法分为下载源码安装和直接命令安装,这里为了方便我就只做命令安装的笔记,如果不能上外网需要自己准备VPN,为了确保命令能自动下载到安装文件,最好都在连接了VPN之后开始命令操作。
PyTorch对CUDA版本要求:
https://pytorch.org/get-started/locally/
https://pytorch.org/get-started/previous-versions/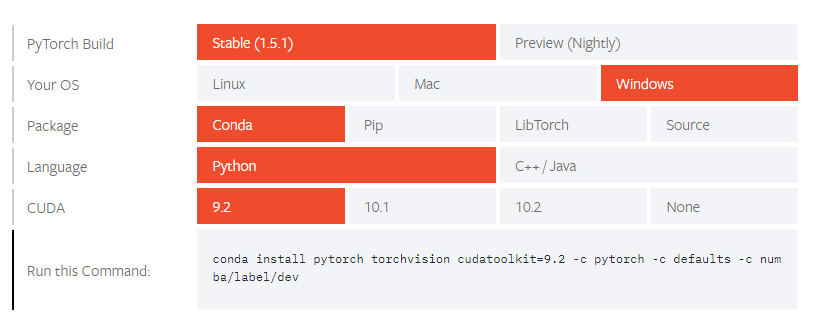
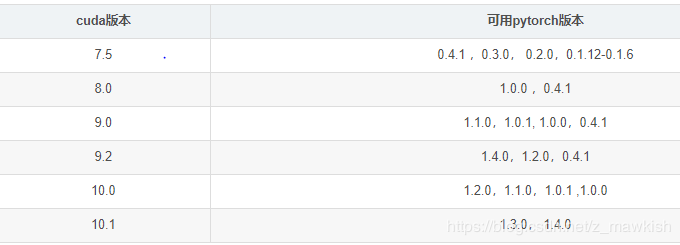
CUDA版本对应的pytorch版本
CUDA版本对显卡驱动版本有要求,见如下链接:
https://docs.nvidia.com/cuda/cuda-toolkit-release-notes/index.html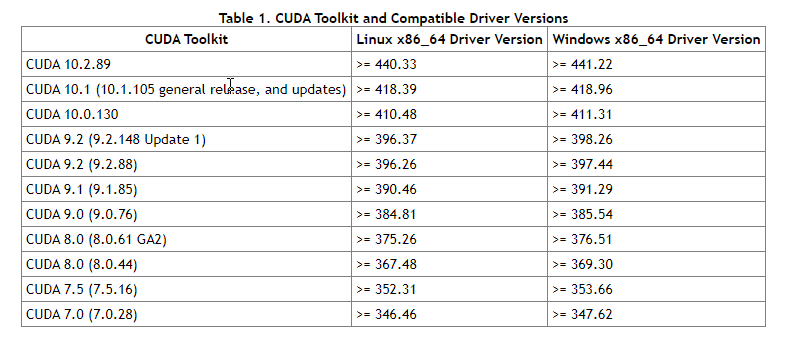
cuDNN与CUDA版本关系
https://developer.nvidia.com/rdp/cudnn-download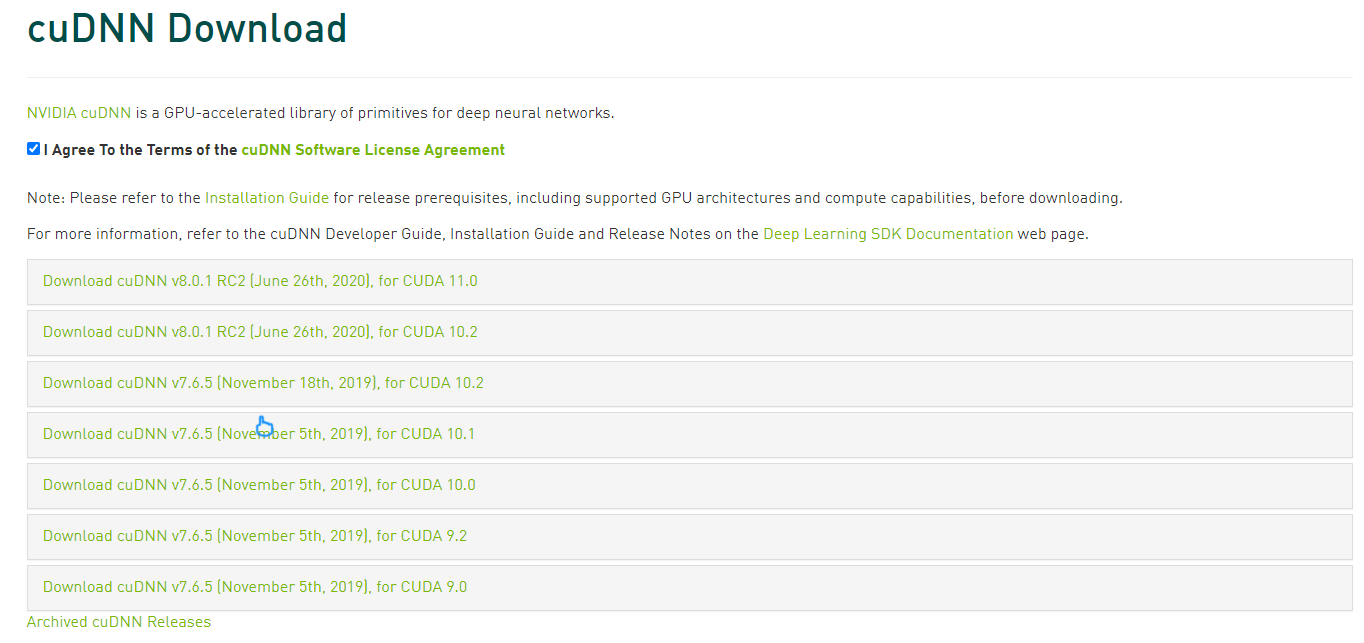
NVIDIA 驱动程序下载:
https://www.nvidia.cn/Download/index.aspx?lang=cn
https://www.nvidia.cn/geforce/drivers/
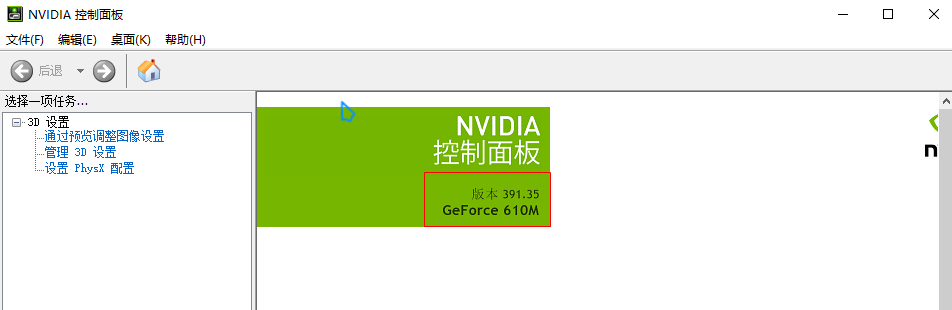
NVIDIA 驱动版本:

CUDA版本选择
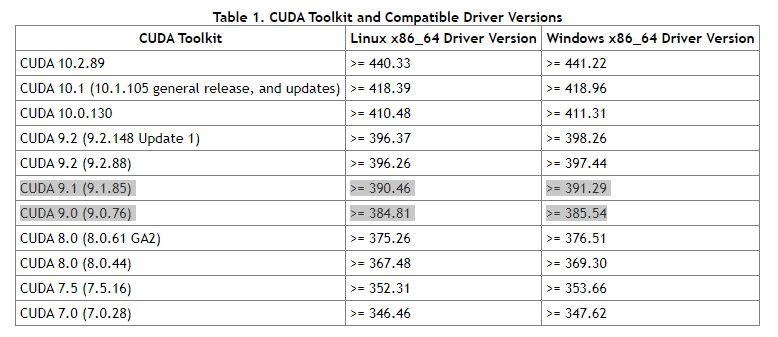
- 根据CUDA对N卡版本要求,我的N卡版本为391.35,所以只能选择CUDA9.0/9.1,电脑有点过时了呀,古董了。
- 根据CUDA9.0,我的电脑只能选择pytorch1.1.0,参见连接:https://pytorch.org/get-started/previous-versions/

开始安装
1、电脑版本确定
- NVIDIA显卡版本:GetForce 610M 驱动程序版本: 391.35
- CUDA版本:CUDA 9.0
- CUDA Toolkit官方最新:https://developer.nvidia.com/cuda-toolkit
- CUDA Toolkit官方历史:https://developer.nvidia.com/cuda-toolkit-archive
- cuDNN需要注册
- PyTorch版本:1.1.0
- Anaconda:
- 官网最新:https://www.anaconda.com/products/individual
- 清华镜像:https://mirrors.tuna.tsinghua.edu.cn/anaconda/archive/
- 官网历史:https://repo.anaconda.com/archive/
2、安装NVIDIA显卡驱动,完成后再次查看显卡驱动版本:
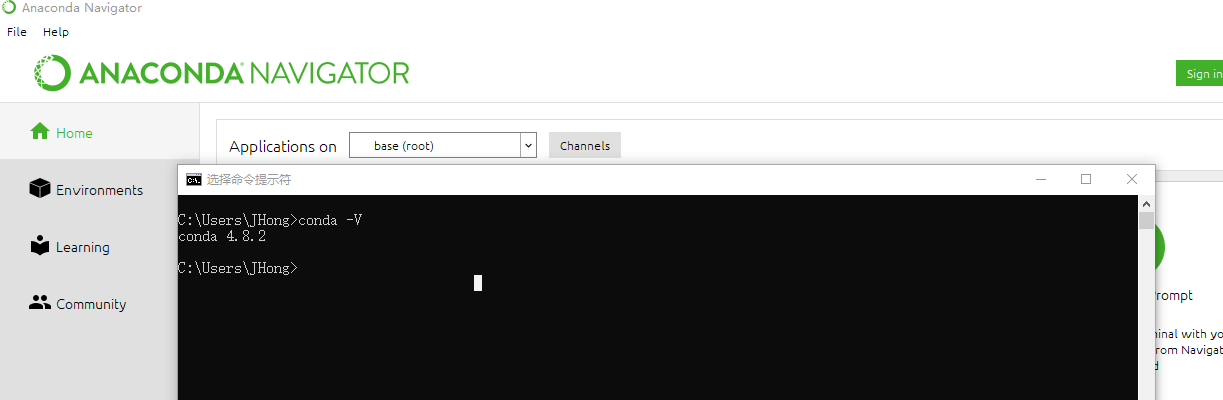
3、Anaconda安装
4、CUDA安装
cd C:\Program Files\NVIDIA GPU Computing Toolkit\CUDA\v9.0\bin #进入CUDA安装bin目录
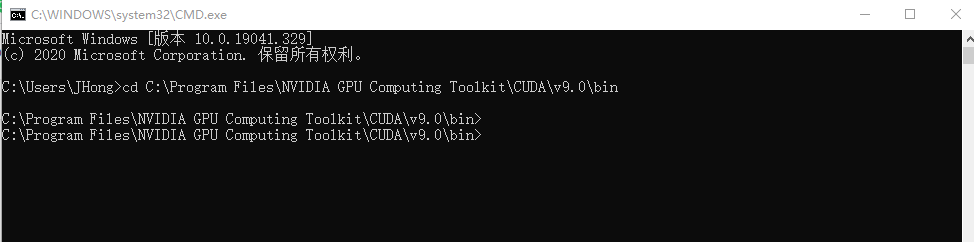
NVCC -V # 测试CUDA是否安装成功

5、cuDNN安装
- 解压缩cuDNN压缩包,复制里面的3个文件夹
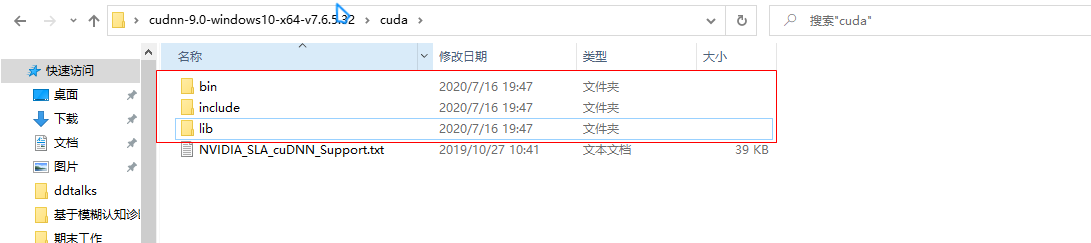
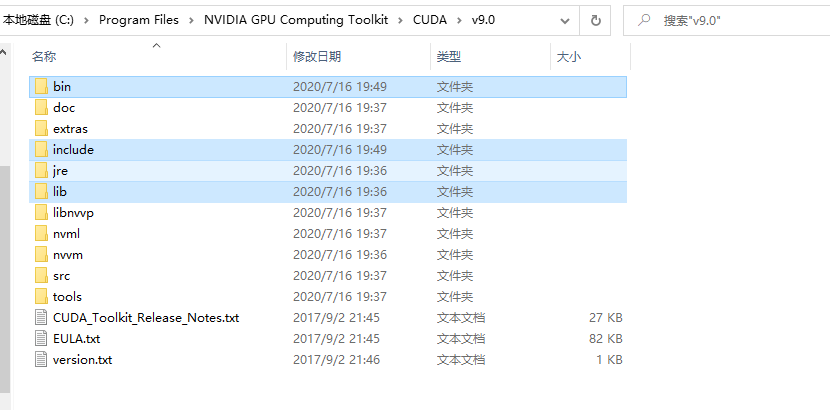
- 粘贴到CUDA安装目录:C:\Program Files\NVIDIA GPU Computing Toolkit\CUDA\v9.0
- 测试cuDNN是否安装成功
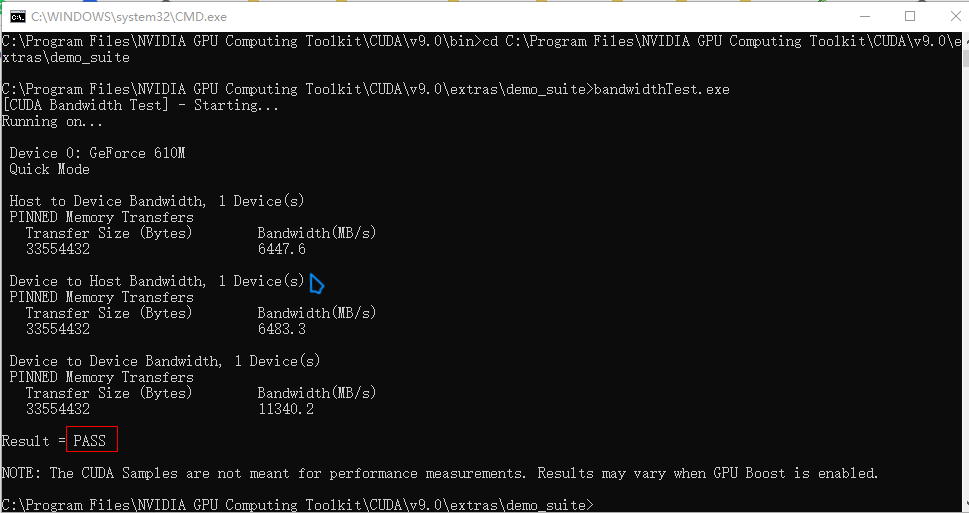
cd C:\Program Files\NVIDIA GPU Computing Toolkit\CUDA\v9.0\extras\demo_suite

bandwidthTest.exe # 运行测试文件 Result = PASS表示通过,否则会错误提示,需要去检查版本是否互相支持
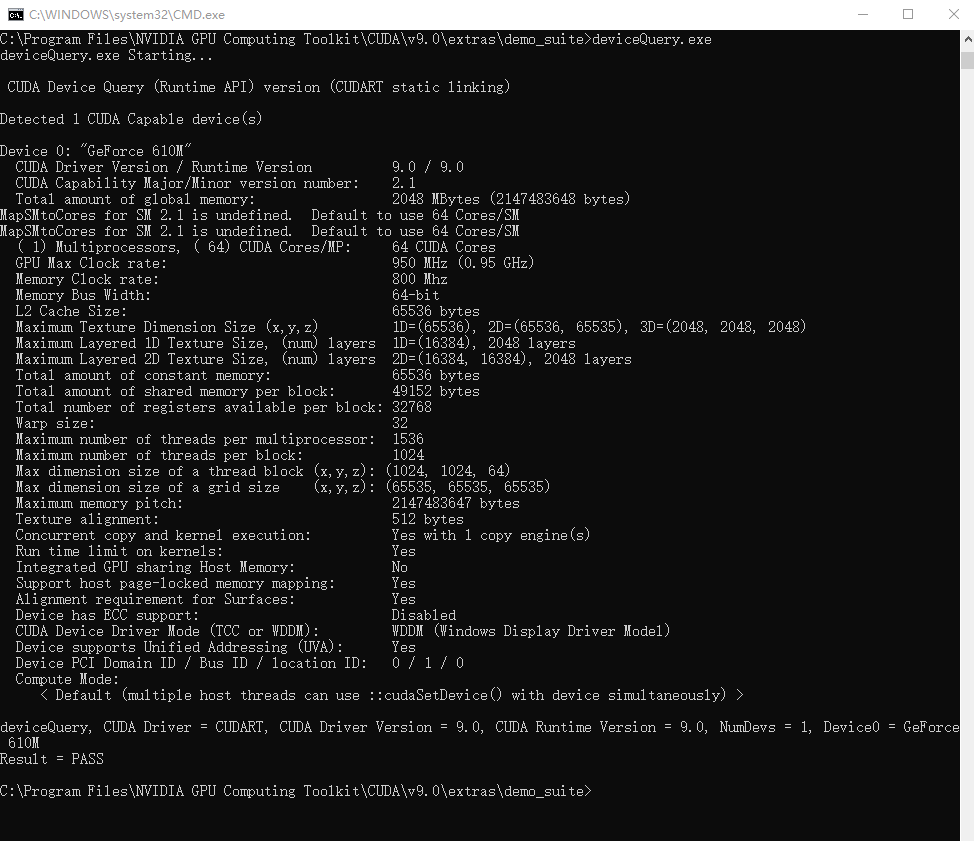
deviceQuery.exe # 查看设备
6、PyTorch安装
1. Conda命令直接安装,需要VPN
各版本安装命令:https://pytorch.org/get-started/previous-versions/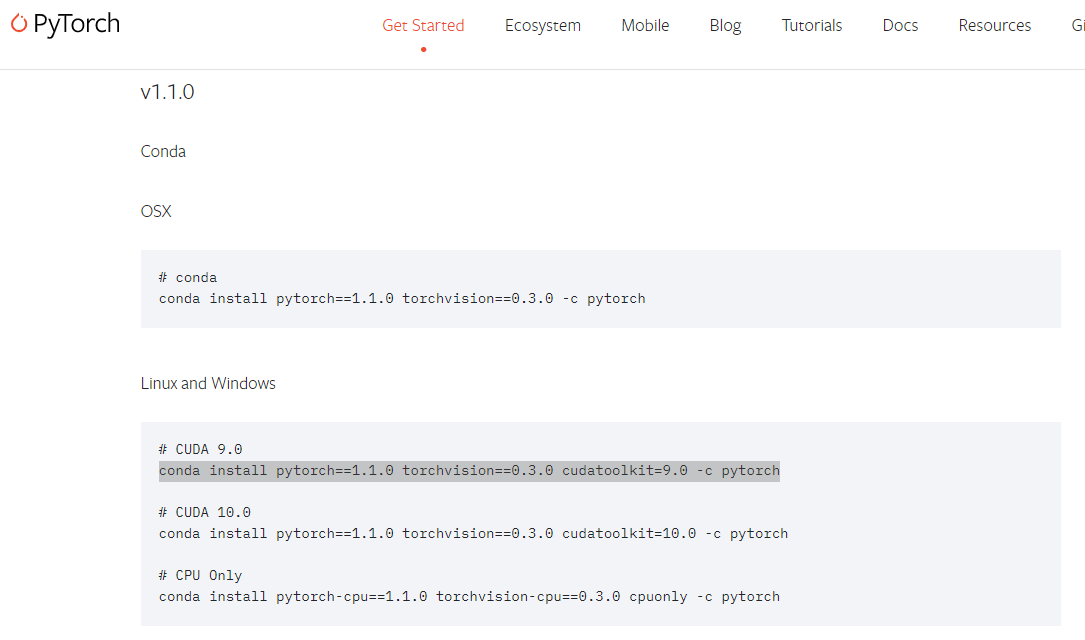
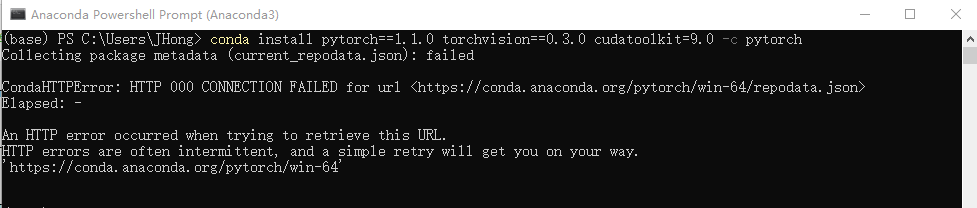
conda install pytorch==1.1.0 torchvision==0.3.0 cudatoolkit=9.0 -c pytorch # 执行安装命令
- 提示错误,连接不到服务器,因为我没有开VPN
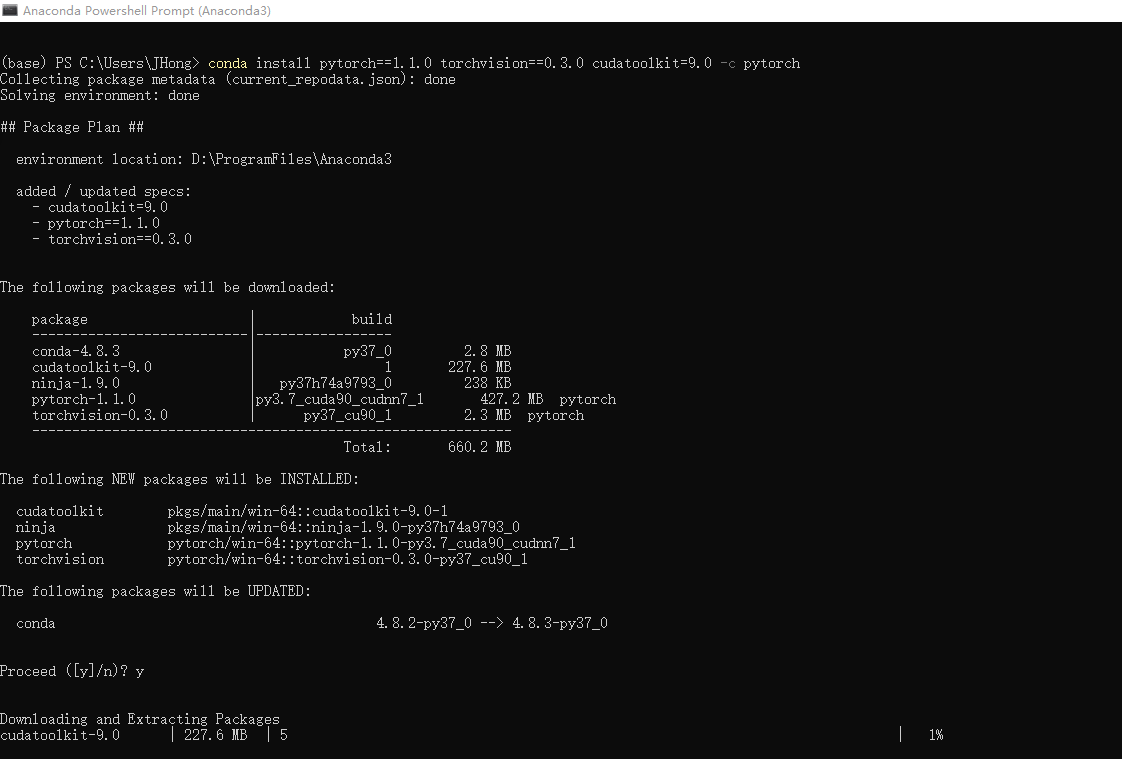
- 开启VPN 重新执行命令
2.下载本地pip安装,没有VPN建议用此方法
PyTorch Get Startedhttps://pytorch.org/get-started/previous-versions/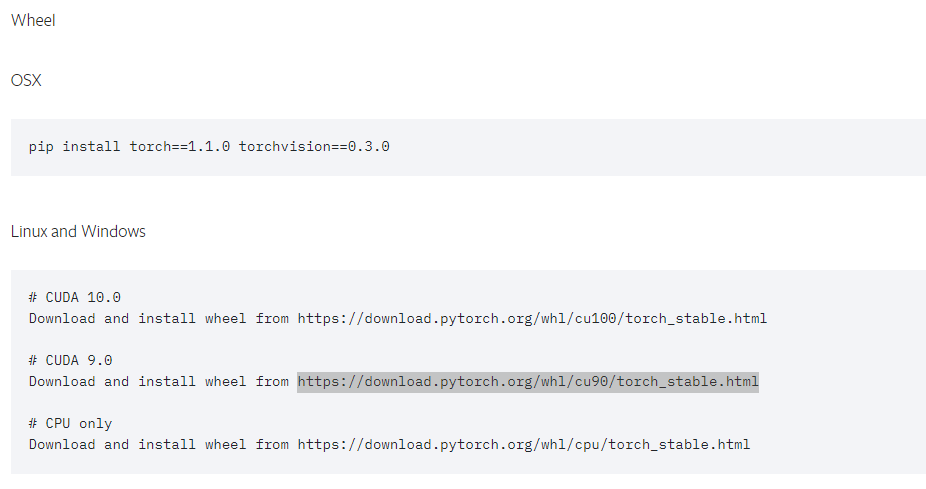
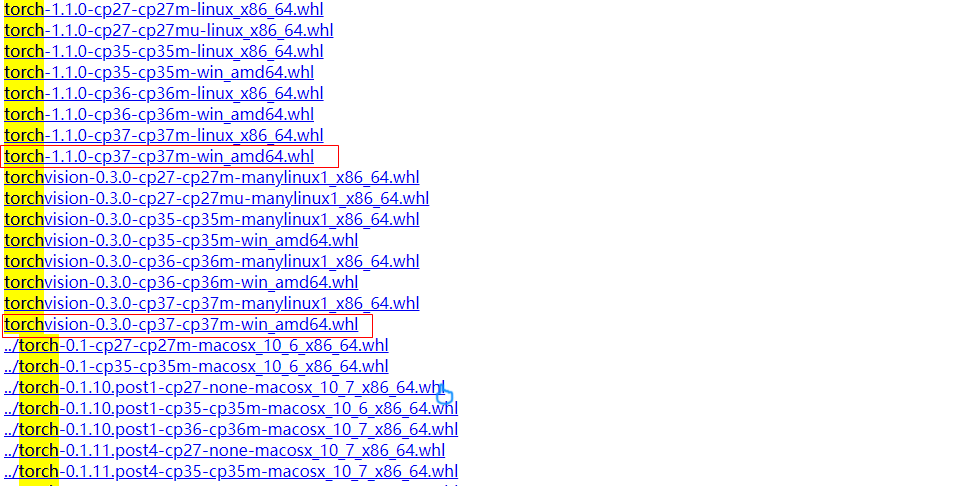
根据下载地址:https://download.pytorch.org/whl/cu90/torch_stable.html
找到对应的版本pytorch==1.1.0 torchvision==0.3.0 ,cp37代表的是python3.7。下载到本地,我的保存地址:E:\MyCode\github\pytorch\pytorch_install
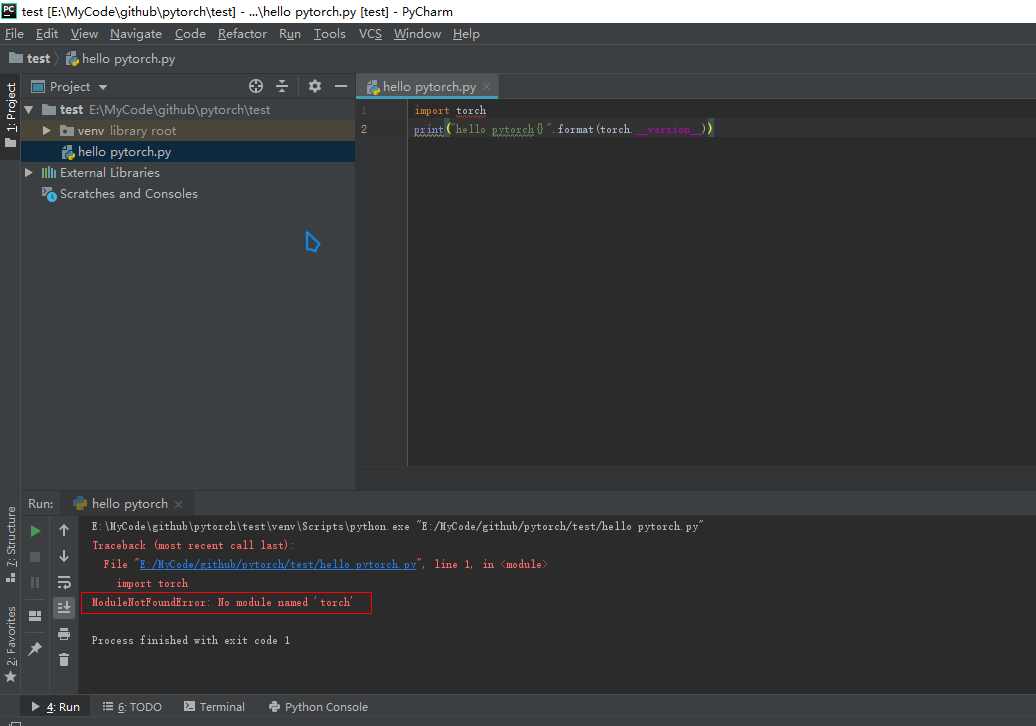
找不到pytorch工具包,因为当前环境中没有安装pytorch
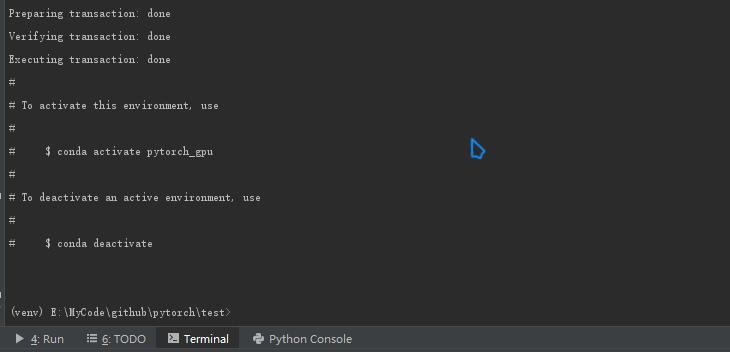
用conda创建虚拟环境

把路径“Anaconda3/Library/bin ”下面的两个文件:libcrypto-1_1-x64.dll ;libssl-1_1-x64.dll,复制到路径“Anaconda3/DLLs”下。
重新运行命令,即可解决。
切换到虚拟环境,cd到pytorch安装包目录:pip install 安装

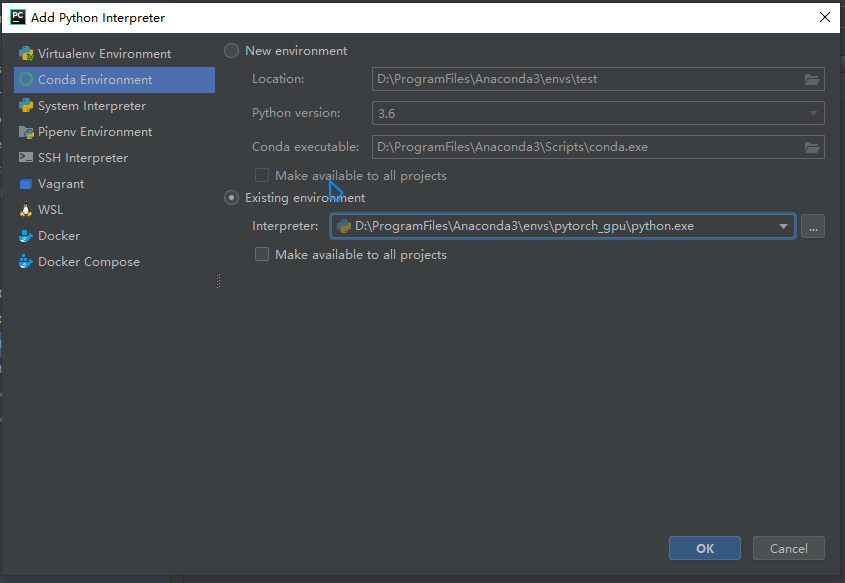
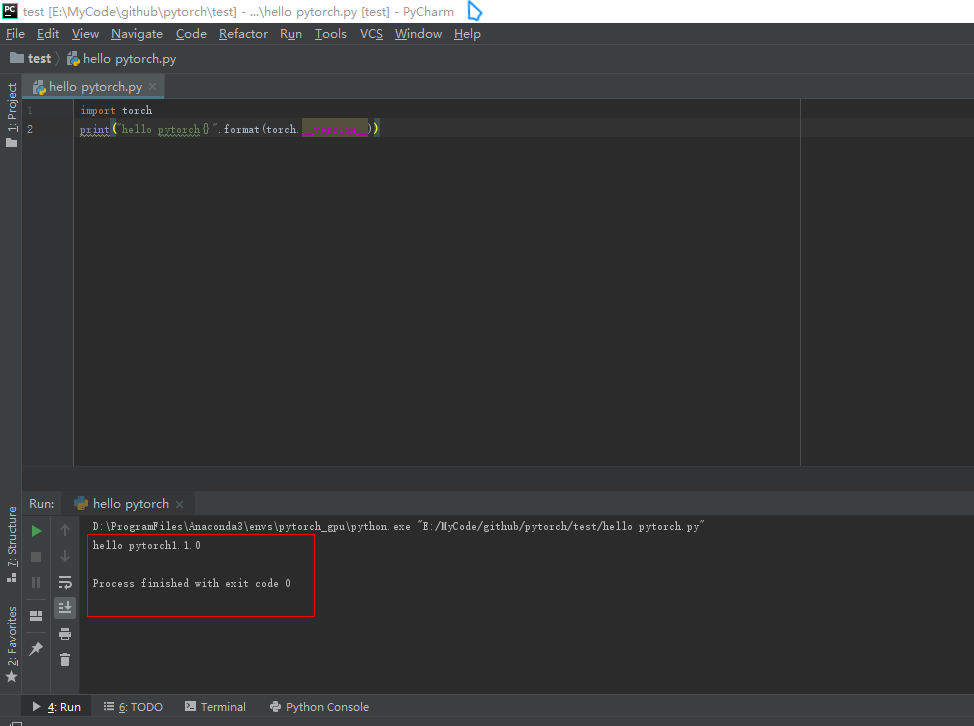
pycharm,切换到虚拟环境
重新运行,成功!

若有收获,就点个赞吧
0 人点赞
