1. Jdk 11
  2. maven 3.8.3

Download Source

  1. git clone git@github.com:thingsboard/thingsboard.git
  2. # checkout latest release branch
  3. git checkout release-3.3

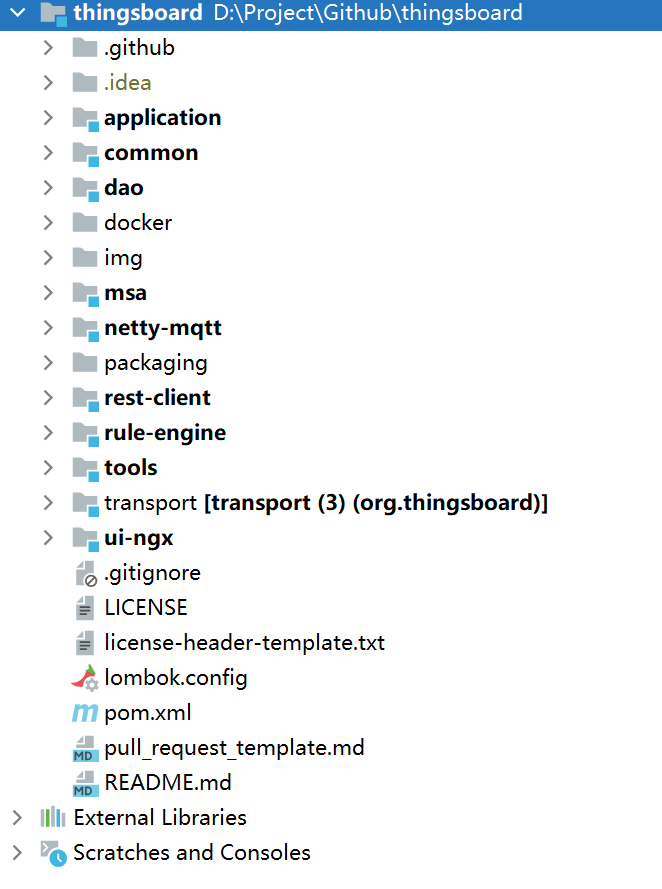
image.png

Build Source

PS: 这里建议科学上网,要不然会失败N次(考验运气), 一次不行就多次,只能如此…

  1. mvn clean install -DskipTests

其它问题: 可能会遇到一个前端补丁文件执行失败的错误,直接删除就可以编译通过了…(暂时不知道啥问题),如图示:
PS:补充,github 上有人提出了相同的问题,解决方案跟我这里一致 — 2022.3.17
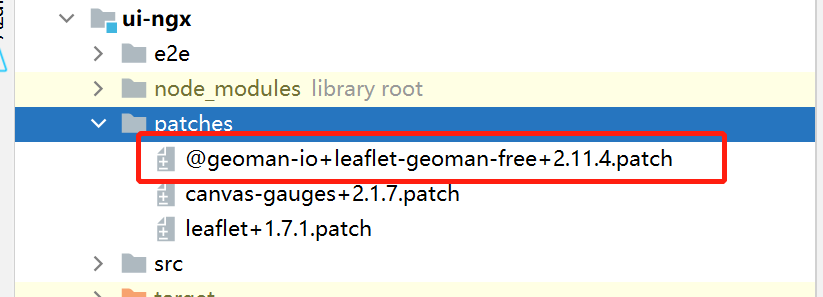
image.png

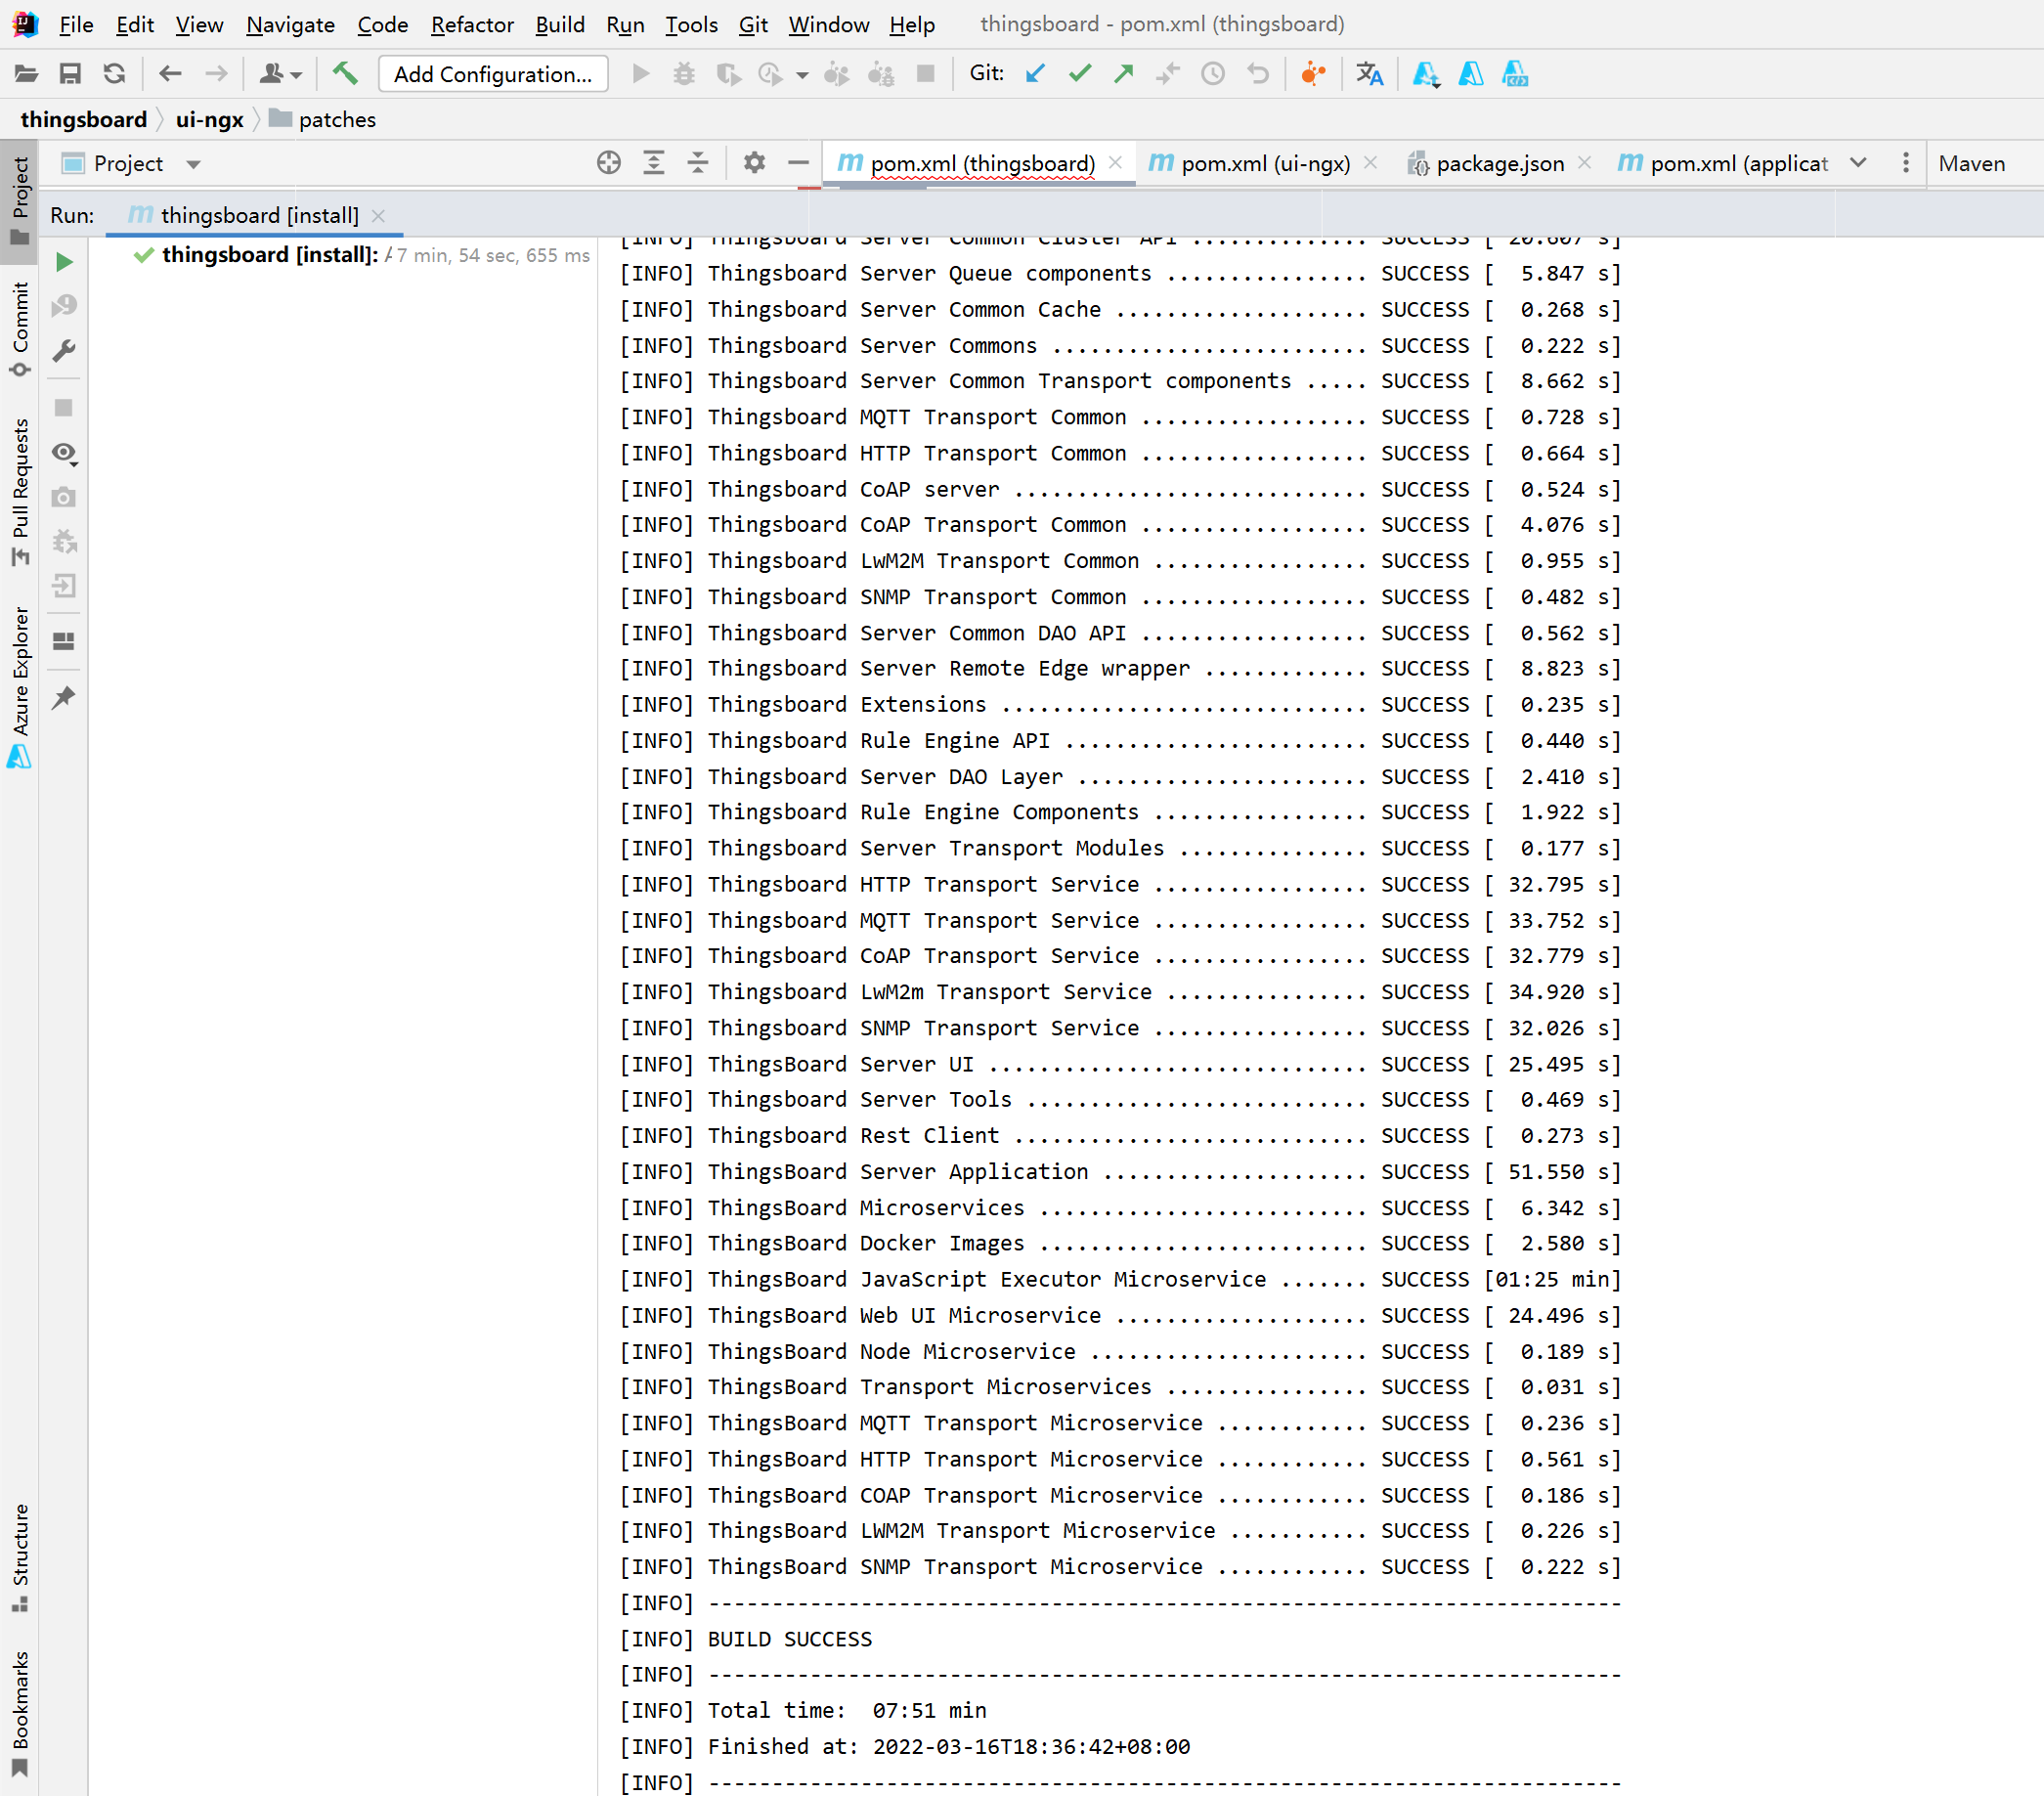
下面是经过数次失败后编译成功的界面截图:

image.png

Start Program

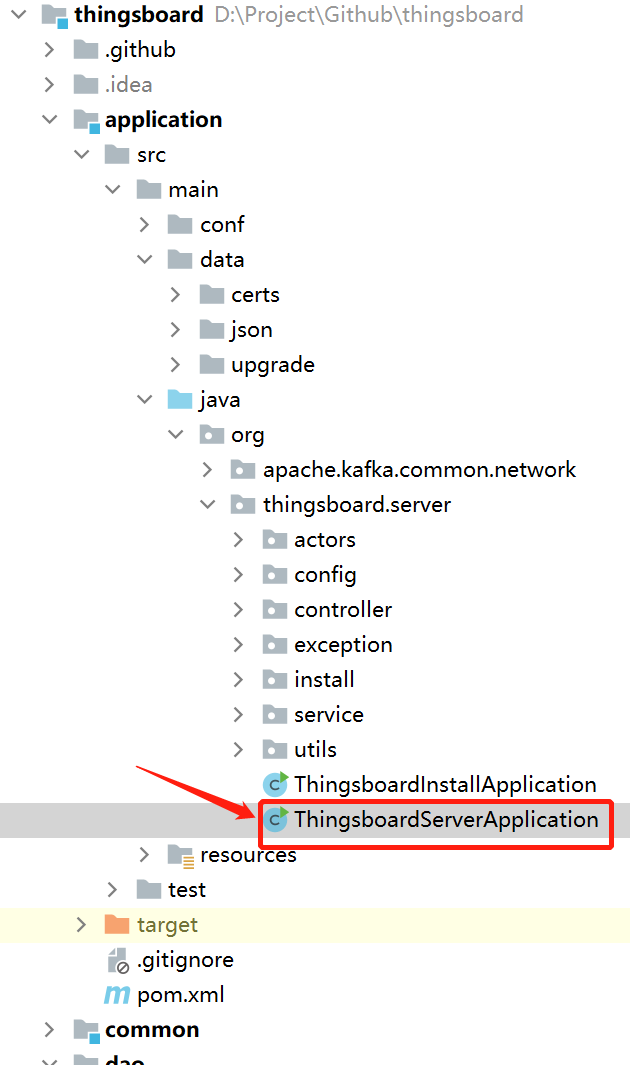
入口程序如下:
image.png

启动报错了,根据提示看出,需要连接 postgres
image.png

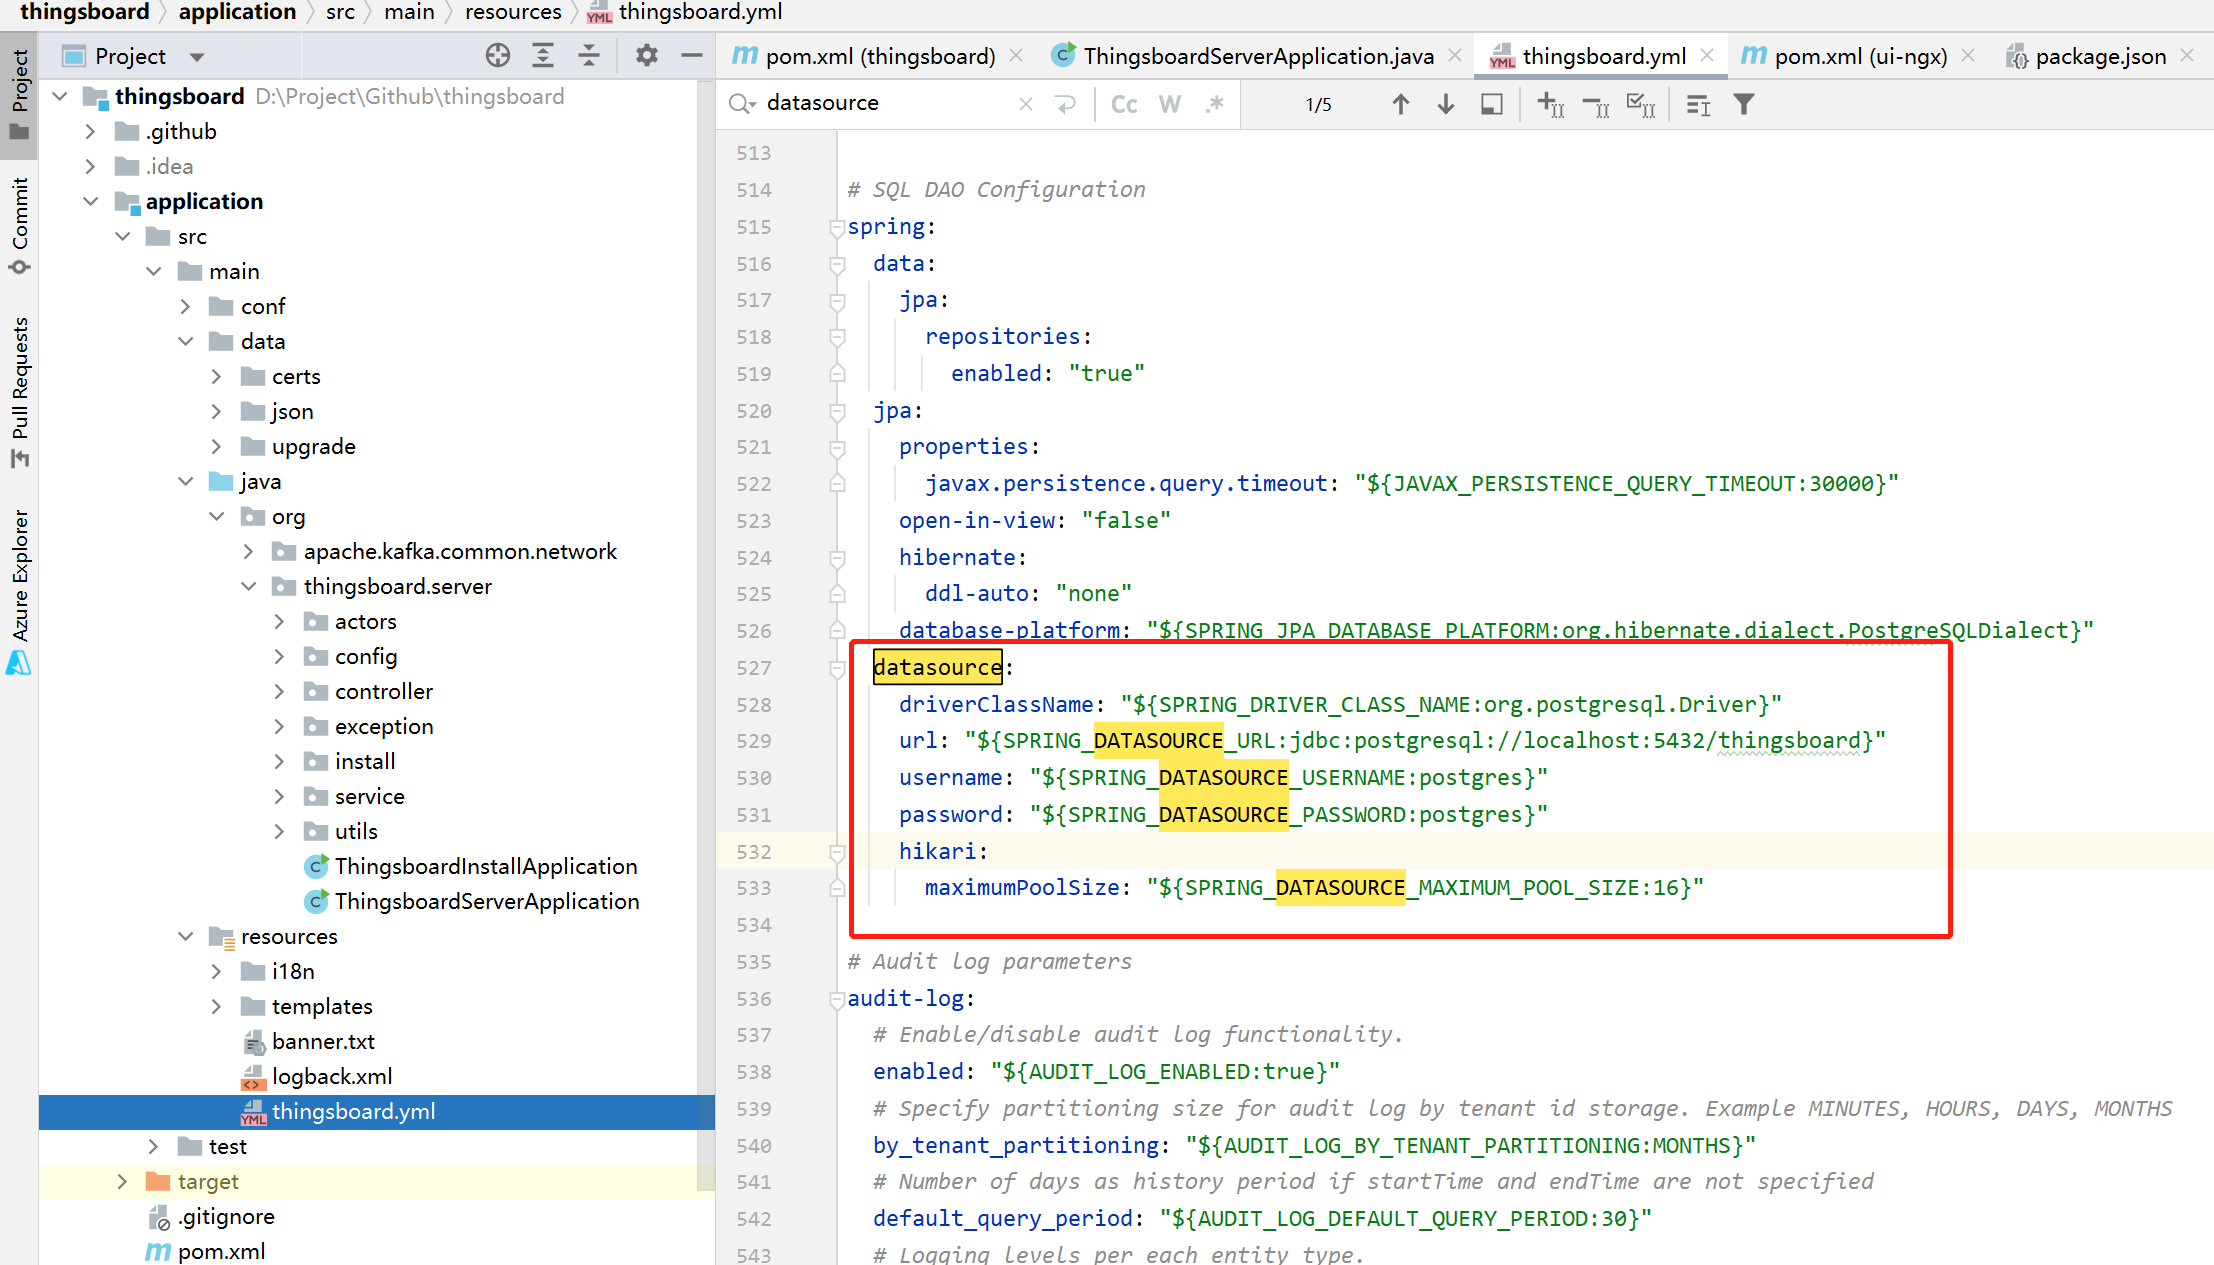
找出程序相关的数据源配置,如下:
image.png

这里我们使用 docker-compose 的方式启动一个 psotgres 容器, 下面是编排文件:

  1. version: "3.7"
  2. services:
  3. pgsql:
  4. container_name: pgsql
  5. image: postgres:12.10
  6. privileged: true
  7. # 权限要加,不然启动会告错
  8. environment:
  9. POSTGRES_PASSWORD: postgres
  10. POSTGRES_USER: postgres
  11. POSTGRES_DB: postgres
  12. TZ: Asia/Shanghai
  13. ports:
  14. - "5432:5432"
  15. volumes:
  16. - ./pgsql/data:/var/lib/postgresql/data
  17. restart: always
  1. 数据库启动之后,再根据程序配置数据信息,创建一个名为 thingsboard的数据库
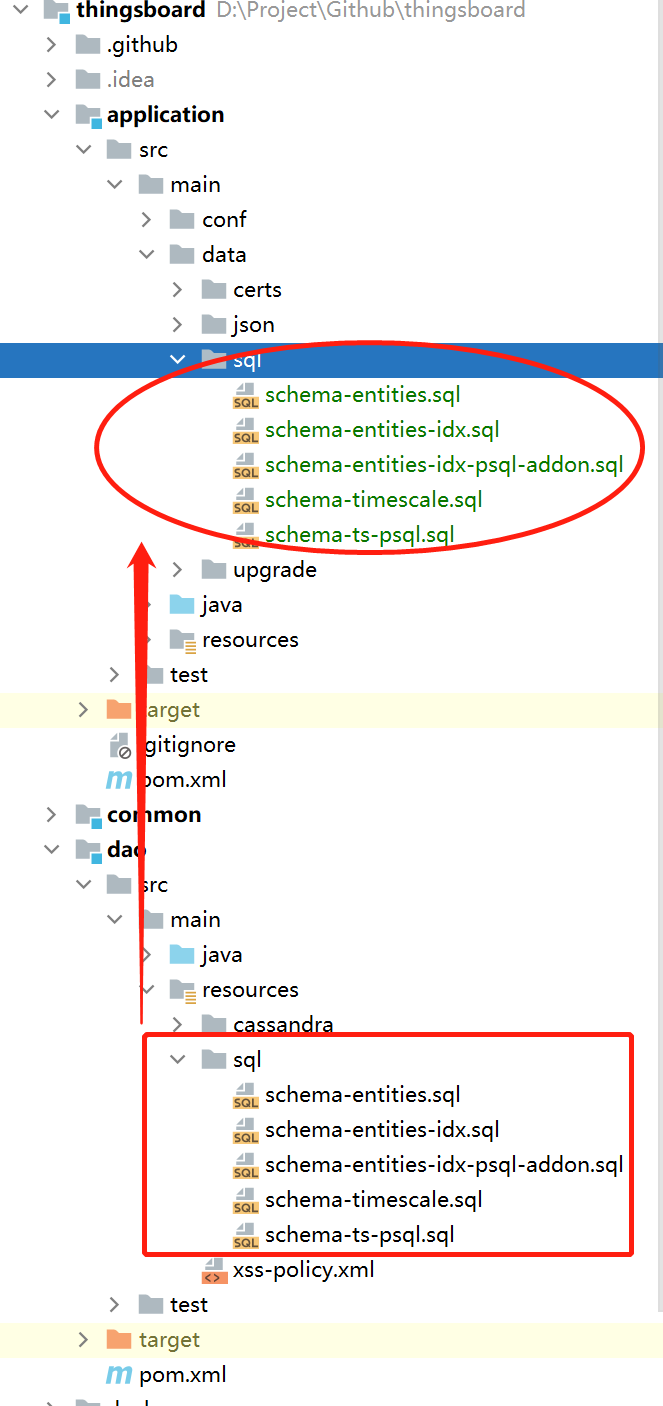
  2. 将dao模块的resources下的sql文件移到application模块的data目录下,进行数据初始化操作,见下图
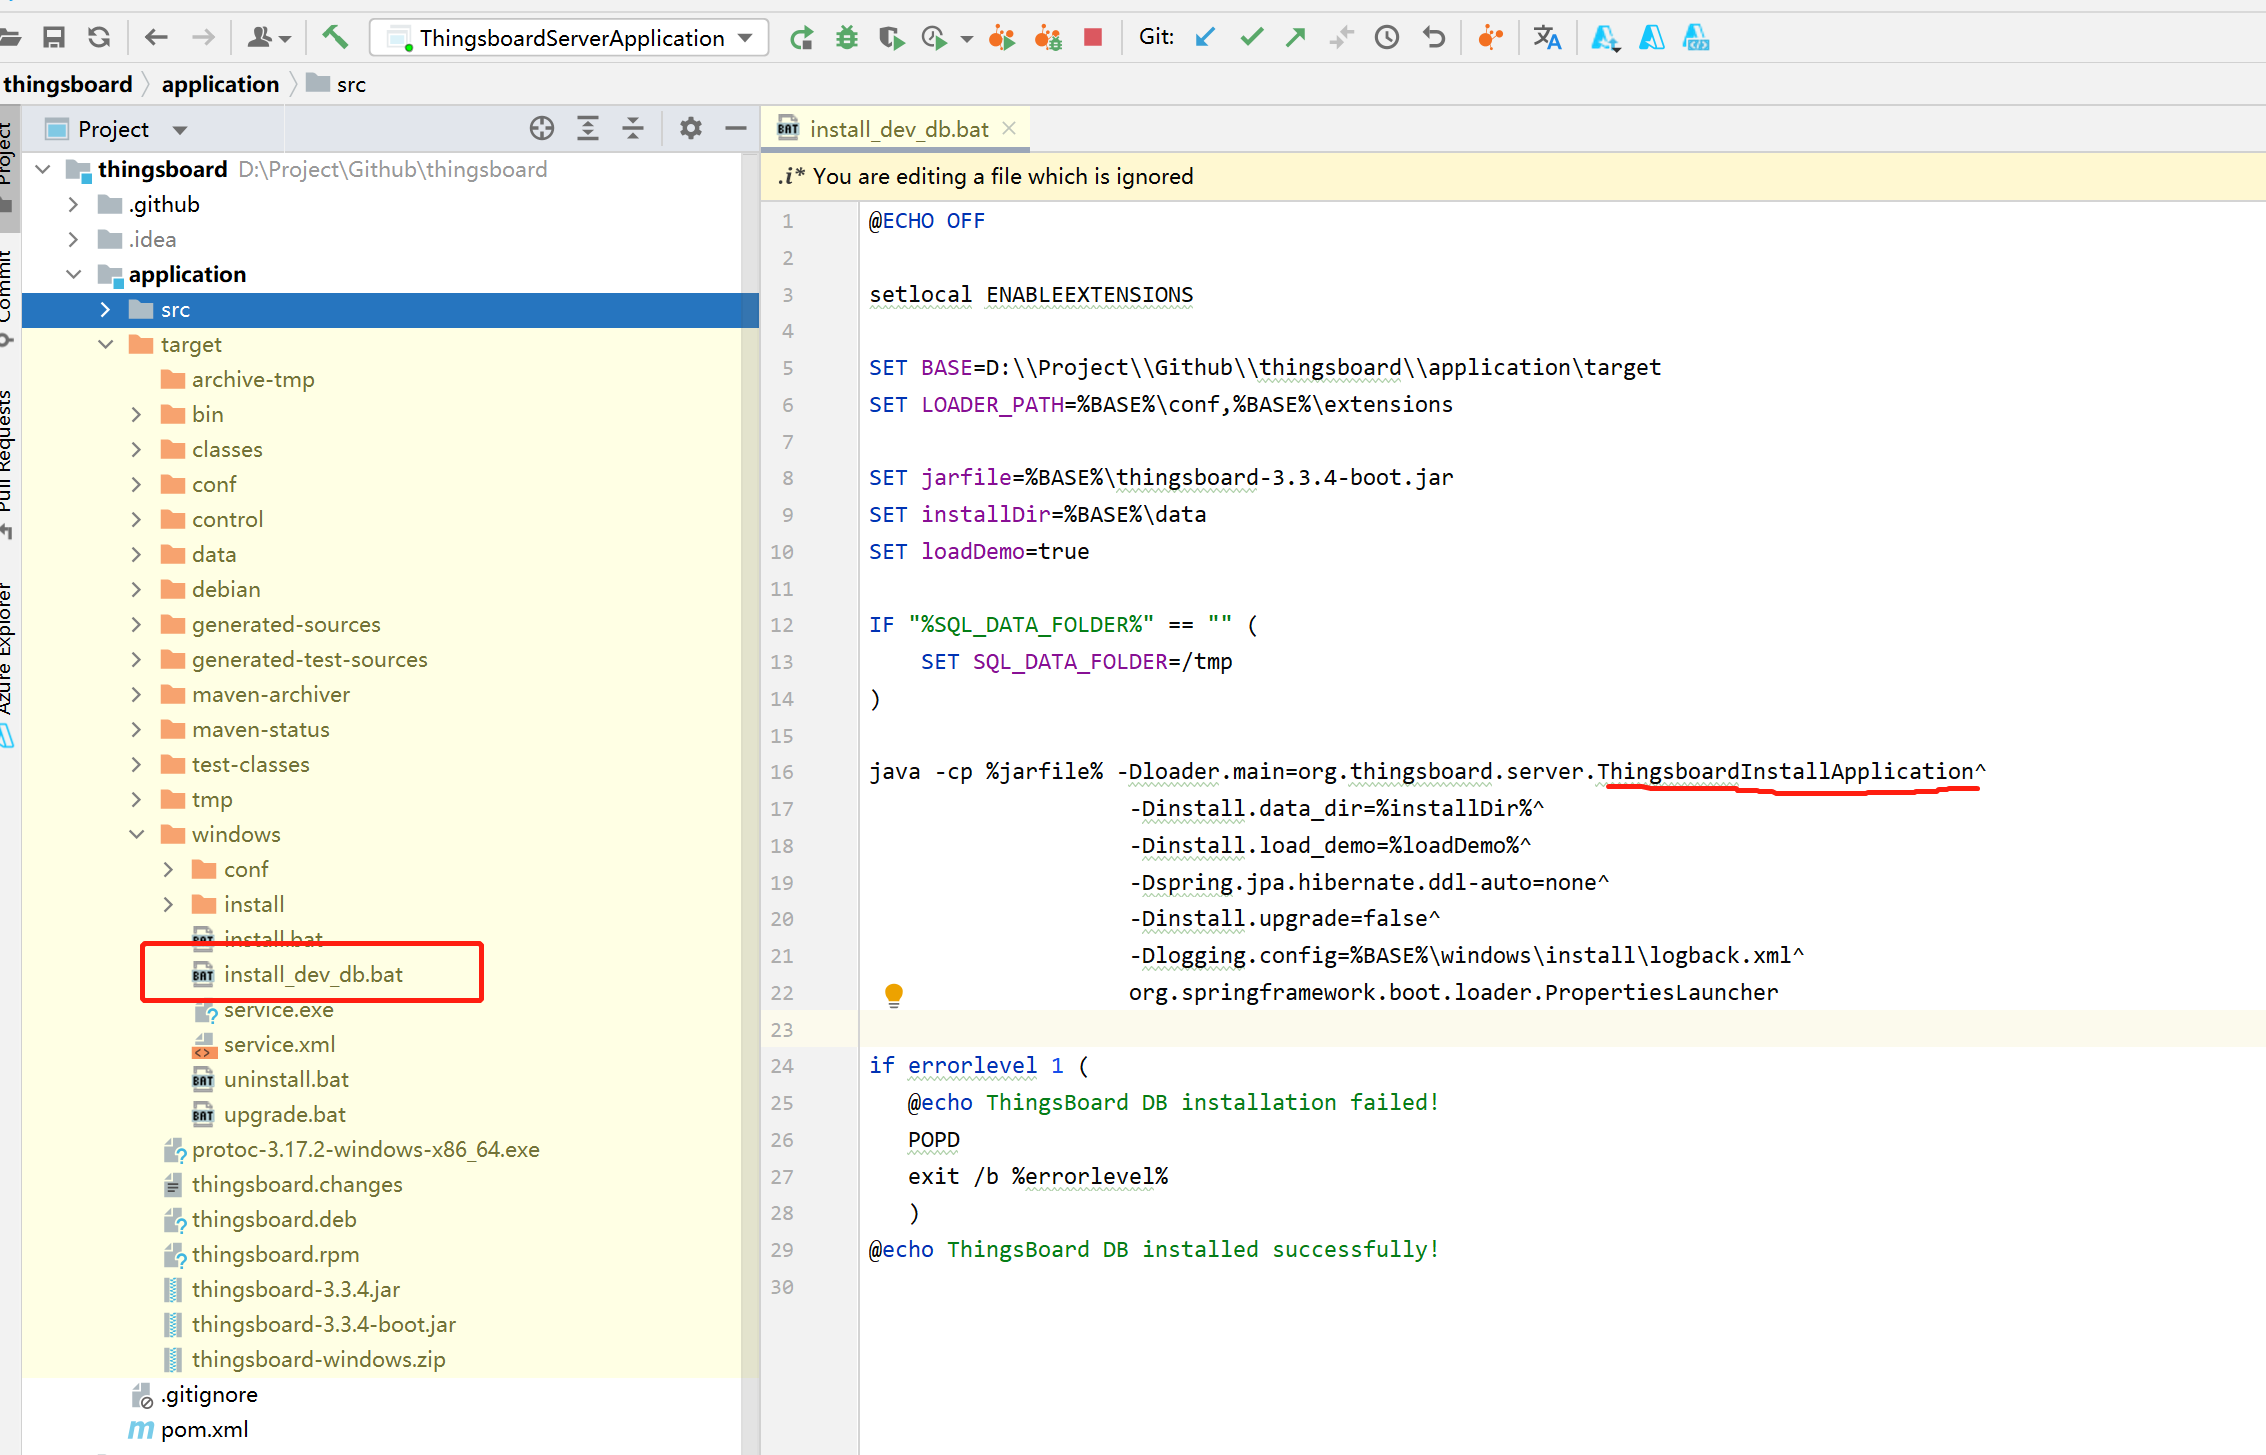
    1. ![image.png](https://cdn.nlark.com/yuque/0/2022/png/208099/1647483948730-cffc8952-40c5-4908-802e-1d420f45500a.png#clientId=u8422903b-fc6a-4&crop=0&crop=0&crop=1&crop=1&from=paste&height=803&id=u96e783b2&margin=%5Bobject%20Object%5D&name=image.png&originHeight=1406&originWidth=663&originalType=binary&ratio=1&rotation=0&showTitle=false&size=86650&status=done&style=none&taskId=u173a07c7-1f11-47c4-9f2f-1b42f6dd5c2&title=&width=378.85714285714283) <br />(PS:补充另外一种数据初始化方式,本质上是一样的。 执行 application 模块 target 目录 install_dev_db.bat)<br />![image.png](https://cdn.nlark.com/yuque/0/2022/png/208099/1647490638077-ac781c7e-c41a-4b43-9073-1c4c6f7650b1.png#clientId=u6f2f45b1-7b65-4&crop=0&crop=0&crop=1&crop=1&from=paste&height=831&id=u658b5f50&margin=%5Bobject%20Object%5D&name=image.png&originHeight=1455&originWidth=2266&originalType=binary&ratio=1&rotation=0&showTitle=false&size=269391&status=done&style=none&taskId=u2d68d49a-4950-418c-9937-190ec493792&title=&width=1294.857142857143)
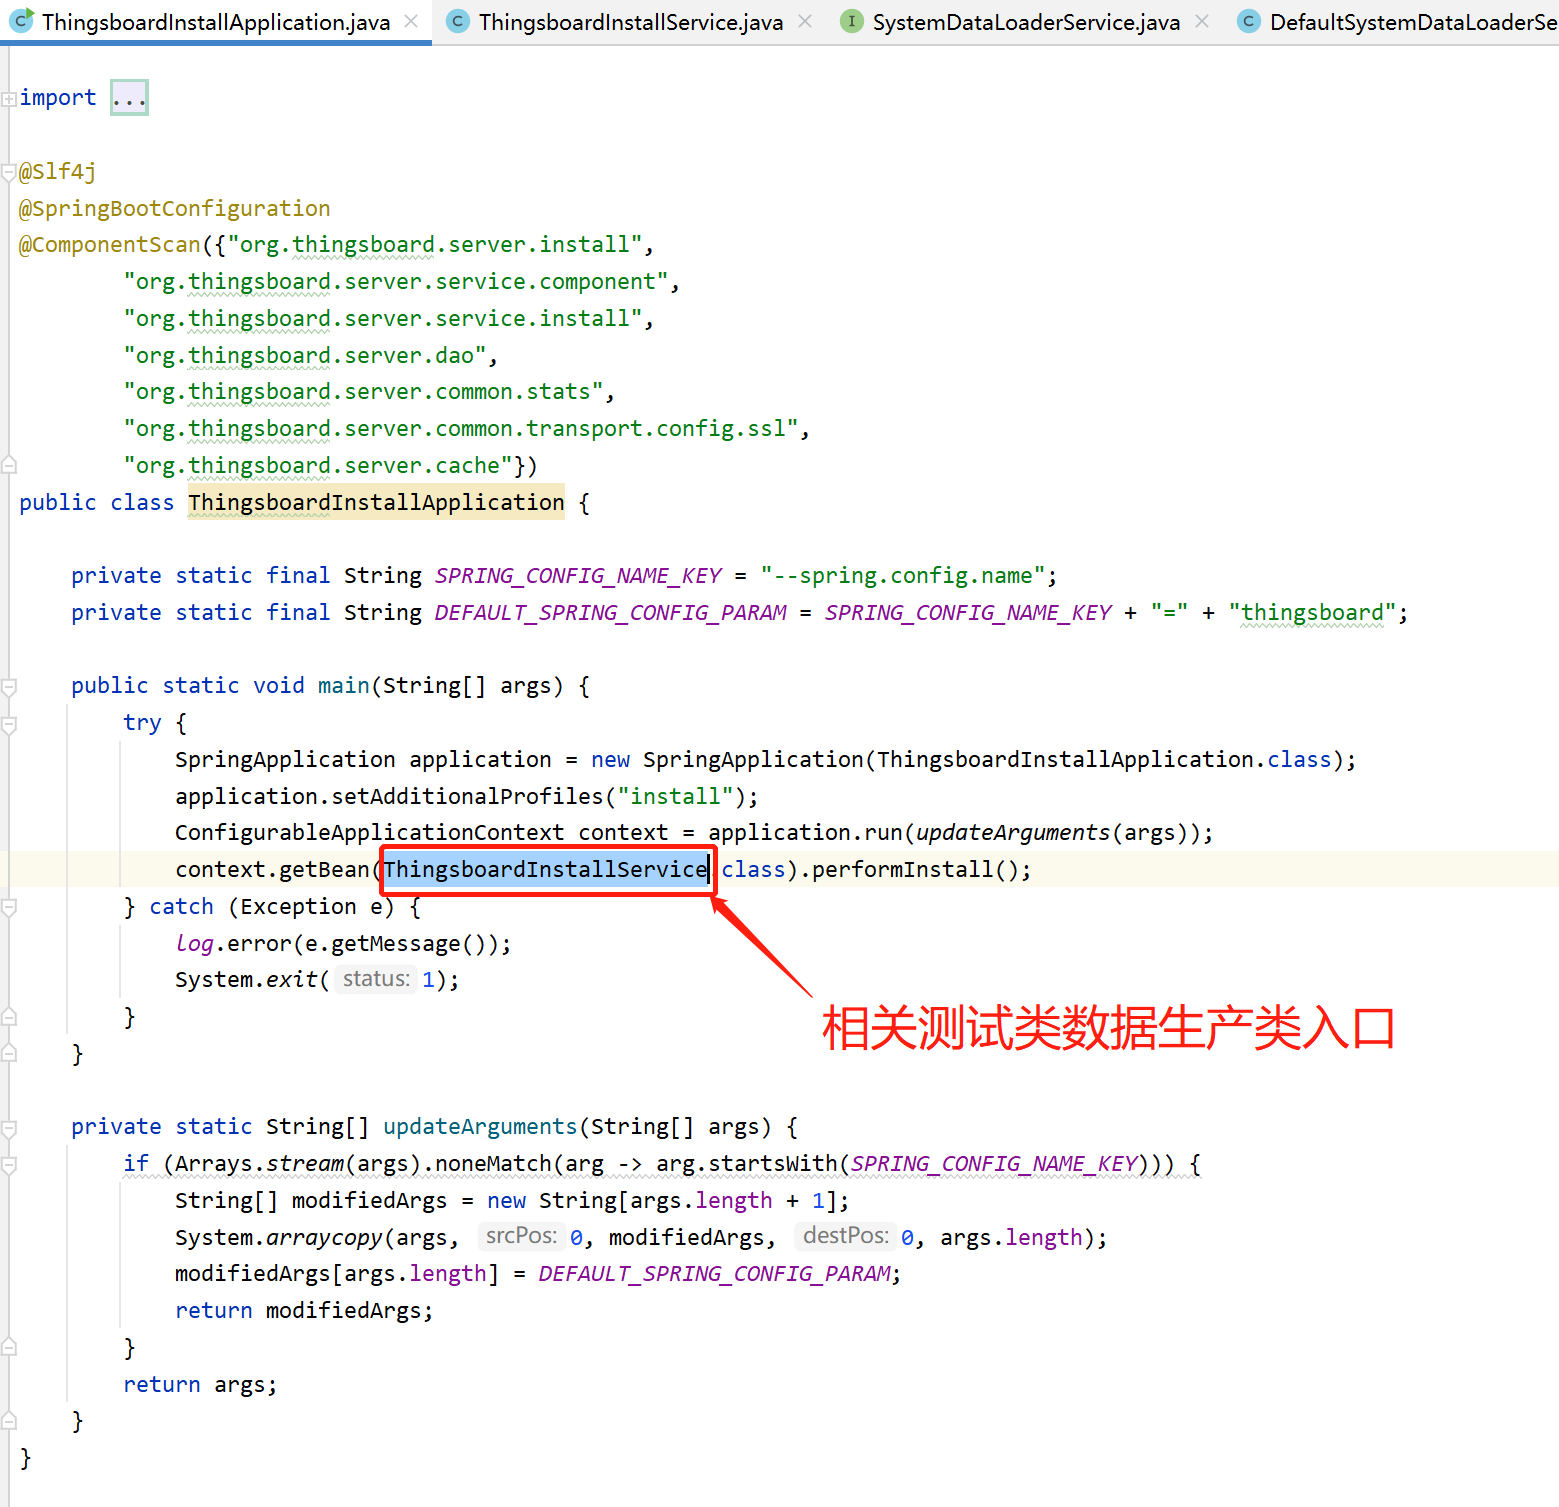
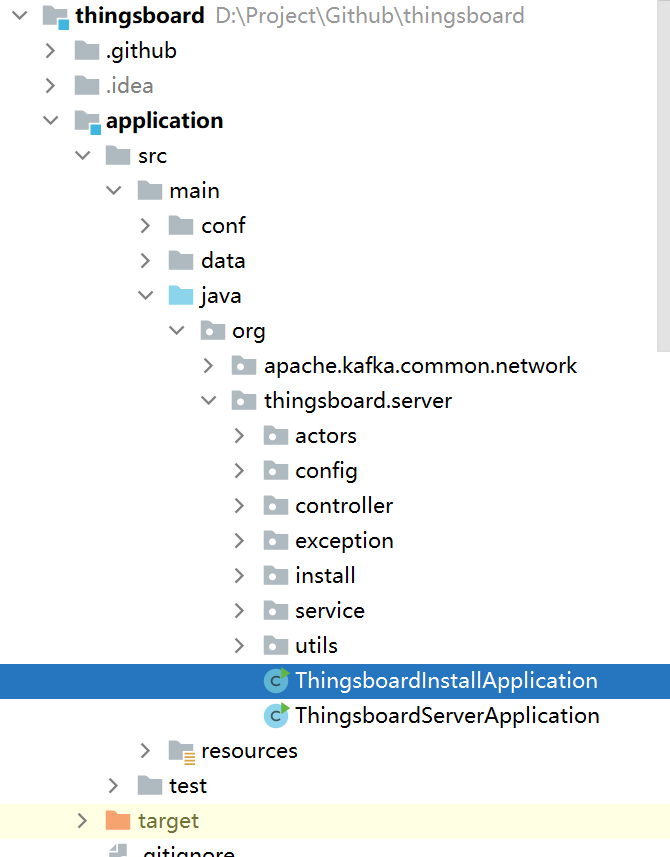
  3. 执行ThingsboardInstallApplication类, 生成相关测试数据, 如下图:
    1. ![image.png](https://cdn.nlark.com/yuque/0/2022/png/208099/1647484077640-d35ea5df-1cd5-43e2-a704-0b0c30cb3c00.png#clientId=u8422903b-fc6a-4&crop=0&crop=0&crop=1&crop=1&from=paste&height=490&id=u61b78e49&margin=%5Bobject%20Object%5D&name=image.png&originHeight=857&originWidth=670&originalType=binary&ratio=1&rotation=0&showTitle=false&size=46367&status=done&style=none&taskId=u5b56b08a-2496-40c3-a80f-6e69e4287d1&title=&width=382.85714285714283)
  4. 相关测试数据生产入口源码如下, 可自行查看相关详情image.png

  5. 再次启动 ThingsboardServerApplication

    1. PS: 这里说明一下,访问 localhost:8080 404, 已经向官方提出 [issue#6276](https://github.com/thingsboard/thingsboard/issues/6276)
  6. 启动 ui-ngx, npm start (由于上诉问题,这里先用前后端分离的方式去启动)

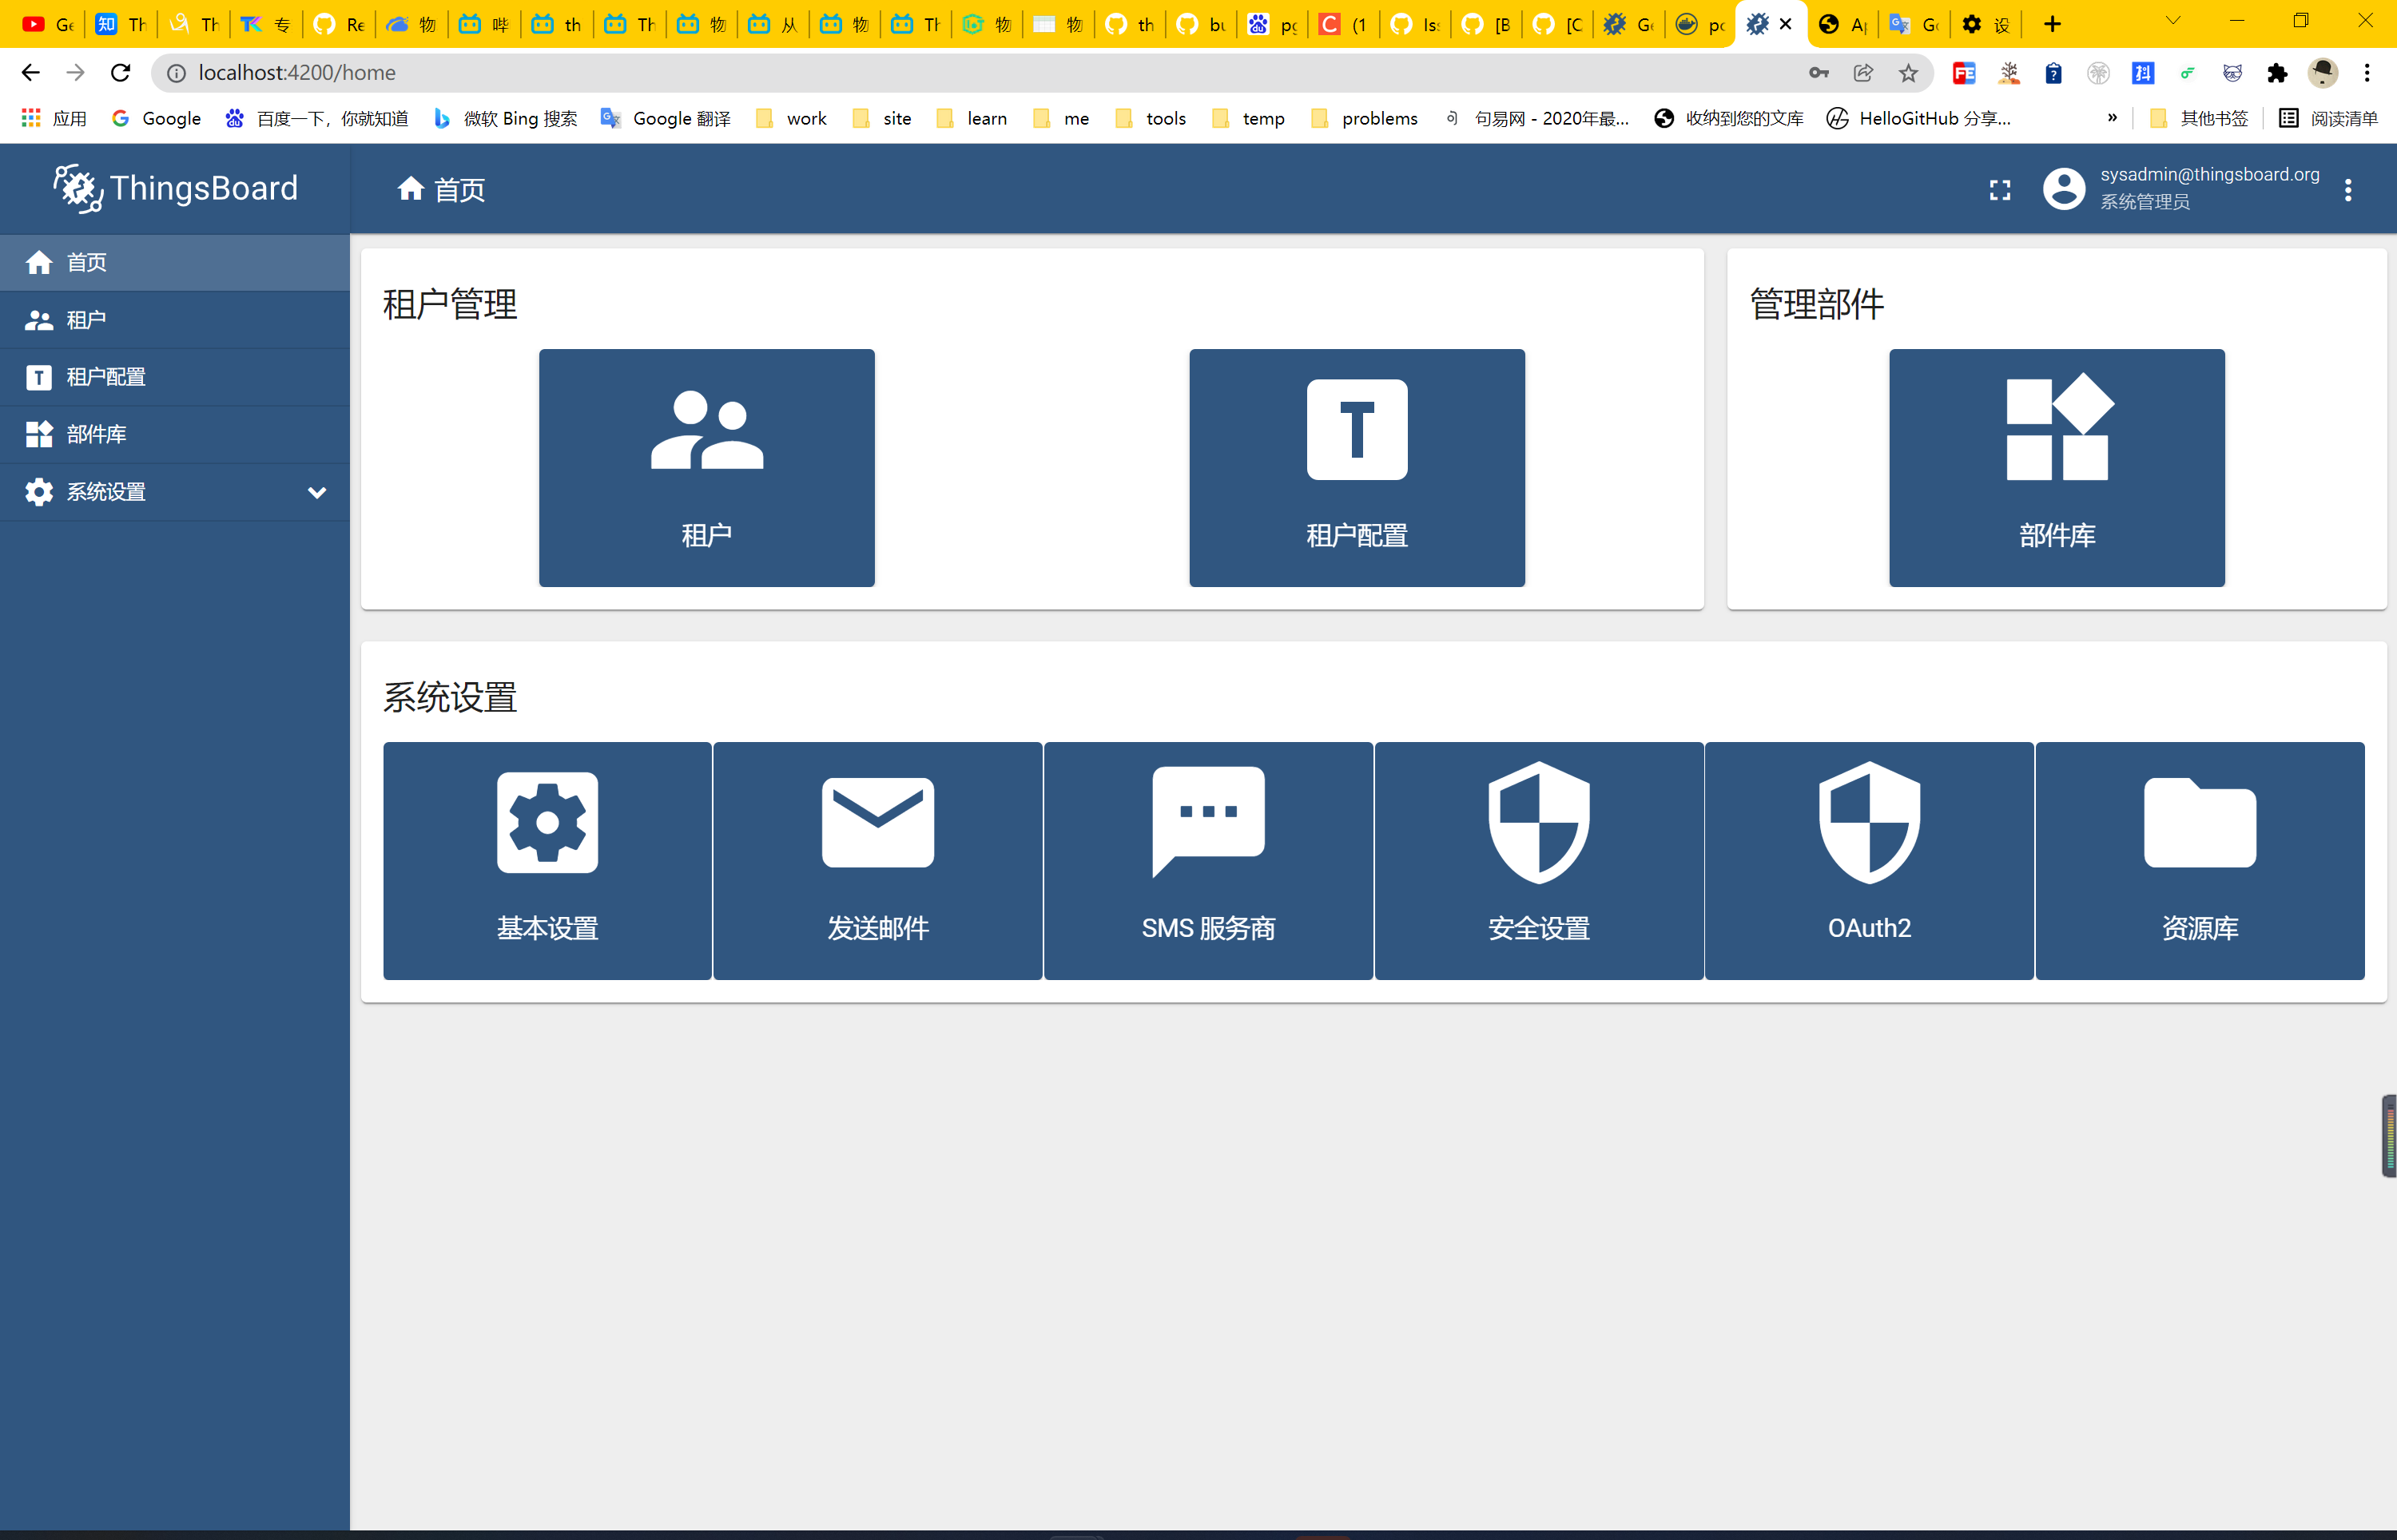
  7. 前端编译启动之后,访问: http://localhost:4200/, 如下
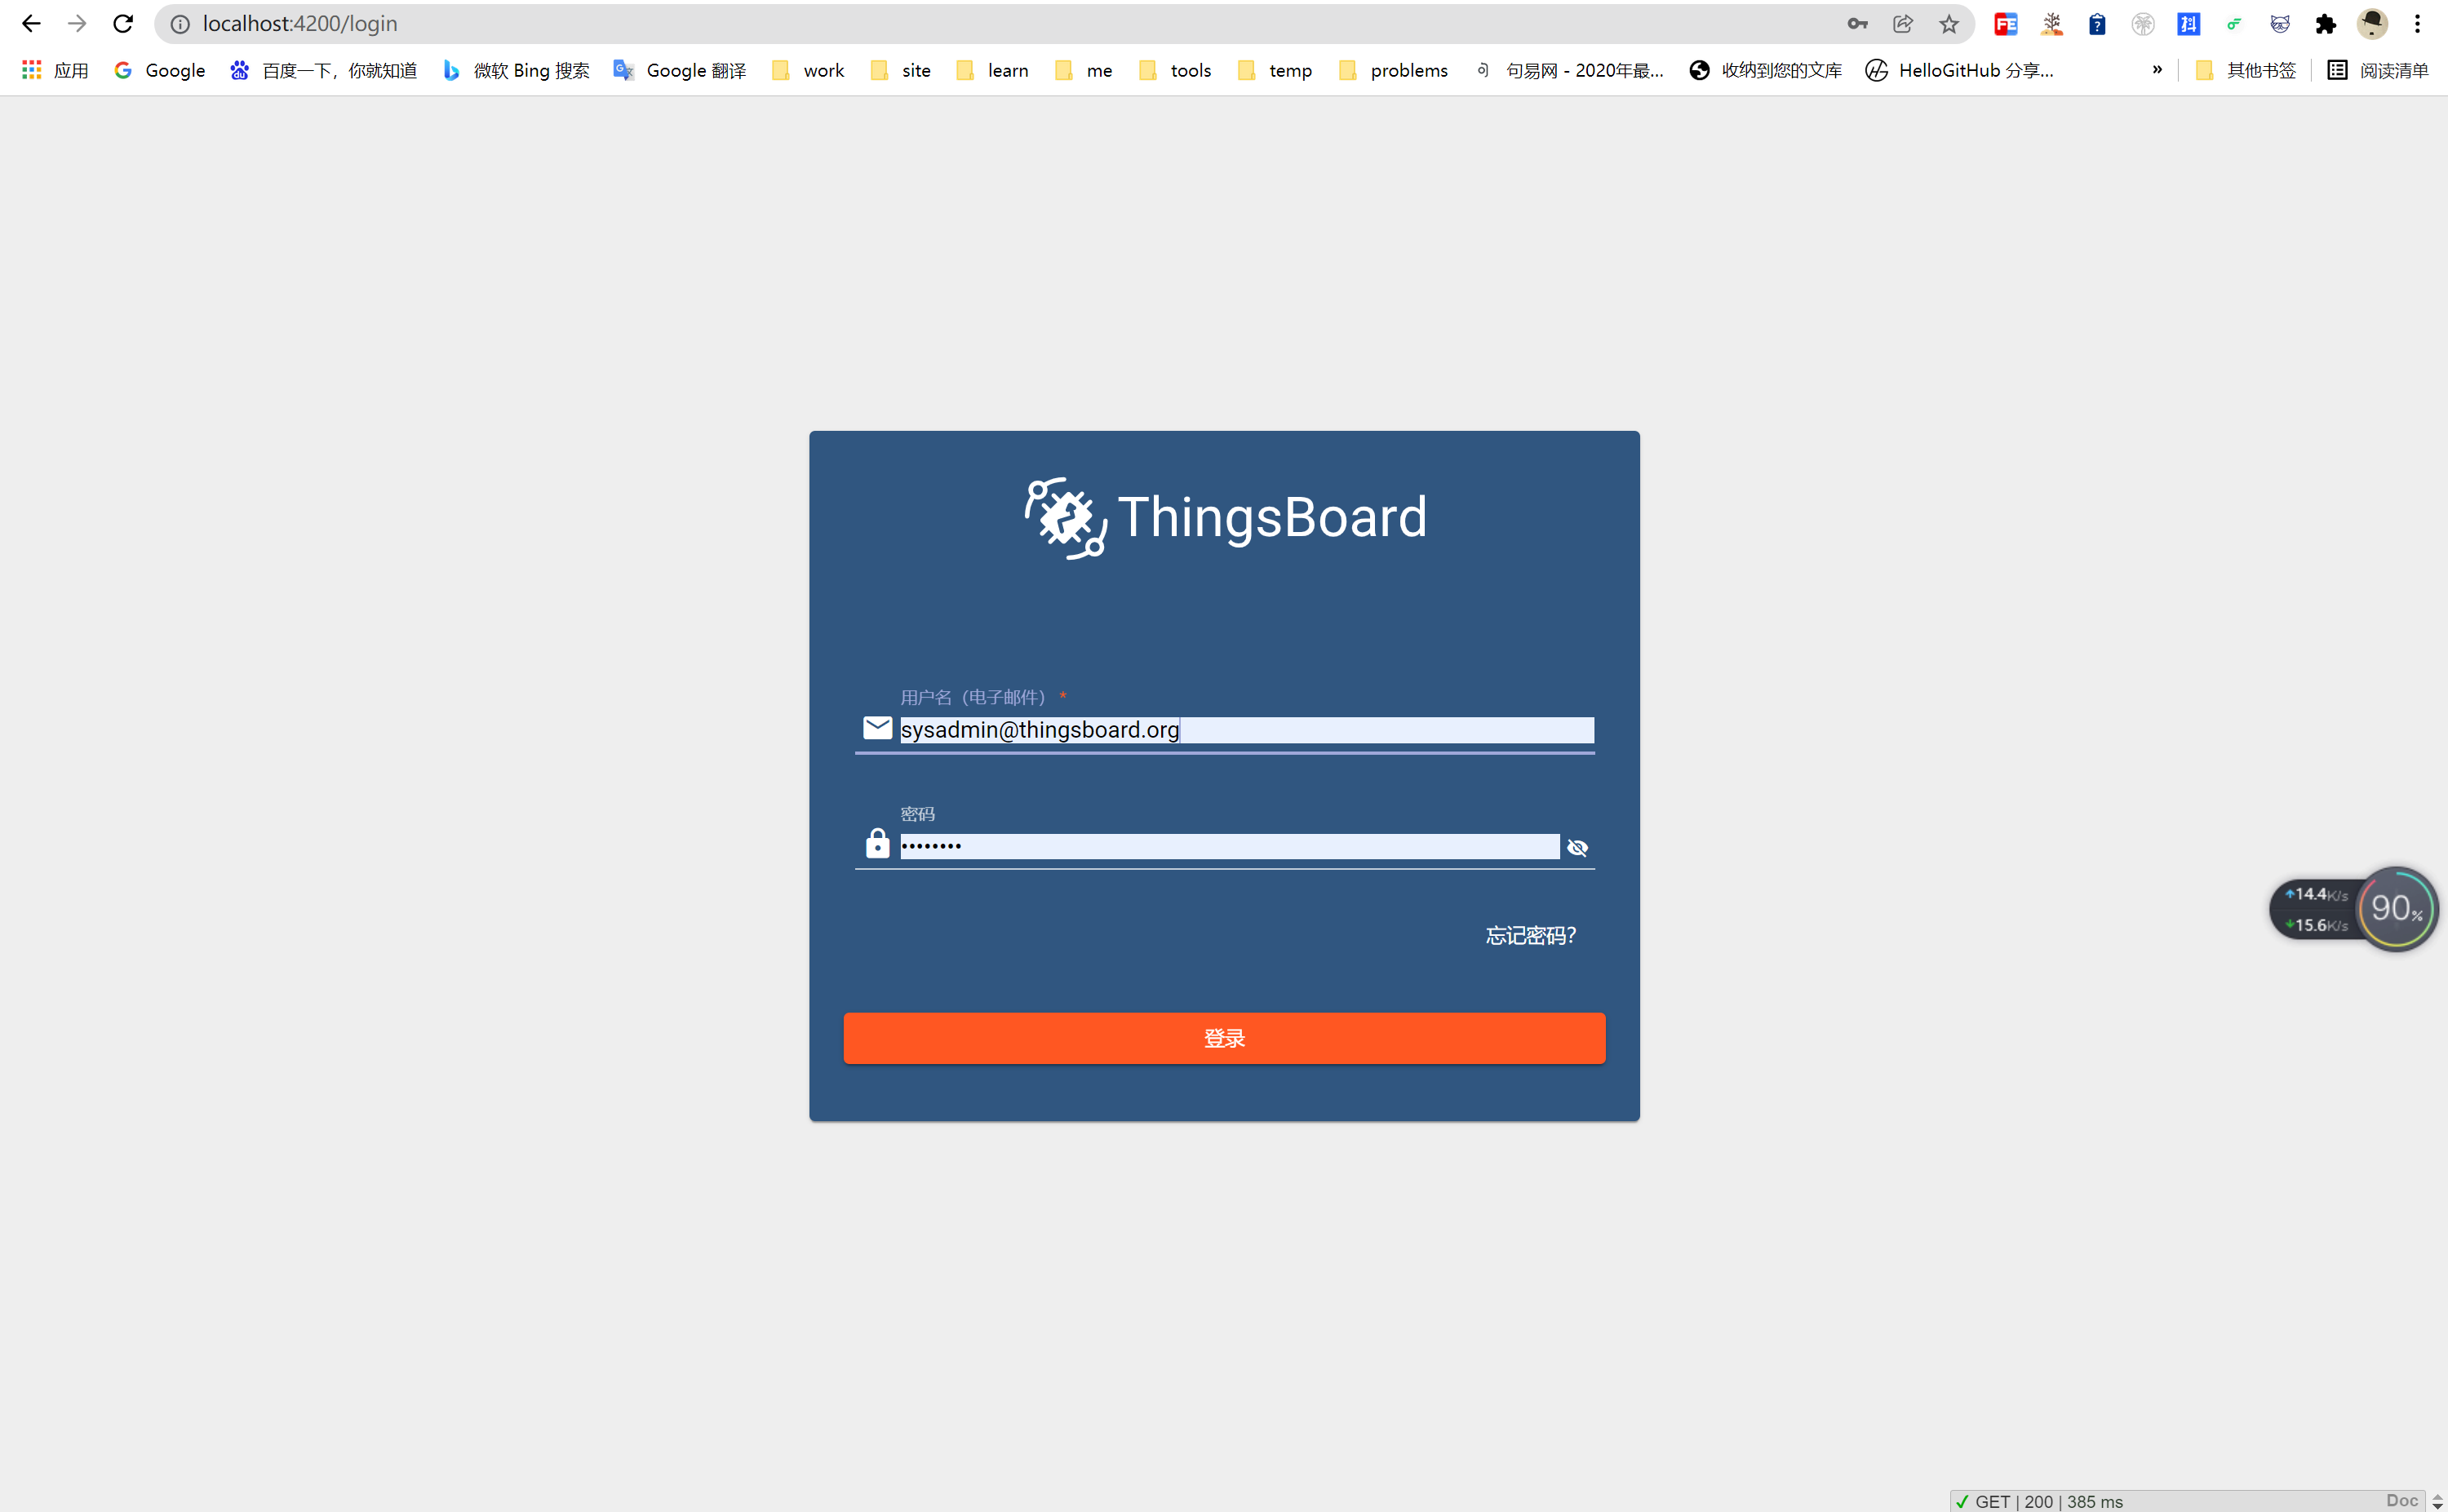
image.png

  1. 用户名:sysadmin@thingsboard.org 密码为:sysadmin, 进入以后,bingo~ image.png