创建项目
1、vite模板创建
https://vitejs.dev/guide/#scaffolding-your-first-vite-project
- npm
npm init vite@latest
- yarn
yarn create vite

选择Vue并选择使用TypeScript
也可以直接指定对应的模板来初始化
yarn create vite vite-app-vue --template vue-tsc
2、vue cli创建
https://cn.vuejs.org/guide/quick-start.html#with-build-tools
npm init vue@latest
使用官方vue cli可以提供给你对于TypeScript、ESLint和Vitest之类的可选支持
Vue.js - The Progressive JavaScript Framework✔ Project name: … web-vue✔ Add TypeScript? … No / Yes✔ Add JSX Support? … No / Yes✔ Add Vue Router for Single Page Application development? … No / Yes✔ Add Pinia for state management? … No / Yes✔ Add Vitest for Unit Testing? … No / Yes✔ Add Cypress for End-to-End testing? … No / Yes✔ Add ESLint for code quality? … No / Yes✔ Add Prettier for code formatting? … No / YesScaffolding project in /Users/forguo/work/wei-design/web-vue...Done. Now run:cd web-vuenpm installnpm run lintnpm run dev
如果为了省事,使用vue-cli即可,就不用后面再去配置ESLint、Prettier
eslint + prettier 配置
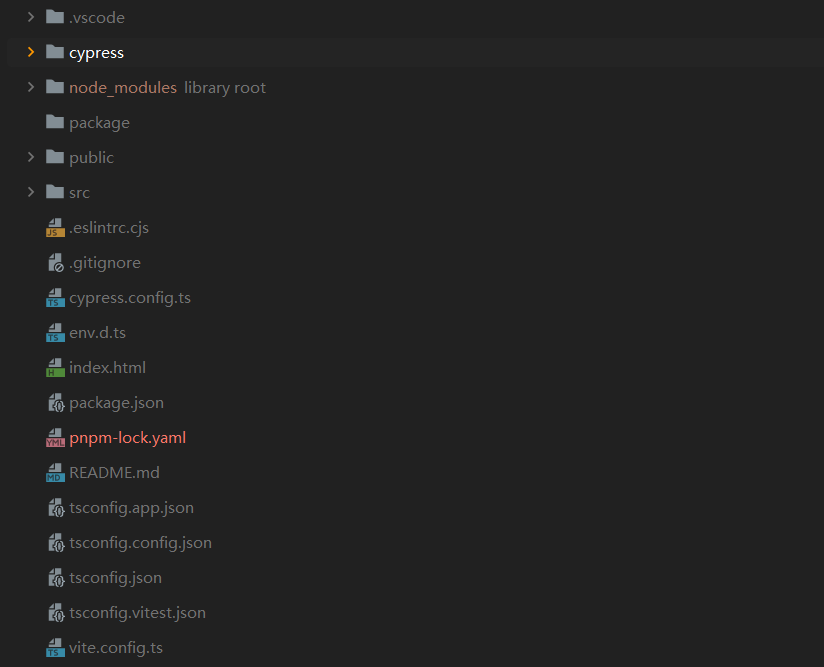
项目结构
组件定义
defineComponent
props定义
{type: {type: String as PropType<string>, // 转为ts类型stringdefault: 'default',}}
h函数
使用
h(// 原生标签名'div',{// div节点属性/props传递class: 'vue3-app'}, [// 传入子组件h('img', {src: 'https://forguo.cn'})])
createVNode的封装
setup
export default defineComponent({name: 'com',props: {name: {type: String as PropType<string>,retuired: true,}},setup: (props, {slots, attrs, emit}) => {}})
响应式
ref
接受一个内部值,返回一个响应式的、可更改的 ref 对象,此对象只有一个指向其内部值的属性 .value。
响应式渲染不需要value
一般用于简单值的响应式
shallowRef
只有对.value 的访问是响应式的
reactive
返回一个对象的响应式代理。
深层次的响应式转换
若要避免深层响应式转换,只想保留对这个对象顶层次访问的响应性,请使用 shallowReactive()作替代。
watchEffect
用于监听里面所使用到的变量的变化

若有收获,就点个赞吧
0 人点赞
