
Koa2
1、技术分析
- RESTFul理论
- Koa2
- Postman
- MongoDB
- jwt认证原理
- 数据库设计
- 线上部署
2、RESTFul Api
符合REST架构风格的Api
RESTFul长什么样子?
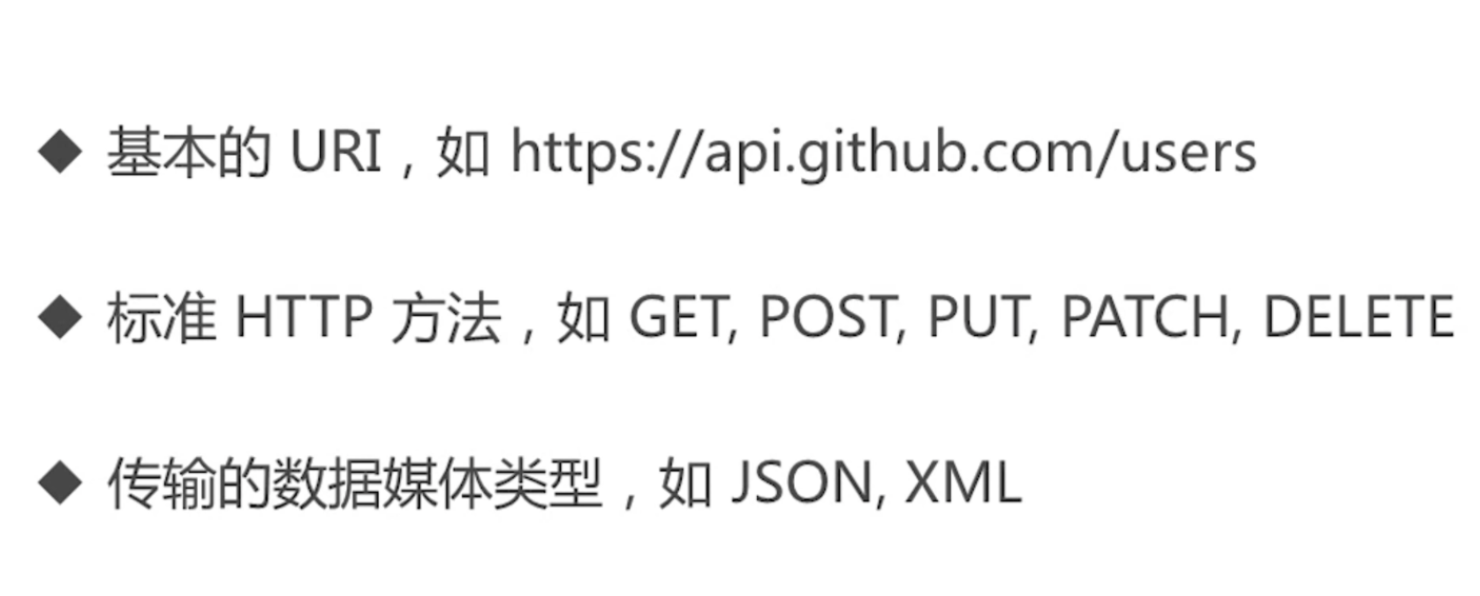
请求设计规范
响应设计规范
- 查询
- 分页
- 字段过滤
- 状态码
- 错误处理
安全
- HTTPS
- 鉴权
- 限流
3、Koa简介
一句话简介
基于Node.js平台的下一代web开发框架
官网简介
4、项目搭建
初始化项目
npm init
安装Koa
npm i koa --save
编写Hello Word
const Koa = require('koa');const app = new Koa();app.use((ctx) => {ctx.body = 'Hello .. Word!'});app.listen(3000);
自动重启
npm i nodemon --save
"start": "nodemon index.js"
5、中间件和洋葱模式
中间件
就是一个函数
/*** 中间件1*/app.use(async (ctx, next) => {// 有多个中间件的时候,先执行这个中间件,再去执行下个中间件,// 此处应该执行next,next返回的是一个Promiseawait next();// 下一个中间件执行完成,这也就是所谓的洋葱模式console.log(1);ctx.body = 'Hello .. Word!'});
洋葱模式
Reguest
Response
RegistryManager
StatusCodeRedirect
ErrorHandler
CacheMiddleware
SessionMiddleware
RoutesMiddleware
PylonsApp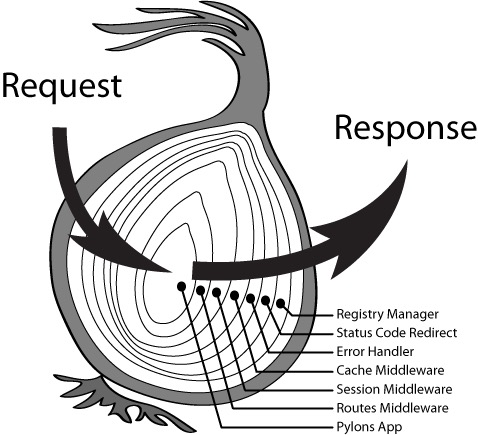

6、路由
koa-router
const Router = require('koa-router');// 实例化路由const router = new Router({// 加路由前缀refix: '/users})// 注册路由app.use(router.routes());
路由前缀
// 添加路由前缀router.prefix('/api/photo');
多中间件
router.get('/users/:id',()=>{}, ()=>{}, ()=> {}, (ctx) => {ctx.body = `用户id: ${ctx.params.id}`;});
options请求方法
预检请求
- 检测服务器支持哪些请求方法
- 支持cors的预检请求
allowedMethods
响应options请求
// 注册路由app.use(router.routes());app.use(router.allowedMethods()); // 响应options请求
7、控制器
类+类方法的方式组织控制器
断点调试
- 调试
- 监控变量
获取HTTP请求参数
Query String,如:name=name(可选)
Router Params,如:/users/:name(必选)
Body,如{name: ‘name’}
Header,如Accept、Cookie
ctx.header.token
发送HTTP响应
发送Status,如:200
ctx.status = 200;
发送Body,如:{name: ‘name’}
ctx.body = {id: ctx.params.id,name: '马化腾',};
发送Header,如:Allow、Content-Type
ctx.set('Allow', 'GET, POST');
处理业务逻辑
控制器处理业务逻辑
路由引入对应的操作
8、错误处理
处理软件或者程序出现的异常状况
运行时错误,
逻辑错误,
404,423,422
为什么错误处理?
- 防止程序挂掉
- 高速用户错误信息
- 便于开发者调试
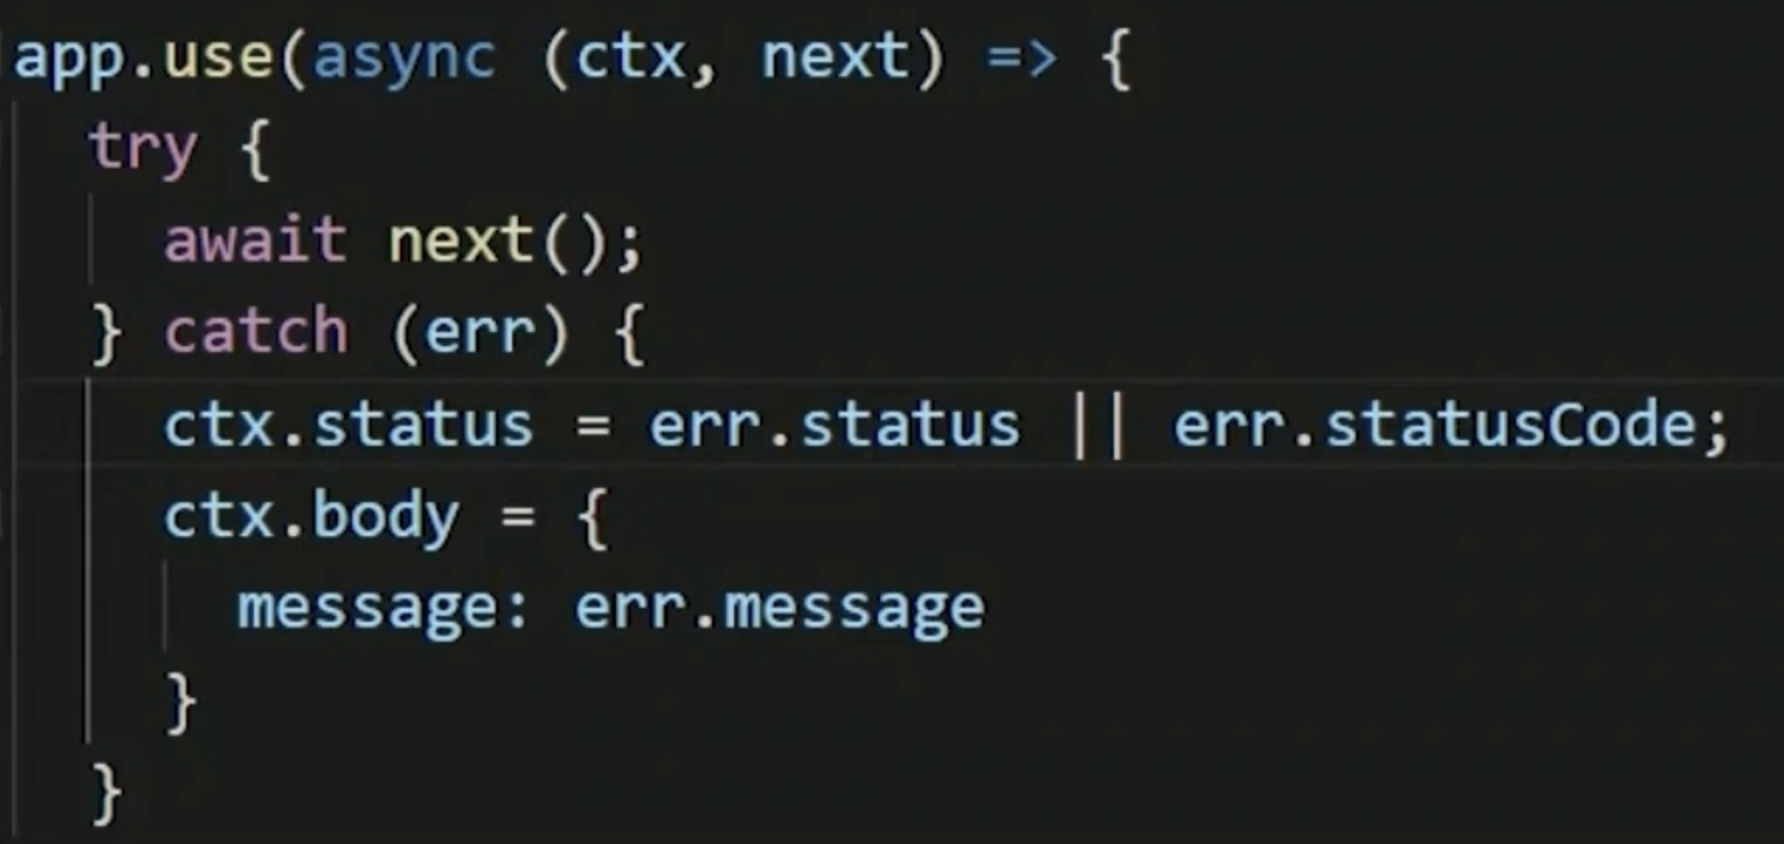
koa错误处理
错误处理中间件
安装koa-json-error
npm i koa-json-error --save-dev
错误处理配置(环境区分)
生产环境禁用打印堆栈信息
// 错误处理app.use(koaJsonError({postFormat: (e, {stack,...rest}) => {return process.env.NODE_ENV === 'production' ? rest : {stack,...rest}}}));
统一环境变量的库
"start": "cross-env NODE_ENV=production node index.js"
koa参数校验
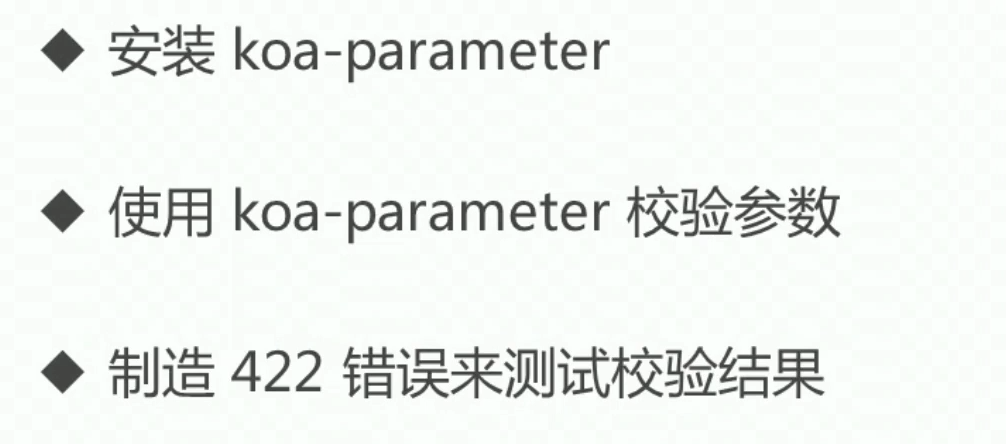
- 使用
ctx.verifyParams({userName: {type: 'string',required: true,},userPwd: {type: 'string',required: true,},});
目录结构
app├── api # api 层│ ├── cms # 关于 cms 的 api│ │ ├── admin.js│ │ ├── log.js│ │ ├── test.js│ │ └── user.js│ └── v1 # 普通api│ └── book.js├── config # 配置文件目录│ ├── code-message.js # 返回成功码错误码和返回信息配置│ ├── log.js # 日志配置文件│ ├── secure.js # 安全性配置文件│ └── setting.js # 普通配置文件├── dao # 数据库操作│ ├── admin.js│ ├── book.js│ ├── log.js│ └── user.js├── extension # 扩展目录├── lib # 其它类库│ ├── db.js # Sequelize 实例│ ├── exception.js # 异常类库│ ├── type.js # 枚举│ └── util.js # 助手函数├── middleware # 中间件目录│ ├── jwt.js│ └── logger.js├── model # 模型层│ ├── book.js│ ├── file.js│ ├── group-permission.js│ ├── group.js│ ├── log.js│ ├── permission.js│ ├── user-group.js│ └── user.js├── plugin # 插件目录├── validator # 校验层│ ├── admin.js # 校验器模块│ ├── book.js│ ├── common.js│ ├── log.js│ └── user.js├── app.js # 创建koa实例及应用扩展└── starter.js # 程序的启动文件
9、字段过滤
请求
http://127.0.0.1:3000/cms/users/id?fields=user_pwd;gender;headline;
接口过滤
// 查询特定async findOne(ctx) {const {fields = ''} = ctx.query;// 过滤字段的参数let selectFields = fields.split(';').filter(field => field).map(field => ' +' + field).join('');let res = await User.findOne({_id: ctx.params.id}).select(selectFields); // 字段过滤if (!res) {ctx.throw(404, '该用户不存在')} else {ctx.body = res;}}
10、上传图片的实现
功能点
- 基础功能
上传图片、生成图片链接
- 附加功能
限制上传图片的大小与类型、生成高中低三种分辨率的图片链接、生成CDN
技术方案
- 阿里云OSS等云服务(推荐生产使用)
- 直接上传到服务器(不推荐生产使用,适合学习使用)
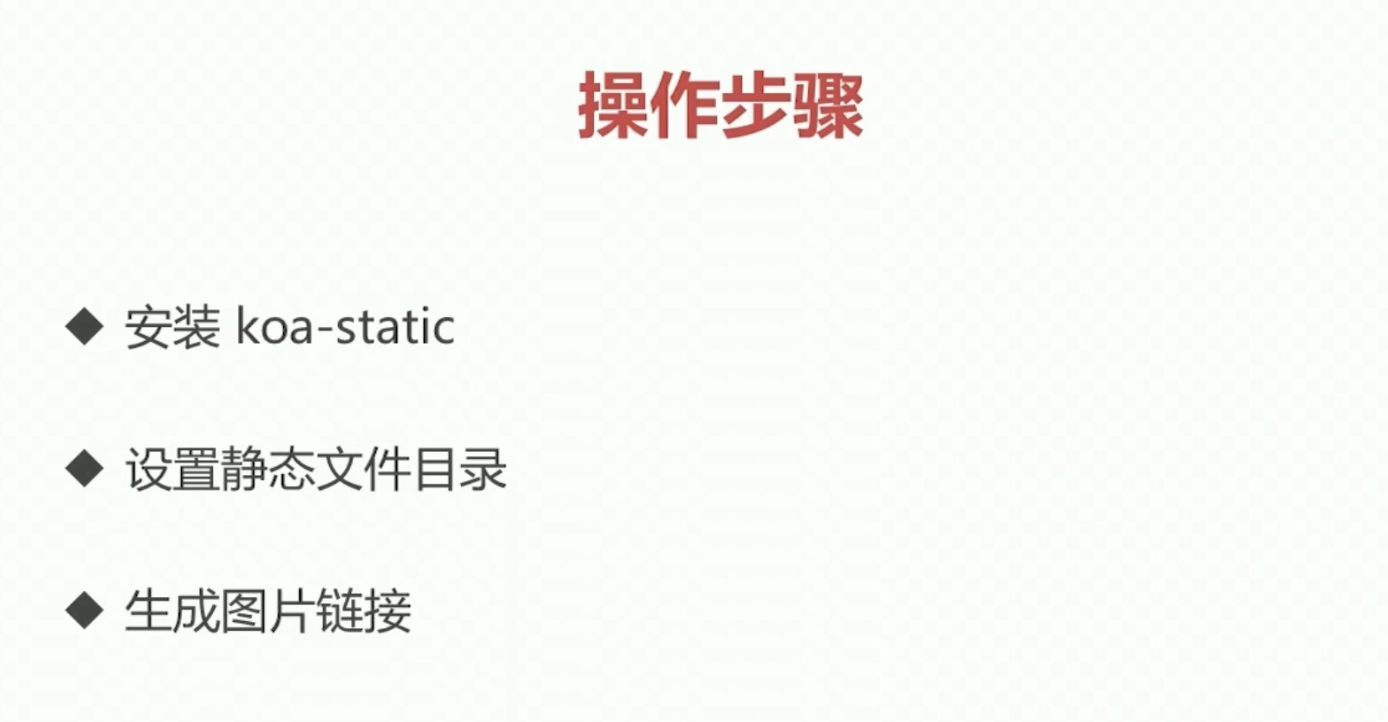
操作步骤
安装koa-body,替换 koa-bodyparser
npm i koa-bodyparser --save
设置图片上传目录
// 请求体解析app.use(koaBody({multipart: true, // 启动文件formidable: {uploadDir: path.join(__dirname, '/public/uploads'), // 文件存放目录keepExtensions: true, // 保留扩展名}}));const koaBody = require('koa-body');
获取上传图片
upload (ctx) {const file = ctx.request.files.file;ctx.body = {path: file.path}}
生成上传图片链接
upload (ctx) {// 上传的文件const file = ctx.request.files.file;// 获取文件名const basename = path.basename(file.path);// 生成上传后的图片链接const url = `${ctx.origin}/uploads/${basename}`;ctx.body = {url}}
11、二级嵌套路由的设计
a、前缀
const router = new Router({ prefix: '/questions/:questionId/answers' });
b、获取参数
ctx.params.questionId
12、koa应用的部署
登录服务器:
ssh -p 22 root@106.12.182.39
安装Git,并下载项目
使用Git并clone代码至服务器,并安装Node
可以npm run start 测试下项目能不能跑起来
npm install
但是,当我们退出服务器后,node的进程也就关了,服务也就没了,
所以我们需要 pm2 来守护进程
pm2使用
守护进程,后台运行
安装
npm install pm2 -g
安装完成后云服务切换到你项目所在路径
启动并监听服务:
pm2 start ./bin/www --watch## --watch参数,koa2应用代码发生变化时,pm2会帮你重启服务。
启动之后,显示如下:说明启动成功!

pm2更多用法
pm2 reload
pm2 start
pm2 stop
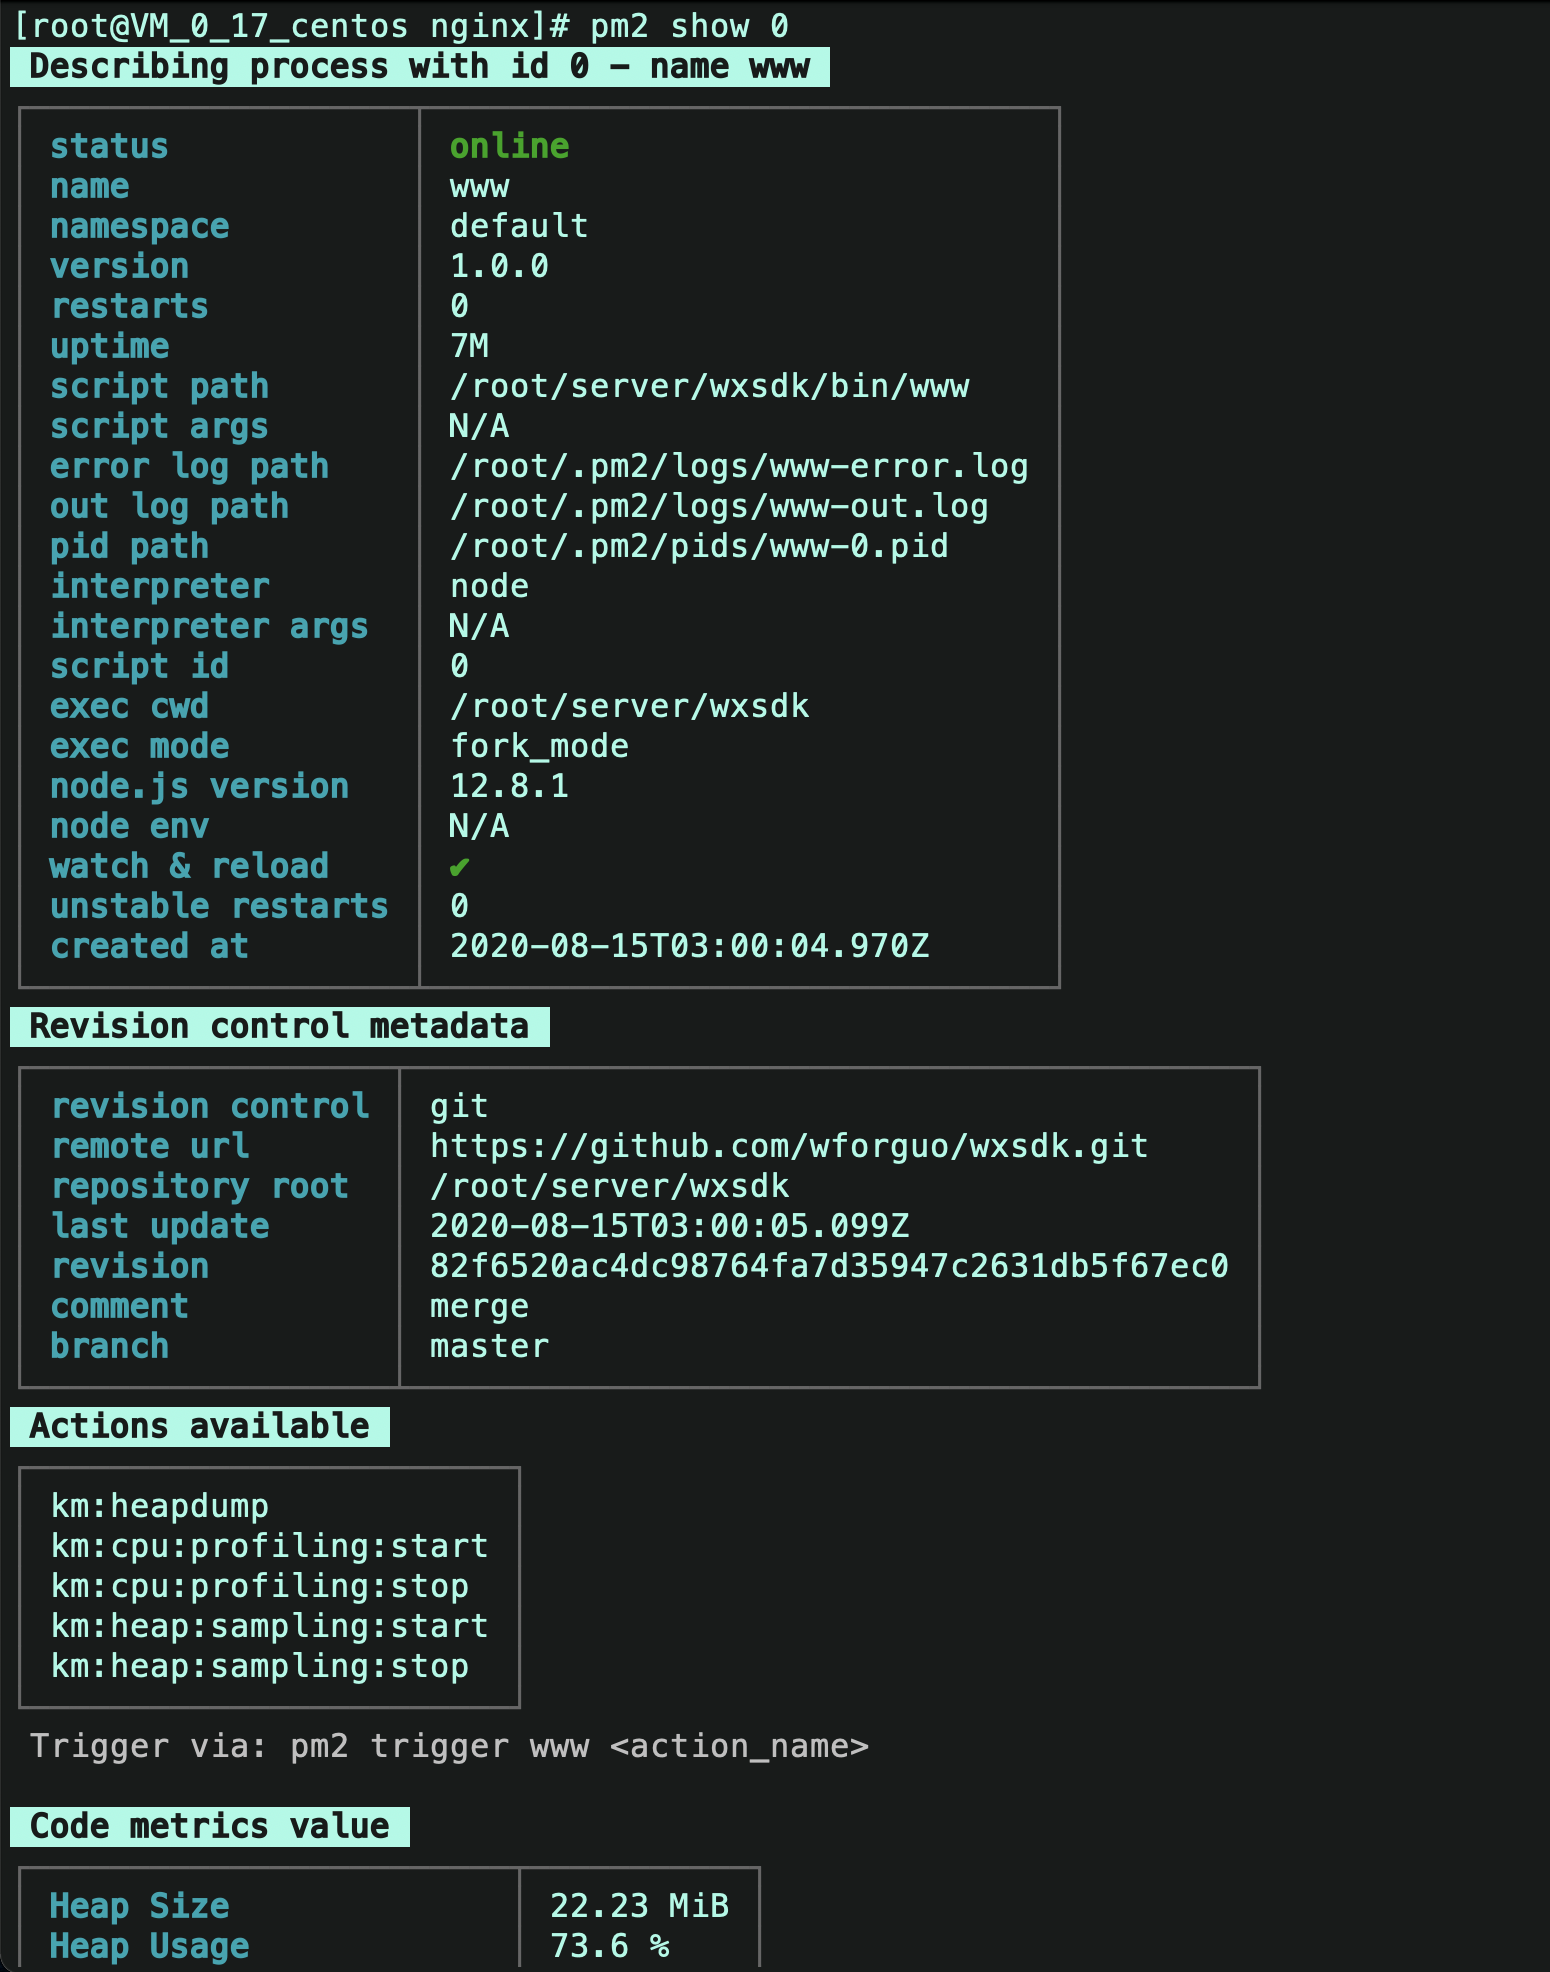
pm2 list //查看所用已启动项目:
pm2列表查看,pm2 list

输入 pm2 show 0 对应上图中的id = 0
关闭进程
www 对应list的name
pm2 stop www
pm2杀死进程,pm2 kill

nginx使用
常用命令
- 安装
yum install nginx
- 查看版本号
nginx -v
- 重启nginx
nginx -s reload
- 验证配置是否正确
./nginx -t
- Nginx正常启动:
nginx
- 快速停止或关闭Nginx
./nginx -s stop
- 正常停止或关闭Nginx
./nginx -s quit
- 配置文件修改重装载命令
./nginx -s reload
查看配置
检查配置,并查看配置文件位置。
nginx -t[root@VM_0_17_centos nginx]# nginx -tnginx: the configuration file /etc/nginx/nginx.conf syntax is oknginx: configuration file /etc/nginx/nginx.conf test is successful
修改配置
vim /etc/nginx/nginx.conf

设置转发并重启
server {listen 443 ssl;server_name forguo.cn www.forguo.cn;location /api/ {## api转发到内网3333端口proxy_pass http://127.0.0.1:3333/api/;}}
重启:service nginx reload
加密
拓展
- 使用企业级Node.js框架 ——Egg.js
- 掌握多进程编程知识
- 学习使用日志和性能监控

若有收获,就点个赞吧
0 人点赞
