1. 安装
1.1:下载安装包
wget https://artifacts.elastic.co/downloads/elasticsearch/elasticsearch-7.4.0-linux-x86_64.tar.gz
1.2:解压安装包
#解压到自定义目录tar -zxvf elasticsearch-7.4.0-linux-x86_64.tar.gz -C /usr/local

Elasticsearch 7.x 目录结构如下:
- bin :脚本文件,包括 ES 启动 & 安装插件等等
- config : elasticsearch.yml(ES 配置文件)、jvm.options(JVM 配置文件)、日志配置文件等等
- JDK : 内置的 JDK,JAVA_VERSION=”13”
- lib : 类库
- logs : 日志文件
- modules : ES 所有模块,包括 X-pack 等
- plugins : ES 已经安装的插件。默认没有插件
1.3:创建数据存储目录与日志存储目录
# 创建数据存储目录mkdir -p /usr/local/elasticsearch-7.4.0/data# 创建日志存储目录mkdir -p /usr/local/elasticsearch-7.4.0/logs
1.4:修改配置
进入到es安装目录下的config文件夹中,修改elasticsearch.yml 文件
#配置es的集群名称,同一个集群中的多个节点使用相同的标识(单机版可不配置)#如果在同一网段下有多个集群,就可以用这个属性来区分不同的集群。cluster.name: my-es#节点名称node.name: node-1#初始化,master节点名cluster.initial_master_nodes: node-1#数据存储路径path.data: /usr/local/elasticsearch-7.4.0/data#日志存储路径path.logs: /usr/local/elasticsearch-7.4.0/logs#节点所绑定的IP地址,并且该节点会被通知到集群中的其他节点#通过指定相同网段的其他节点会加入该集群中 0.0.0.0任意IP都可以访问elasticsearchnetwork.host: 0.0.0.0#对外提供服务的http端口,默认为9200http.port: 9200#设置集群中master节点的初始列表,可以通过这些节点来自动发现新加入集群的节点discovery.seed_hosts: ["127.0.0.1:9200"]#ES默认开启了内存地址锁定,为了避免内存交换提高性能。但是Centos6不支持SecComp功能,启动会报错,所以需要将其设置为falsebootstrap.memory_lock: false# 是否支持跨域http.cors.enabled: true# *表示支持所有域名http.cors.allow-origin: "*"
修改启动内存(可选配置)
切换到 config/
打开 vim jvm.options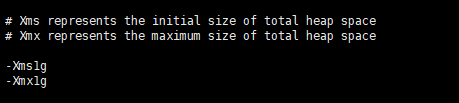
2.启动与关闭
2.1 启动
启动要切换用户,root用户不行,没有用户要先创建用户再切换用户启动
切换到 elasticsearch-7.4.0/bin/ 目录下
#-d参数表示以后台进程启动,默认情况下会在控制台输出日志./elasticsearch -d
2.2 关闭
# 查找ES进程ps -ef | grep elastic#杀掉ES进程kill -9 xxx(进程号)
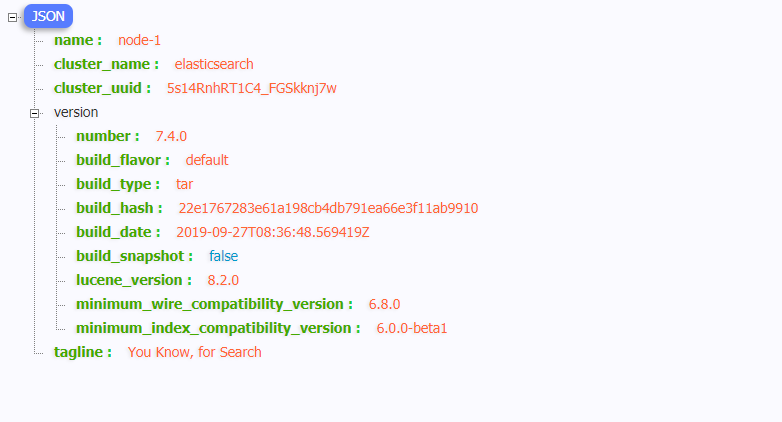
2.3 验证是否成功
除了查看进程外还可以在浏览器输入 IP:9210可以看到返回了一个JSON信息
3.开机启动设置
3.1 设置开机启动脚本
在/etc/init.d目录下新建elastisearch启动脚本文件
vim /etc/init.d/elasticsearch
脚本加入如下内容
#!/bin/bash#chkconfig: 2345 80 90#description: elasticsearch#processname: elasticsearch-7.4.0#服务名称export SERVER_NAME=elasticsearch#ES启动用户名export ES_USER=elastic#ES目录export ES_HOME=/zlb/elasticsearchfunction help() {echo "$0 |start|stop|restart|status|"}#查看服务状态function status(){count=`ps -ef | grep "$SERVER_NAME" | grep -v "$0\|grep\|su $ES_USER" | awk '{print $2}' | wc -l`if [ 0 == $count ];thenecho "$SERVER_NAME not exists"elseps -ef | grep "$SERVER_NAME" | grep -v "$0\|grep\|su $ES_USER"fi}#启动服务function start(){#检查服务是否已经存在count=`ps -ef | grep "$SERVER_NAME" | grep -v "$0\|grep\|su $ES_USER" | awk '{print $2}' | wc -l`if [ $count \> 0 ];thenecho "$SERVER_NAME exists run restart"stop;fi;cd "$ES_HOME"echo "ES HOME IN $ES_HOME"echo "$SERVER_NAME start begin ........."su - $ES_USER -c "$ES_HOME/bin/elasticsearch -d"sleep 1echo "$SERVER_NAME start end ......... home in $ES_HOME"}# 停止服务function stop(){count=`ps -ef | grep "$SERVER_NAME" | grep -v "$0\|grep\|su $ES_USER" | awk '{print $2}' | wc -l`if [ 0 == $count ];thenecho "$SERVER_NAME not exists"elseecho "$SERVER_NAME stop begin ........."threads=$(ps -ef | grep "$SERVER_NAME" | grep -v "$0\|grep\|su $ES_USER" | awk '{print $2 }')for id in $threadsdokill -9 $idecho "kill success $id "doneecho "$SERVER_NAME stop success ........."fi}# 重启服务function restart(){stop;sleep 1;start;}if [ "$1" == "" ]; thenhelpelif [ "$1" == "stop" ];thenstopelif [ "$1" == "start" ];thenstartelif [ "$1" == "restart" ];thenrestartelif [ "$1" == "status" ];thenstatuselsehelpfi
3.2 修改脚本权限
# 为脚本赋可执行权限chmod 777 /etc/init.d/elasticsearch
3.3 添加到启动服务
chkconfig --add elasticsearch
3.4 服务启动方式配置
chkconfig --list //显示服务列表chkconfig elasticsearch on // 设置开机启动chkconfig elasticsearch off // 关闭开机启动
3.5 启动或关闭服务命令
service elasticsearch status // 查看服务状态service elasticsearch start // 启动服务service elasticsearch stop // 关闭服务service elasticsearch restart // 重启服务

若有收获,就点个赞吧
0 人点赞
