一、 环境搭建
使用spring的初始化向导,创建出认证服务模块: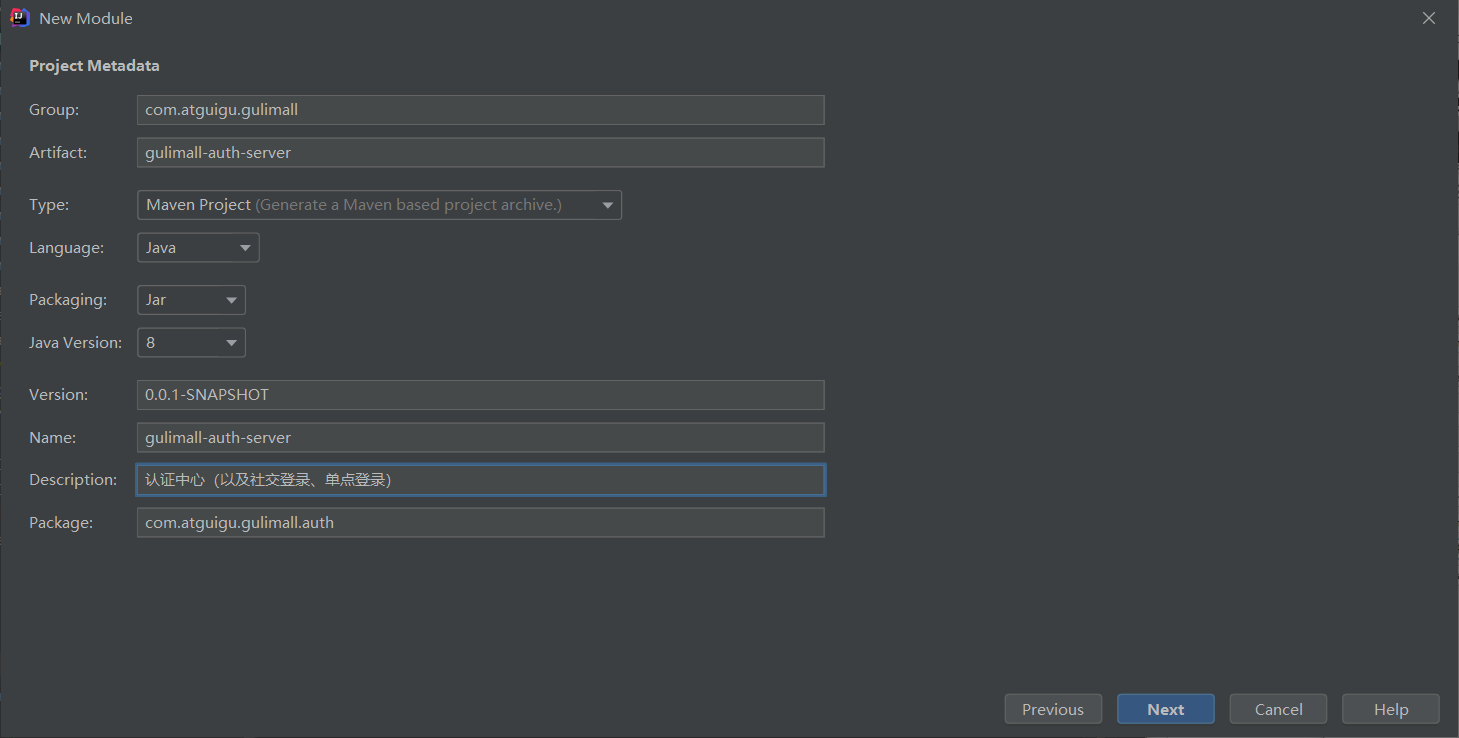
刚开始的pom.xml:
<?xml version="1.0" encoding="UTF-8"?><project xmlns="http://maven.apache.org/POM/4.0.0" xmlns:xsi="http://www.w3.org/2001/XMLSchema-instance"xsi:schemaLocation="http://maven.apache.org/POM/4.0.0 https://maven.apache.org/xsd/maven-4.0.0.xsd"><modelVersion>4.0.0</modelVersion><parent><groupId>org.springframework.boot</groupId><artifactId>spring-boot-starter-parent</artifactId><version>2.1.8.RELEASE</version><relativePath/> <!-- lookup parent from repository --></parent><groupId>com.atguigu.gulimall</groupId><artifactId>gulimall-auth-server</artifactId><version>0.0.1-SNAPSHOT</version><name>gulimall-auth-server</name><description>认证中心(以及社交登录Oauth2.0、单点登录)</description><properties><java.version>1.8</java.version><spring-cloud.version>Greenwich.SR3</spring-cloud.version></properties><dependencies><dependency><groupId>com.atguigu.gulimall</groupId><artifactId>gulimall-common</artifactId><version>0.0.1-SNAPSHOT</version><exclusions><exclusion><groupId>com.baomidou</groupId><artifactId>mybatis-plus-boot-starter</artifactId></exclusion></exclusions></dependency><dependency><groupId>org.springframework.boot</groupId><artifactId>spring-boot-starter-thymeleaf</artifactId></dependency><dependency><groupId>org.springframework.boot</groupId><artifactId>spring-boot-starter-web</artifactId></dependency><dependency><groupId>org.springframework.cloud</groupId><artifactId>spring-cloud-starter-openfeign</artifactId></dependency><dependency><groupId>org.springframework.boot</groupId><artifactId>spring-boot-devtools</artifactId><scope>runtime</scope><optional>true</optional></dependency><dependency><groupId>org.projectlombok</groupId><artifactId>lombok</artifactId><optional>true</optional></dependency><dependency><groupId>org.springframework.boot</groupId><artifactId>spring-boot-starter-test</artifactId><scope>test</scope></dependency></dependencies><dependencyManagement><dependencies><dependency><groupId>org.springframework.cloud</groupId><artifactId>spring-cloud-dependencies</artifactId><version>${spring-cloud.version}</version><type>pom</type><scope>import</scope></dependency></dependencies></dependencyManagement><build><plugins><plugin><groupId>org.springframework.boot</groupId><artifactId>spring-boot-maven-plugin</artifactId><configuration><excludes><exclude><groupId>org.projectlombok</groupId><artifactId>lombok</artifactId></exclude></excludes></configuration></plugin></plugins></build></project>
把认证模块加到nacos注册中心中:
application.properties:
spring.application.name=gulimall-auth-server
spring.cloud.nacos.discovery.server-addr=127.0.0.1:8848
server.port=20000
启动类:
package com.atguigu.gulimall.auth;

import org.springframework.boot.SpringApplication;
import org.springframework.boot.autoconfigure.SpringBootApplication;
import org.springframework.cloud.client.discovery.EnableDiscoveryClient;
import org.springframework.cloud.openfeign.EnableFeignClients;

@EnableFeignClients
@EnableDiscoveryClient
@SpringBootApplication
public class GulimallAuthServerApplication {

    public static void main(String[] args) {
        SpringApplication.run(GulimallAuthServerApplication.class, args);
    }

}
至此,认证中心模块已创建,整个项目的所有登录、注册、认证服务全部在这里进行;
二 短信验证码
发送验证码
使用阿里云短信服务,发送验证码;
参考gulimall-third-party下 SmsComponent 及SmsSendController
验证码防刷校验
对短信验证码,要实现接口防刷,防止恶意不断的发送短信验证码;以及对验证码的有效时间进行设置,,以及防止同一个手机号在固定时间内再次发送验证码;
参考gulimall-third-party下 SmsComponent 及SmsSendController
密码加密之MD5、盐值、BCrypt
密码字段应不可逆加密。
这里我们使用MD5盐值加密;
MD5本身是个信息摘要算法,是可以被逆向破解的,所以MD5不能直接用来进行密码的加密存储;加上“盐值”,使之不可逆;

若有收获,就点个赞吧
0 人点赞
