1. 准备centos7
2. 更换阿里yum源
2.1 安装wget
yum install -y wget
2.2 备份默认yum
mv /etc/yum.repos.d /etc/yum.repos.d.backup
2.3 设置新的yum目录
mkdir /etc/yum.repos.d
2.4 下载阿里yum
wget -O /etc/yum.repos.d/CentOS-Base.repo https://mirrors.aliyun.com/repo/Centos-7.repo
2.5 重建缓存
yum clean all
yum makecache
3. 安装GitLab
3.1 安装依赖
yum install -y curl openssh-server openssh-clients postfix cronie policycoreutils-python
注:10.x以后开始依赖policycoreutils-python,之前在使用9.x时还没有依赖该项
3.2 启动postfix
启动并将其设置为开机启动
systemctl start postfix
systemctl enable postfix
3.3 设置防火墙
firewall-cmd --add-service=http --permanent
firewall-cmd --reload
3.4 下载GitLab安装包
旧版下载(已弃)
wget https://mirrors.tuna.tsinghua.edu.cn/gitlab-ce/yum/el7/gitlab-ce-10.0.2-ce.0.el7.x86_64.rpm
新版本已无需汉化操作!
wget https://mirrors.tuna.tsinghua.edu.cn/gitlab-ce/yum/el7/gitlab-ce-13.1.0-ce.0.el7.x86_64.rpm
3.5 安装
安装旧版
rpm -i gitlab-ce-10.0.2-ce.0.el7.x86_64.rpm
安装新版
rpm -i gitlab-ce-13.1.0-ce.0.el7.x86_64.rpm
安装完毕后,根据提示,继续配置GitLab
gitlab-ctl reconfigure
3.6 修改配置文件
vim /etc/gitlab/gitlab.rb
将external_url变量的地址修改为gitlab所在centos的ip地址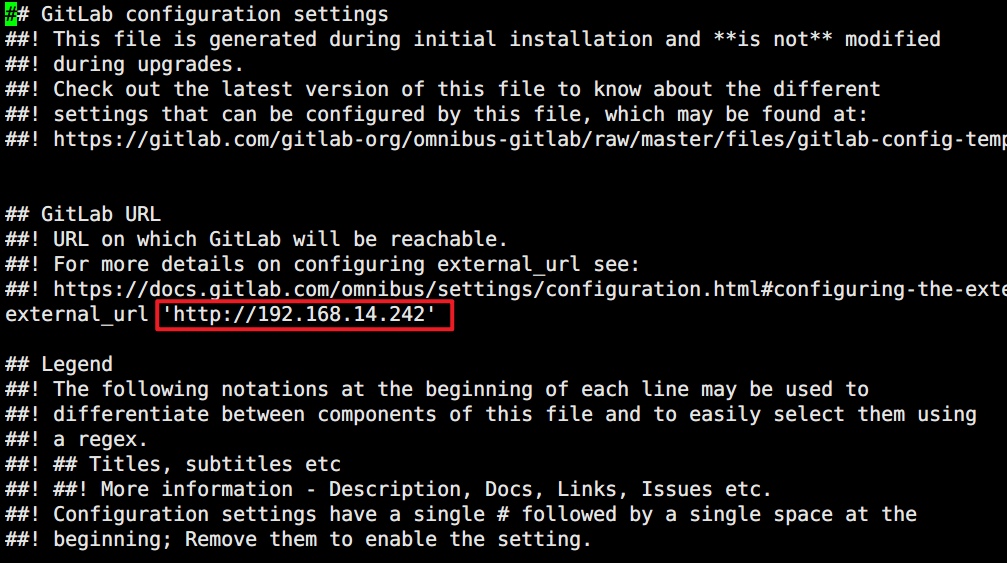
3.7 重新加载配置
因为修改了配置文件,所以重新加载配置
gitlab-ctl reconfigure
gitlab-ctl restart
3.8 查看GitLab版本
head -1 /opt/gitlab/version-manifest.txt
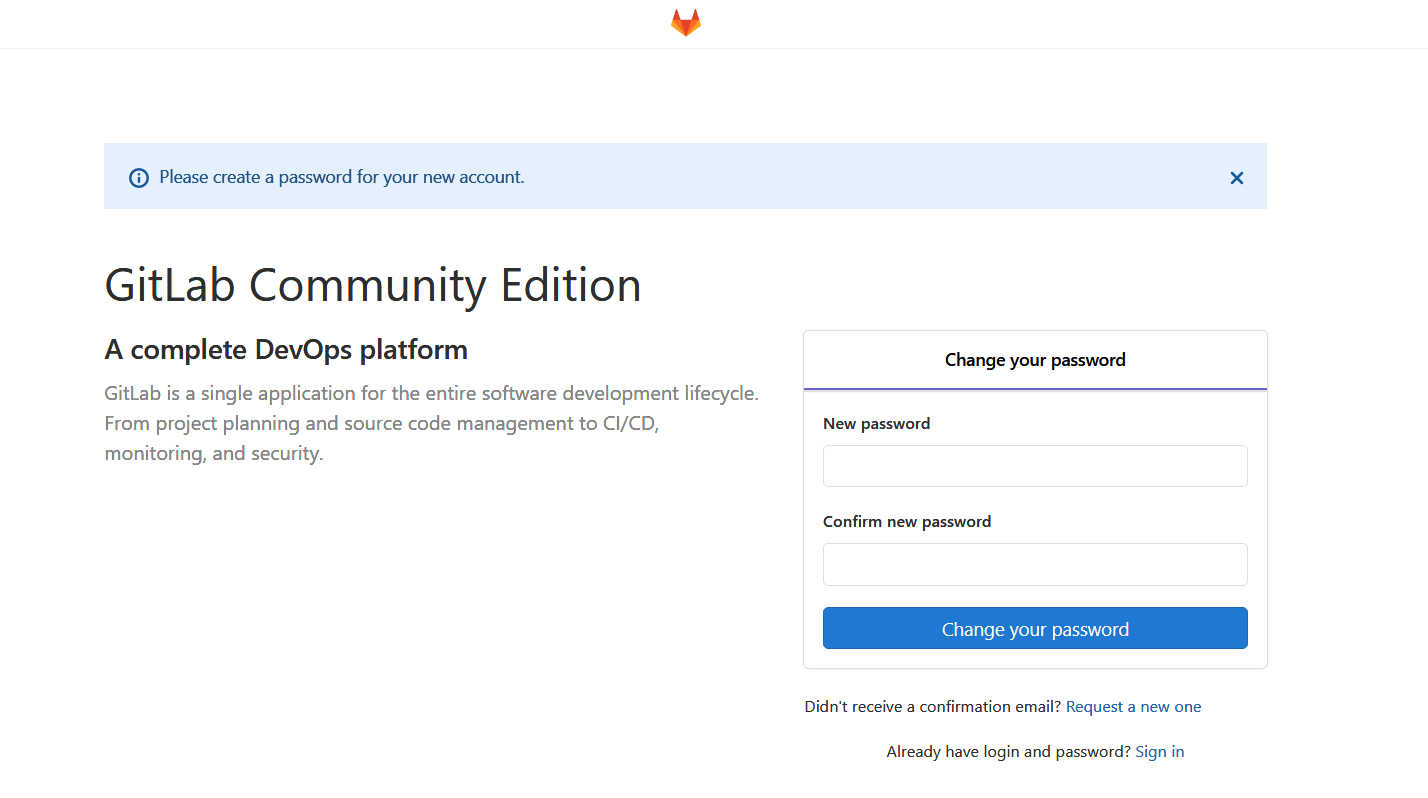
3.9 修改密码
3.10 设置GitLab开机自启
启用开机自启
systemctl enable gitlab-runsvdir.service
禁用开机自启
systemctl disable gitlab-runsvdir.service
3.11 设置语言

4. 汉化(新版已自带中文)
4.1 查看GitLab版本
cat /opt/gitlab/embedded/service/gitlab-rails/VERSION
4.2 安装Git
yum install -y git
4.3 获取汉化版本库
# 下载最新的汉化版本库
git clone https://gitlab.com/xhang/gitlab.git
4.4 查看汉化库版本
cat gitlab/VERSION

4.5 停止GitLab服务
gitlab-ctl stop
4.6 切换汉化版本所在目录
cd /root/gitlab
4.7 比较汉化&英文版本
比较汉化版本与英文原版的版本差异,并输出补丁包到上层目录
git diff v10.0.2 v10.0.2-zh > ../10.0.2-zh.diff
4.7 更新汉化补丁
注意回到上层之前生成汉化补丁所在目录
yum install patch -y
patch -d /opt/gitlab/embedded/service/gitlab-rails -p1 < 10.0.2-zh.diff
4.8 启动GitLab
gitlab-ctl start
4.9 重新配置Gitlab
gitlab-ctl reconfigure
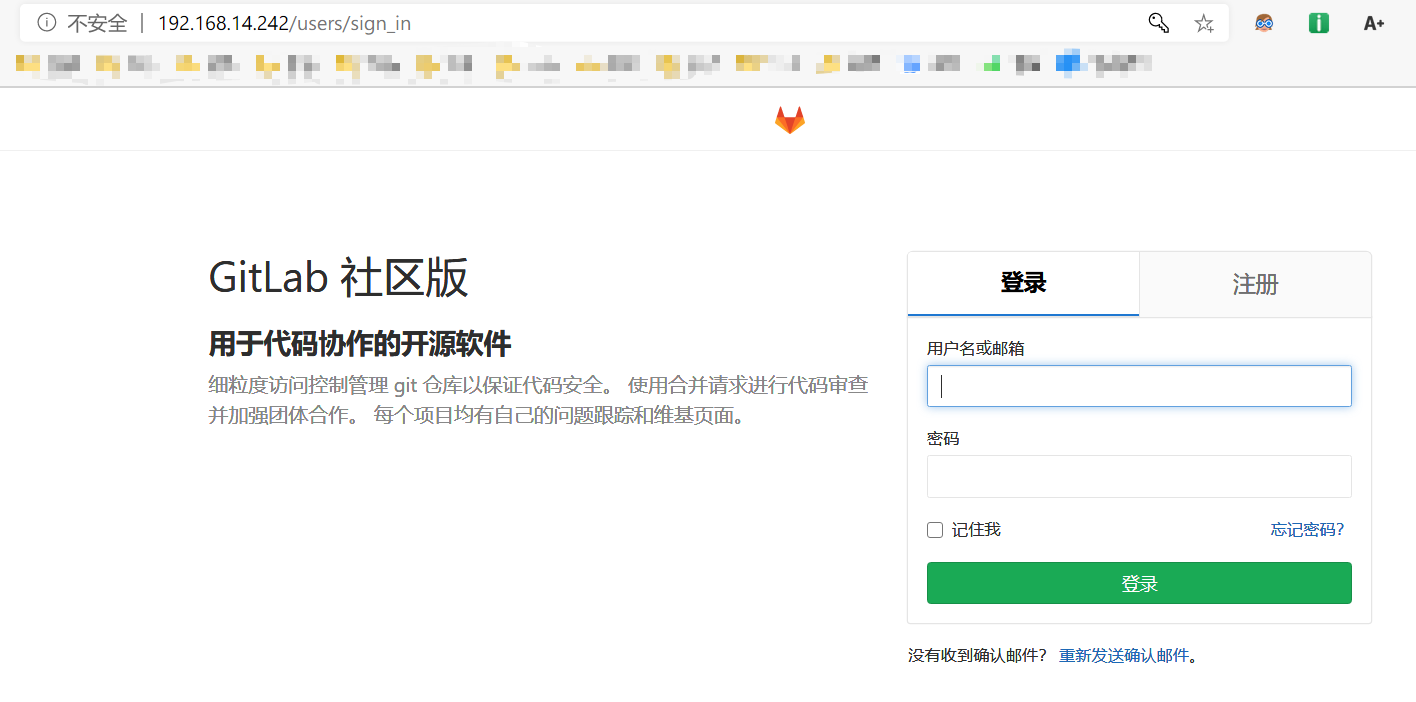
4.10 重新访问
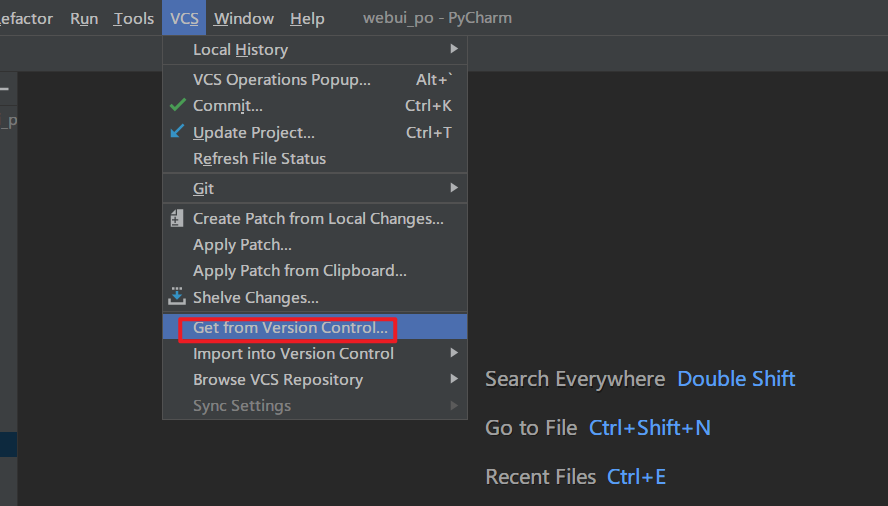
5. Pycharm使用GitLab
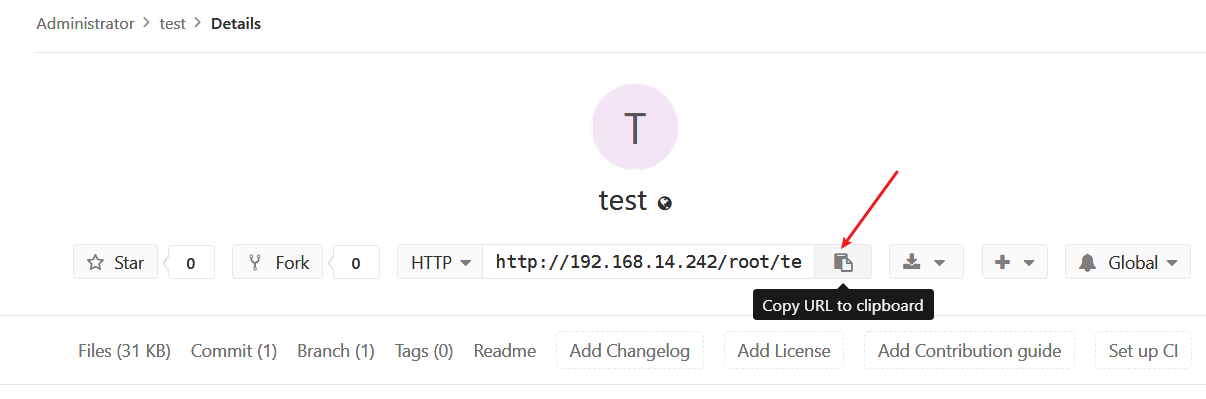
1. 克隆项目

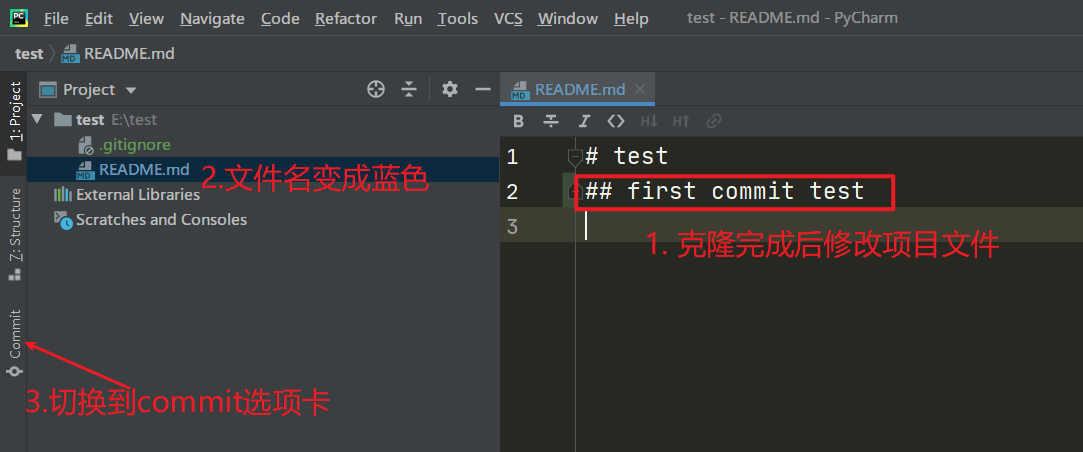
2. 修改并提交


若有收获,就点个赞吧
0 人点赞
