在web开发中 安全第一位!比如:拦截器 , 过滤器
做网站: 安全应该在什么时候考虑?
在设计之初,如果一个网站有漏洞,会导致用户隐私泄露等等
知名的安全框架:
1.shiro、
2.SpringSecruity:
这两个框架很像 除了类不一样 ,功能类似
主要做的是:
1.认证:登录的用户有哪些权限
2.授权: 规定各个权限能访问哪些页面 如(vip1),(vip2),(vip3)
SpringSecruity 官网:
https://spring.io/projects/spring-security
概述:
SpringSecurity是一个功能强大且高度定制的身份验证和访问控制框架。它是保护基于Spring的应用程序的事实上的标准。
SpringSecurity是一个侧重于向Java应用程序提供身份验证和授权的框架。与所有Spring项目一样,SpringSecurity的真正强大之处在于它能够很容易地扩展以满足自定义需求
SpringSecruity特征
- 全面和可扩展的身份验证和授权支持
- 防止攻击,如会话固定、点击劫持、跨站点请求伪造等。
- ServletAPI集成
- 与SpringWebMVC的可选集成
- 更多的…
SpringSecruity常见的几个类:
WebSecurityConfigurerAdapter:自定义Security策略
AuthenticationManagerBuilder:自定义认证策略
*@EnableWebSecurity:开启WebSecurity模式web开发中的权限
1.功能权限:如管理员和普通用户之间的功能权限,管理员可以增删改查 ,而管理员只能查看
2.访问权限:如有的页面有的人可以访问,而有的人访问不了
3.菜单权限:不同人登录进去访问菜单不一样
为什么我们使用SpringSecruity做拦截器,过滤器?
一般我们做拦截器,过滤器使用的是大量原生的代码,原生代码太繁琐太冗余了
我们从MVC -SPRING - SPRINGMVC -SPRINGBOOT 说白了就是一路简化代码
thymeleaf:依赖
<dependency><groupId>org.thymeleaf</groupId><artifactId>thymeleaf-spring5</artifactId></dependency><dependency><groupId>org.thymeleaf.extras</groupId><artifactId>thymeleaf-extras-java8time</artifactId></dependency>
练习
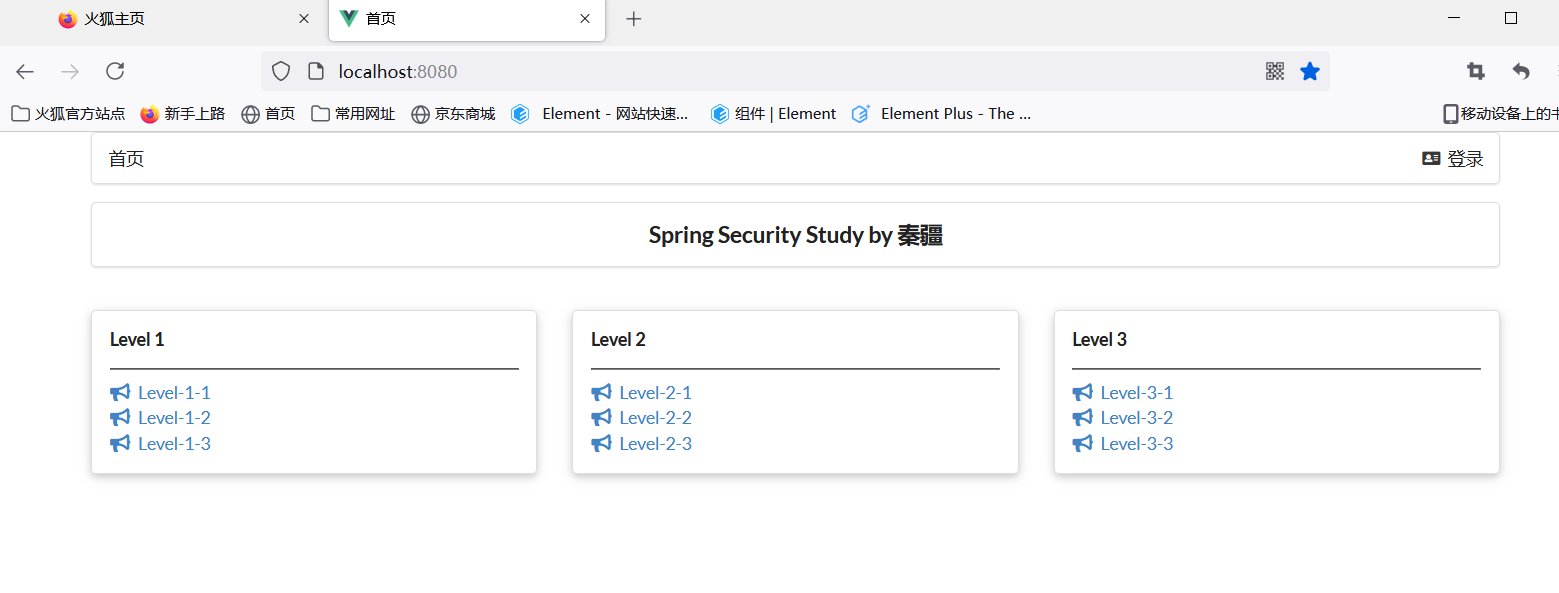
我们使用我们写好的静态文件来练习一下:SpringSecurity
导入我们的准备好的静态素材SpringSecurity素材_ioqdonxc.rar 里面有需要的前端代码
这是导入好的springBoot项目:kuangSecurity.zip
我们使用这个来练习我们的:SpringSecruity
注:我们增加的需求跟源代码几乎没有任何关系,全部是AOP面向切面编程的思想来增加需求
pom.xml
<?xml version="1.0" encoding="UTF-8"?><project xmlns="http://maven.apache.org/POM/4.0.0" xmlns:xsi="http://www.w3.org/2001/XMLSchema-instance"xsi:schemaLocation="http://maven.apache.org/POM/4.0.0 https://maven.apache.org/xsd/maven-4.0.0.xsd"><modelVersion>4.0.0</modelVersion><parent><groupId>org.springframework.boot</groupId><artifactId>spring-boot-starter-parent</artifactId><version>2.5.1</version><relativePath/> <!-- lookup parent from repository --></parent><groupId>com.kaung</groupId><artifactId>kuangSecurity</artifactId><version>0.0.1-SNAPSHOT</version><name>kuangSecurity</name><description>Demo project for Spring Boot</description><properties><java.version>1.8</java.version></properties><dependencies><dependency><groupId>org.springframework.boot</groupId><artifactId>spring-boot-starter-web</artifactId></dependency><dependency><groupId>org.thymeleaf</groupId><artifactId>thymeleaf-spring5</artifactId></dependency><dependency><groupId>org.thymeleaf.extras</groupId><artifactId>thymeleaf-extras-java8time</artifactId></dependency><dependency><groupId>org.springframework.boot</groupId><artifactId>spring-boot-starter-test</artifactId><scope>test</scope></dependency></dependencies><build><plugins><plugin><groupId>org.springframework.boot</groupId><artifactId>spring-boot-maven-plugin</artifactId></plugin></plugins></build></project>

此时首页点击任意一个都是可以跳转成功的
我们设置权限 让所有人都能登录,登录进来的人按vip等级来划分访问权限:
如:vip1只能访问level1,vip2能访问level2,vip3能访问level3,
需求1:首页所有人可以访问,功能页只有对应有权限的人才能访问
第一步:在pom.xml导入SpringSecruity的依赖
<!-- security--><dependency><groupId>org.springframework.boot</groupId><artifactId>spring-boot-starter-security</artifactId></dependency>
第二步:创建config文件夹
在里面创建:SecurityConfig.class文件 加@EnableWebSecurity注解并且继承WebSecurityConfigurerAdapter ,重写configure(HttpSecurity http) 方法
package com.kaung.kuangsecurity.config;import org.springframework.security.config.annotation.web.configuration.EnableWebSecurity;import org.springframework.security.config.annotation.web.configuration.WebSecurityConfigurerAdapter;@EnableWebSecuritypublic class SecurityConfig extends WebSecurityConfigurerAdapter {@Overrideprotected void configure(HttpSecurity http) throws Exception {super.configure(http);}}
package com.kaung.kuangsecurity.config;import org.springframework.security.config.annotation.authentication.builders.AuthenticationManagerBuilder;import org.springframework.security.config.annotation.web.builders.HttpSecurity;import org.springframework.security.config.annotation.web.configuration.EnableWebSecurity;import org.springframework.security.config.annotation.web.configuration.WebSecurityConfigurerAdapter;import org.springframework.security.crypto.bcrypt.BCryptPasswordEncoder;import org.springframework.security.crypto.password.PasswordEncoder;@EnableWebSecuritypublic class SecurityConfig extends WebSecurityConfigurerAdapter {//授权//首页所有人可以访问,功能页只有对应有权限的人才能访问@Overrideprotected void configure(HttpSecurity http) throws Exception {//http.authorizeRequests()认证请求// .antMatchers("/")认证哪些请求// .permitAll()所有人可以访问//.antMatchers("/level1")http.authorizeRequests().antMatchers("/").permitAll().antMatchers("/level1/**").hasAnyRole("vip1") //如果想访问/level1/** 必须有“vip1”.antMatchers("/level2/**").hasAnyRole("vip2")//如果想访问/level2/** 必须有“vip2”.antMatchers("/level3/**").hasAnyRole("vip3");//如果想访问/level3/** 必须有“vip3”//没有权限默认会跳到 /login登录页面 如果登录页面没有就重定向到login?error页面http.formLogin();}//认证,springboot 2.1.x 可以直接使用//密码编码错误 There is no PasswordEncoder mapped for the id "null"//在spring Secutiry 5.0+新增了很多的加密方法//解决办法 .passwordEncoder(new BCryptPasswordEncoder()// .password(new BCryptPasswordEncoder().encode("123456"))@Overrideprotected void configure(AuthenticationManagerBuilder auth) throws Exception {auth.inMemoryAuthentication().passwordEncoder(new BCryptPasswordEncoder()).withUser("kuangshen").password(new BCryptPasswordEncoder().encode("123456")).roles("vip2","vip3").and()//这里我们给账户名为"kuangshen" 密码为123456的 设置"vip2","vip3"权限.withUser("root").password(new BCryptPasswordEncoder().encode("123456")).roles("vip1","vip2").and()//这里我们给账户名为"root" 密码为123456的 设置"vip1","vip2"权限.withUser("root123").password(new BCryptPasswordEncoder().encode("123456")).roles("vip2");;//这里我们给账户名为"root123" 密码为123456的 设置"vip2"权限 }}
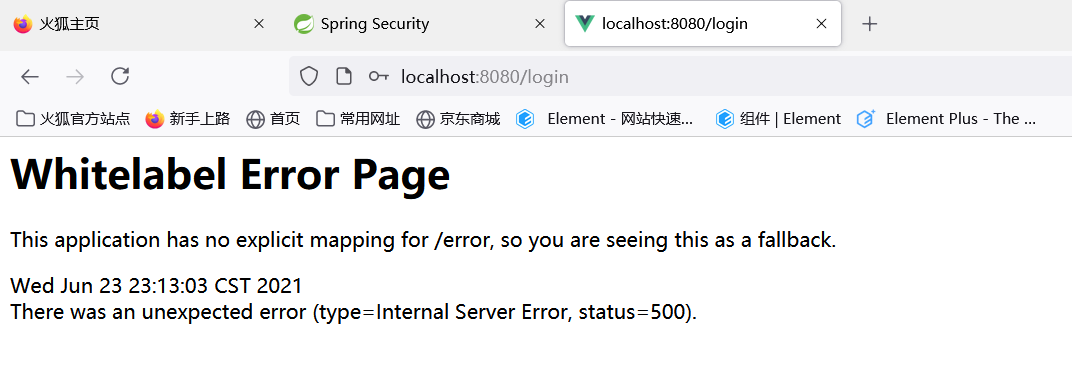
给用户设置密码的时候 报了There is no PasswordEncoder mapped for the id “null”错误
我们需要对用户的密码进行编码.passwordEncoder(new BCryptPasswordEncoder()
需求2:注销
前端需要到/logout路径
<a class="item" th:href="@{/logout}"><i class="address card icon"></i> 注销</a>
后端使用
//开启注销http.logout();//清除所有的Cookies 和 session//http.logout().deleteCookies("remove").invalidateHttpSession(true);//注销成功之后跳到指定的位置http.logout().logoutUrl("/");
需求3:登录之后只显示用户所拥有的功能指定的模块,如vip1登录后只有页面只有vip1
首先我们要在pom.xml中导thymeleaf+security的整合包:
<dependency><groupId>org.thymeleaf.extras</groupId><artifactId>thymeleaf-extras-springsecurity5</artifactId><version>3.0.4.RELEASE</version></dependency>
并且在index.html文件里xmlns增加提示
<html lang="en" xmlns:th="http://www.thymeleaf.org"xmlns:sec="http://www.thymeleaf.org/thymeleaf-extras-springsecurity5">
这段代码的作用是:判断 如果未登录 我们加上
<!--未登录--><div sec:authorize="!isAuthenticated()"><a class="item" th:href="@{/toLogin}"><i class="address card icon"></i> 登录</a></div>
这段代码的作用是:判断 如果登录 我们加上
<!--登录之后 会显示注销 并且显示用户名--><div sec:authorize="isAuthenticated()"><a class="item">用户名:<span sec:authentication="name"></span></a></div><div sec:authorize="isAuthenticated()"><a class="item" th:href="@{/logout}"><i class="address card icon"></i> 注销</a></div>
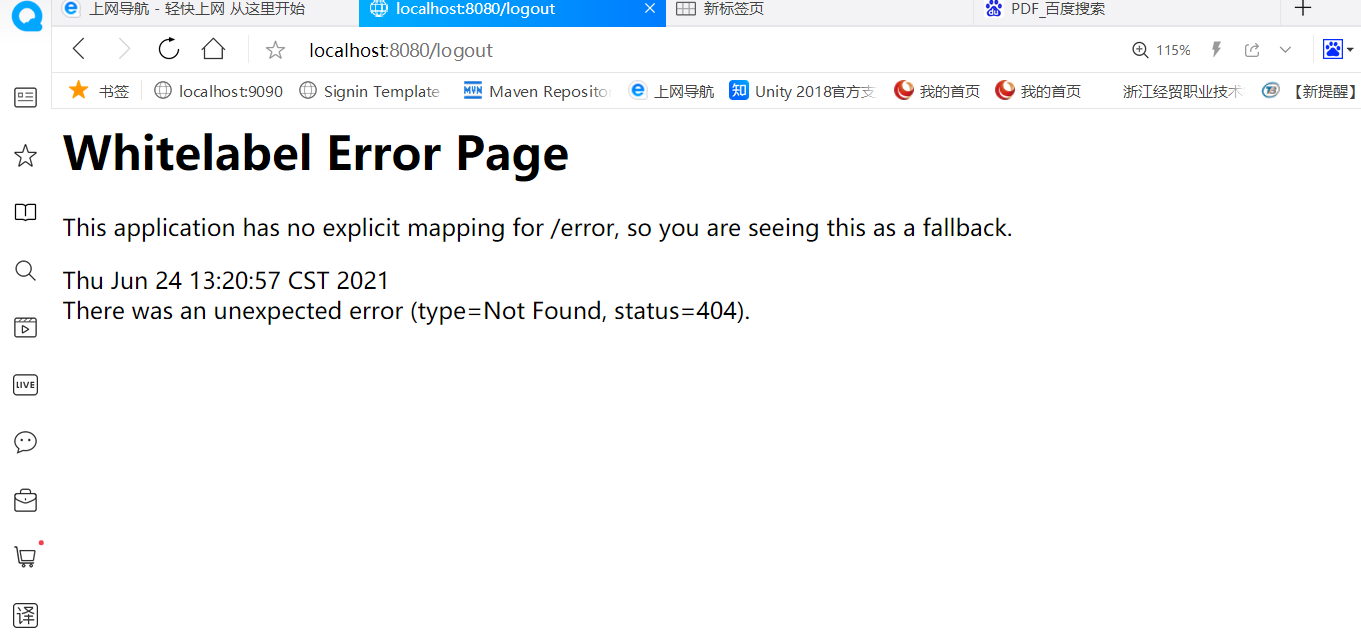
注销后返回的404页面解决办法:
但是我们点击注销后返回的404页面
失败可能的原因是springboot自动配置了防止CSRF跨站攻击 我们有两种解决方式
1.将他关闭(不推荐)
//springboot会默认配置csrf攻击,我们需要关闭他才能注销成功http.csrf().disable();http.logout().logoutSuccessUrl("/login");
2.在 spring security 的配置中,添加 /logout 能够以 GET 请求的配置
前端代码:
<div sec:authorize="isAuthenticated()"><a class="item" th:href="@{/logout}"><i class="address card icon"></i> 注销</a></div>
后端代码:
http.logout().logoutUrl("/logout").logoutSuccessUrl("/").logoutRequestMatcher(new AntPathRequestMatcher("/logout", "GET")).deleteCookies("JSESSIONID").invalidateHttpSession(true).and();;}
需求4 我们增加一个“记住我”功能
只需要在后端加上
//开启记住我 本质是一个cookiehttp.rememberMe();
需求5 自定义login地址
我们不想使用她的默认login地址 我们想用自己的登录地址 地址为/toLogin
前端的post提交地址一定要改为@{/toLogin}
<form th:action="@{/toLogin}" method="post">
后端的代码:
http.formLogin().loginPage("/toLogin");
需求6 前后端username password命名不一致解决办法
前端页面命名是username password是因为,后台接受的默认是username ,password
而我们开发的时候前端不一定命名为username,password,比如我前端的命名为user name,那后端安全验证的时候应该怎么样接受数据的呢?
原来的前端代码:
<div class="ui left icon input"><input type="text" placeholder="Username" name="username"><i class="user icon"></i></div></div><div class="field"><label>Password</label><div class="ui left icon input"><input type="password" name="password"><i class="lock icon"></i></div>
修改后:
<div class="ui left icon input"><input type="text" placeholder="Username" name="name"><i class="user icon"></i></div></div><div class="field"><label>Password</label><div class="ui left icon input"><input type="password" name="pwd"><i class="lock icon"></i></div>
修改后我们登录的时候login会登录不成功,是因为后台验证的时候没有接受到username,password
此时我们需要在后台代码中加入
http.formLogin().loginPage("/toLogin").usernameParameter("user").passwordParameter("pwd");
需求7:在自定义页面加入“记住我功能”
我们修改为我们自定义的登录页面的时候 我们没有“记住我”的选项了
我们需要在前端写一个input Rember选框
<input type="checkbox" name="rember">记住我</input>
在后端加上
http.rememberMe().rememberMeParameter("rember");

